
honeypot
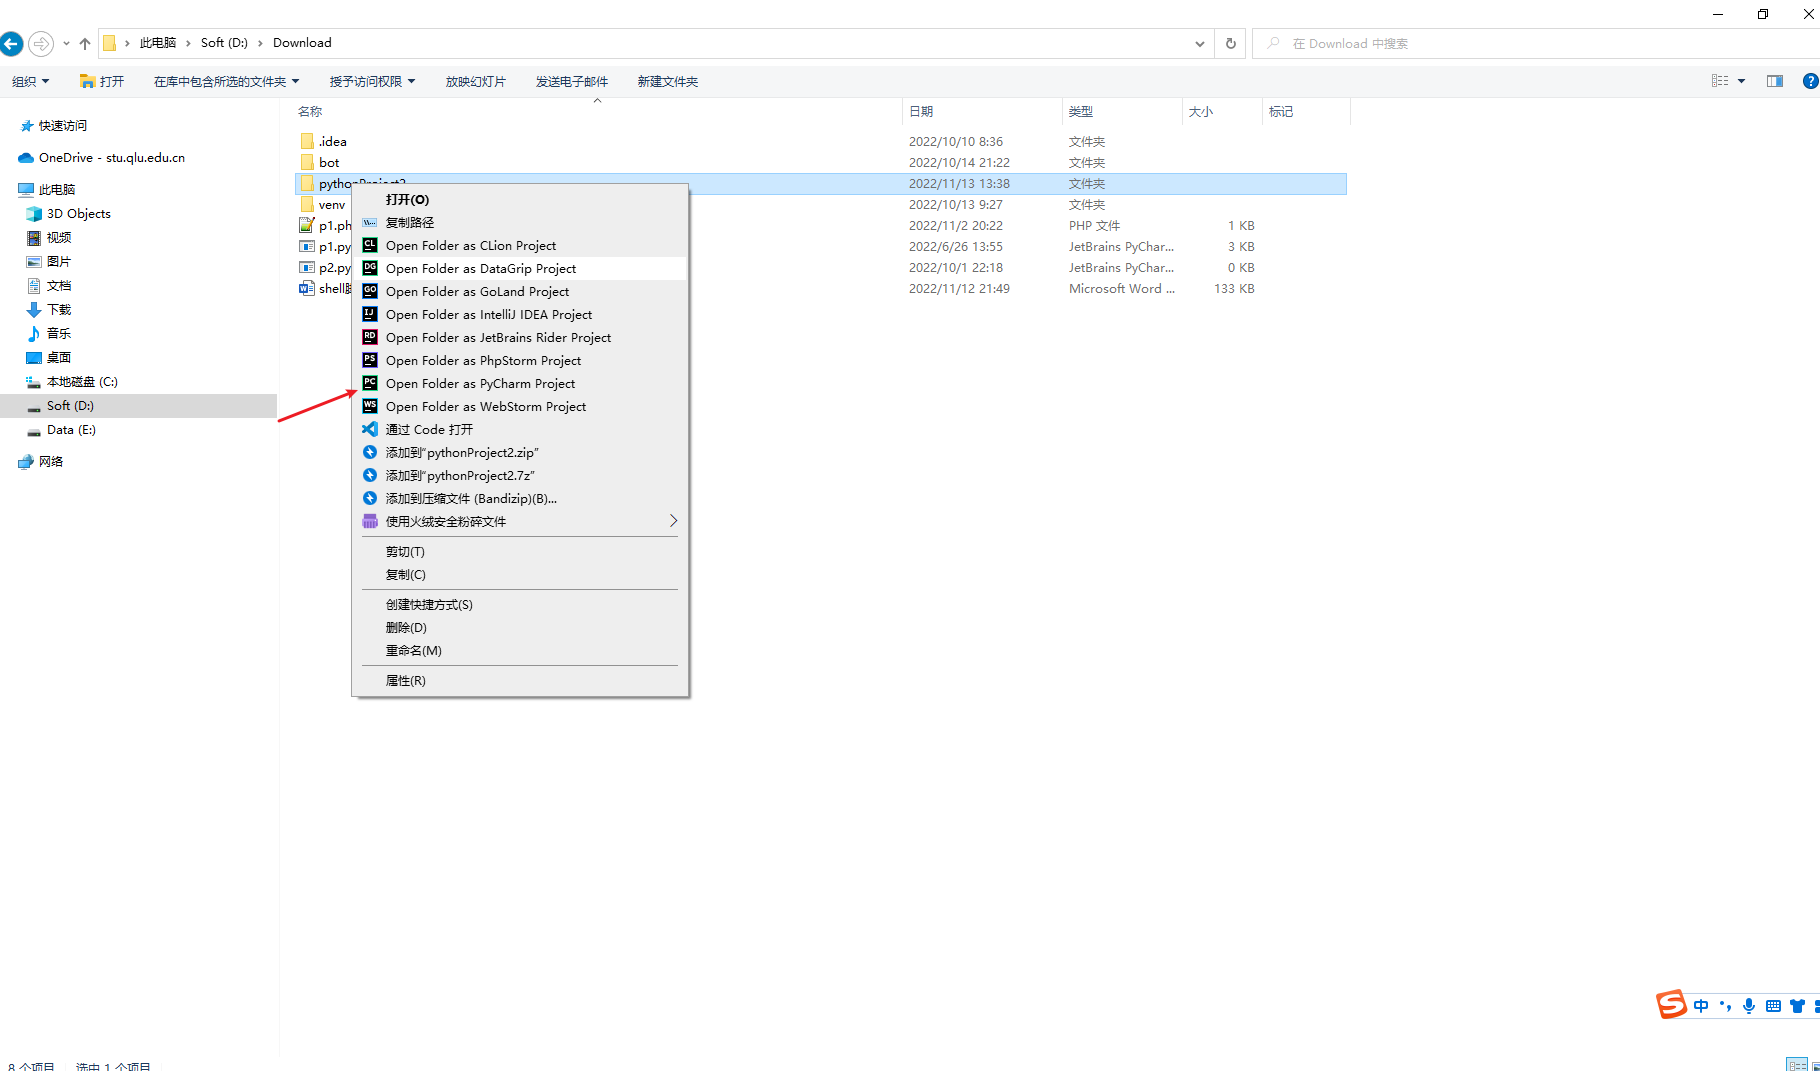
pychram 打开项目 本地尝试
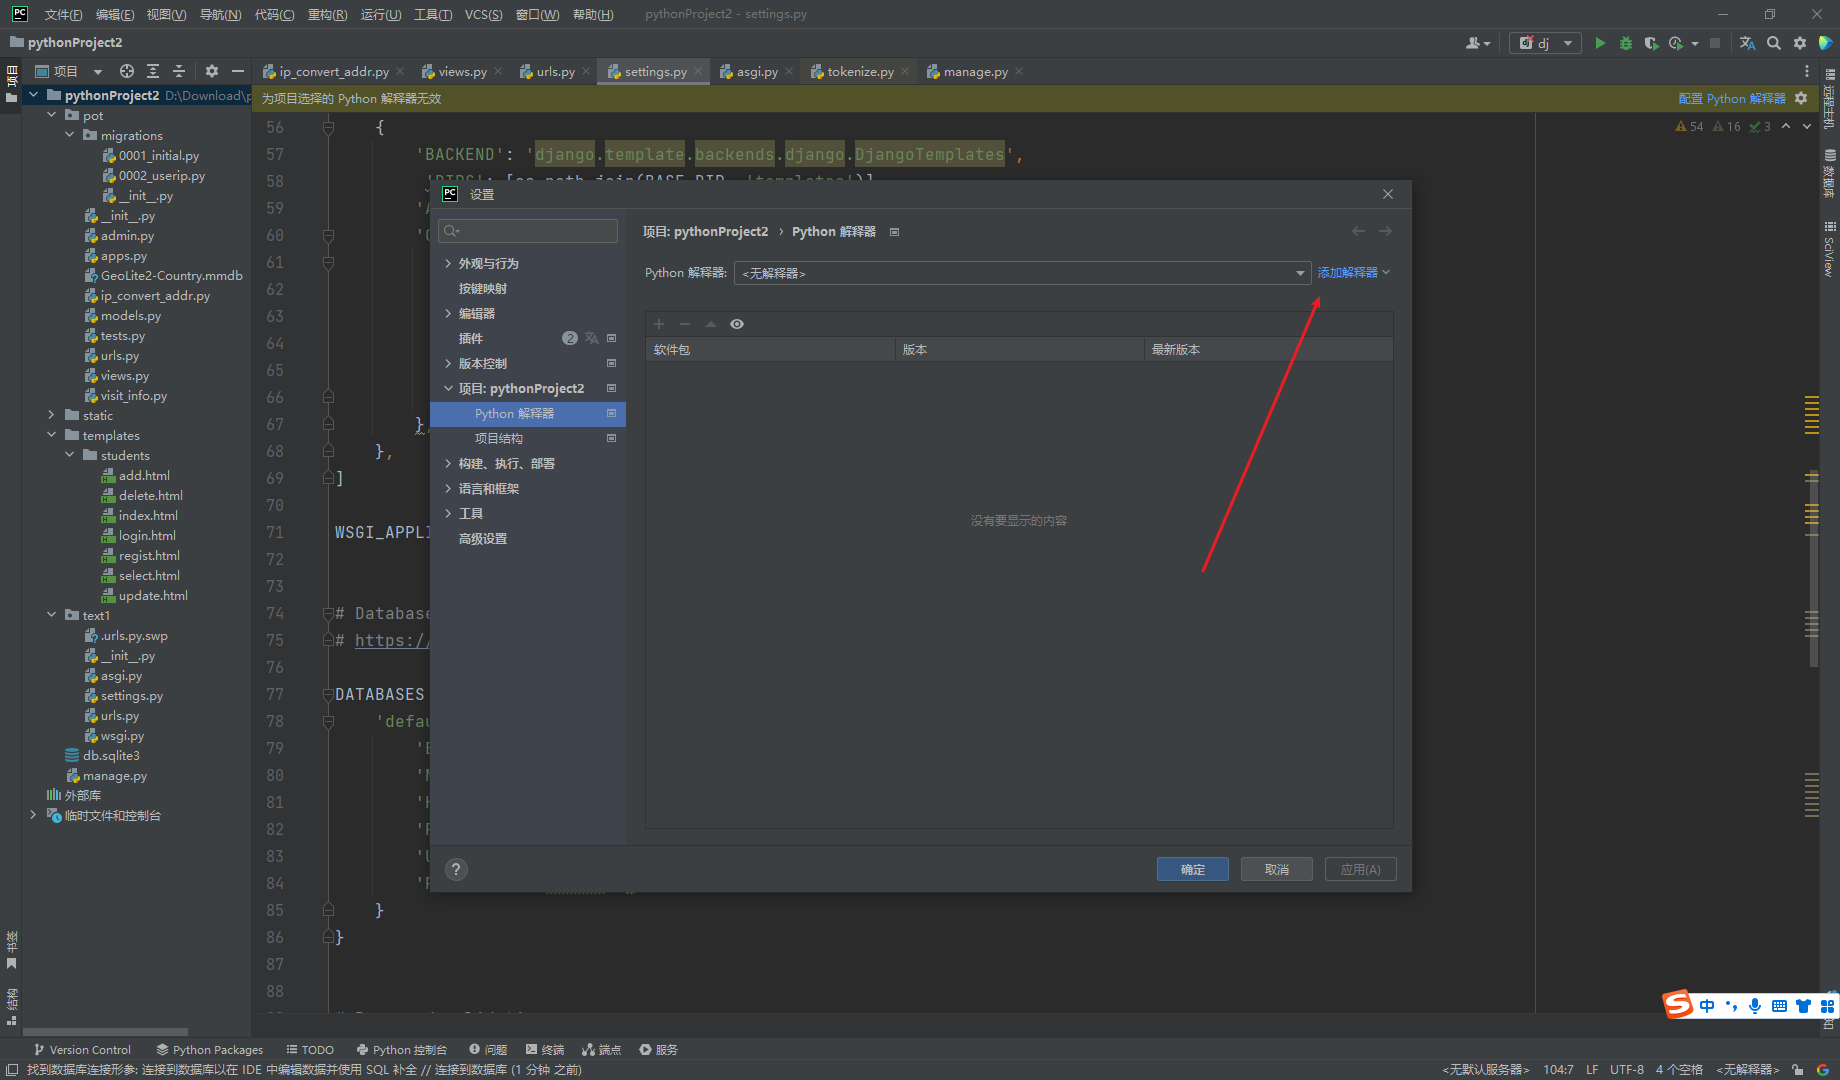
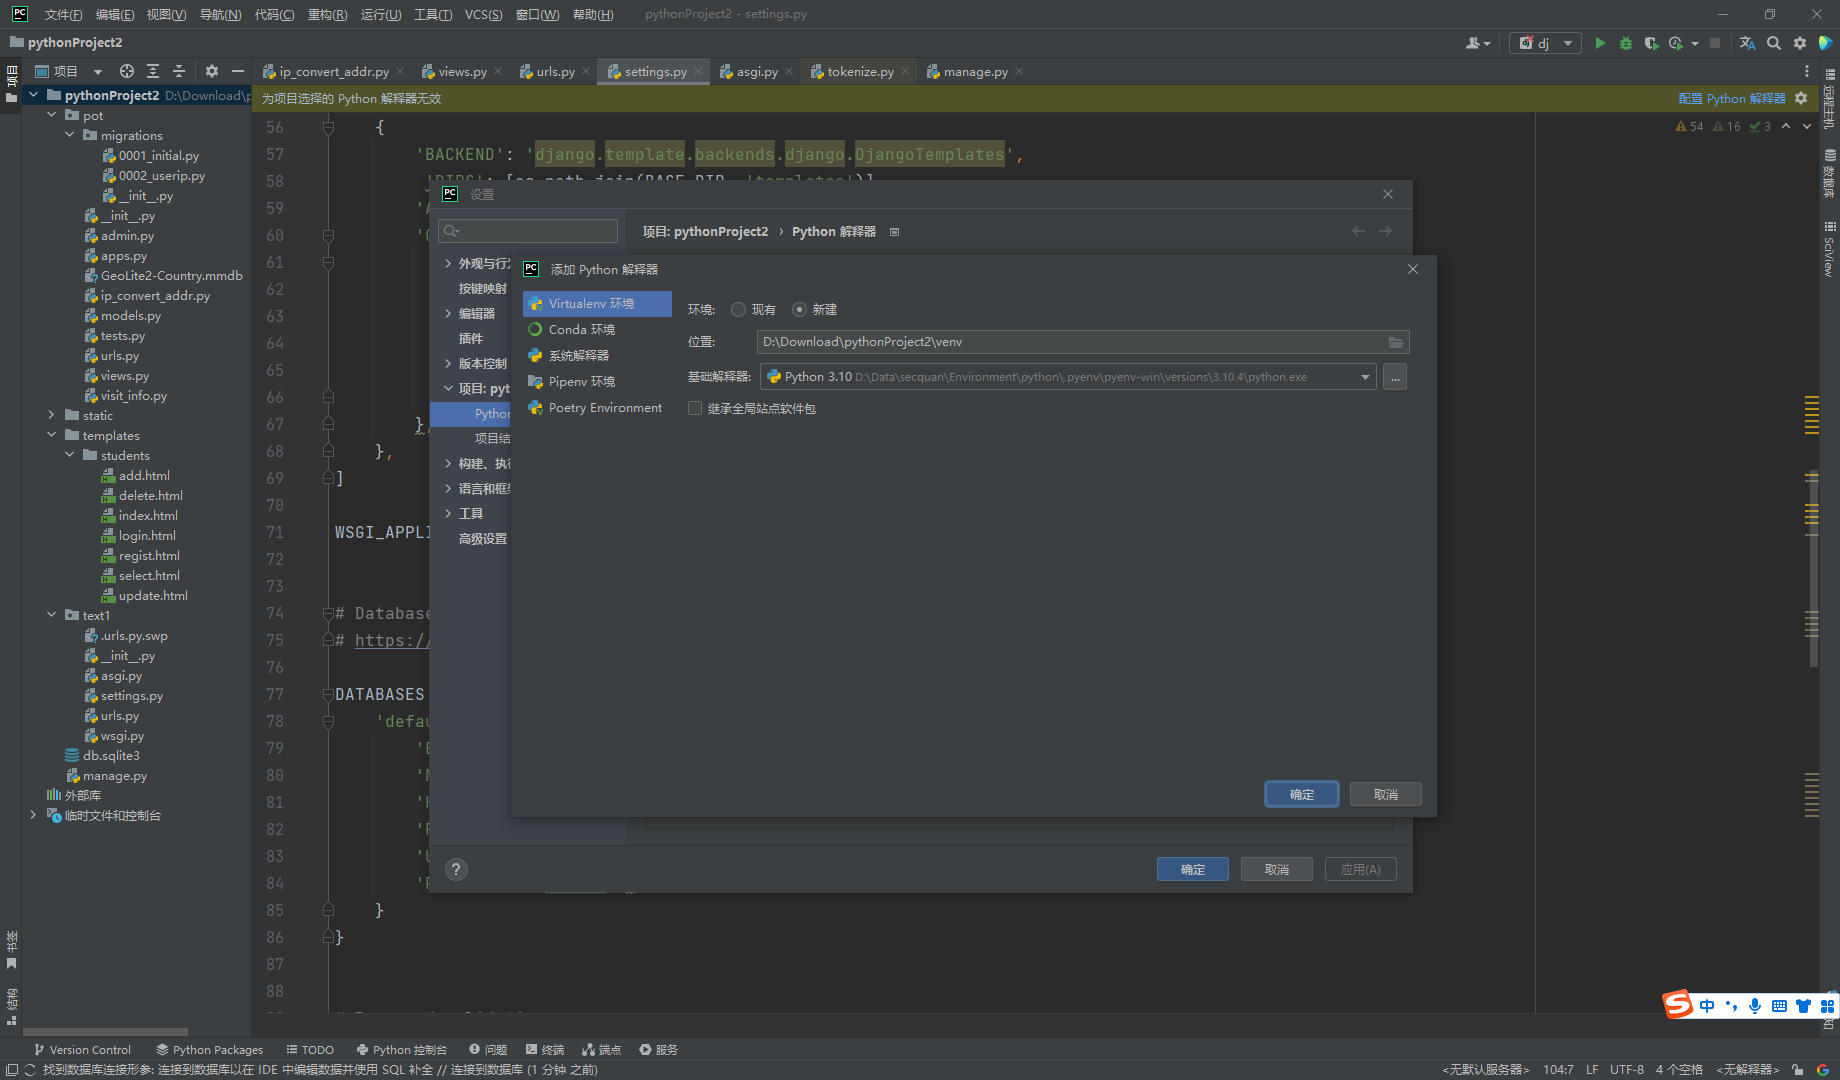
添加python 解释器

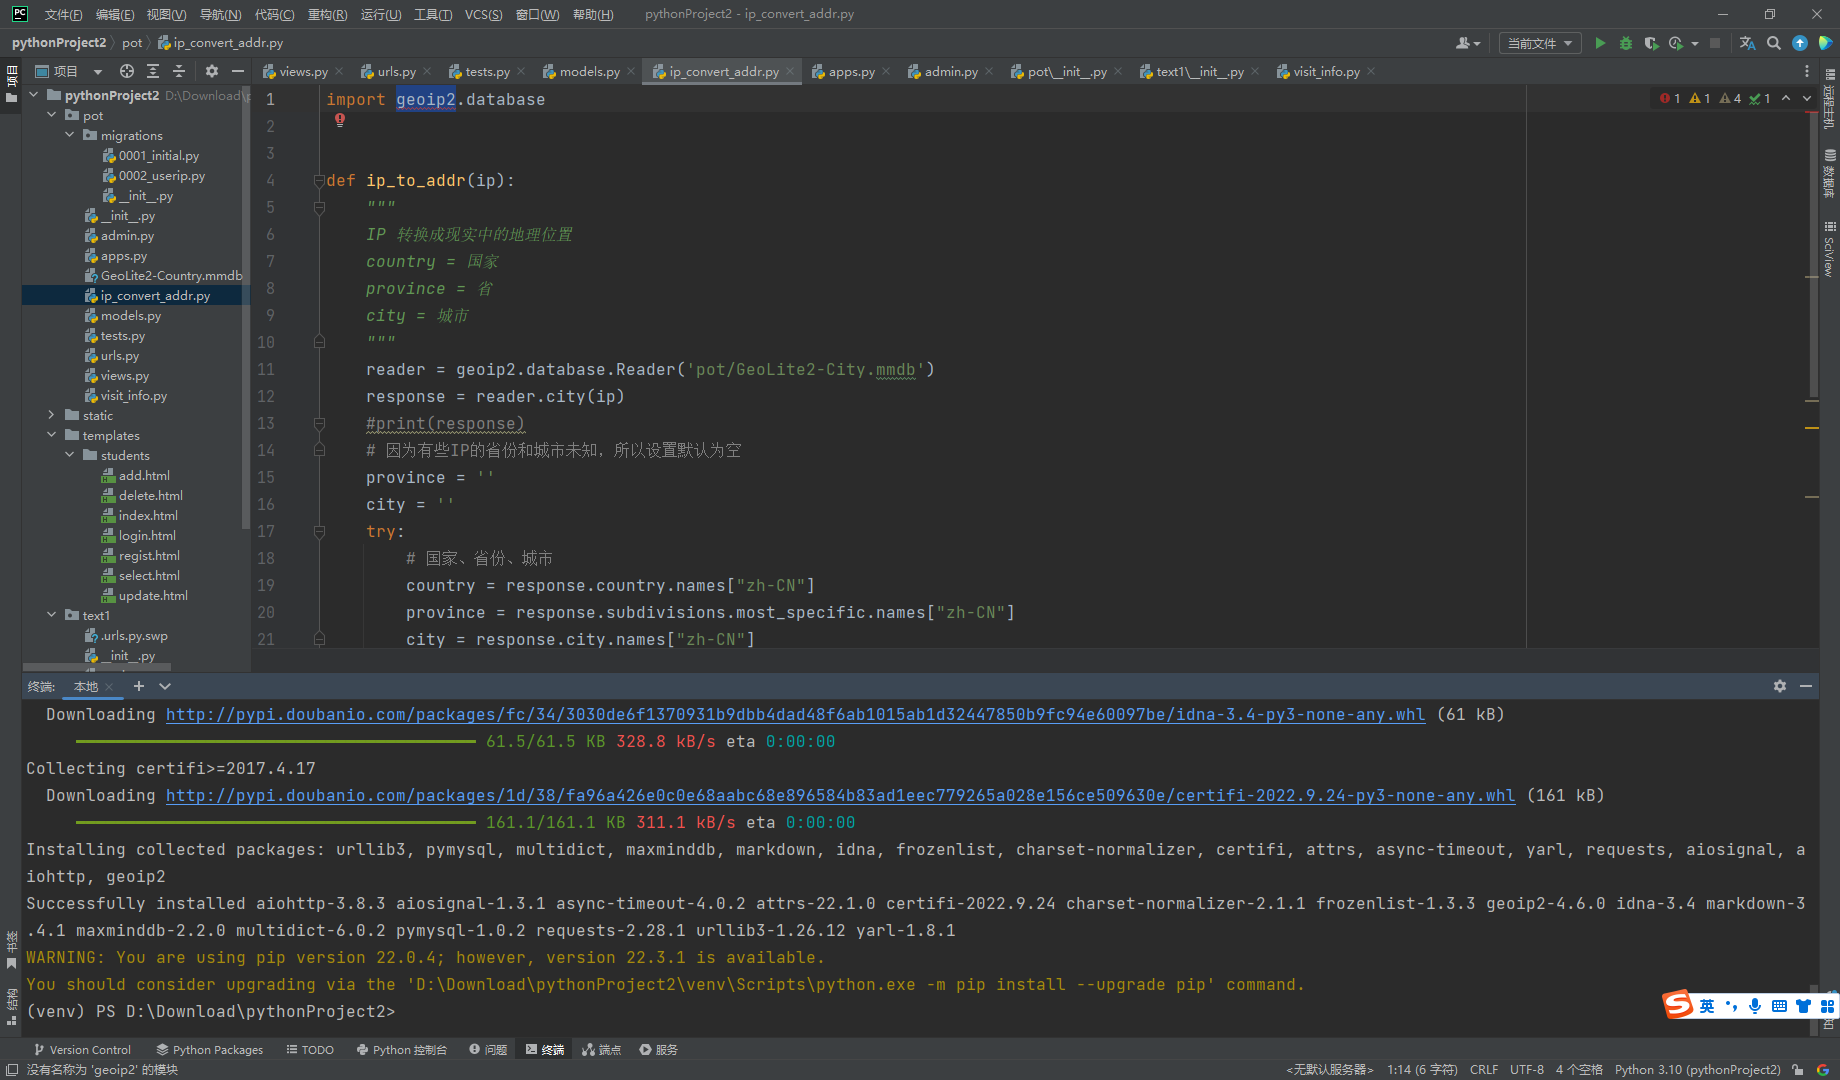
先安装几个包
pip install Django pymysql markdown geoip2 |
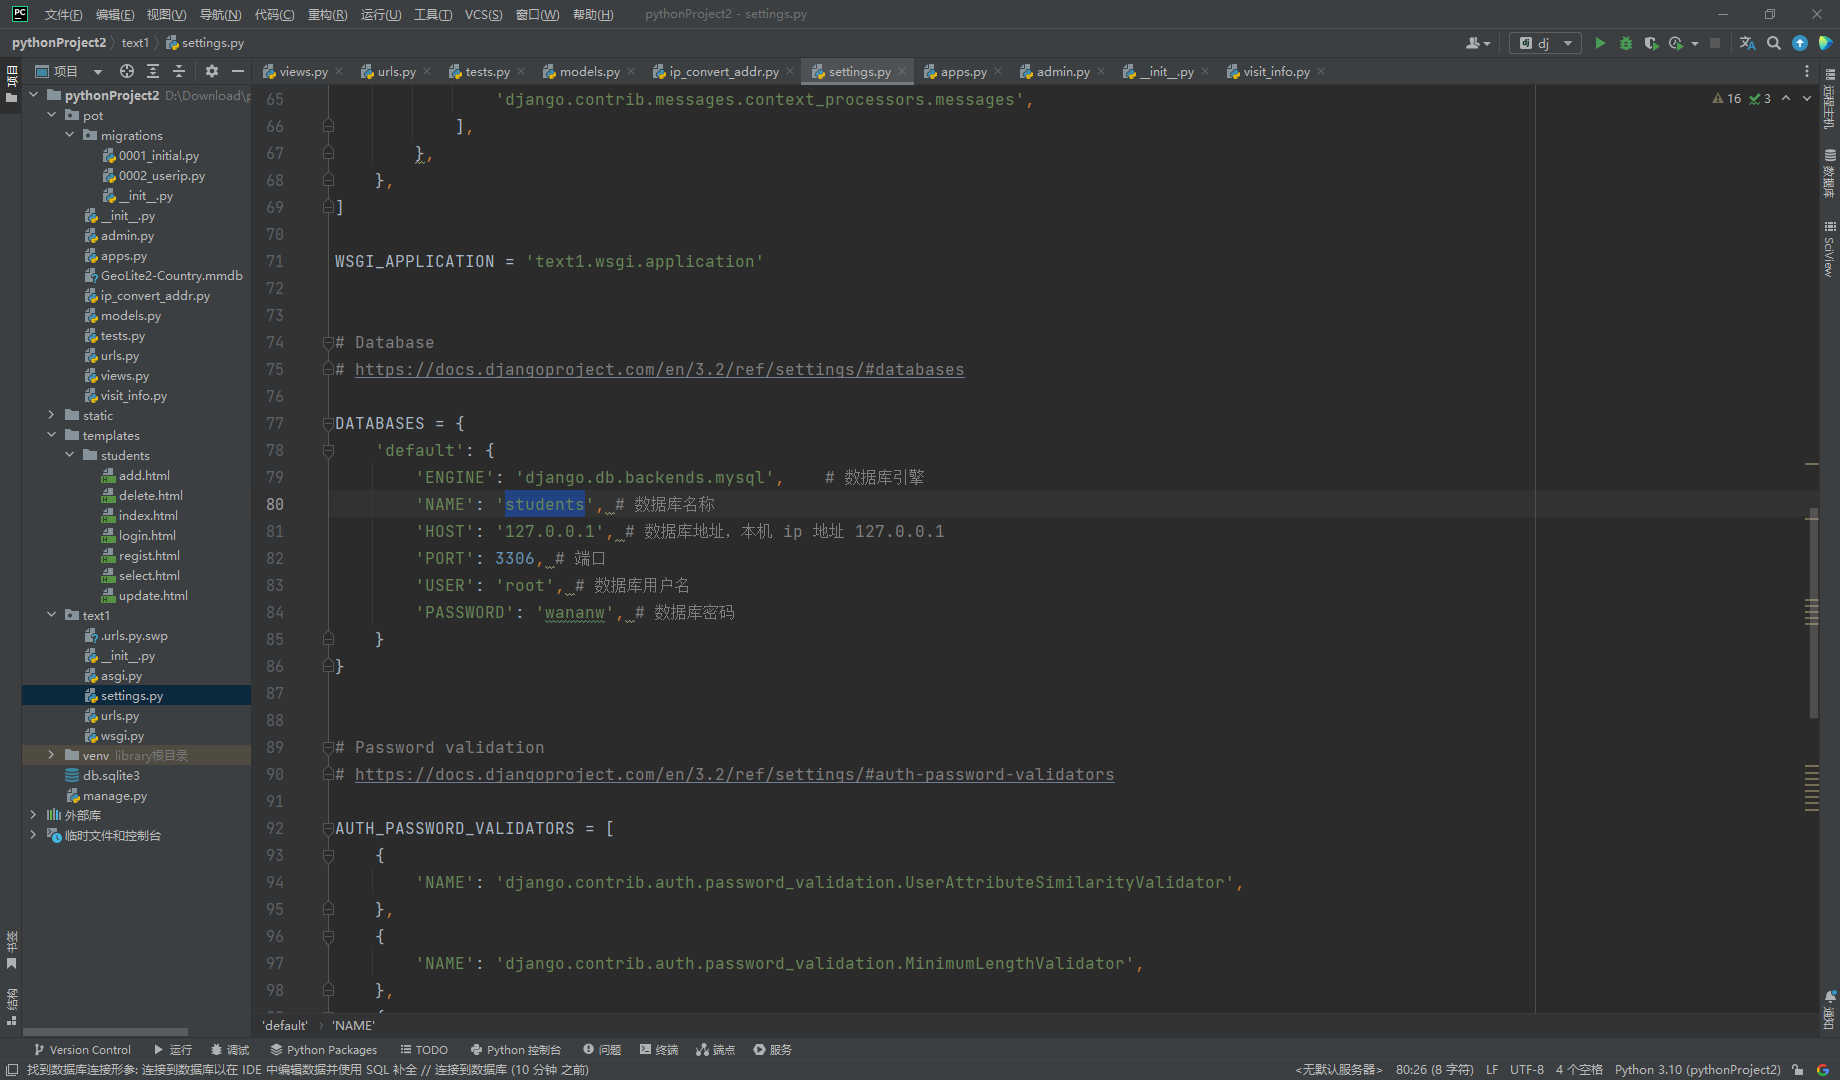
新建数据库 students

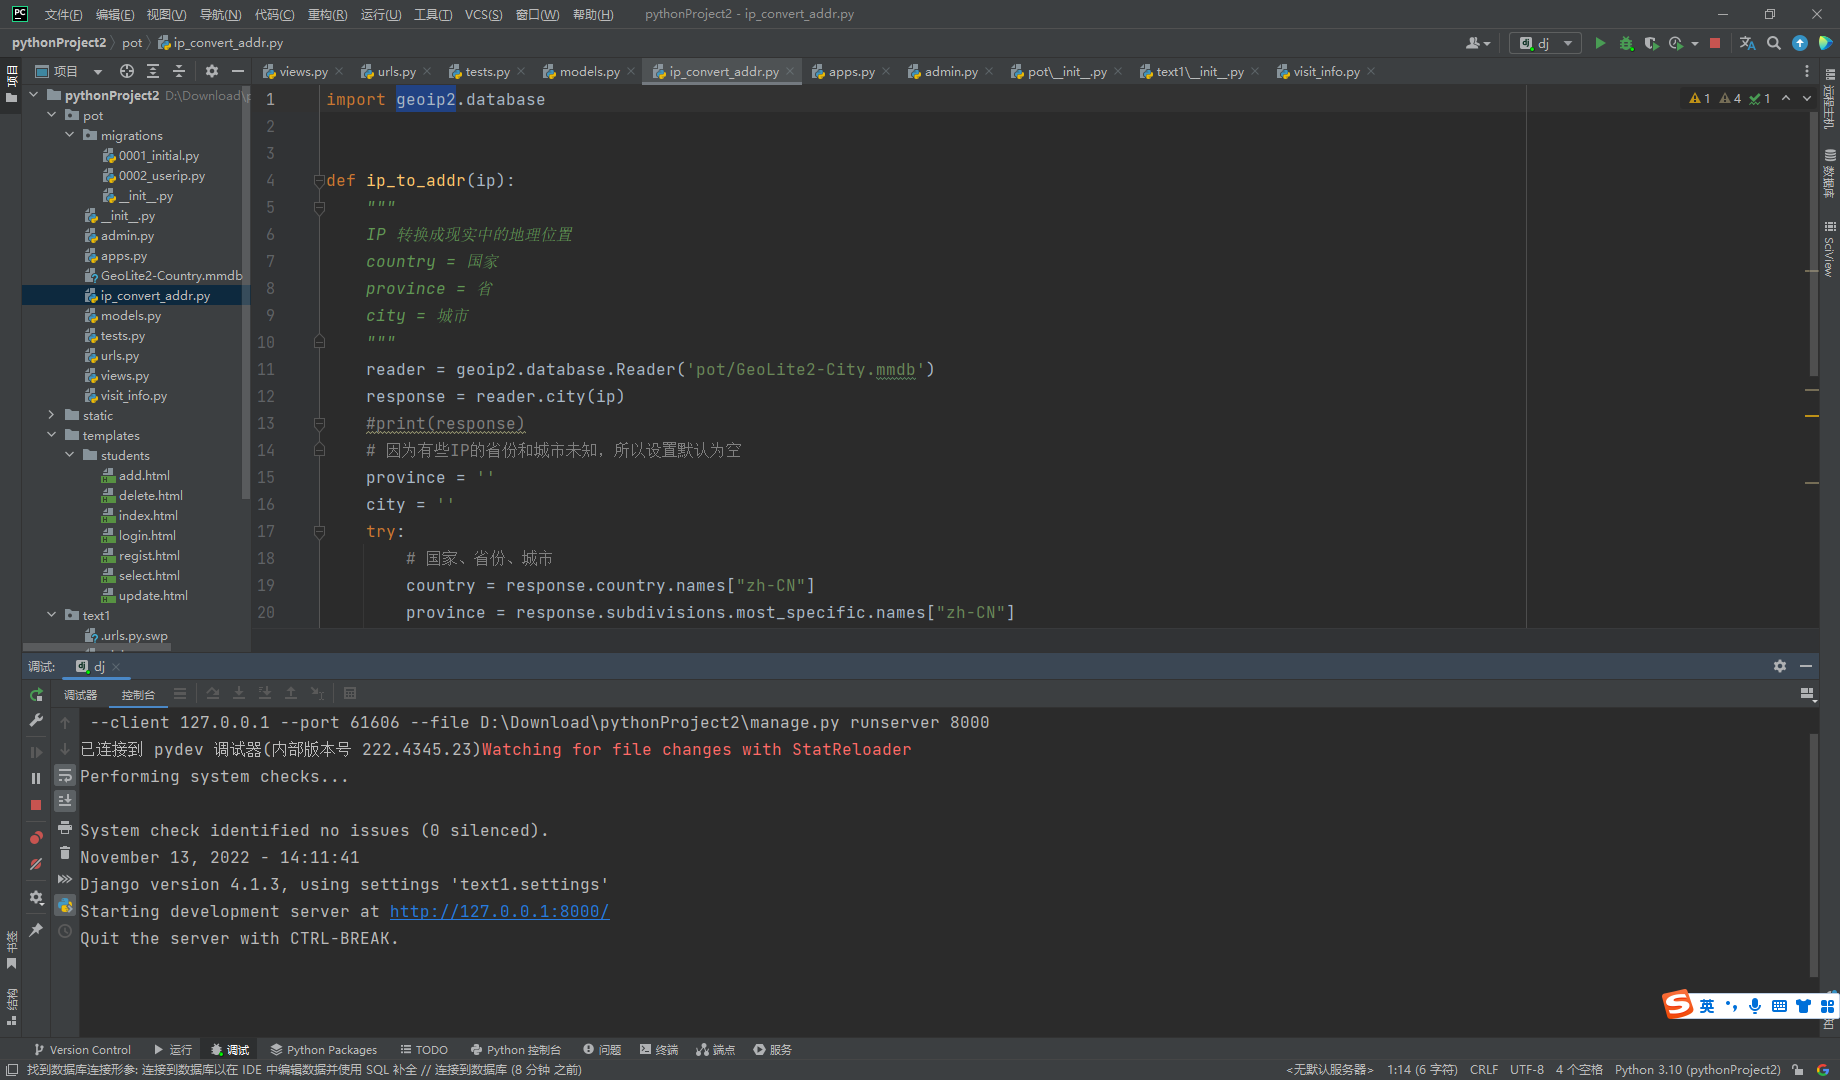
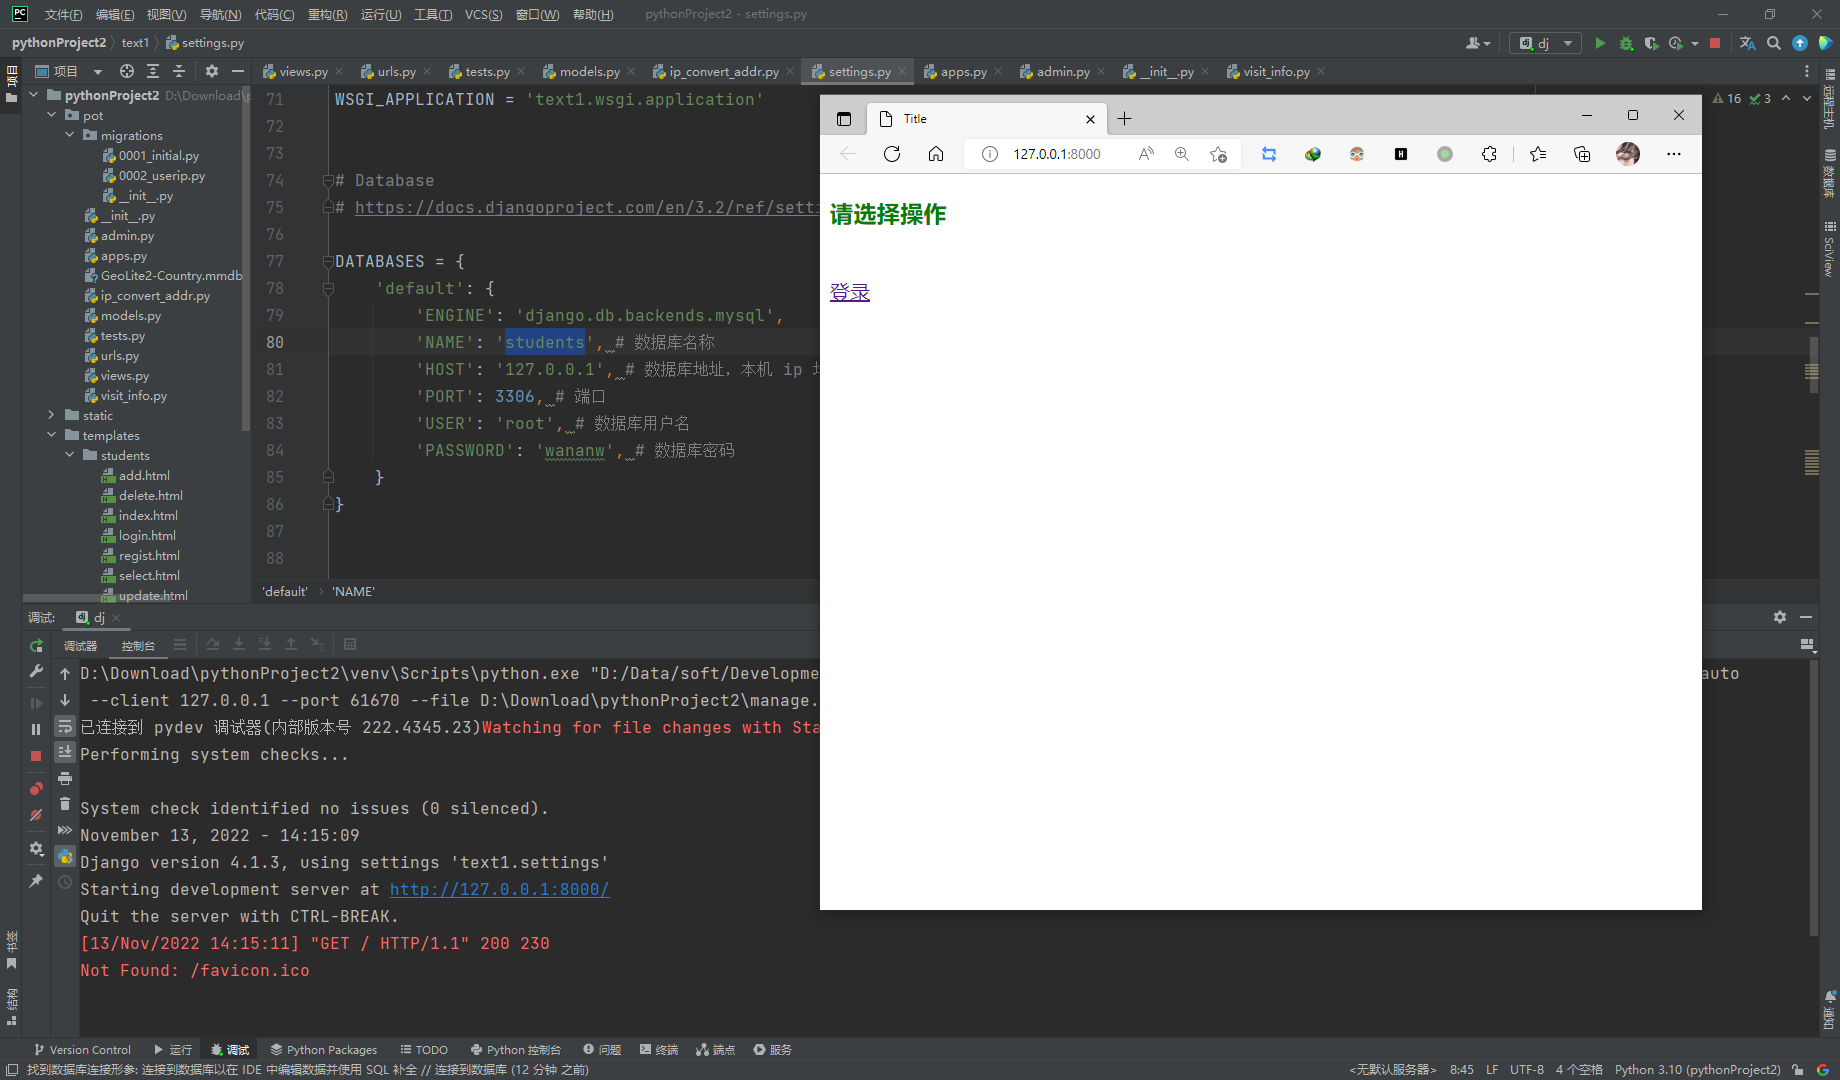
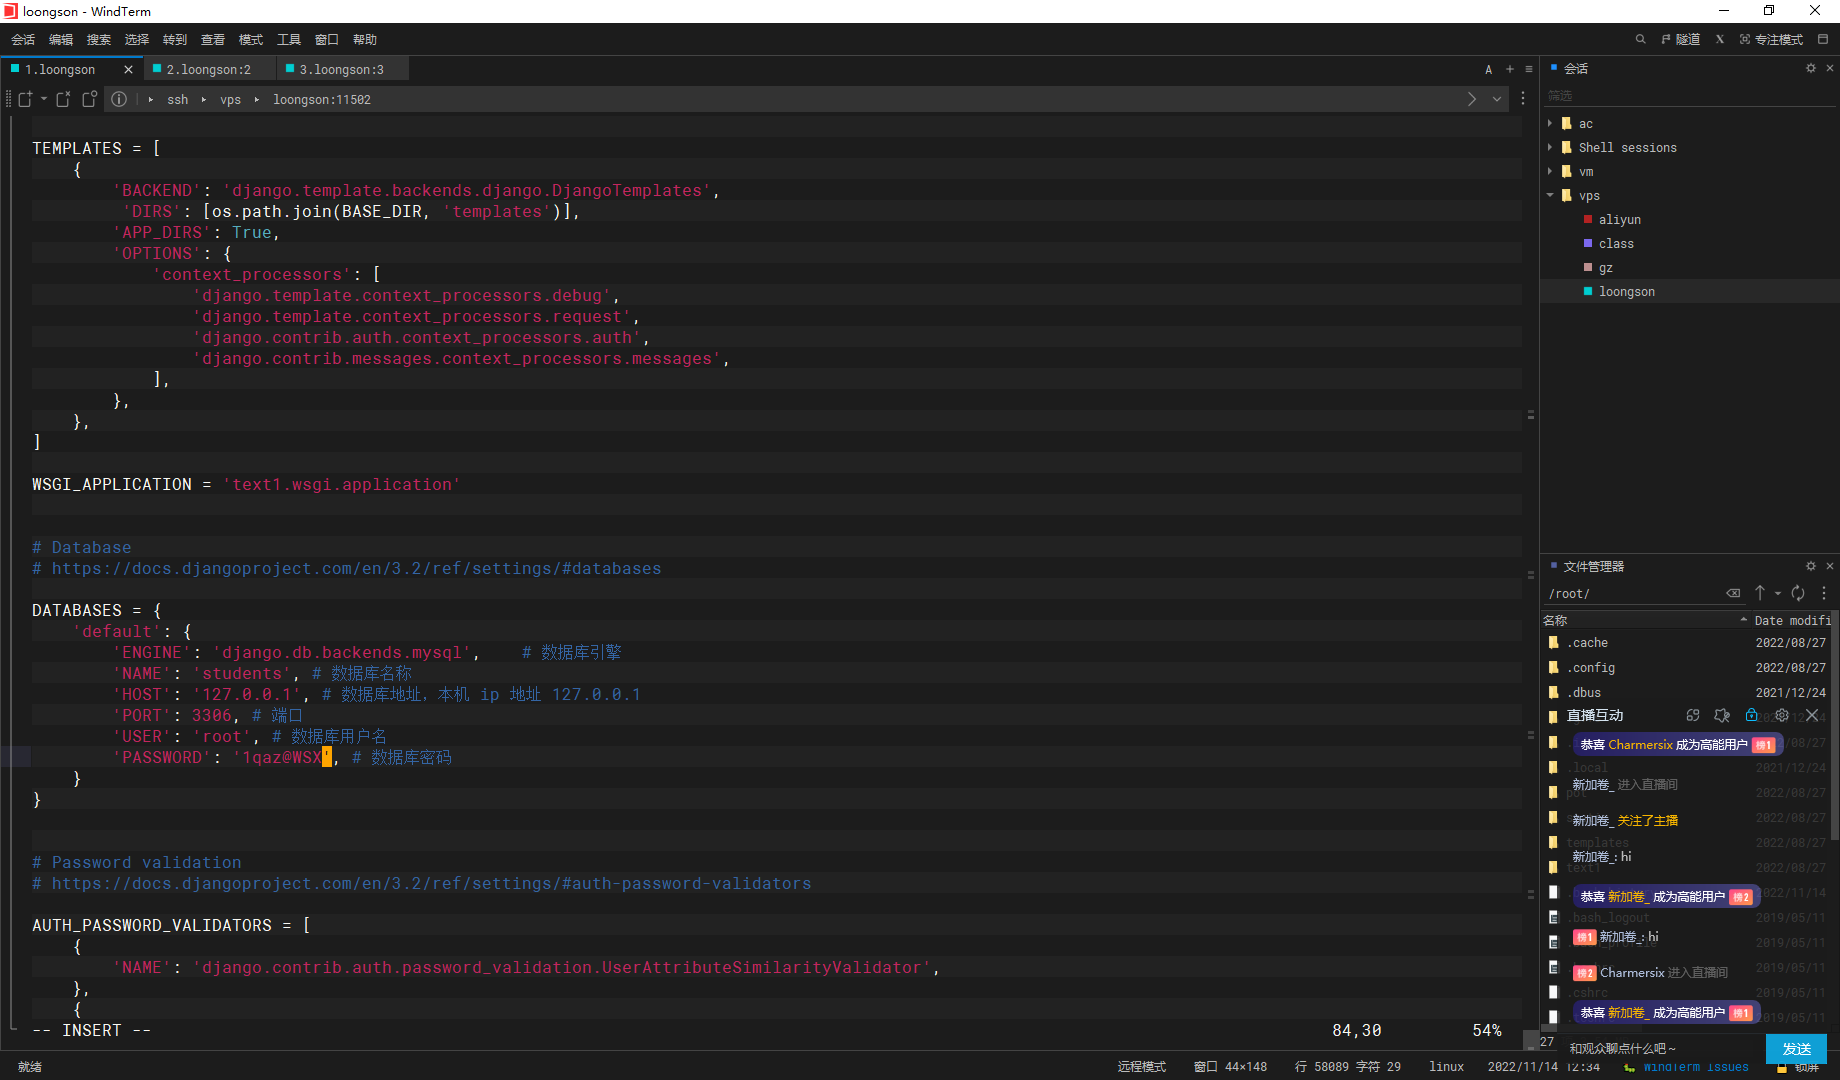
settings.py中添加好连接信息
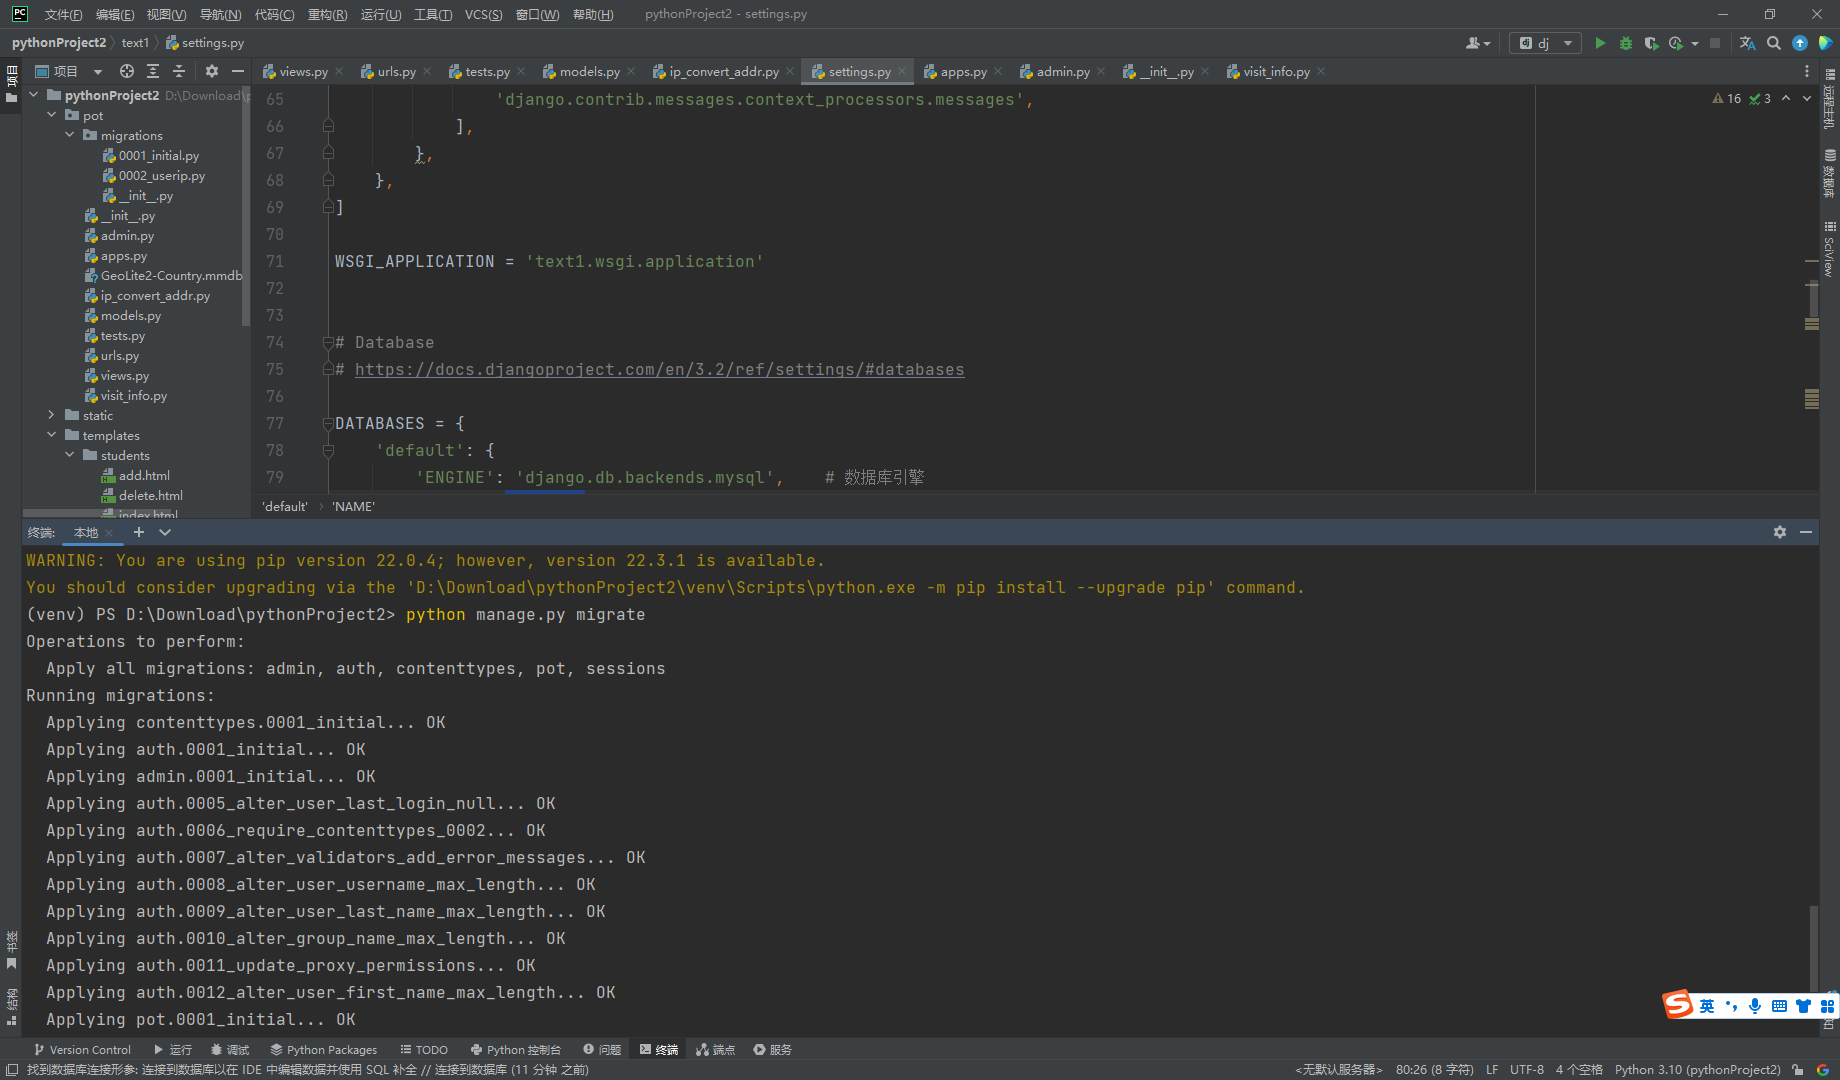
迁移一下数据
python manage.py migrate |
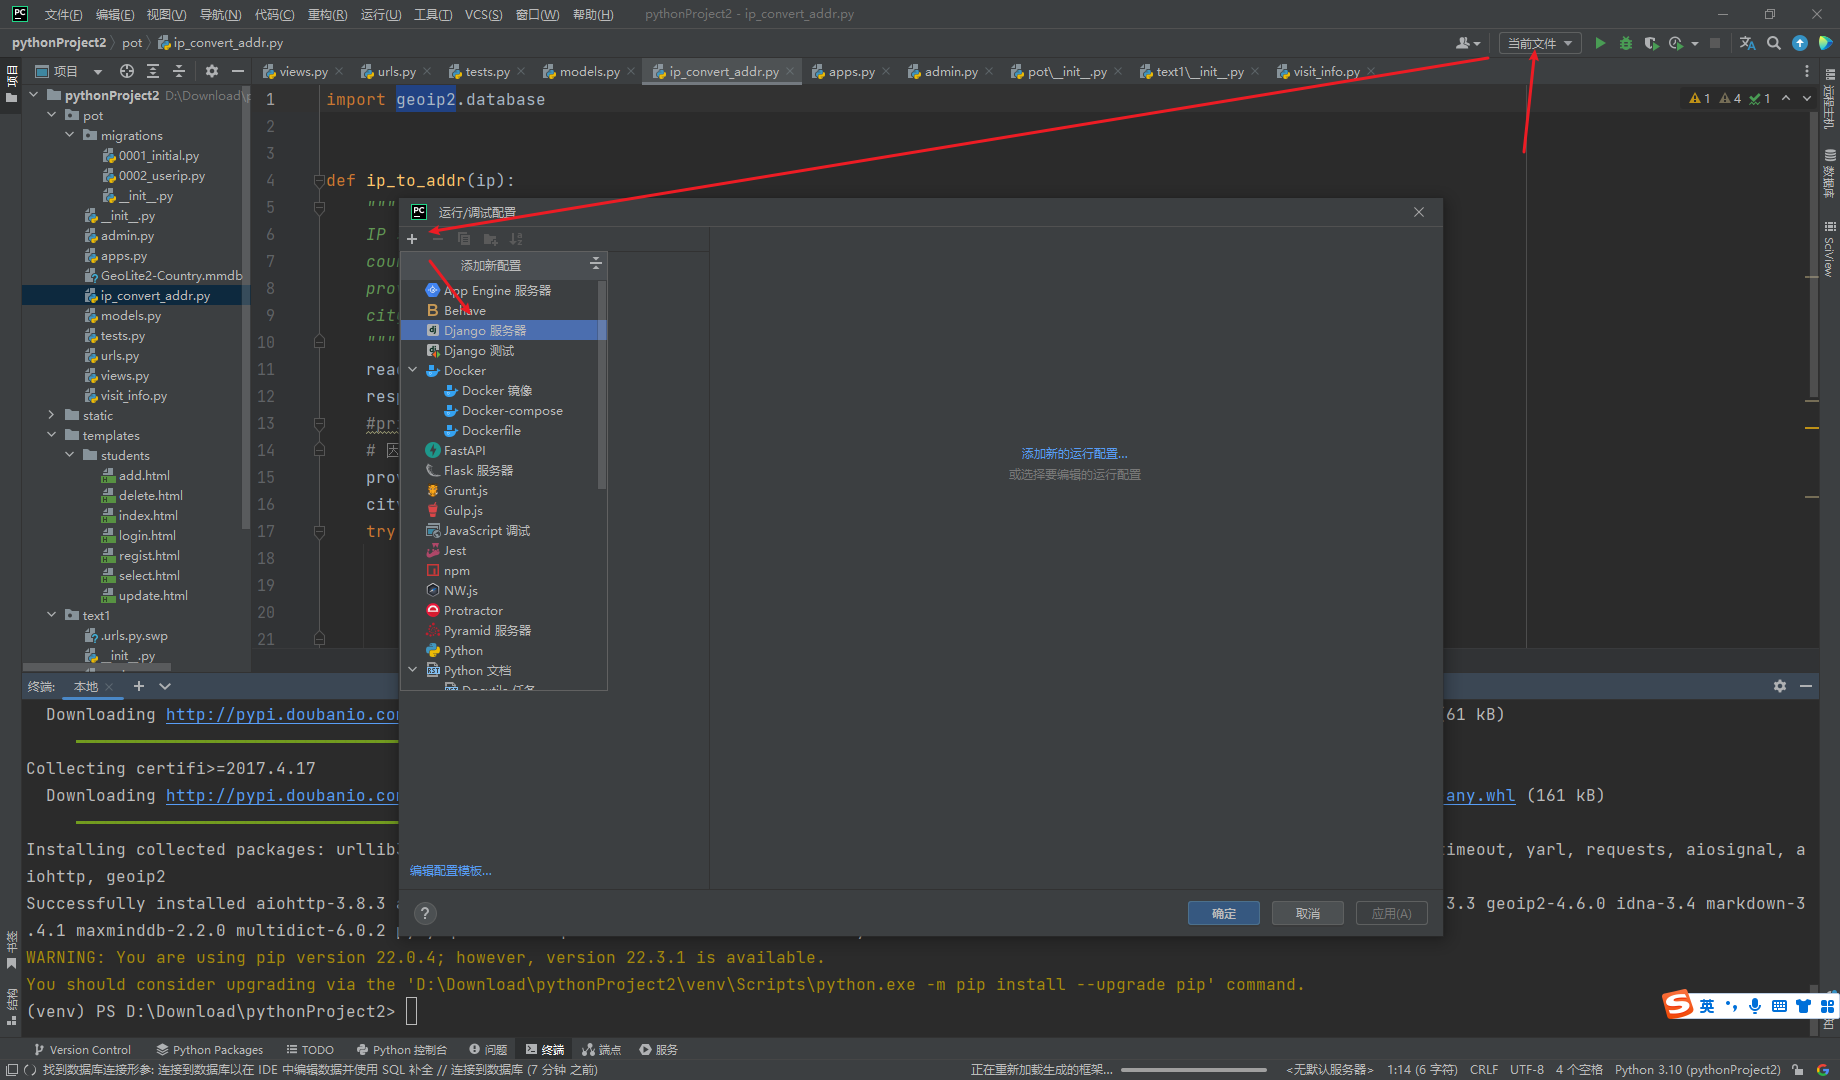
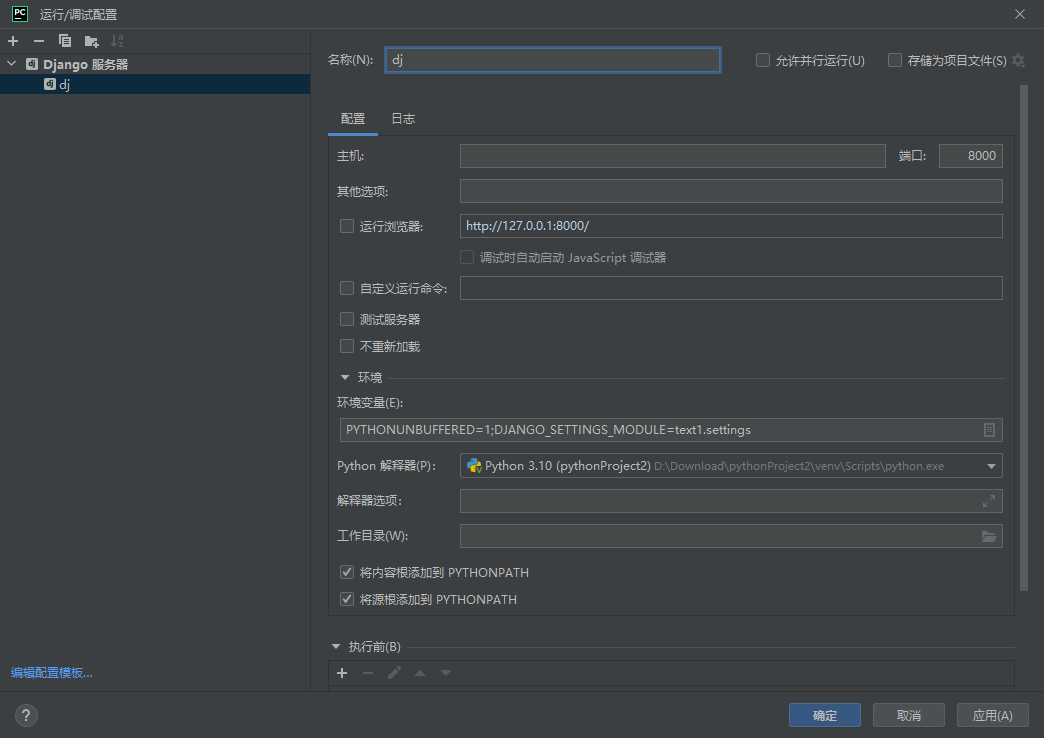
添加django服务器
尝试启动
成功访问
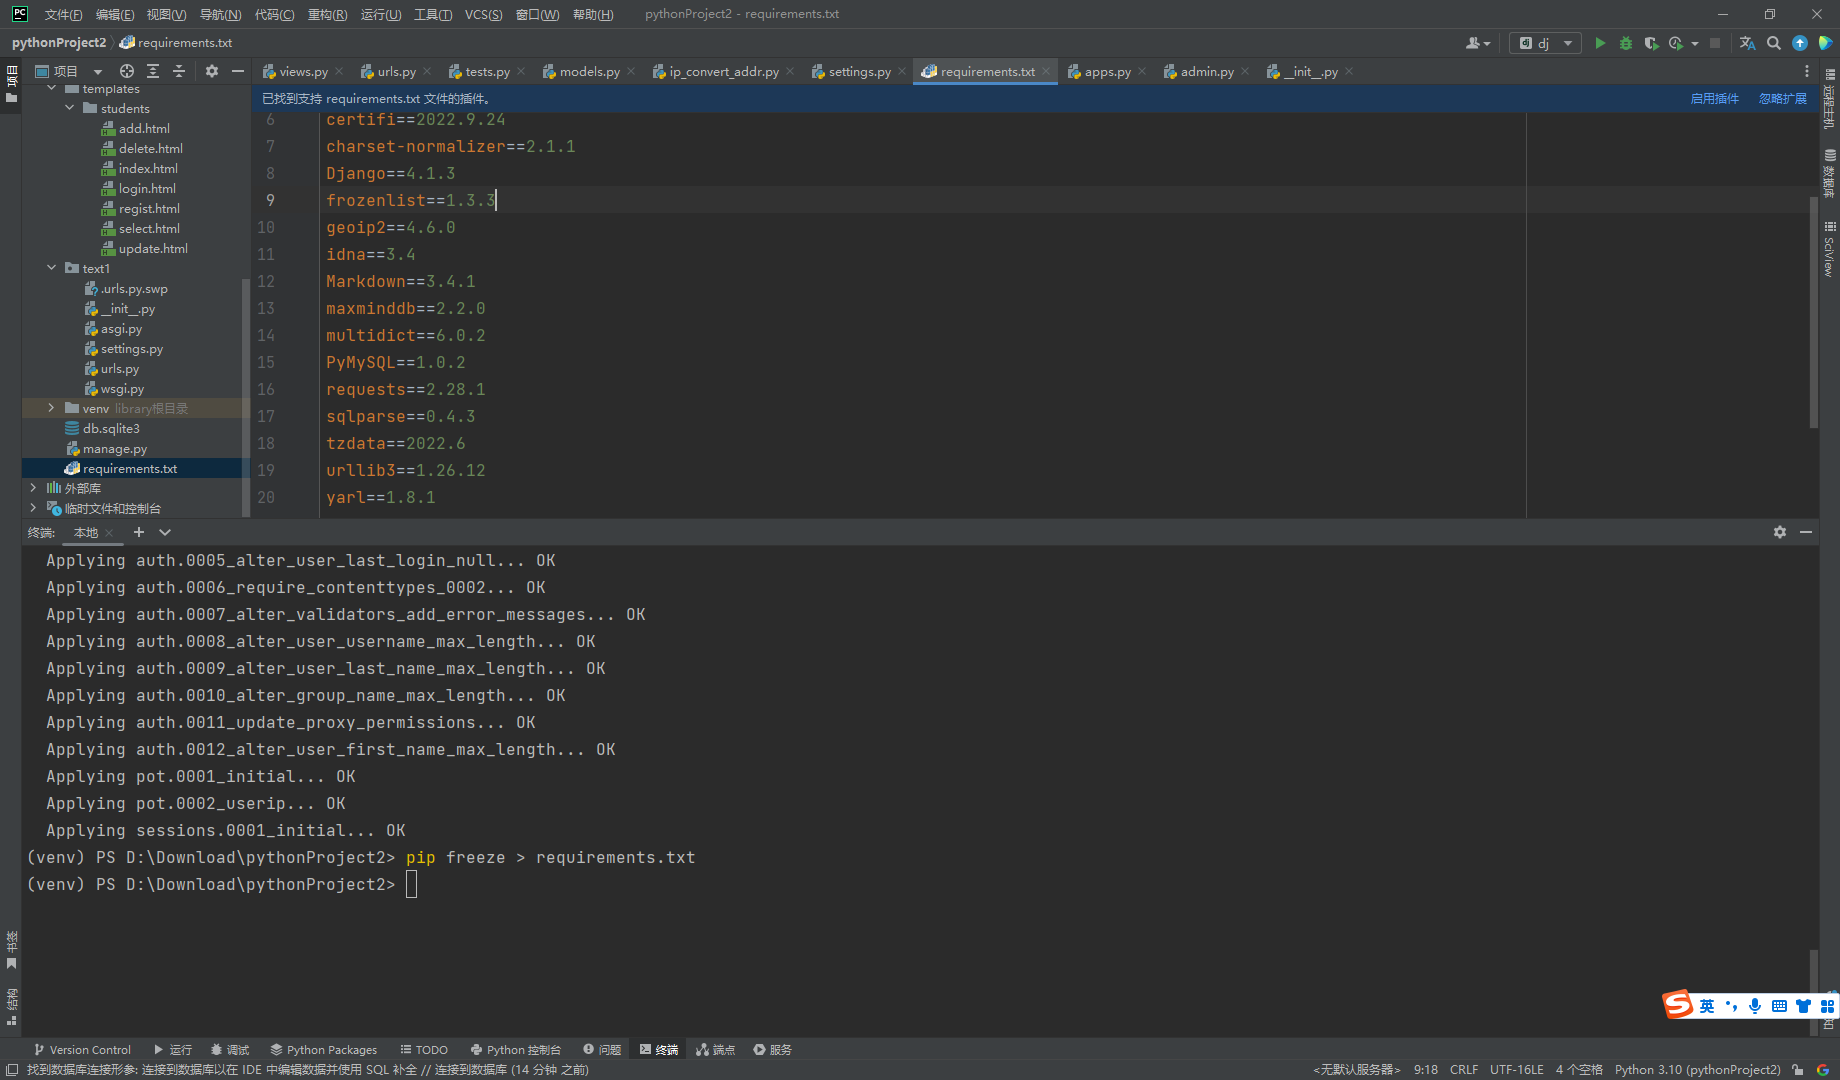
导出 requirements.txt
pip freeze > requirements.txt |
docker
uname -a |

剩下的操作全部都是在龙芯操作平台下完成的
yum search docker |

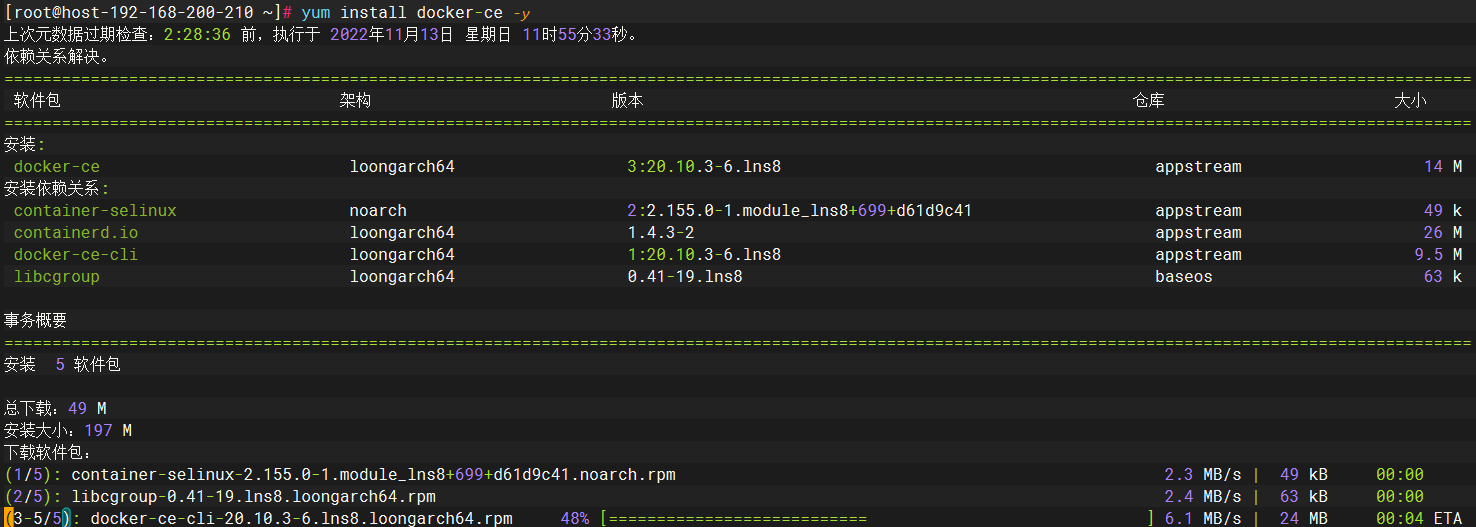
yum install docker-ce -y |
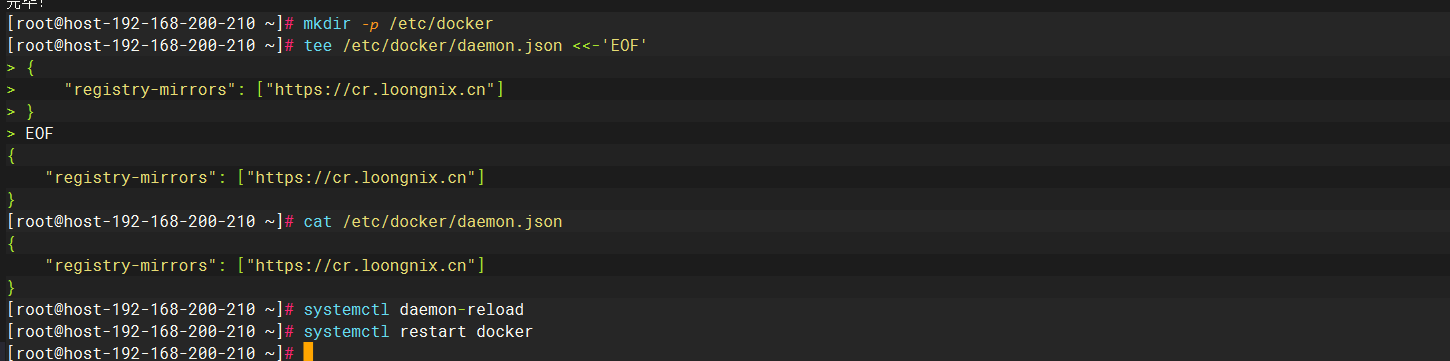
更改docker源
mkdir -p /etc/docker |
docker -v |

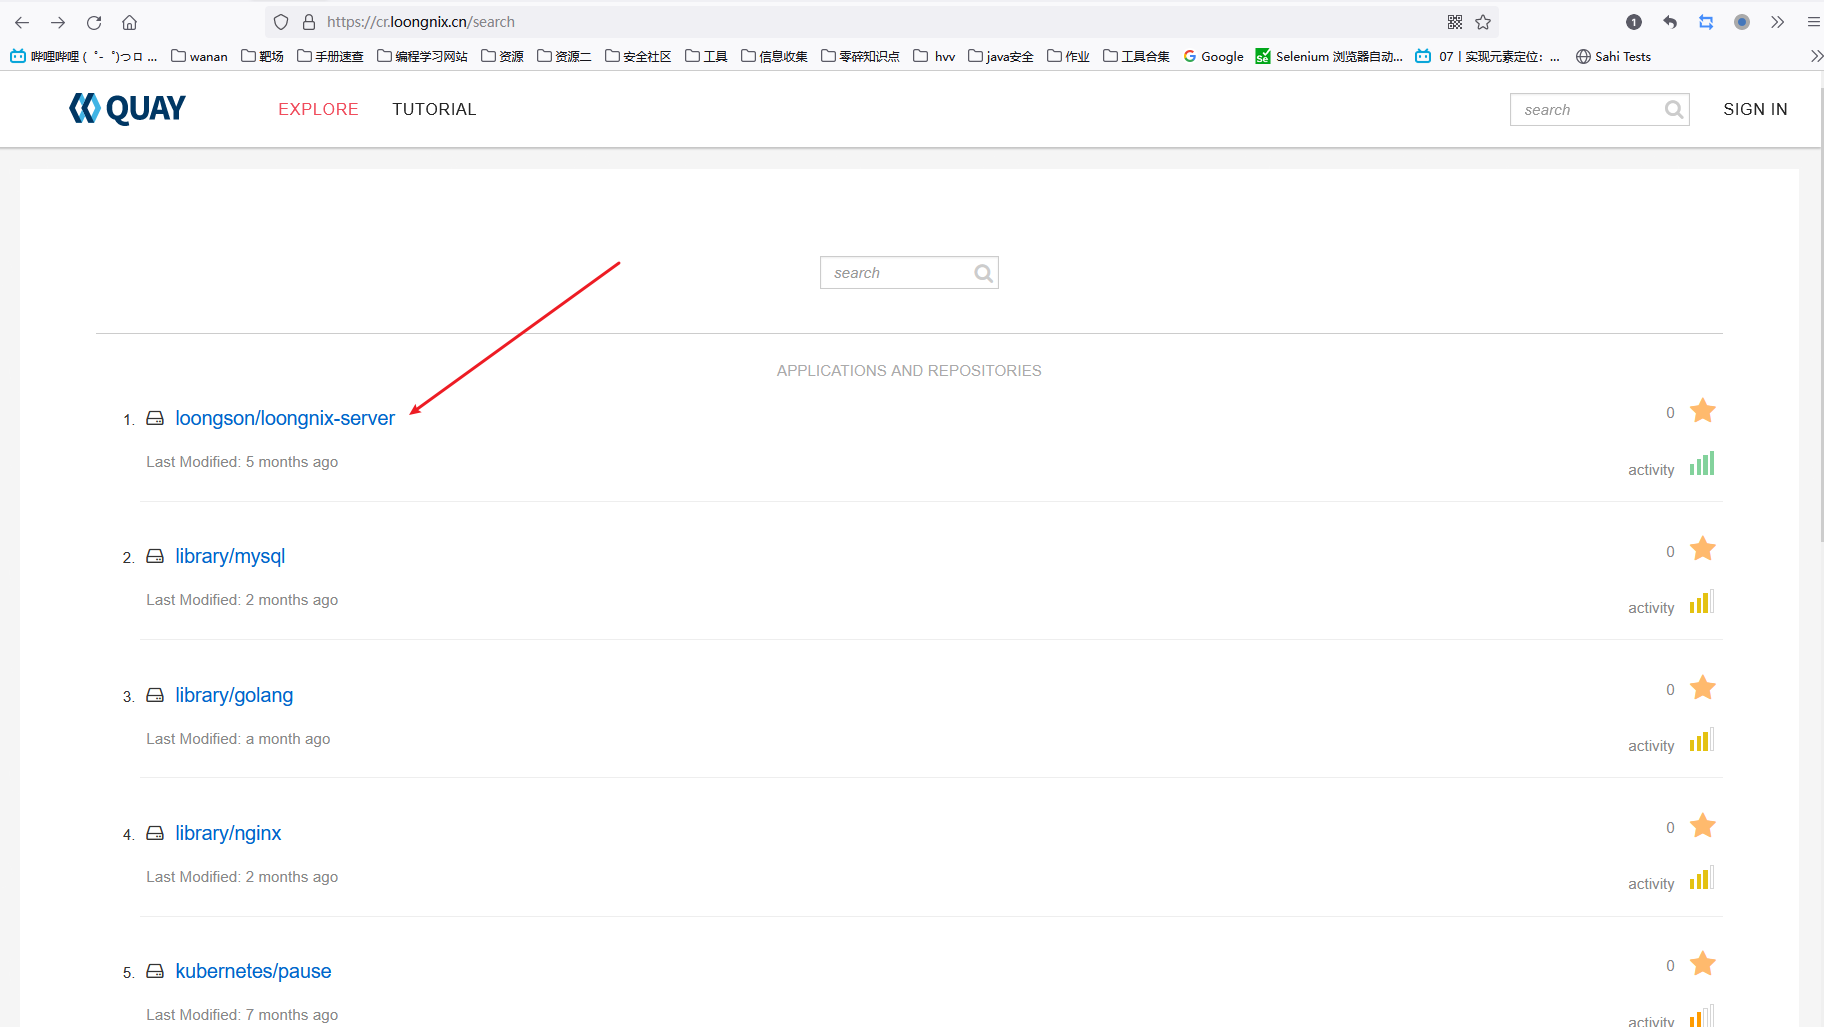
寻找镜像
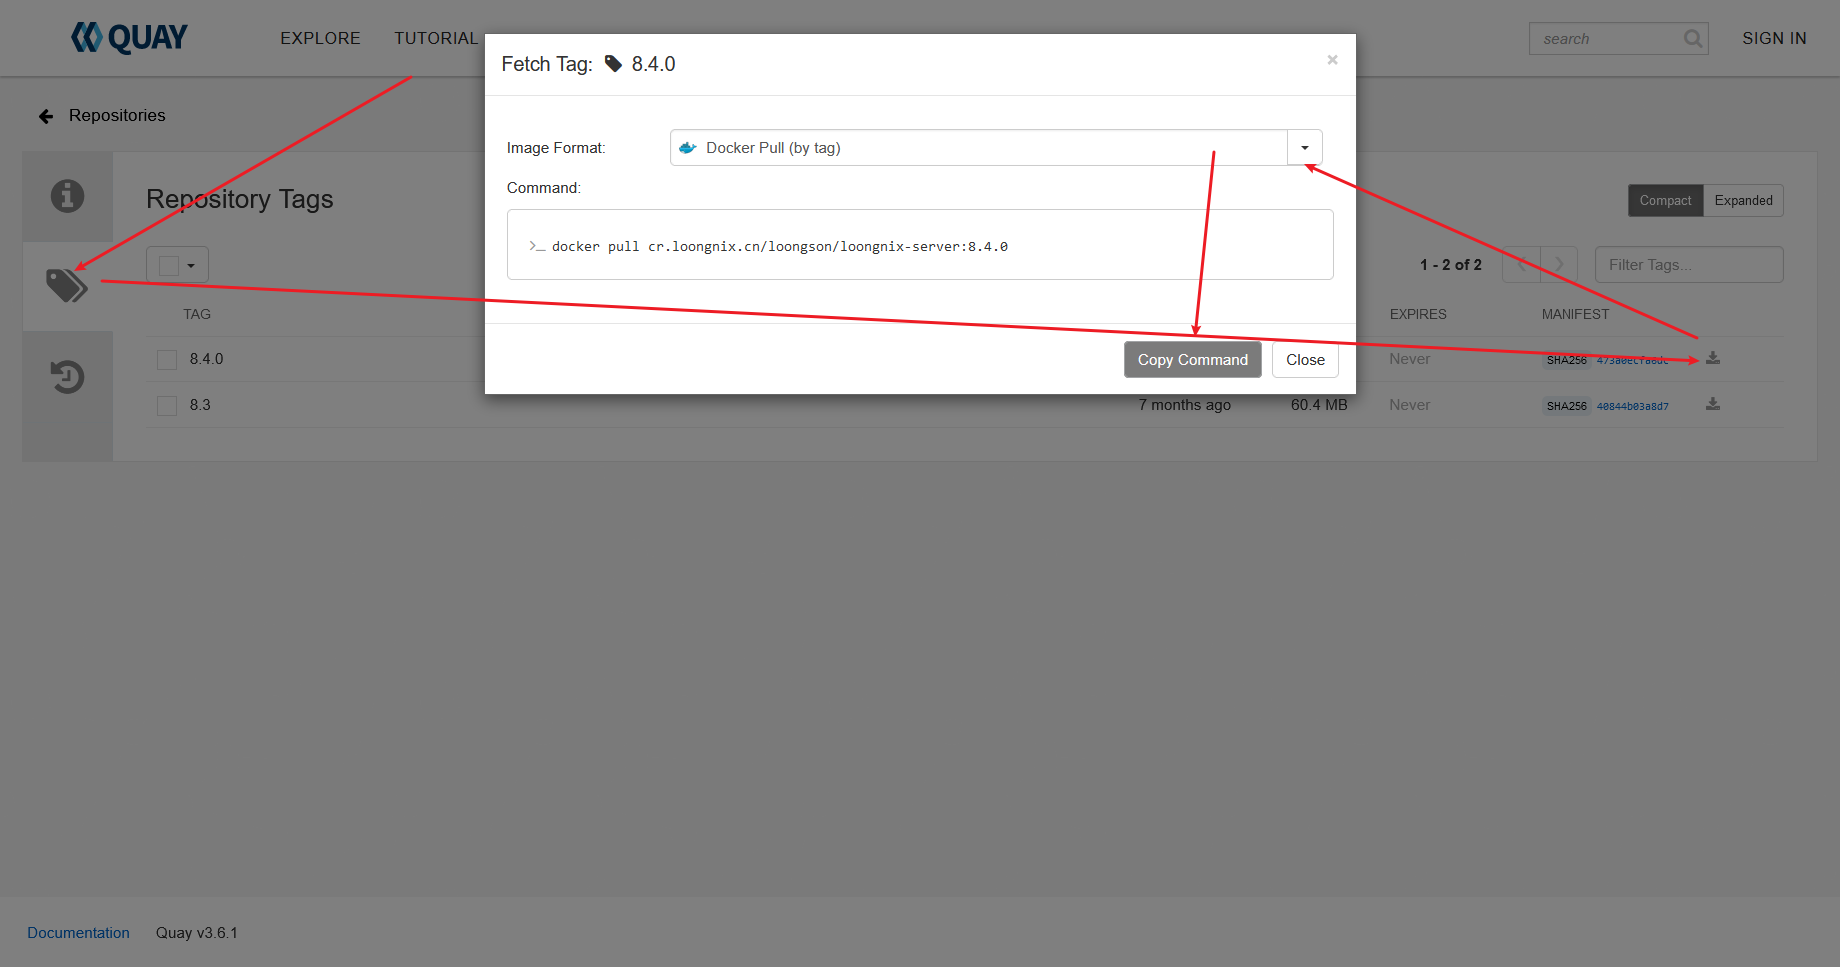
docker pull cr.loongnix.cn/loongson/loongnix-server:8.4.0 |

docker images |

docker run -d -p 80:80 -p 3306:3306 --privileged=true cr.loongnix.cn/loongson/loongnix-server:8.4.0 /usr/sbin/init |
docker exec -it eb41e243e894 bash |

uname -a |

容器的架构也是基于主机的架构的
mysql8.0.21
以下的操作都是在容器的内部进行的
其中所使用的yum源全部基于 Loongnix 的仓库
ls /etc/yum.repos.d/ |

yum update -y && yum -y upgrade |
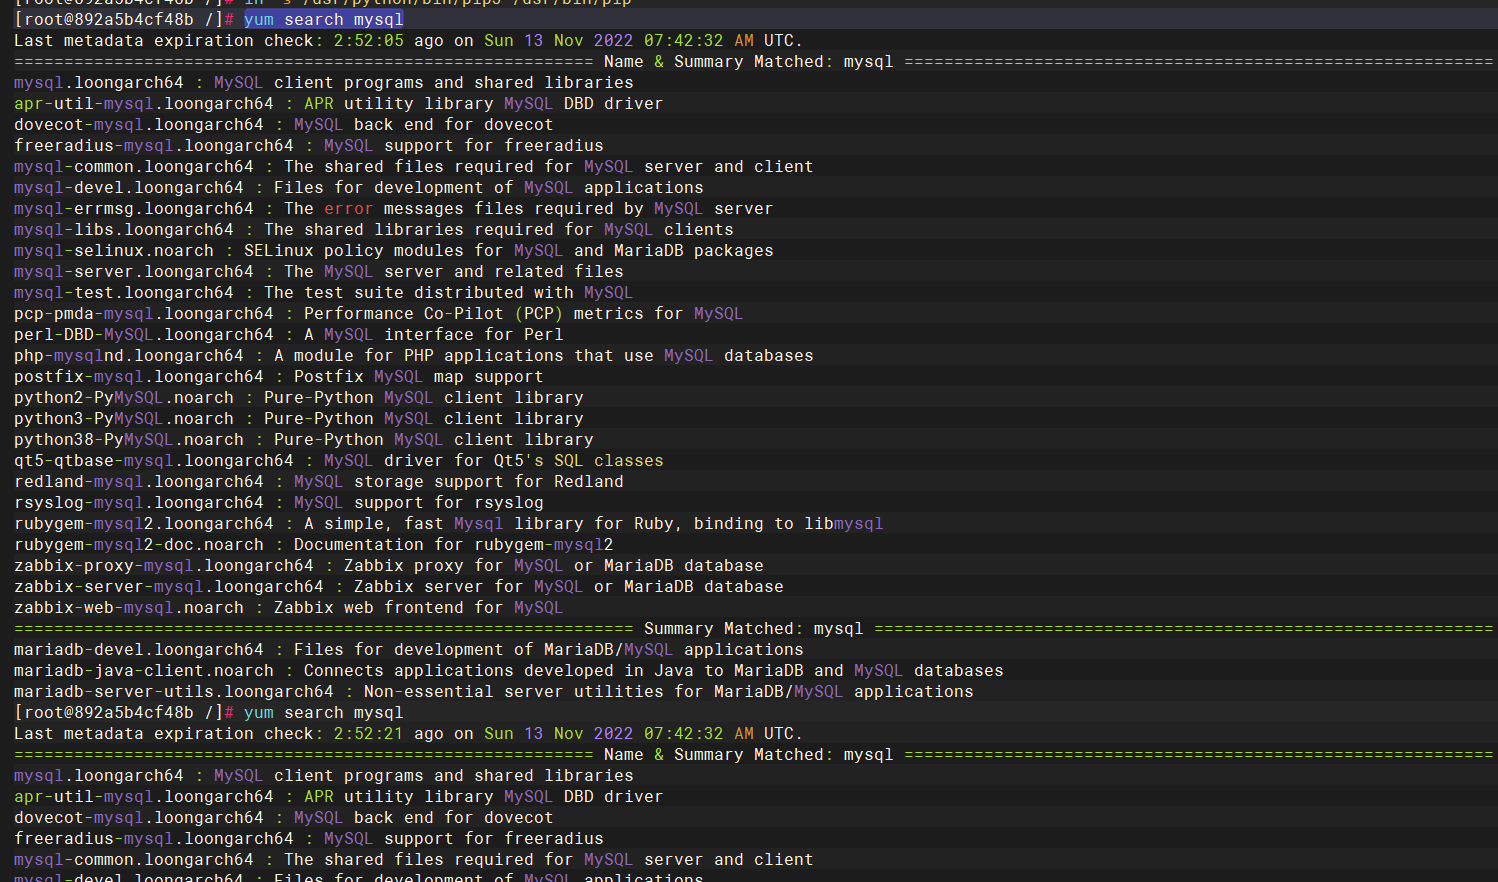
yum install -y mysql-server.loongarch64 mysql.loongarch64 mysql-devel.loongarch64 vim |

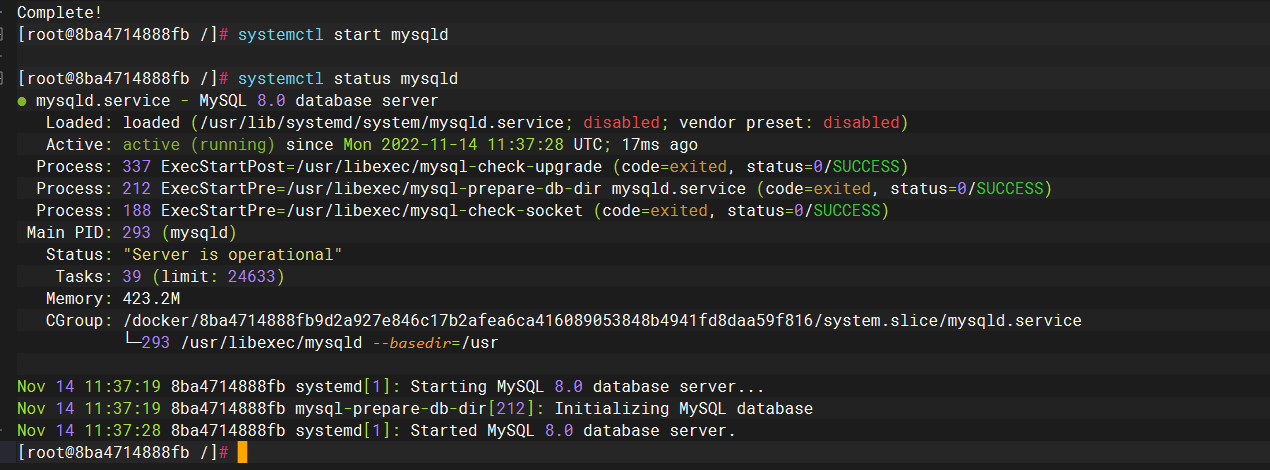
systemctl start mysqld |
mysql -V |

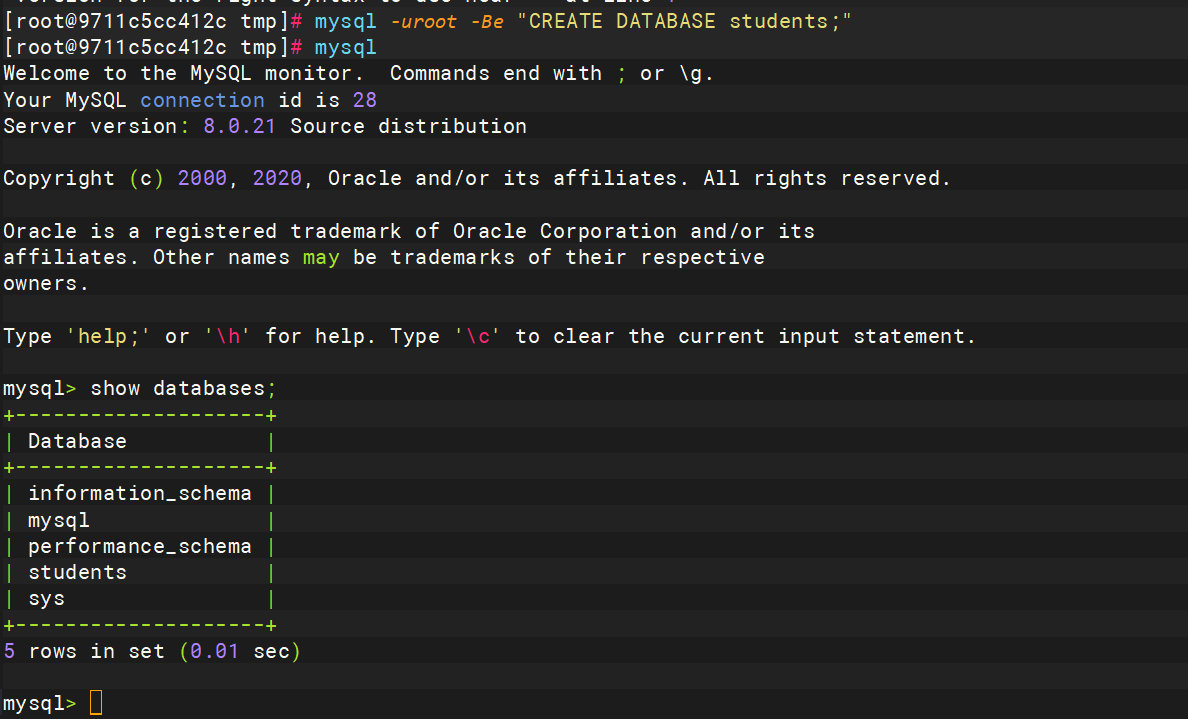
创建students表
mysql -uroot -Be "CREATE DATABASE students;" |
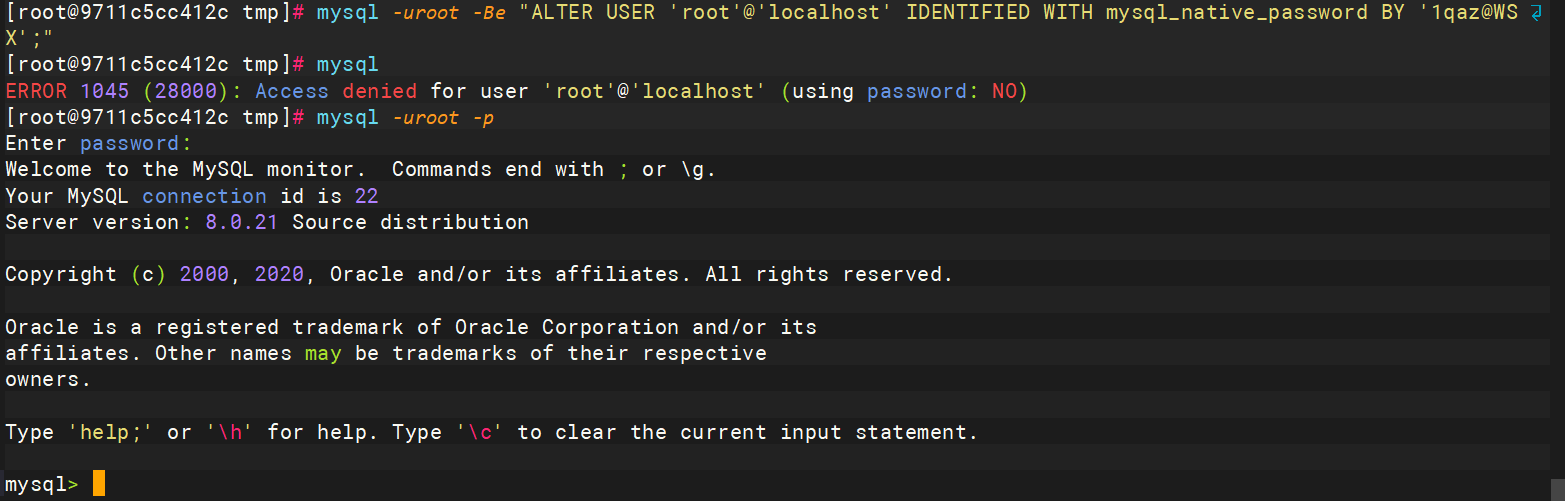
更改root密码
mysql -uroot -Be "ALTER USER 'root'@'localhost' IDENTIFIED WITH mysql_native_password BY '1qaz@WSX';" |
添加管理人员信息表
mysql -uroot -Be "INSERT INTO students.student (stu_id, username, password) VALUES (1, 'lwh', '123456');" |

python3.8
yum search python3 |
yum install -y python38.loongarch64 python38-devel.loongarch64 gcc.loongarch64 make zlib.loongarch64 zlib-devel bzip2-devel openssl-devel ncurses-devel sqlite-devel readline-devel tk-devel gdbm-devel libpcap-devel xz-devel zlib zlib-devel openssl openssl-devel libffi-devel vim |

loogson部署
上传项目
docker cp ~/pythonProject2.tar.gz eb41e243e894:/tmp |

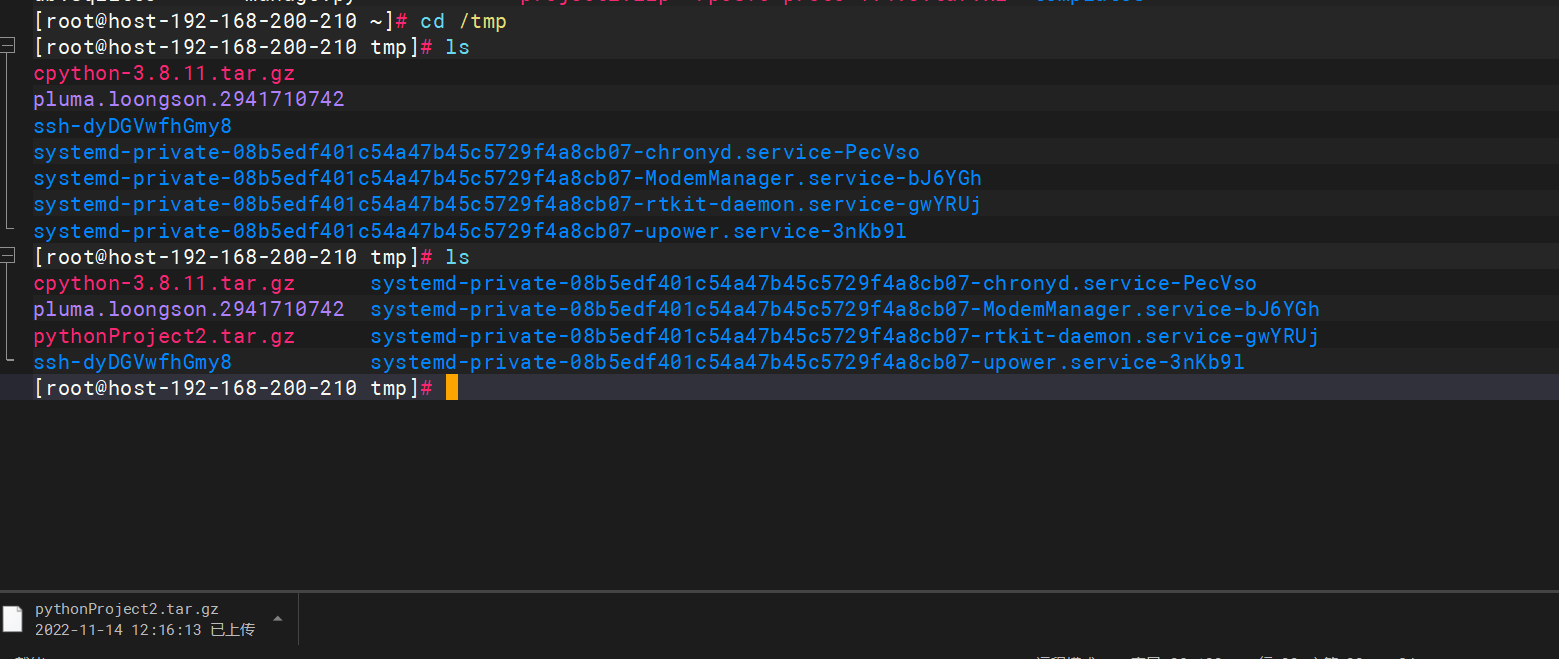
cd /tmp |

mkdir /www |

cd /www/pythonProject2/ |
修改setting中数据库连接密码
vim text1/settings.py |
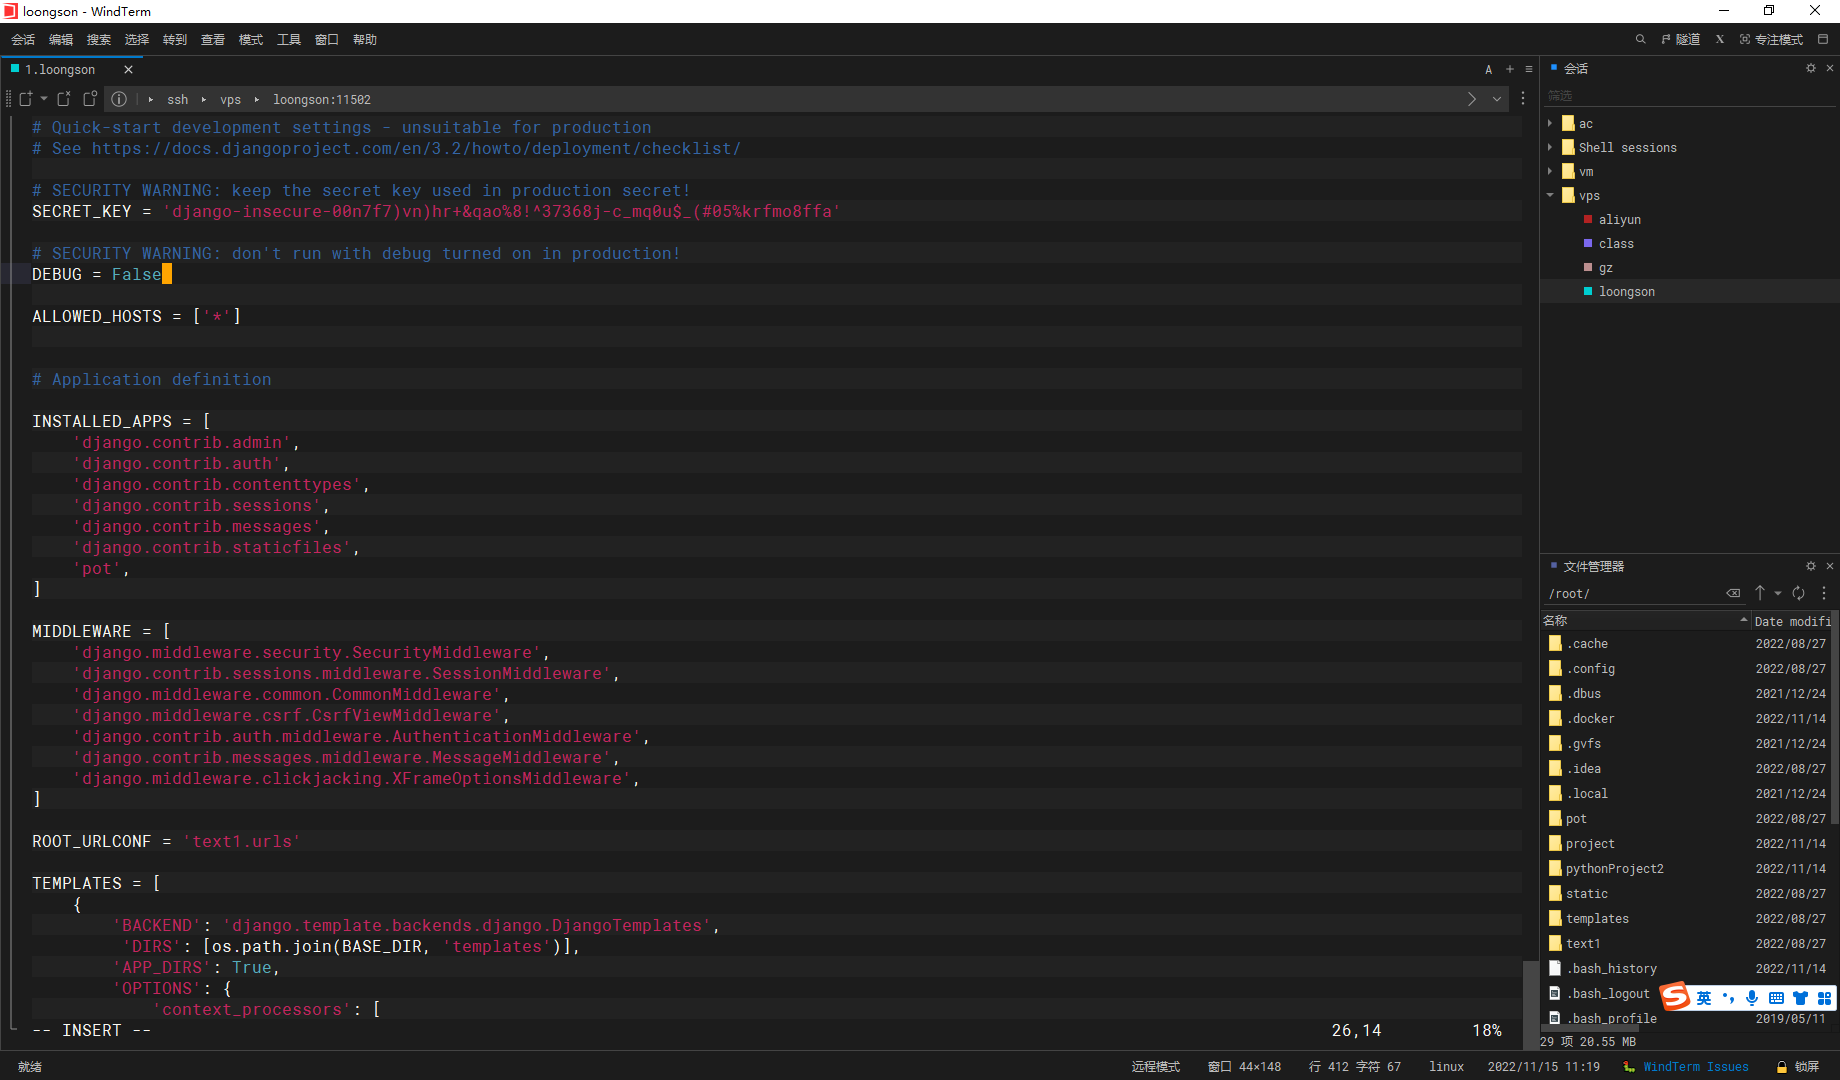
关闭debug
迁移一下数据库
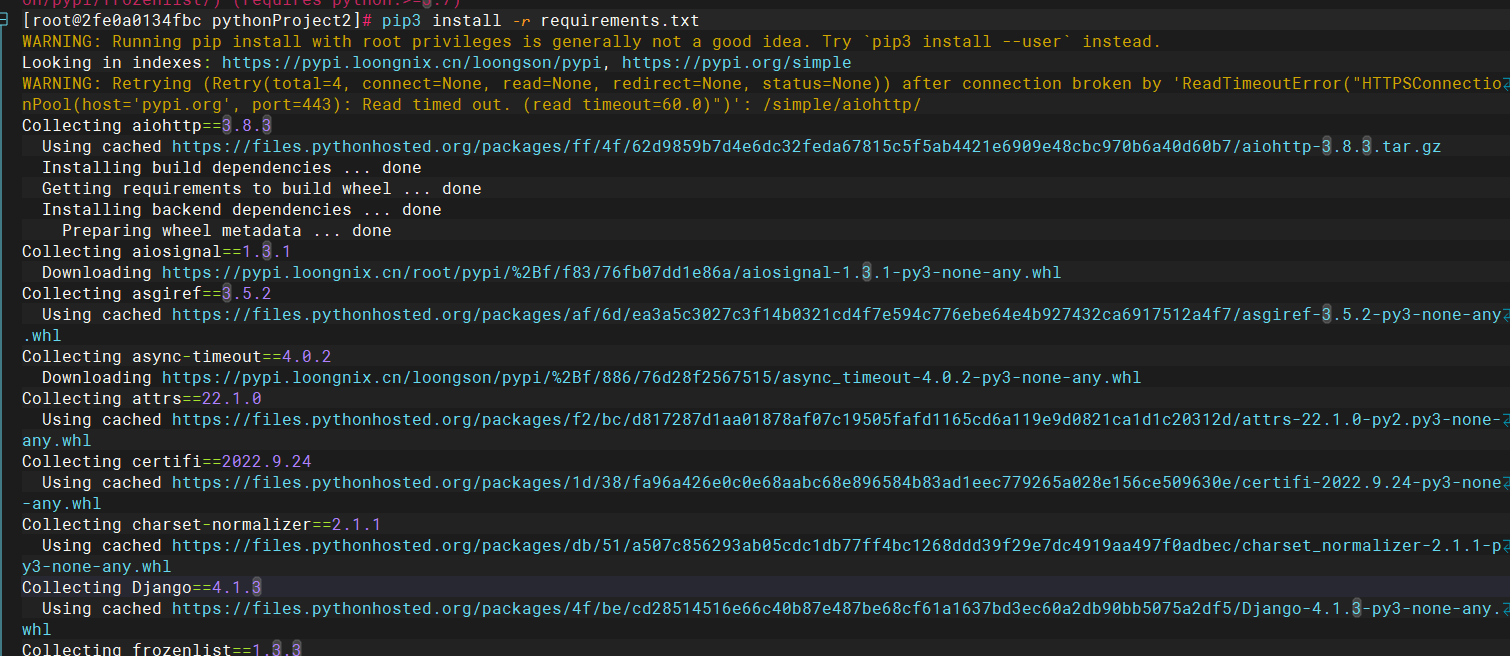
python3 manage.py migrate |

创建admin
python3 manage.py createsuperuser |

尝试启动
python3 manage.py runserver |

uwsgi
安装uwsgi驱动
pip3 install uwsgi -i https://pypi.loongnix.cn/loongson/pypi |

添加 uwsgi.ini 配置文件
cd /www/pythonProject2/ |
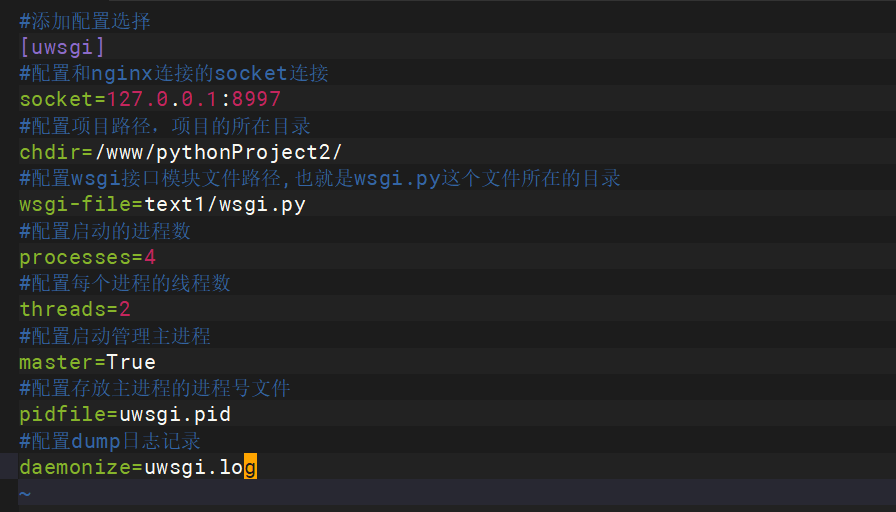
#添加配置选择 |
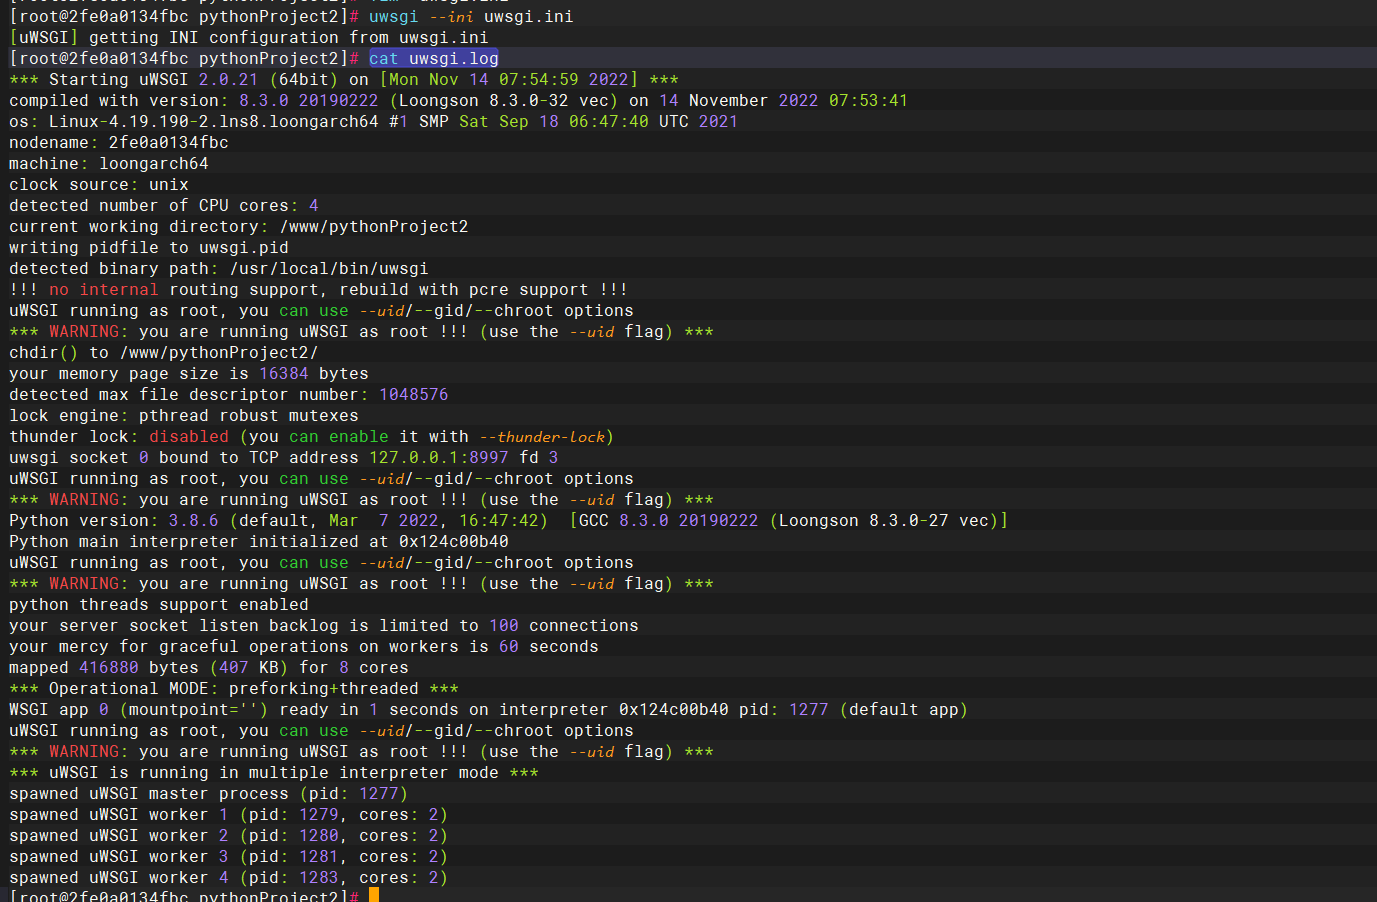
uwsgi --ini /www/pythonProject2/uwsgi.ini |

cat uwsgi.log |
nginx
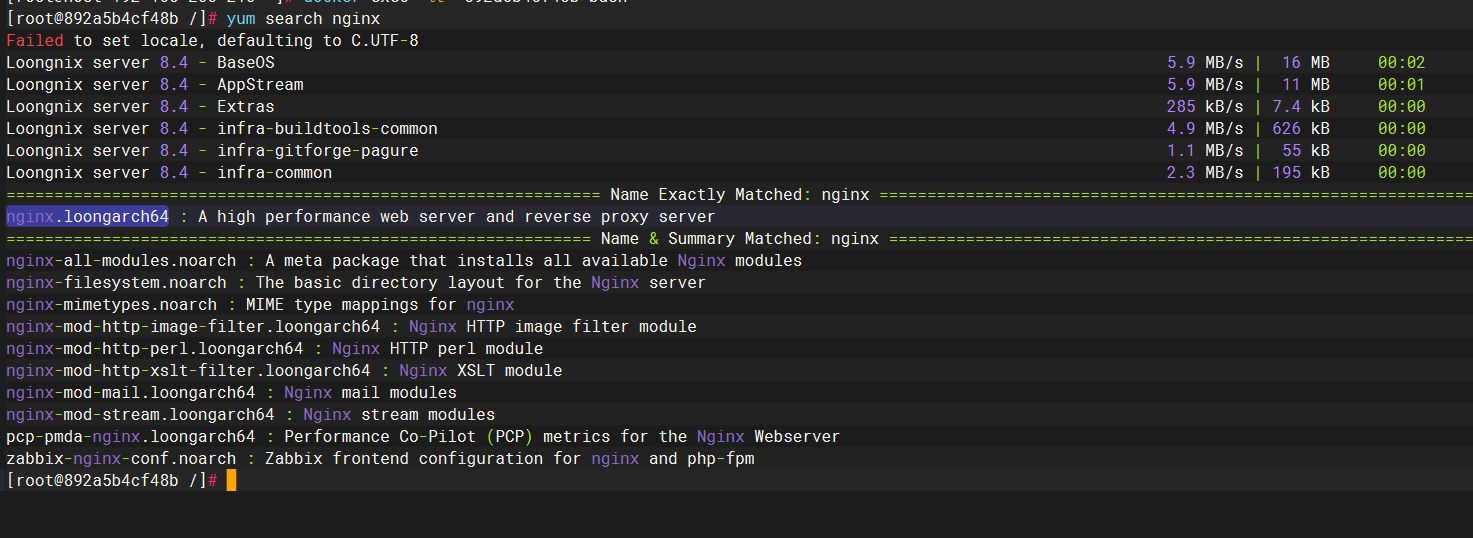
安装nginx
yum search nginx |
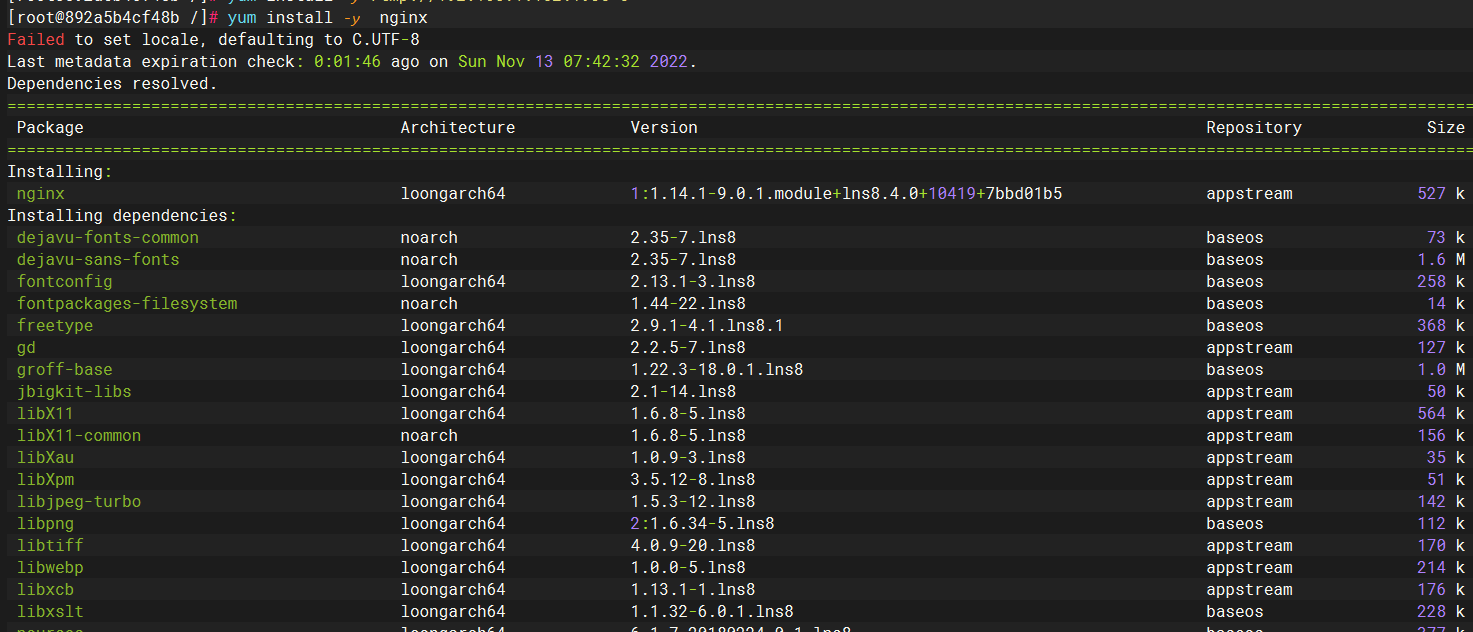
yum install -y nginx |
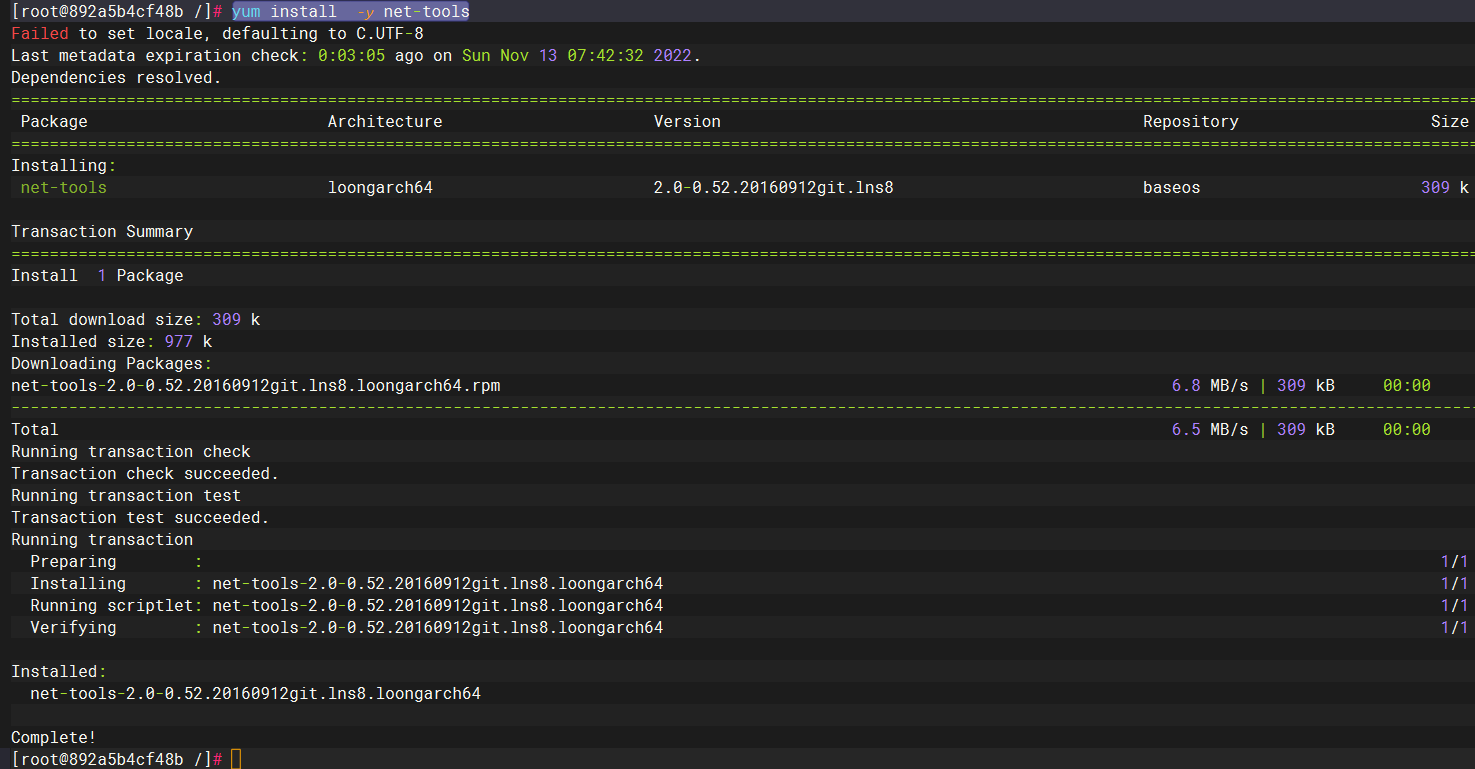
yum install -y net-tools |
nginx |
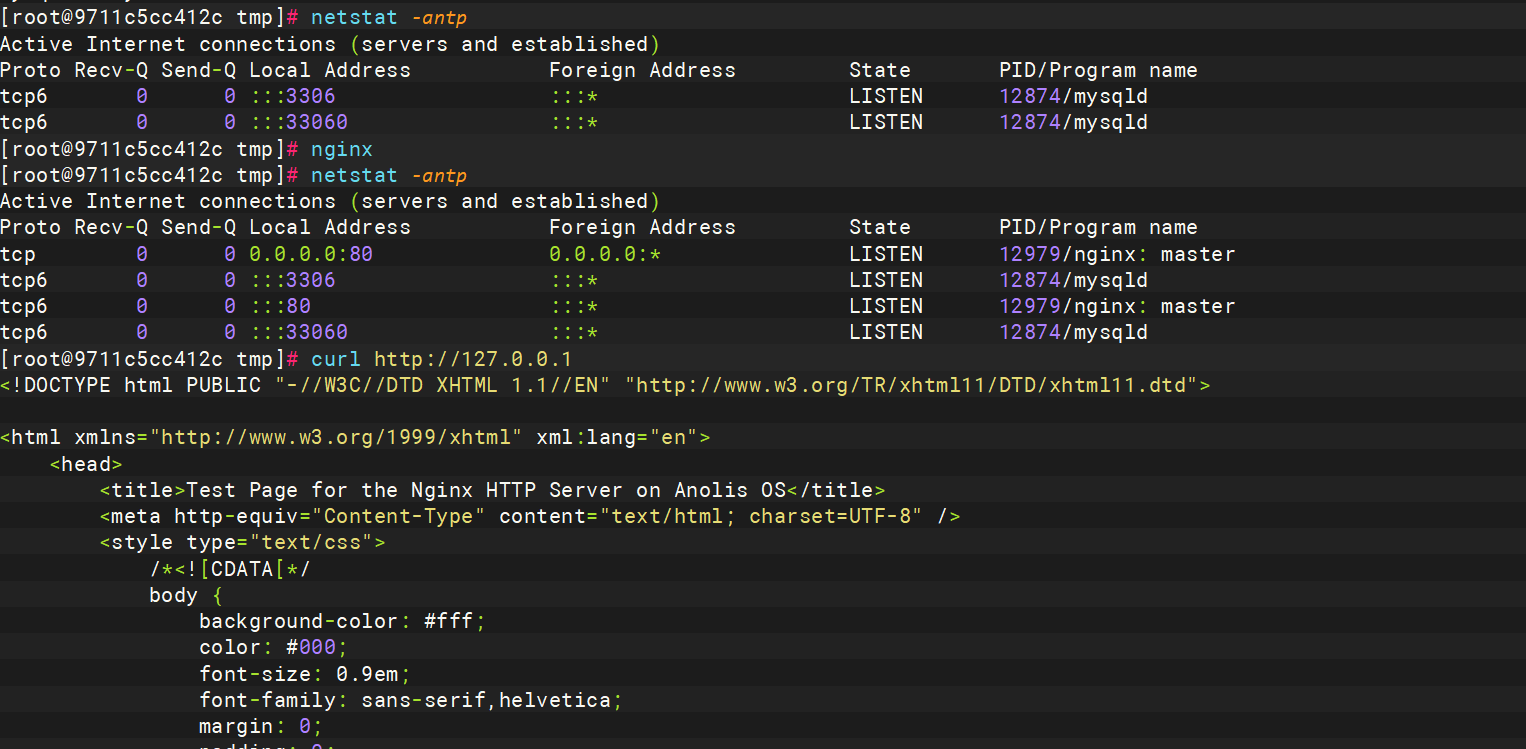
查看nginx 的配置文件位置
nginx -t |

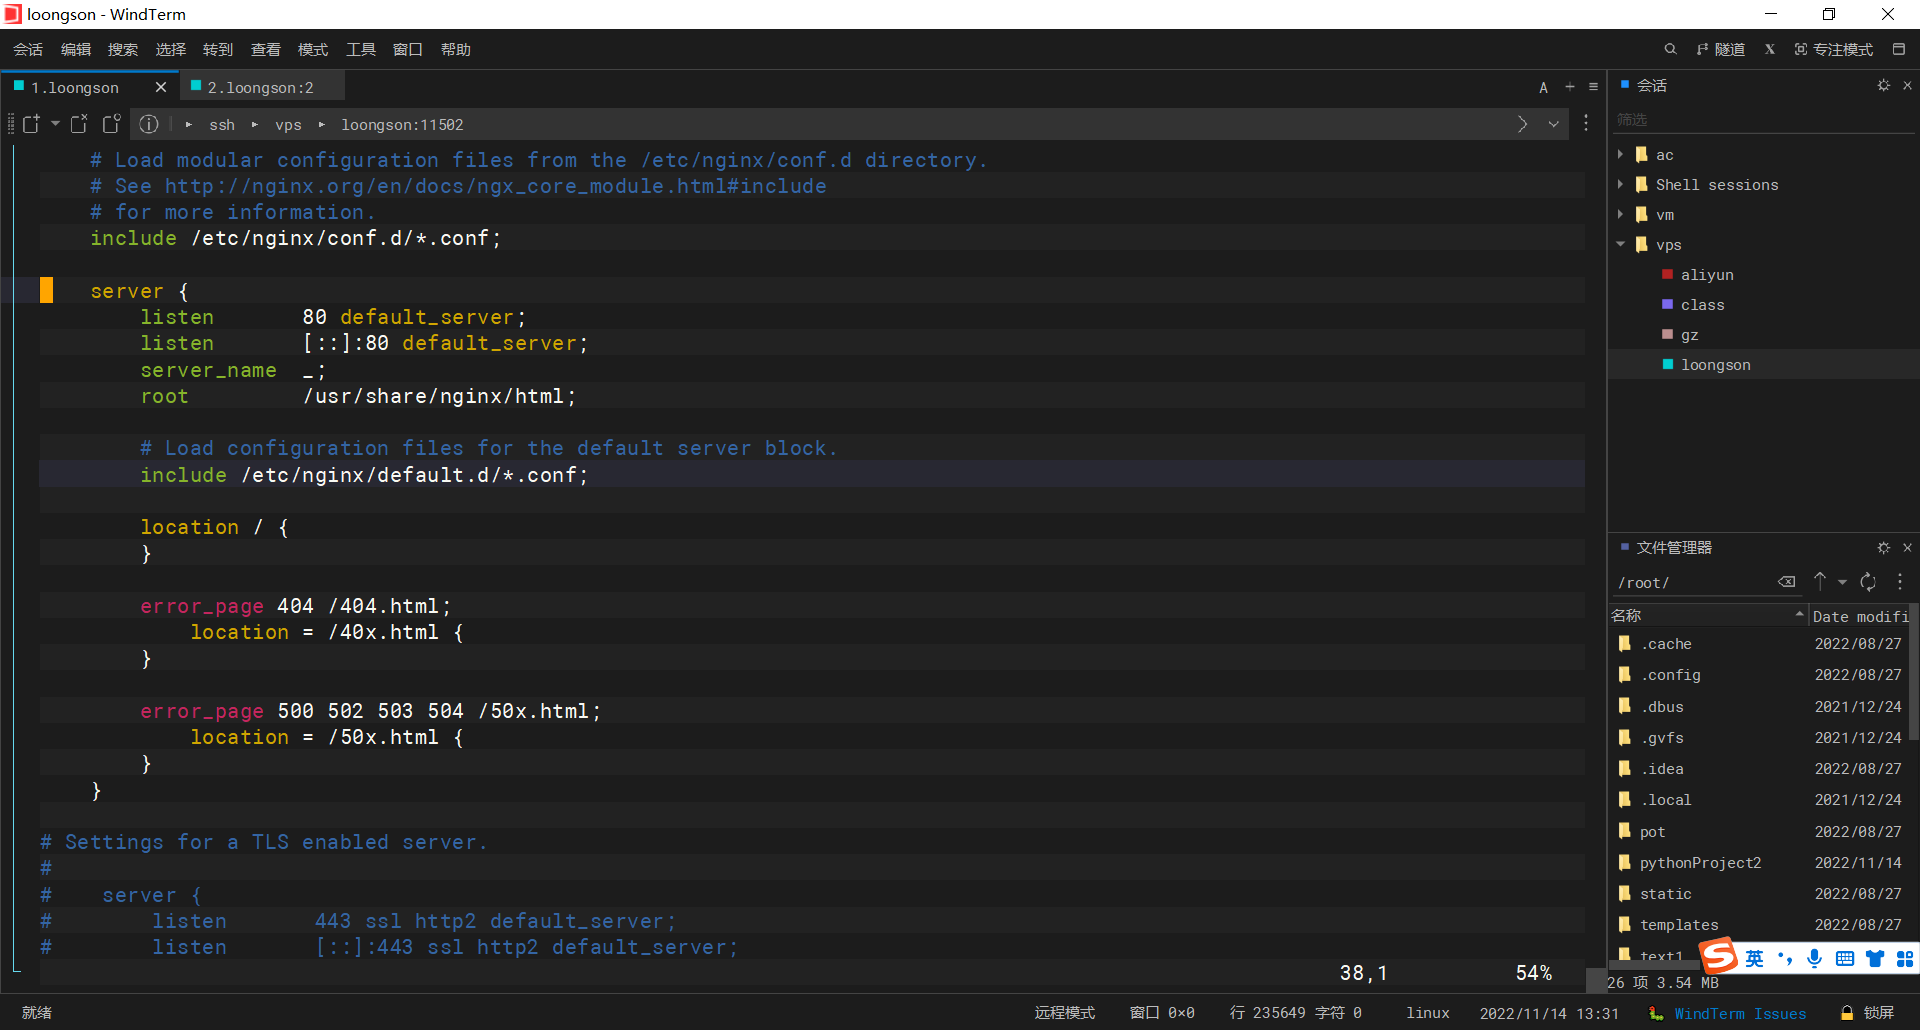
修改配置文件
vim /etc/nginx/nginx.conf |
原先
改后
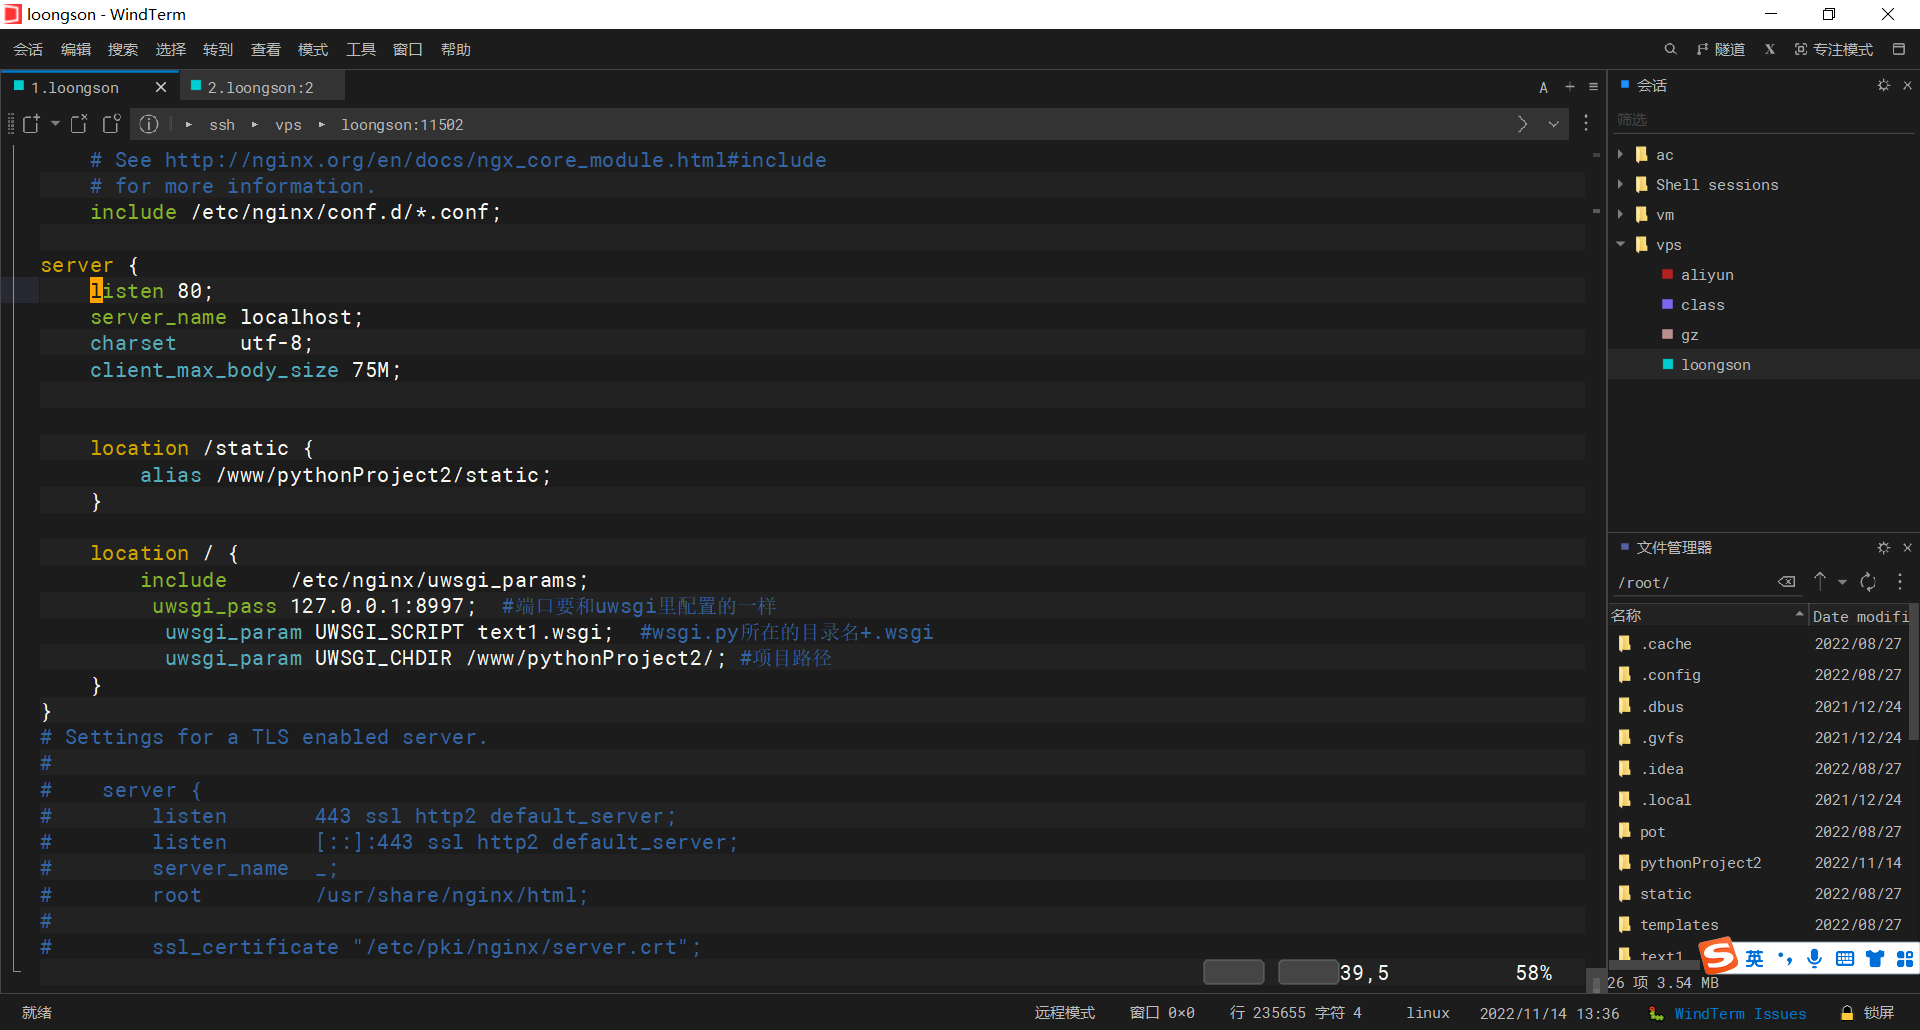
server { |
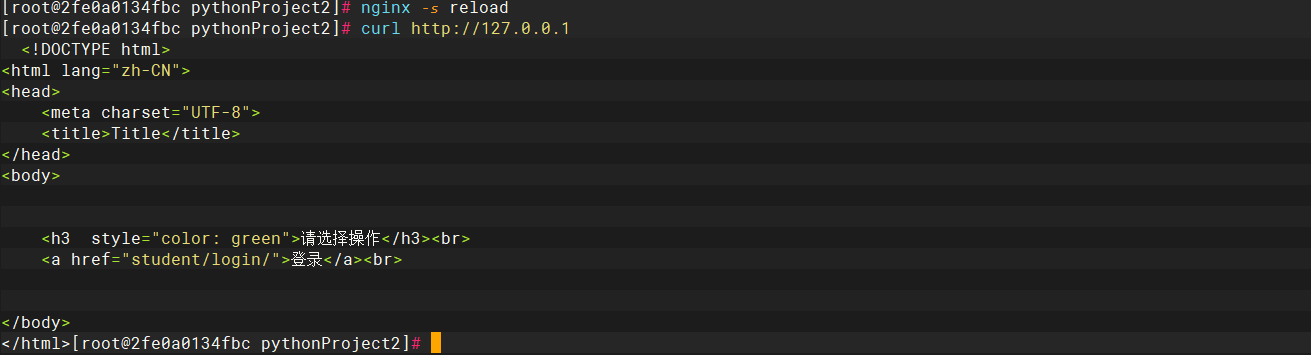
nginx -s reload |
制作成镜像
docker stop eb41e243e894 |

docker commit -a "loogson" eb41e243e894 loogson:v1 |

docker run -d -p 80:80 -p 3306:3306 --privileged=true loogson:v1 /usr/sbin/init |

vim /usr/sbin/start_uwsgi.sh |
#!/bin/sh |

chmod +x /usr/sbin/start_uwsgi.sh |
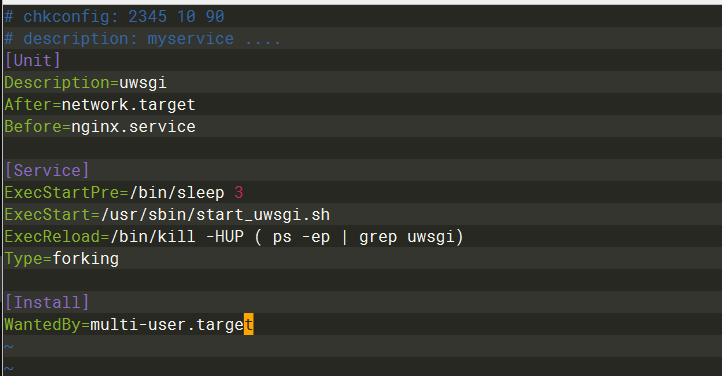
vim /usr/lib/systemd/system/uwsgi.service |
# chkconfig: 2345 10 90 |
systemctl start uwsgi |

docker stop b7a0638bb2db |

cat Dockerfile |

FROM loogson:v2 |
cat run.sh |

#!/bin/bash |
docker build --no-cache -t loogson . |

docker run -d -p 80:80 -p 3306:3306 --privileged=true loogson /usr/sbin/init |

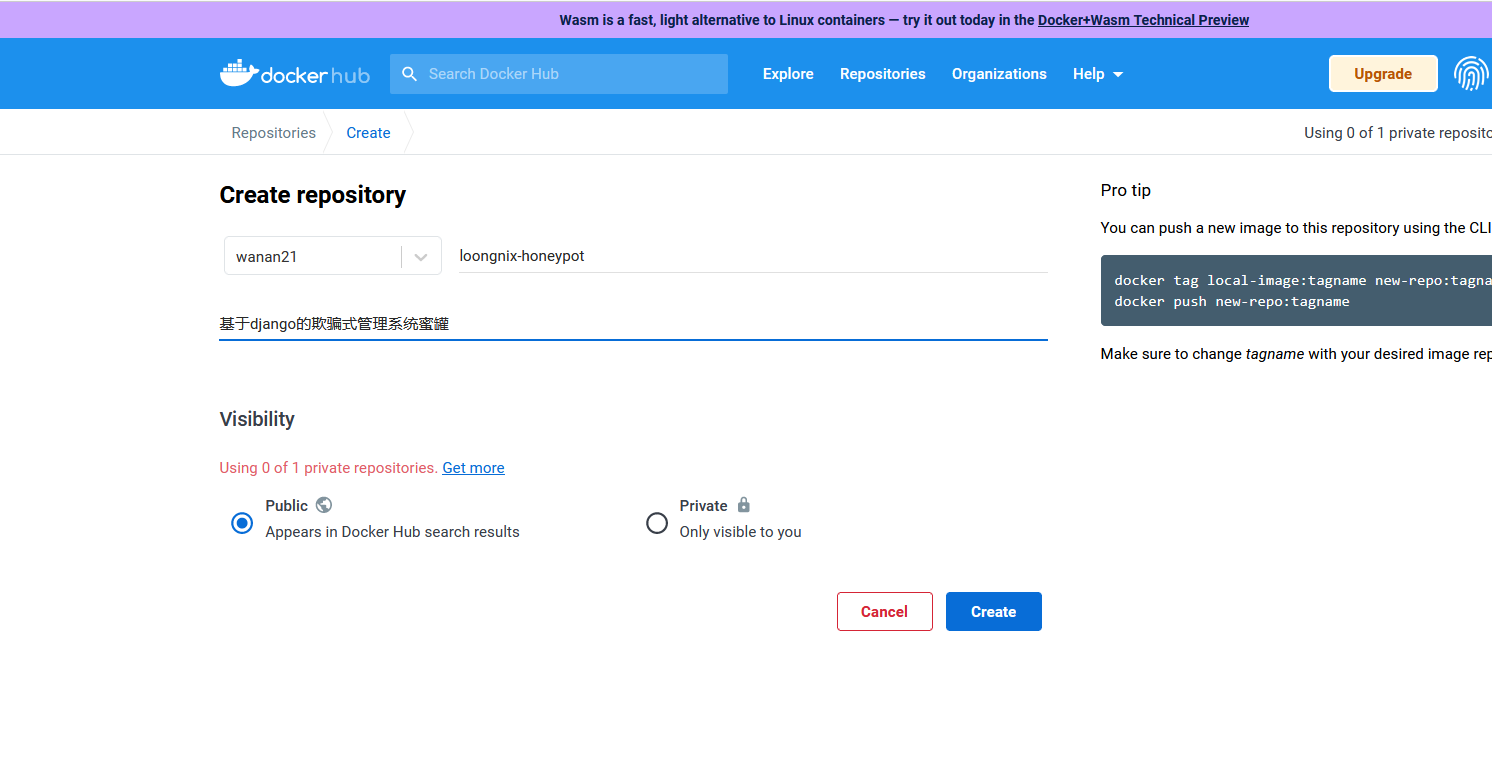
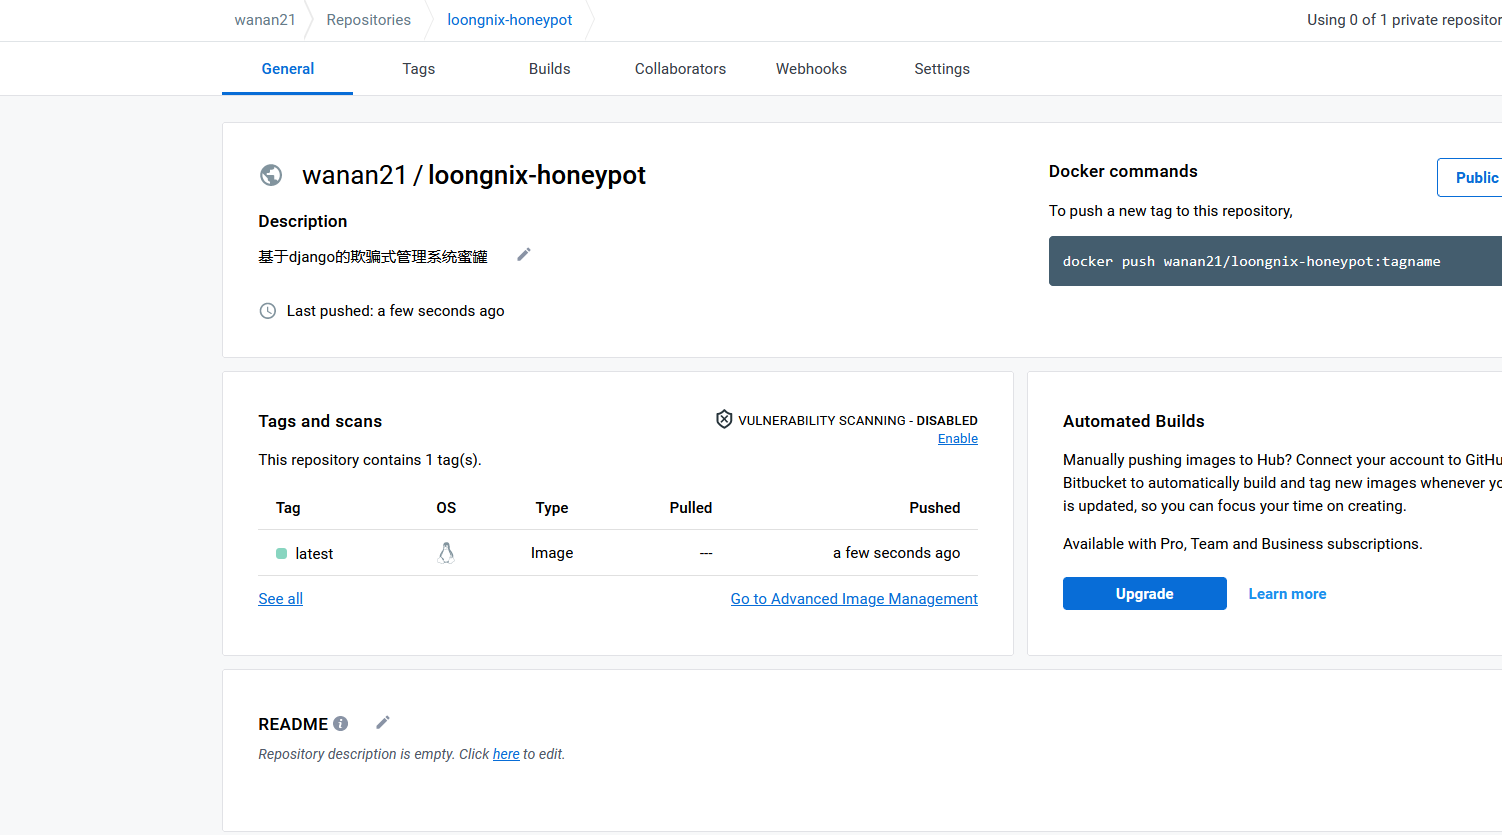
推送到镜像仓库
创建仓库
登录账号
docker login |

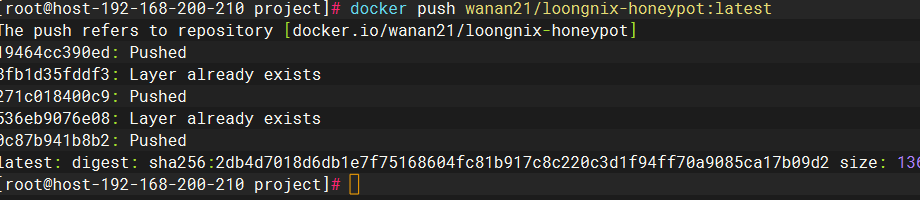
推送镜像
docker tag loogson:latest wanan21/loongnix-honeypot:latest |
进行拉取尝试
docker pull wanan21/loongnix-honeypot:latest |

运行
docker run -d -p 80:80 -p 3306:3306 --privileged=true wanan21/loongnix-honeypot:latest /usr/sbin/init |

 微信
微信 支付宝
支付宝
评论
ValineDisqus